Dinner at Mesa

The folks at Mesa invited Allison from Sweet Potato Bites to try a few new things on their menu. She was super nice and awesome and invited me to be her +1.

IMG_4534

I know I usually do recipes and such on this blog, but I have to tell you guys about it because it was pretty fun and clearly I love food.IMG_4533

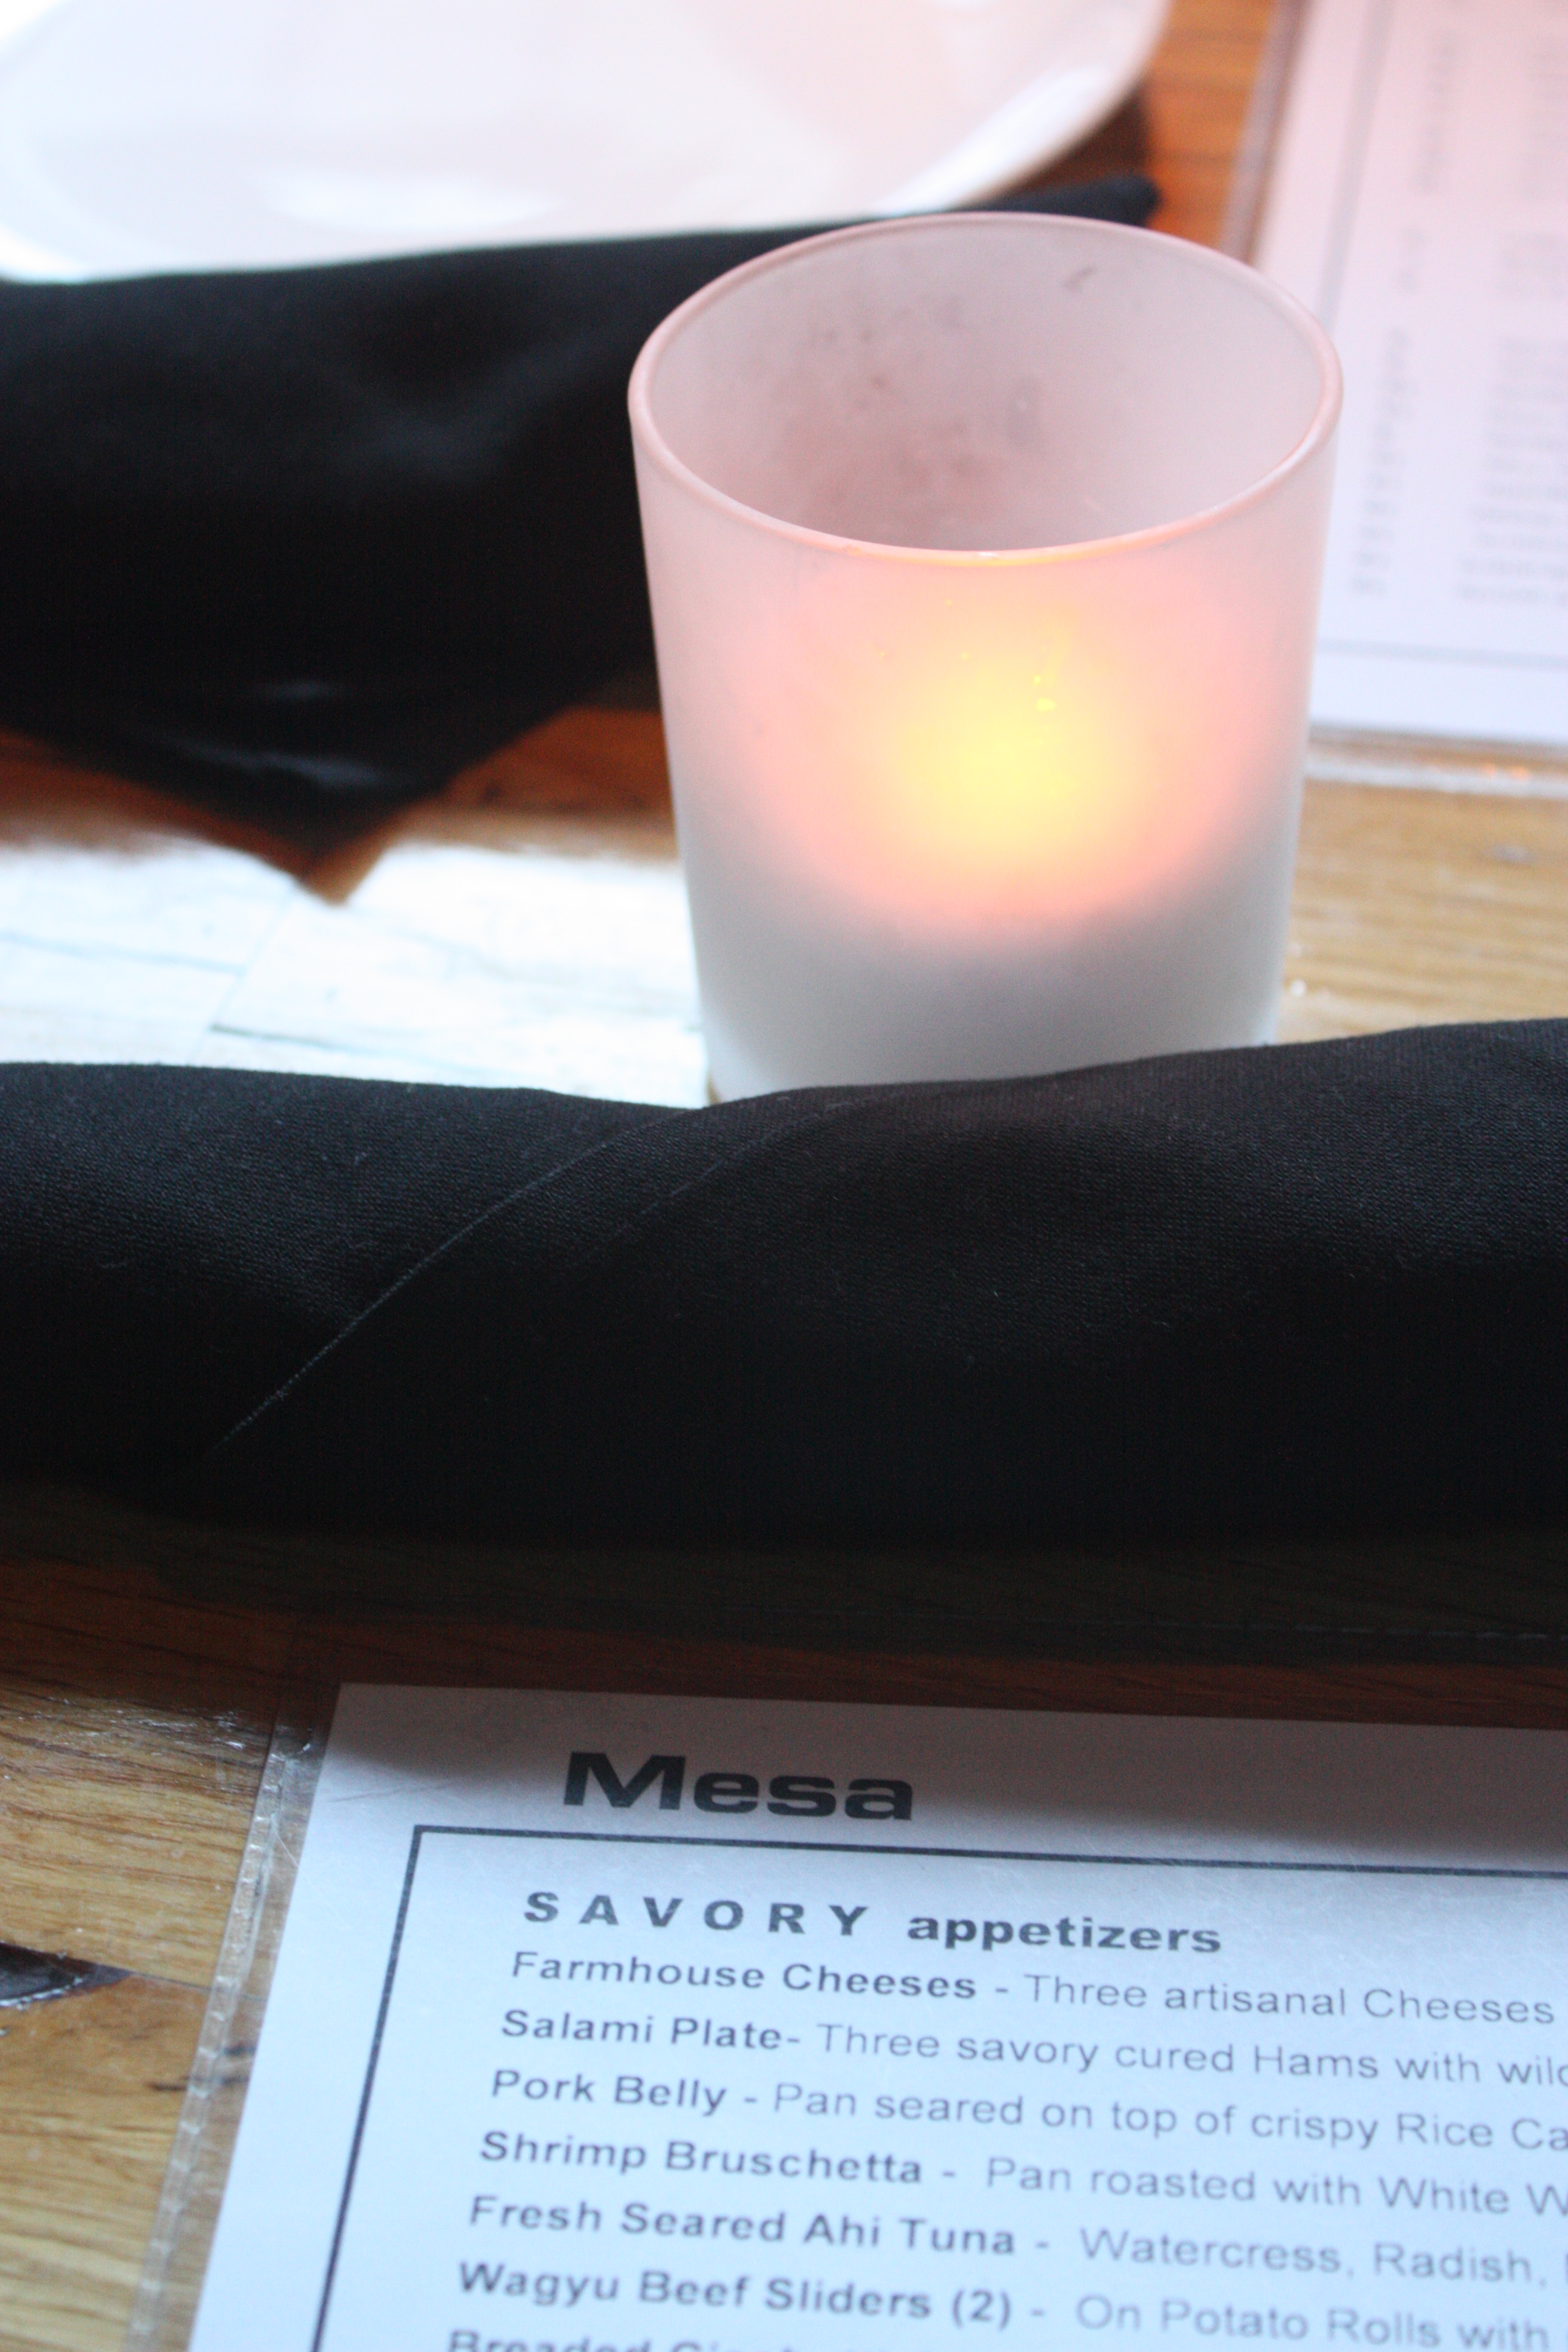
Mesa is a Bar/Lounge/Restaurant located in Costa Mesa.  I’ve seen it a bunch of times, because it’s right next to the CAMP but never went because honestly it just seemed a little too swanky for me.  But after this visit, that myth was sort of dispelled.

IMG_4535

This place is definitely the kind of place I want to go for an awesome drink, but the food was also awesome.  We got there at 7 (which is when they open), and it was still light out.  The place has an awesome retractable roof so you feel like you’re outside without having to deal with heat or wind.  FOODIE BONUS: natural light is great for food photography.

Upon arriving we ordered some drinks.  Allison and I both got a glass of wine (after all it was a work night, couldn’t go too crazy), but they had an awesome array of cocktails.  I would love to go back someday for an afternoon Negroni.

The staff at Mesa was super nice.  They told us about the hand-drawn “secret menu” that included special cocktails and small plates.

IMG_4536_1


We ended up ordering a bunch of things to share.  All in all, it was quite a spread for two ladies…

IMG_4544_1
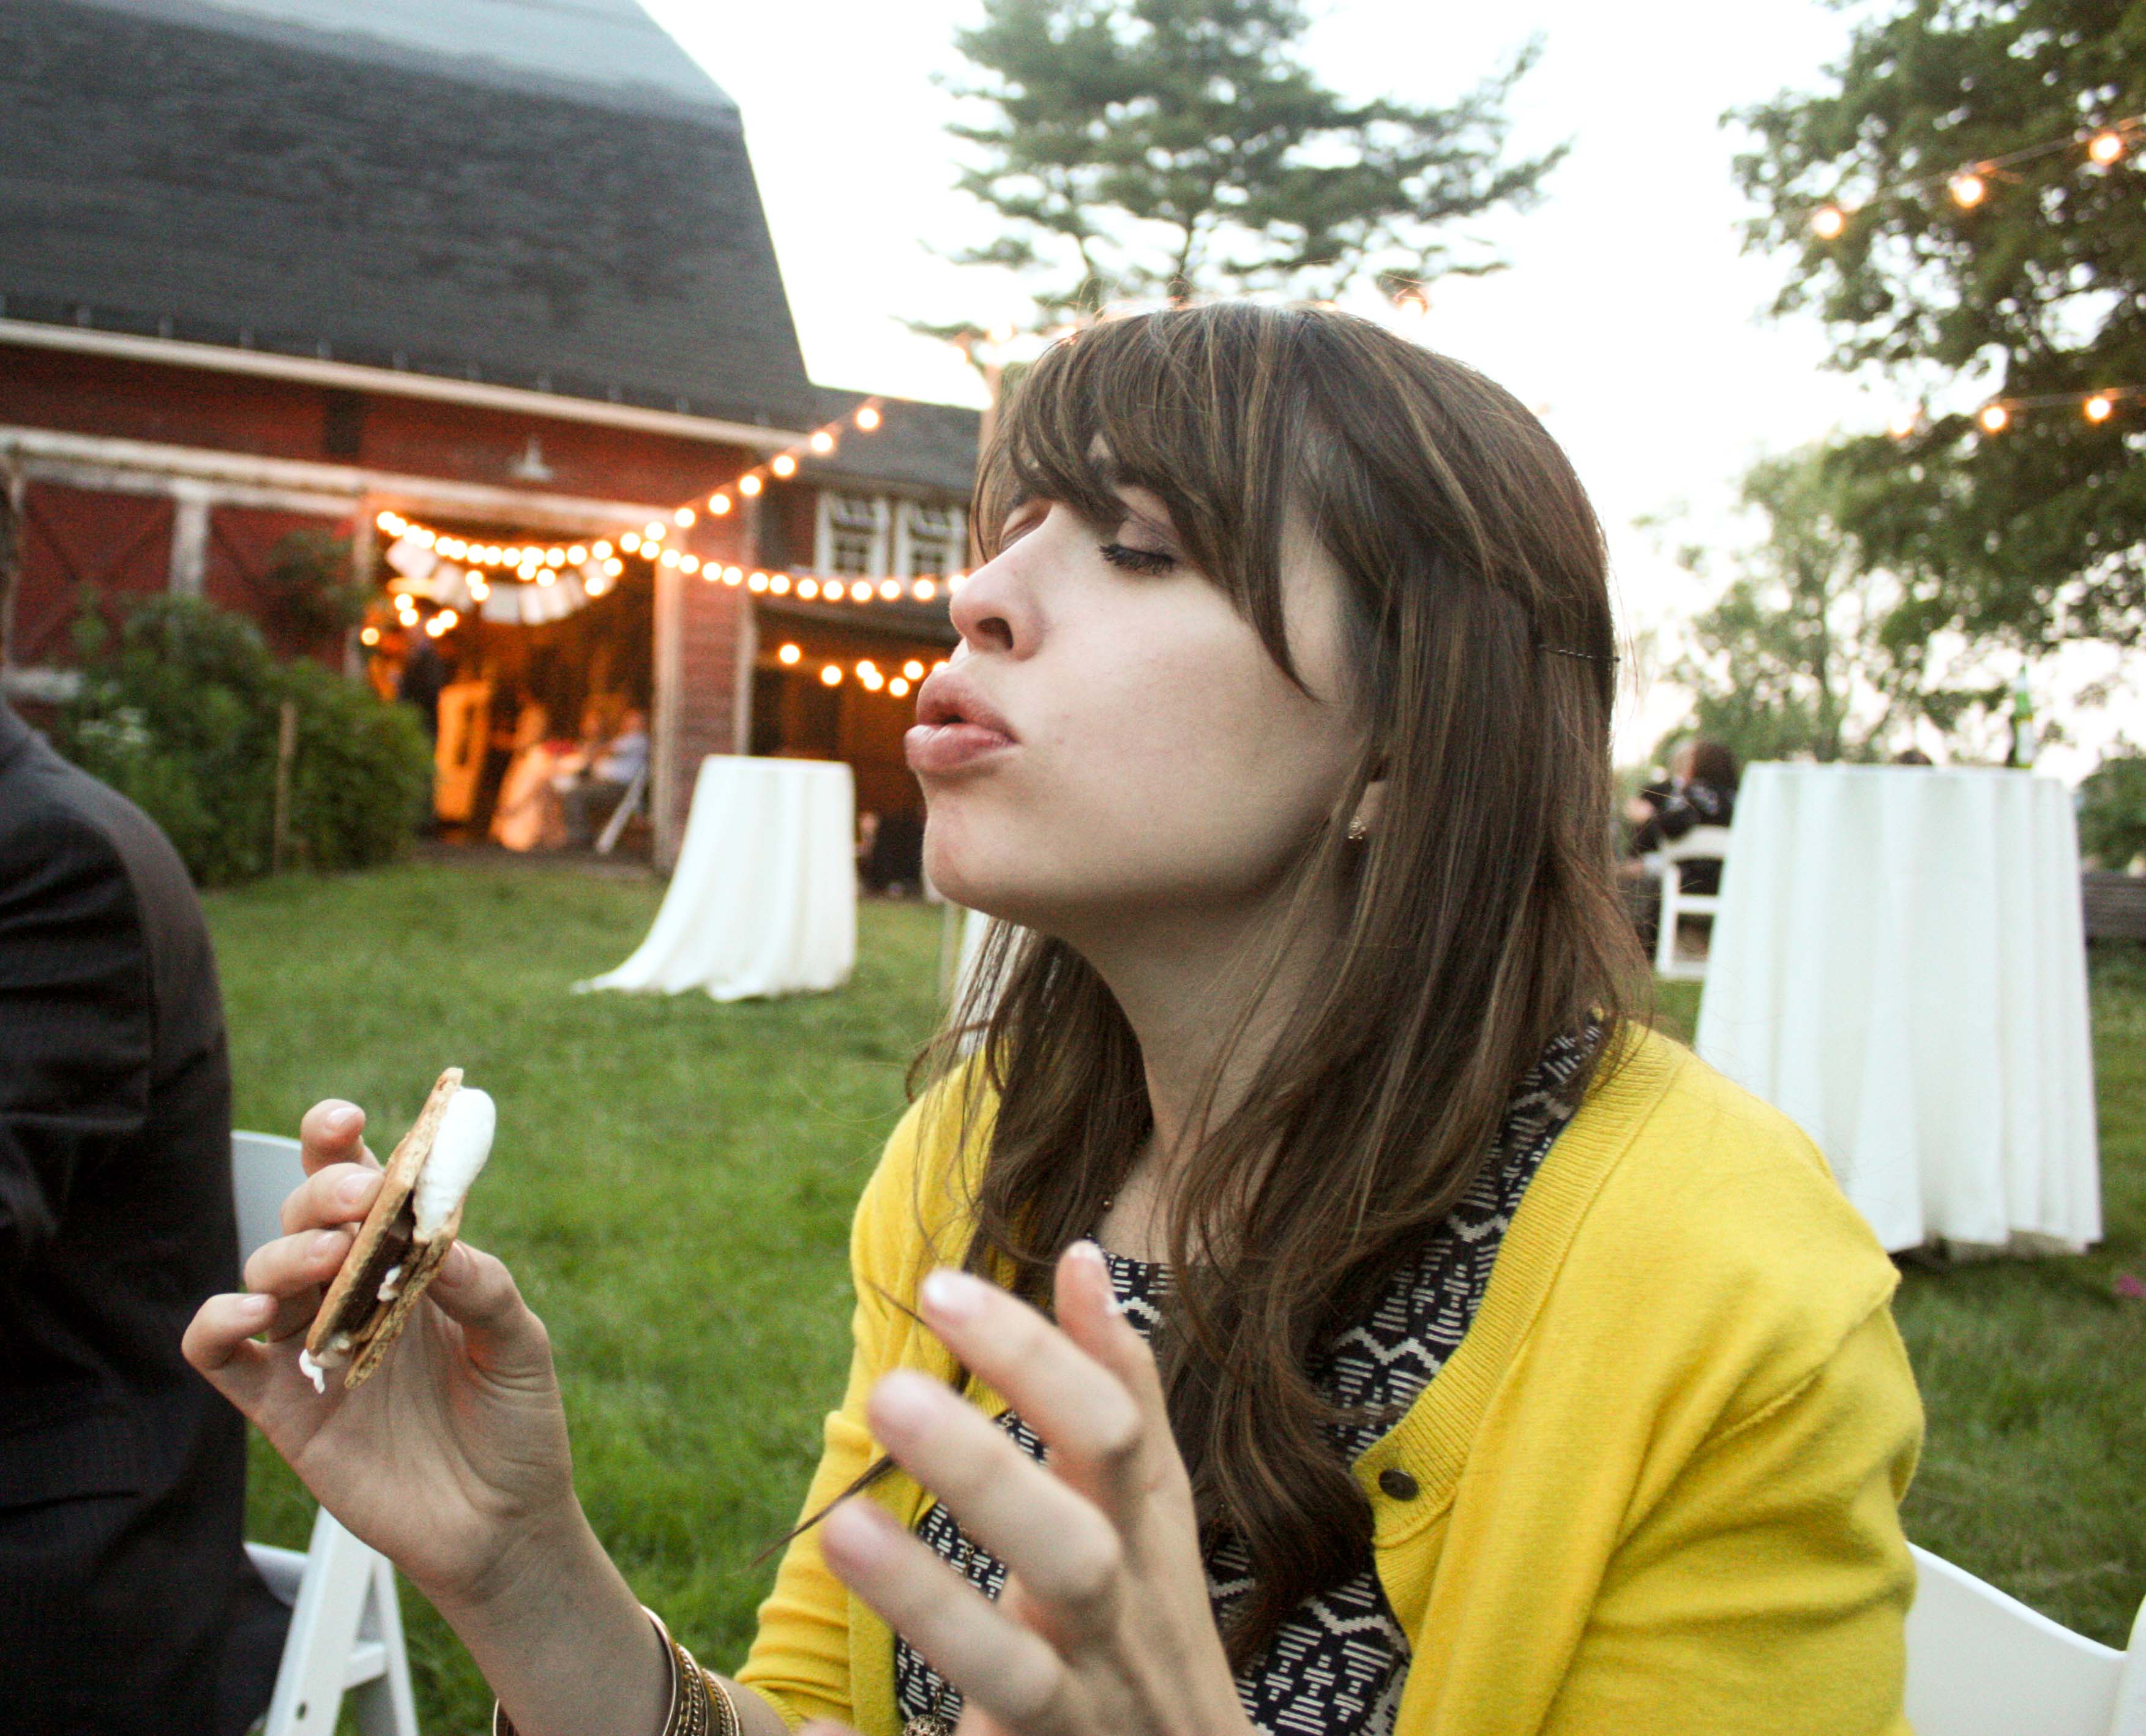
(note the food blogger in action)

We tried the sweet potato fries

IMG_4547_1

Because Allison could never pass those up.  Seriously guys, they were amazing.  Perfectly crispy and I loved the spicy dipping sauce.  Normally, I prefer regular fries to sweet potato fries, but I would definitely get those again.

Smoked Chorizo Meatballs from the secret menu.

IMG_4540_1

Delicious.  Loved the little spicy kick to them.  And the grilled bread they came with… Delicious and eaten entirely by me since Allison is avoiding gluten right now.

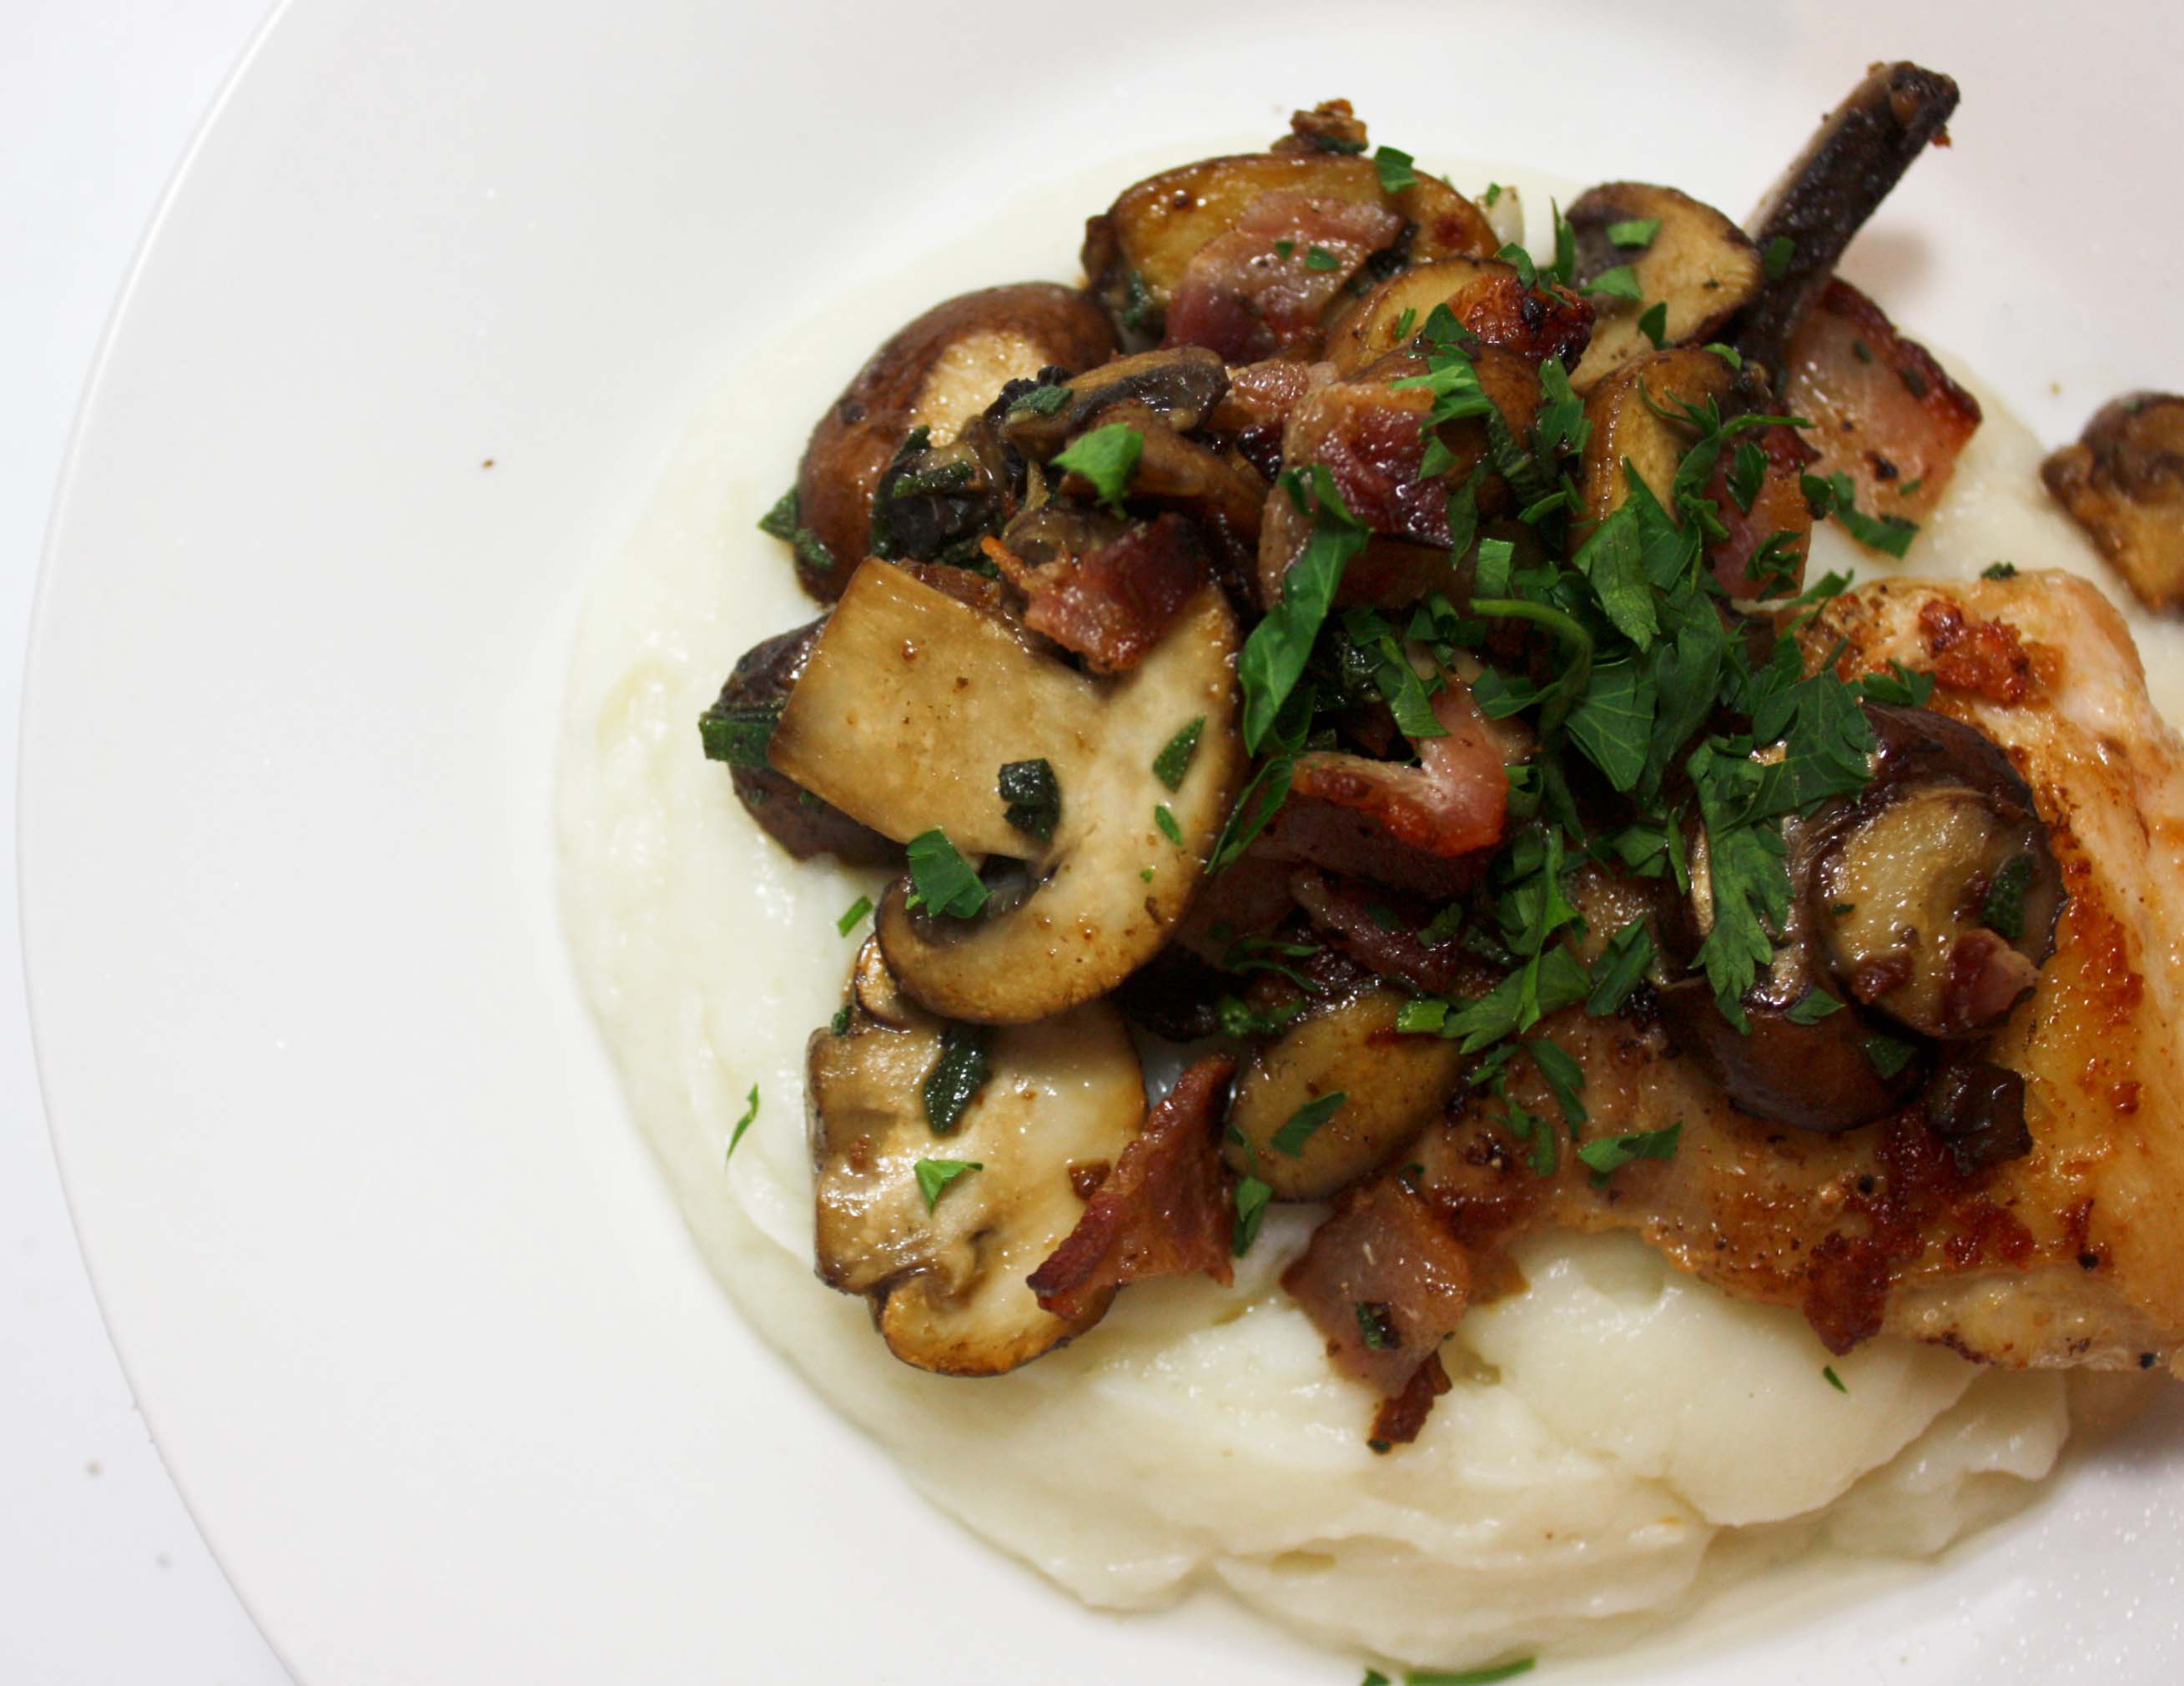
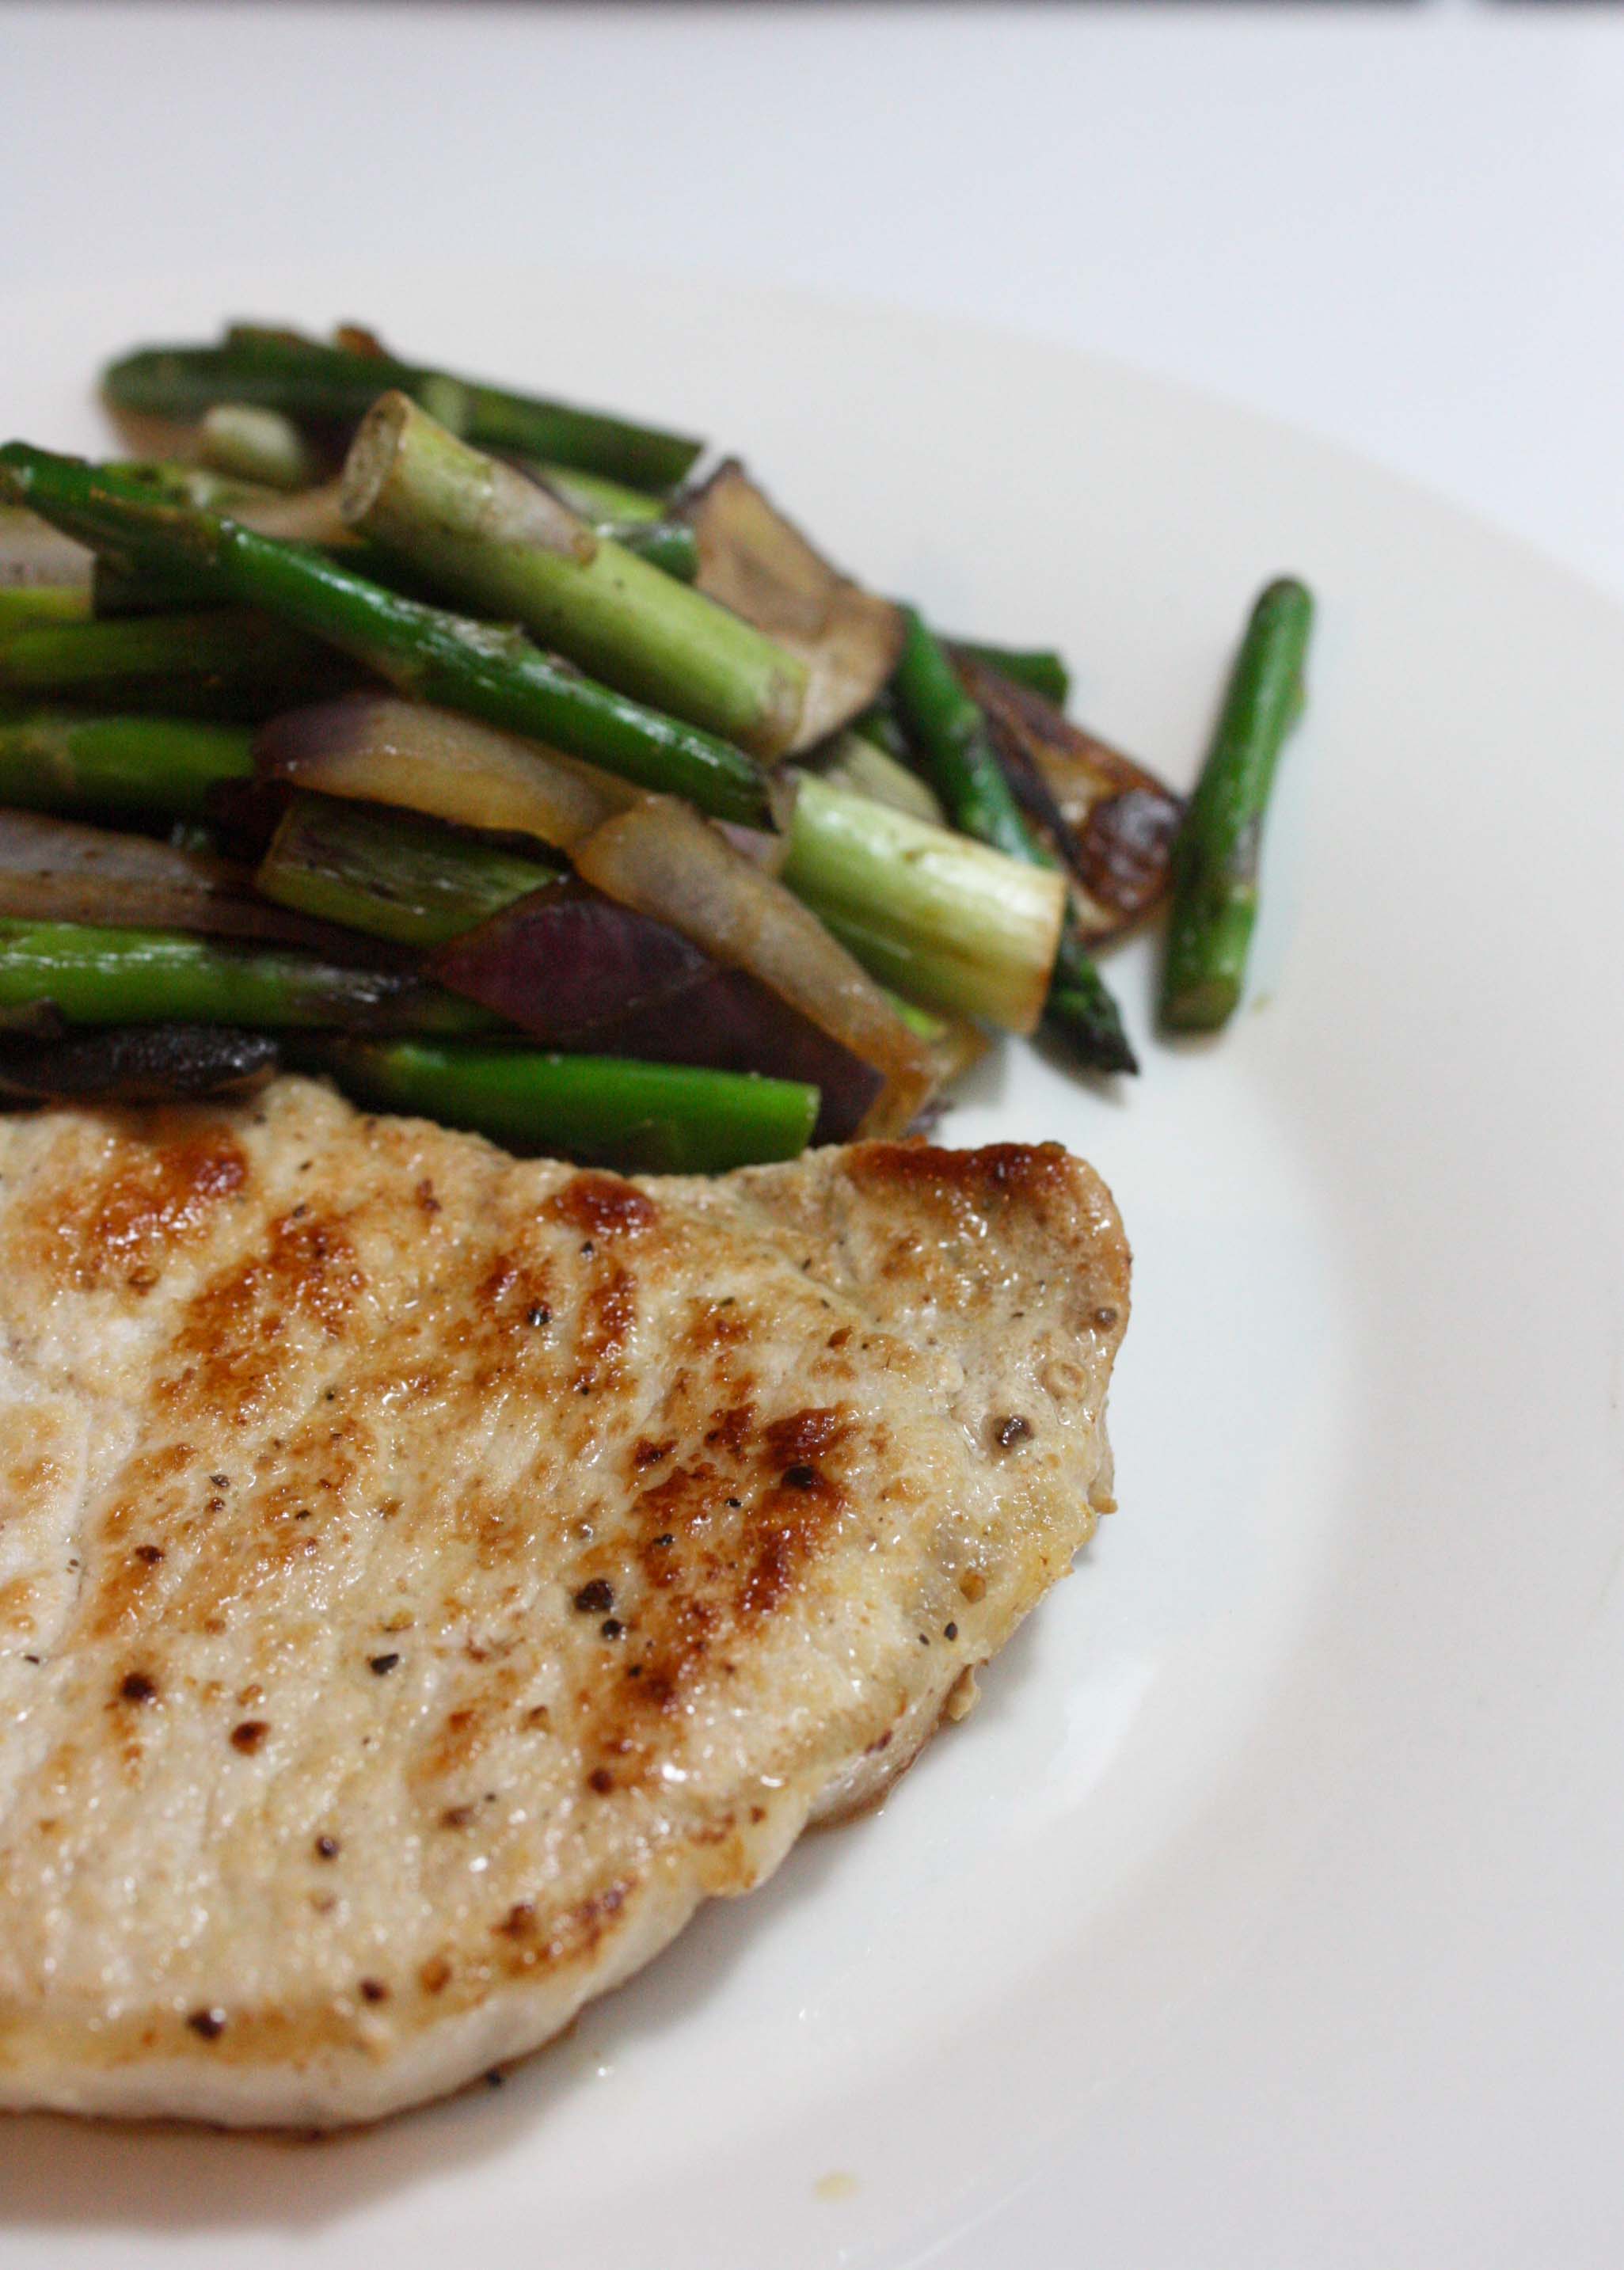
Free-Range Chicken Breast with potatoes, mushrooms and a delicious cream sauce

IMG_4542_1

This was seriously tasty.  I won’t lie.  The chicken was chicken; I really only wanted to eat the potatoes and mushrooms, because they were awesome.  I would order that again just for the potatoes and mushrooms

Roasted Beet Salad

IMG_4546_1

I’m always a fan of anything with beets and goat cheese.  This salad had feta and roasted hazelnuts.  Super tasty and light.

For dessert, because we know I can never pass up dessert… we got the ice cream trio.

IMG_4548_1

Vanilla Maple Ice Cream with bacon, Blackberry Sage and Espresso Chipotle Stout.  These were all awesomely intense flavors.  Allison and I both agreed the maple bacon was the best.  It’s definitely on my list of things to recreate.

They also made us a special after dinner cocktail.  It was super intense but delicious.  I probably could have drank the whole thing but decided to keep it classy…

IMG_4551_1

I wish I could remember all the things in there but it was amazingly herby and sweet (maybe a little too sweet).

Overall, it was a fantastic meal.  I wish this place was open before 7pm, because it would seriously be the perfect place for weekend (4pm?) afternoon cocktails.

Thanks so much to Allison for letting me tag along with you and thanks to Mesa for taking care of us.

Ok so tell me.  What was the last great meal you had out?


Advertisement

Arugula Salad with Mozzarella, Prosciutto and Lemon-Caper Vinaigrette

I have to tell you, I’m really itching to bake something.  I don’t know if you’ve noticed, but I’ve kept it healthy as of recent…

Buffalo Chicken Spaghetti Squash = Local carb, quick and easy.

Black Bean Enchiladas= Delicious, quick, vegetarian and good for you.

Eggplant Rolls with Goat Cheese = light and divine.

The last thing I made was an epic chocolate raspberry truffle cake and a bluberry-rhubarb crisp (to die for! Must remake!) for my friend Sara’s wedding rehearsal

IMG_3828The wedding and the rehearsal were in this barn… on a flower farm.  Isn’t that the cutest?!  Ok back to food…

I love making healthy things to eat, but let’s be honest.  Making pie is just plain fun.  I’m starting to miss it.  Fourth of July is next week, you bet your buns I’ll be making a pie (Remember when I made Strawberry Rhubarb Pie with a touch of bourbon last year?).

But before we get all patriotic and start playing with butter, let’s do a little more green and talk about a super tasty salad.  This salad is guaranteed to satisfy.  It’s light but has enough fat in it to keep you satisfied.  We all hate the word fat, but when was the last time you were hungry after eating a few spoonfuls of peanut butter?

Fat keeps you full.  Enjoy it.  In moderation.

But really, prosciutto is probably not the kind of fat that’s good for you, but luckily it’s so intense that a little bit goes a long way.

ArugulaProsciuttoMozzarella2

Arugula Salad with Mozzarella, Prosciutto and Lemon-Caper Vinaigrette

2 cups Arugula
1-2 oz prosciutto (I used 1)
2 oz fresh mozzarella
1 tbsp olive oil
1 tbsp lemon juice
1/2 tbsp capers
2 tsp fresh chopped oregano
pinch of black pepper

Lay arugula on a plate.  Top with prosciutto and mozzarella.  In a bowl, whisk together olive oil, lemon juice, capers, oregano and pepper.  Drizzle dressing over salad and serve.

ArugulaProsciuttoMozzarella3I am completely in love with this salad.  It’s pretty much perfect for one person or two.  I’ve made it at least 4 times (probably because I bought a 4 oz pack of prosciutto), shared it twice and it’s delicious.    You know what else I’m in love with? Showing you pictures of this wedding.

IMG_4289_1

It was also pretty much perfect.   Ok ok, you’re probably over it right?  I’ll keep my wedding obsession on my pinterest board and try to stick to food.

ArugulaProsciuttoMozzarella1

4th of July and Pie is coming up.  What are you excited about?

Eggplant Rolls with Goat Cheese

In the past week, I flew to New Jersey, drove to New York, prepared for a wedding, went to a wedding, drove back to New Jersey, took a plane back to California with a stop in Chicago, then drove from Orange county to Riverside for a graduation.

On Sunday, I was in 4 different states all in one day.  It was amazingly busy but totally worth it.   The wedding I went to was fantastic.

saragabecar2It was my friend Sara’s wedding.  You might know her as the Biscotti Queen.  She’s the lady who taught me to make biscotti, so clearly it was a wedding I couldn’t miss.   Their wedding was one of the most fun and unique weddings I’ve ever been to.

There was no assigned seating (or even enough tables for everyone to sit at), instead you mingled around, stood at cocktail tables, sat around fire pits, in adirondack chairs and generally enjoyed the company of great people.

Instead of a sit down dinner, the night was filled with amazing appetizers and desserts.  I thoroughly enjoyed the smores.

IMG_4297One of the many appetizers served was Eggplant Rollatini, perfect given Sara’s very Italian family.  As I was looking through my photos of the wedding mixed with some photos of foods I made before heading to New York, I realized that the day before I left I unknowingly made my own non-Italian version of Eggplant Rollatini.

I won’t call it Eggplant Rollatini, because it’s not exactly the same.  I’ll call it Eggplant Rolls with Goat Cheese

eggplantrollstext

Eggplant Rolls with Goat Cheese

1 eggplant
1/4 tsp paprika
salt and pepper to taste
4-6 oz goat cheese
1 tbsp capers
4 tbsp fresh chopped herbs (I used basil, oregano and sage)
1 can diced tomatoes, with juices
1/3 red bell pepper
1/2 a small onion
2 cloves of garlic
1 Tbsp olive oil (plus more for brushing eggplant or use cooking spray)

Pre-heat oven to 400F.  Slice eggplant lengthwise into thin slices.  Lay on a baking sheet, spray with cooking spray or brush with olive oil and sprinkle with salt pepper, and paprika.  Bake for 7 minutes, flip then bake for another 7-8 minutes.  Remove from oven, turn oven down to 350F.

In the meantime, make your sauce.  In a blender, blend together tomatoes, red bell pepper, onion, garlic and 3 tbsp fresh herbs.  Add salt and pepper if you like (I only added pepper since I used canned tomatoes).

Heat 1 tbsp of oil in a large skillet, add sauce.  Cook for 10-15 minutes stirring occasionally while you prepare the rest of your eggplant.

eggplantbaked

In a bowl, mix together goat cheese, capers, and 1 tbsp of herbs.  Once your eggplant is cool enough to handle, lay some of the goat cheese filling on the eggplant then roll and place seamside down into the sauce.  Repeat until you’ve rolled all your eggplant (you might have some left over filling which I like to sprinkle on top after baking).

Bake for another 10-15 minutes, sprinkle with remaining goat cheese/herb filling and serve.  One eggplant (depending on the size) should serve 2-3 as a main dish.

eggplantrolls2This eggplant was totally different from the one at the wedding, but in my opinion equally delicious.  Let’s be honest, anything with goat cheese is amazing and I love lightening up heavy dishes like this.   I should also note it passed the taste taste from Jesse and my co-worker from New Jersey.

That totally makes it legit, and now it has an amazing memory of an awesome wedding attached to it.

Overall, the travel and craziness of the weekend were totally worth it.  I got to visit an amazing friend, see a few others (although I missed a few friends I didn’t get to see), and was so happy to be a part of a wonderful couple’s special day.

I have so many other things to tell you about.  What do you want to hear about next? An AMAZING salad?  More about this wedding? Do you need a dessert in your life?  Tell me!

How to Have a Fried Chicken and Waffles Party

Chicken and waffles are one of those food combinations that have a cult following.  In Los Angeles, Roscoe’s House of Chicken and Waffles is an institution, and I’m pretty sure Lay’s makes a Chicken and Waffles flavored chips.

I remember having Roscoe’s once in high school, but I don’t remember if I tried the chicken and the waffles together.  I’m pretty sure I ate them separately.  That’s clearly not the “right” way to eat them.

Like most things I find intriguing, I wanted to try making my own chicken and waffles.  But let’s be honest, frying chicken is not something I’m going to take lightly.  I wasn’t going to just make 2 pieces of chicken, 2 waffles and call it a day.  No no.  This was my first time frying chicken.  It was going to be an event.  And thus the Chicken and Waffles party was born.

The first thing you need for an event is guests, so I recruited this crew to be my chicken and waffles testers.

guests1

So if you’re like me, and you feel the need to make chicken and waffles an event, here’s a how.

What You’ll Need:

  • Chicken: I used drumsticks and thighs
  • Peanut Oil for frying
  • Buttermilk for the chicken (and the waffles)
  • Flour, paprika, salt and pepper for dredging the chicken
  • Yeast, Milk, Eggs, Flour, Sugar, Salt and Butter for the Waffles
  • Maple Syrup or just pancake syrup
  • Plate, forks, knives, napkins
  • Beer.  Lots of beer. And ice to keep it cold.

First things first.  You have to convince people that you are an awesome cook and that your chicken and waffles will be amazing.  I suggest creating invites to get people excited (don’t see how they wouldn’t be, also don’t tell them you’ve never tried frying chicken before).  I used Evite, because I’m a nerd.  But you can also e-mail, text or call your friends to invite them.  Make sure they RSVP so you know how much to make.

I estimated 3 pieces of chicken per person and at least 3 waffles per person.  My worst fear is someone leaving my house hungry.

A day or two before your event buy all the things you need (see list above).

The night before the event, start your waffles.

I used Smitten Kitchen’s Essential Raised Overnight Waffles.

They were amazing. I absolutely recommend them!

But because I’m a fiend for feeding people, I figured one waffle recipe for 8 people wasn’t enough (I was right).  So instead of doubling the recipe, I used a recipe a friend shared with me (made day of).  It was oh so buttery and tasty.

Day of…

Set up your table.  Dress it up, dress it down.  Always include fresh flowers.

settable


Start making the chicken.  Let me preface this by saying this was my first time making fried chicken.  I did A LOT of research.  After reading the million ways to make the “perfect” fried chicken, I decided to keep it simple. I pretty much used this recipe from AllRecipes but didn’t use their method.  My method was to make sure the oil wasn’t too hot and I kept turning it for even golden-goodness all around.

Frying the chicken is the most time consuming part, so start early (depending on the size of your skillet and how much chicken you make it’ll determine how long it will take).

First drown your chicken in buttermilk and let it sit there for a few minutes.  Then put about 3 cups of flour in a bag with 1 tbsp each of paprika, salt and pepper (more salt if you’d like, mine wasn’t salty).

Transfer a piece of buttermilk soaked chicken into the flour bag, toss around.  Place chicken on a parchment paper lined baking sheet.  Repeat until all the pieces of chicken are covered in the flour/buttermilk mixture.  Note: the amount of chicken you make will determine how much flour you need.  If you need to make more, just remember the ratios above (1 cup flour = 1 tsp spice, feel free to increase the spice).

Let the chicken sit and the coating get paste-like as you heat the oil.  Fill a large (I used 12″) cast iron skillet about half way full of oil.  Turn on heat to medium and let the oil get hot.

fryingchicken


I didn’t use a thermometer.  I used the flour trick.  What’s the flour trick? Sprinkle some flour into the oil.  If it starts to bubble your ready to fry.  Keep the flame at about medium.  Once the oil is hot, add a few pieces of chicken to the skillet.  You don’t want to crowd the pan but you should be able to fit about 4-5 pieces in there.  Fry chicken, turning every 3 minutes about 14 minutes for drumsticks and 18 minutes for large thighs.

fryingchicken2


Cut through one to make sure it’s cooked through so you know your estimated cooking time from now on.  Place chicken on a paper towel lined baking sheet and put in a 200 degree oven to keep warm and crisp.

Repeat until you’re done making your chicken.

Next make your waffles. If you’re using Smitten Kitchen’s recipe, now is the time to mix in the 2 eggs and baking soda.  Or mix together your waffle recipe of choice!  Cook your waffles in your waffle iron.

makingwaffles

I borrowed my sister’s waffle iron so that I had two going at the same time.  It made the process faster.  If you’re making waffles for a crowd, keep them warm and crisp in the 200 Degree oven by putting them on a baking sheet IN A SINGLE LAYER (I didn’t do that and totally got soggy waffles.  Sad face.).

Now that your chicken and waffles are made.  You’re ready to eat.  Pile a platter high of chicken

chickenandwaffles1


and another of waffles, and don’t forget the syrup!

chickenandwaffles2And your table will be ready for a crowd to dig in!

bwchickenandwaffles(Obviously they all had to wait while you took pictures of the table setting)


Now sit around, pass the waffles

chickenandwaffles6and the chicken

chickenandwaffles7And eat them how you like best, don’t be scared to use your fingers or smother everything in maple syrup.

chickenandwaffles3

chickenandwaffles5

If you have left overs, don’t worry.  Reheat it all in the oven in a single layer and it’ll taste delicious the next day too!

chickenandwaffles4

Thanks to David, Talia, Rachel, Marco, Allison, Joe and Jesse (especially Jesse for being my co-chef) for having chicken and waffles with me!  You guys are the best!  Thanks for testing out my food and being all around pleasant company!

Ok so have I convinced you?  When are you throwing a chicken and waffles party?

I would totally do it again!

Strawberry Shortcake in a Jar

It’s almost summer, you know what that means?

Summer means that everyone and their mother is making strawberry shortcake.  Why don’t you take a ride with me on the strawberry shortcake wagon, but with a twist of Foodologie.

StrawberryShortcakeinaJar4

That’s code for take something sweet and put it in a jar.  I love things in jars…

piesinjars

Pies in Jars

bdaycakeinjar3

Birthday Cake in a Jar

coconutcurrystew

Coconut Curry Stew in a Jar

strawberrybasilginandtonic2

Cocktails in jars: Strawberry Basil Gin and Tonic

The list goes on really.  But aside from the hipster-y “cute” factor of a jar, I find them to be extremely functional.  They’re sturdy and portable.  I can’t tell you how many times I’ve dropped jars, thrown them into bags.  They just don’t break.  It’s great.

So let’s go back to strawberry shortcakes.

StrawberryShortcakeinaJar2


They’re one of those appealing desserts because they’re simply delicious.  Everyone seems to have a way to make them.  Some people use biscuits, some use pound cake, others use angel food cake.

I like to use plain yellow cake (specifically this recipe for Moist Yellow Cake from Epicurious).  It’s lighter than pound cake but denser than angel food cake.  It’s really just all sorts of amazing.

Here’s what you need:

That’s a pretty short list of ingredients for such a fantastic dessert.  The beautiful thing about making them in jars is that they’ll pretty much look cute no matter what you do.

StrawberryShortcakeinaJar1


Wash and slice your strawberries.  Remember these are going in jars, so you want to cut them into small pieces.  Toss with sugar and lemon juice.  I eyeball the sugar, about 1/4 cup for every cup of strawberries.  If you like them sweeter, add more sugar.  Remember this is all about how it tastes best for you. Let the strawberries sit (macerate, if you want to get technical) for 15-20 minutes so they let out all those wonderful juices and you get strawberry saucy goodness (yes, saucy goodness is a legitimate culinary term).

Next whip your cream.  I don’t like mine too sweet.  I add a few tablespoons of sugar for each cup of whipped cream, and about 1/2 a tsp of vanilla.  Once your whipped cream is mixed, transfer it to a ziploc bag.

Now you can assemble.  Take your cake and break it up into little chunks. Place some in the bottom of your jar, next put a few spoonfuls of strawberries in there, press down with a spoon.  Next the whipped cream.  Cut off a corner of the ziploc bag so you have a piping bag of sorts.  Pipe some whipped make sure to get it one the edges so it looks nice.  Then repeat (be sure to press down the cake so more fits in there!).  Depending on how big your jars are and how thick your layers are, you might be able to do 2 or 3 layers.

StrawberryShortcakeinaJar3

Serve or put a lid on them and take them to go!

I wish I had eaten these on a picnic in a park or on the beach, because that really would have added to the full effect of it all.  They’ll just have to go on the menu for my next picnic.

What’s your favorite summer dessert?

Black Bean Enchiladas

So on this thing that I’m calling Operation Make-Dinner (my desperate way to make myself eat healthy meals instead of snacking for dinner), I’m realizing that one person doesn’t require that much food.

I can cook two large (and my large I mean 4-6 servings) per week and that will last for lunch and dinner throughout the week.  Luckily, I don’t get tired of eating the same thing over and over again.

Earlier this week, I made Buffalo Chicken Spaghetti Squash.  I had it for dinner once, then lunch two consecutive days after.

buffalochickenspaghettisquash2

So on the days when I had Buffalo Chicken Spaghetti Squash for lunch, I had Black Bean Enchiladas for dinner.

blackbeanenchiladas2


These aren’t super fancy enchiladas like the kind you have in restaurants, these are much simpler and healthier.  I didn’t fry the tortillas, they’re not filled with fatty meats and cheese.  It’s mostly beans and vegetables, sauce and a sprinkle of cheese.

For a week night meal, that’s what it should be: mostly vegetables.  I used shredded carrots and bell peppers because that’s what I had on-hand (the carrots were left over from the Buffalo Chicken Spaghetti Squash).

To make life easier (and for portion control), I baked them in small glass containers (instead of a large 9×13 pan)

blackbeanenchiladas1

Black Bean Enchiladas

1-2 tbsp olive oil
1 onion, diced
1 cup shredded carrots
1 bell pepper (I used a bunch of mini bell peppers)
2 cups black beans (I cooked them Guatemala style last week, but you can use canned too)
1-2 tsp cumin powder (depending on how you like it)
1/4 cilantro, finely chopped (plus extra for garnish, optional)
juice of 1 lime
12-15 tortillas
1-2 large (28oz) cans of enchilada sauce (or make your own)*

Heat oil in a large skillet.  Add onions, pepper and carrots and cook until onions are translucent, about 5 minutes.  Stir in black beans and cumin, cook an additional 3 minutes.  Stir in cilantro and squeeze in lime juice, stir until well-combined.   This filling is awesome on it’s own, I had leftovers and am planning to eat it just with some rice…

enchiladafilling

But back to the recipe…

Pre-heat oven to 375F.  Next start to assemble enchiladas, pour some of the enchilada sauce in to the bottom of whatever baking dish you use (I used 3 small ones, only made 9 enchiladas and had left over filling as another meal with rice).  Heat tortillas in the microwave to soften (if they break when you try to roll them, just microwave for a few seconds), place some of the filling down the middle, roll tortilla and place seamside-down in the baking dish.  Repeat until you’ve filled your dish or you run out of tortillas and filling.  Pour remaining enchilada sauce over tortillas and sprinkle with cheese.  Bake 20-30 minutes or until the sauce bubbles.  Remove from oven, allow to cool a few minutes then serve with sour cream, cilantro and avocado.

*Note: I like a lot of sauce, I used one big (28 oz can) for 9 enchiladas, so if you’re making more you might want to get 2 cans.  If you like it less saucy, then one can would be enough.

blackbeanenchiladas3


These were a great dinner two nights in a row.  I still have leftovers for tonight, which is great!

This weekend, I’m not making dinners, because Saturday I’m having a chicken and waffle party and I’m wayyy too excited.  Can’t wait to tell you about it!

What are your plans for the weekend?

Buffalo Chicken Spaghetti Squash

My initial effort at making dinner more often, started with a bang.  After I wrote the last blog post, I started meal planning and of course, I turned to Pinterest for ideas. I found a recipe I thought looked tasty for Buffalo Chicken Quinoa Salad.  It looked great, but I decided I wanted it to be a bit lighter.  I don’t want to be eating a pound of quinoa for dinner (not that there’s anything wrong with that, just not my taste).

So instead of quinoa, I went with spaghetti squash, because I’m a huge fan and it’s lower in calories than quinoa.  The result…

buffalochickenspaghettisquash2


Delicious, and ready in less than 30 minutes!  Not to mention it’s super easy clean up, since you only use one pot/skillet.  To make life easier, I bought pre-cut and pre-washed shredded carrots and cabbage.  So the only chopping I had to do was the green onions and chicken.

buffalochickenspaghettisquash1

Buffalo Chicken Spaghetti Squash

1 spaghetti squash
3-4 green onions
1-2 lbs chicken breast, cut into bite sized pieces
1-2 tbsp olive oil
1 tsp garlic powder
1 tbsp onion powder
1 cup shredded carrots
1 cup shredded cabbage (I bought cole slaw mix)
1 cup Frank’s Buffalo Sauce (or more if you’d like)
1-2 oz Blue Cheese (or more if you’d like)

Poke your spaghetti squash a few times with a fork or knife.  Microwave 10-15 minutes or until tender.

In the meantime, cut up your chicken and toss in onion and garlic powder.  Next slice the green onions.  Slice the white part of the green onions and reserve the green tips for garnish.

Heat olive oil in a skillet or pot (I used a 12″ cast iron skillet).  Add chicken and green onions, cook until chicken is cooked through (about 5 or 6 minutes).

Remove spaghetti squash from the microwave.  Once it’s cool enough to handle, slice in half, remove the seed and discard, the fluff the spaghetti squash with a fork to get the strands loose.  Add spaghetti squash to the skillet and mix.  Add Buffalo sauce, cabbage and carrots.  Toss to combine.  Serve and sprinkle with blue cheese and chopped green onion tips.  This recipe will serve 4-6.

buffalochickenspaghettisquash3


I was really pleased with this meal.  I liked how quick and easy it was, but also tasty.  If you wanted to make this spicier, I would definitely add some sriracha for a little added kick.  You can also just get the spicy buffalo sauce instead of the traditional buffalo sauce.

Now I have a ton of left overs for lunch, but I’m excited for my next dinner creation!

What are you having for dinner tonight?

June Goals: Meal Plan and Make Dinner

Hi All.  Remember wayyy back when, when I did the Paleo Challenge?  Oh yeah, who could forget… the two weeks I turned into a crazy bitch.

Well, I remember at the end of that whole debacle, one of the lessons I learned was that I need to make dinner more often.  I have a really hard time with that.  Usually, I kind of just snack on things: a tortilla with beans, random pieces of cheese, handfuls of chocolate chips, a yogurt, pretzels, any other random thing I can find.  I rarely ever have a meal.

Tonight, I knew I was going to make

Strawberry Shortcake in a Jar (don’t worry recipe blog post about this is coming soon!) to photograph for a blog post.  Before I came home, I stopped by Subway to get a sandwich to avoid eating cake for dinner, because I know myself.  I would seriously just eat cake for dinner and call it a night.  But that’s not good for you.

So as I was eating my Subway sandwich

photo-14

I began to think…  I make myself get out of bed at 5:20am to get to the gym by 6am, even though I want to stay in bed more than anything.  Somehow I manage to get my butt up and move it.  I really can make myself have a real, healthy dinner at least 3 nights a week.  That shouldn’t be that hard, right?  I think it just comes down to habit.

Most days, I come home from work and just don’t really feel like making dinner for myself.  If Jesse is having dinner with me (usually once a week), then I have no problem making a meal.  But just for me.  No fun.

But that needs to change.

So I decided to make it a person and blog goal in June is to make healthy dinners a few times a week and blog about it.  I’m not talking about the usual desserts and ridiculous treats I think are fun to blog about… like pie

bourbonpeachpie5

I’m talking about quick and easy things that I should actually be eating… sort of like I did during the Paleo Challenge… like my epic paleo dinner of chicken and mushrooms over cauliflower puree

chickenmushroomcauliflower1

and my quick and easy paleo dinner.

paleodinner2

It just takes a little bit of planning.  This won’t be paleo all over again, but I will try to keep it healthy.

Now I should say, I don’t see anything wrong with having a Subway sandwich for dinner.  It’s probably healthier than most things I would have been eating, but $5 for dinner is a little too much to spend every night in my opinion.

So here it goes… what should I make tomorrow night?

Does anyone else struggle with this?  Have any quick and easy recipes to share with me?

Peanut Butter Bacon Chocolate Chip Cookies

When a friend comes to visit from across the country, they deserve a treat.  When a friend says she wants a dessert with bacon, you oblige and make these:

PBBaconChocolateChip4

My friend Liz loves bacon more than anyone I know.  We have that bond of former roommates so I know the lady loves meat  (no pun intended, get your mind out of the gutter).

PBBaconChocolateChip3

Lucky for her, bacon in dessert is totally having a moment, or is that just me?  If you haven’t had bacon in a dessert yet, you need to try it asap.  Start with these cookies…

PBBaconChocolateChip2

Peanut Butter Bacon Chocolate Chip Cookies

3 slices of bacon, fat reserved
1/4 cup softened butter
*
1/2 cup peanut butter
3/4 cup brown sugar
1 egg
1 cup all purpose flour
1 tsp baking soda
1/2 tsp salt (omit if using salted PB)
1 cup chocolate chips

In a pan, fry bacon over medium heat until very crispy.  Reserve fat and allow to cool completely.  Chop bacon and set aside.

Pre-heat oven to 350F.

Beat together butter, peanut butter and bacon fat (*note if you don’t want to use bacon fat, you can just use 1/2 cup of butter and omit the bacon fat).  Add sugar and beat for an additional minute or two.  Add egg and beat for an additional minute.  Add flour and baking soda (and salt if using) and beat until almost combined.  Lastly, fold in chopped bacon and chocolate chips.

Form dough into walnut-sized balls, place on a parchment paper lined baking sheet and bake for 10-13 minutes or until golden on the edges.  Allow to cool completely and serve!  Makes about 2 dozen cookies (or maybe more… I wouldn’t know because I ate a ton of the cookie dough).

PBBaconChocolateChip1

If your friend loves bacon but isn’t a fan of peanut butter… not to worry, I have a solution for you:

BananaBaconChocolateChipCookies1

Bacon Banana Chocolate Chip Cookies

Not into cookies (we won’t talk about how blasphemous that is…) but feeling the need to put bacon in a dessert?  How about this Chocolate Pudding with Peanut Butter Mousse and Maple Candied Bacon?

ChocolatePBbacon1

Equally delicious and bacon-y.

How do you feel about bacon in desserts? Do you love it? Hate it? Is it over-rated? Never tried it?  Tell me!