You know how everyone has certain staples that they keep in their pantries? I feel like for most people that’s things like canned tomatoes, pasta sauce, pasta. Basics that you can use to throw together a meal pretty quickly.
For me, it’s canned beans and tuna. Classy. I know.
I rarely ever buy pasta. It’s one of those things I just don’t even think to buy. But I’m human and I love mac and cheese. Sometimes I want that cheesy goodness, but I don’t feel like going to the store to buy pasta.
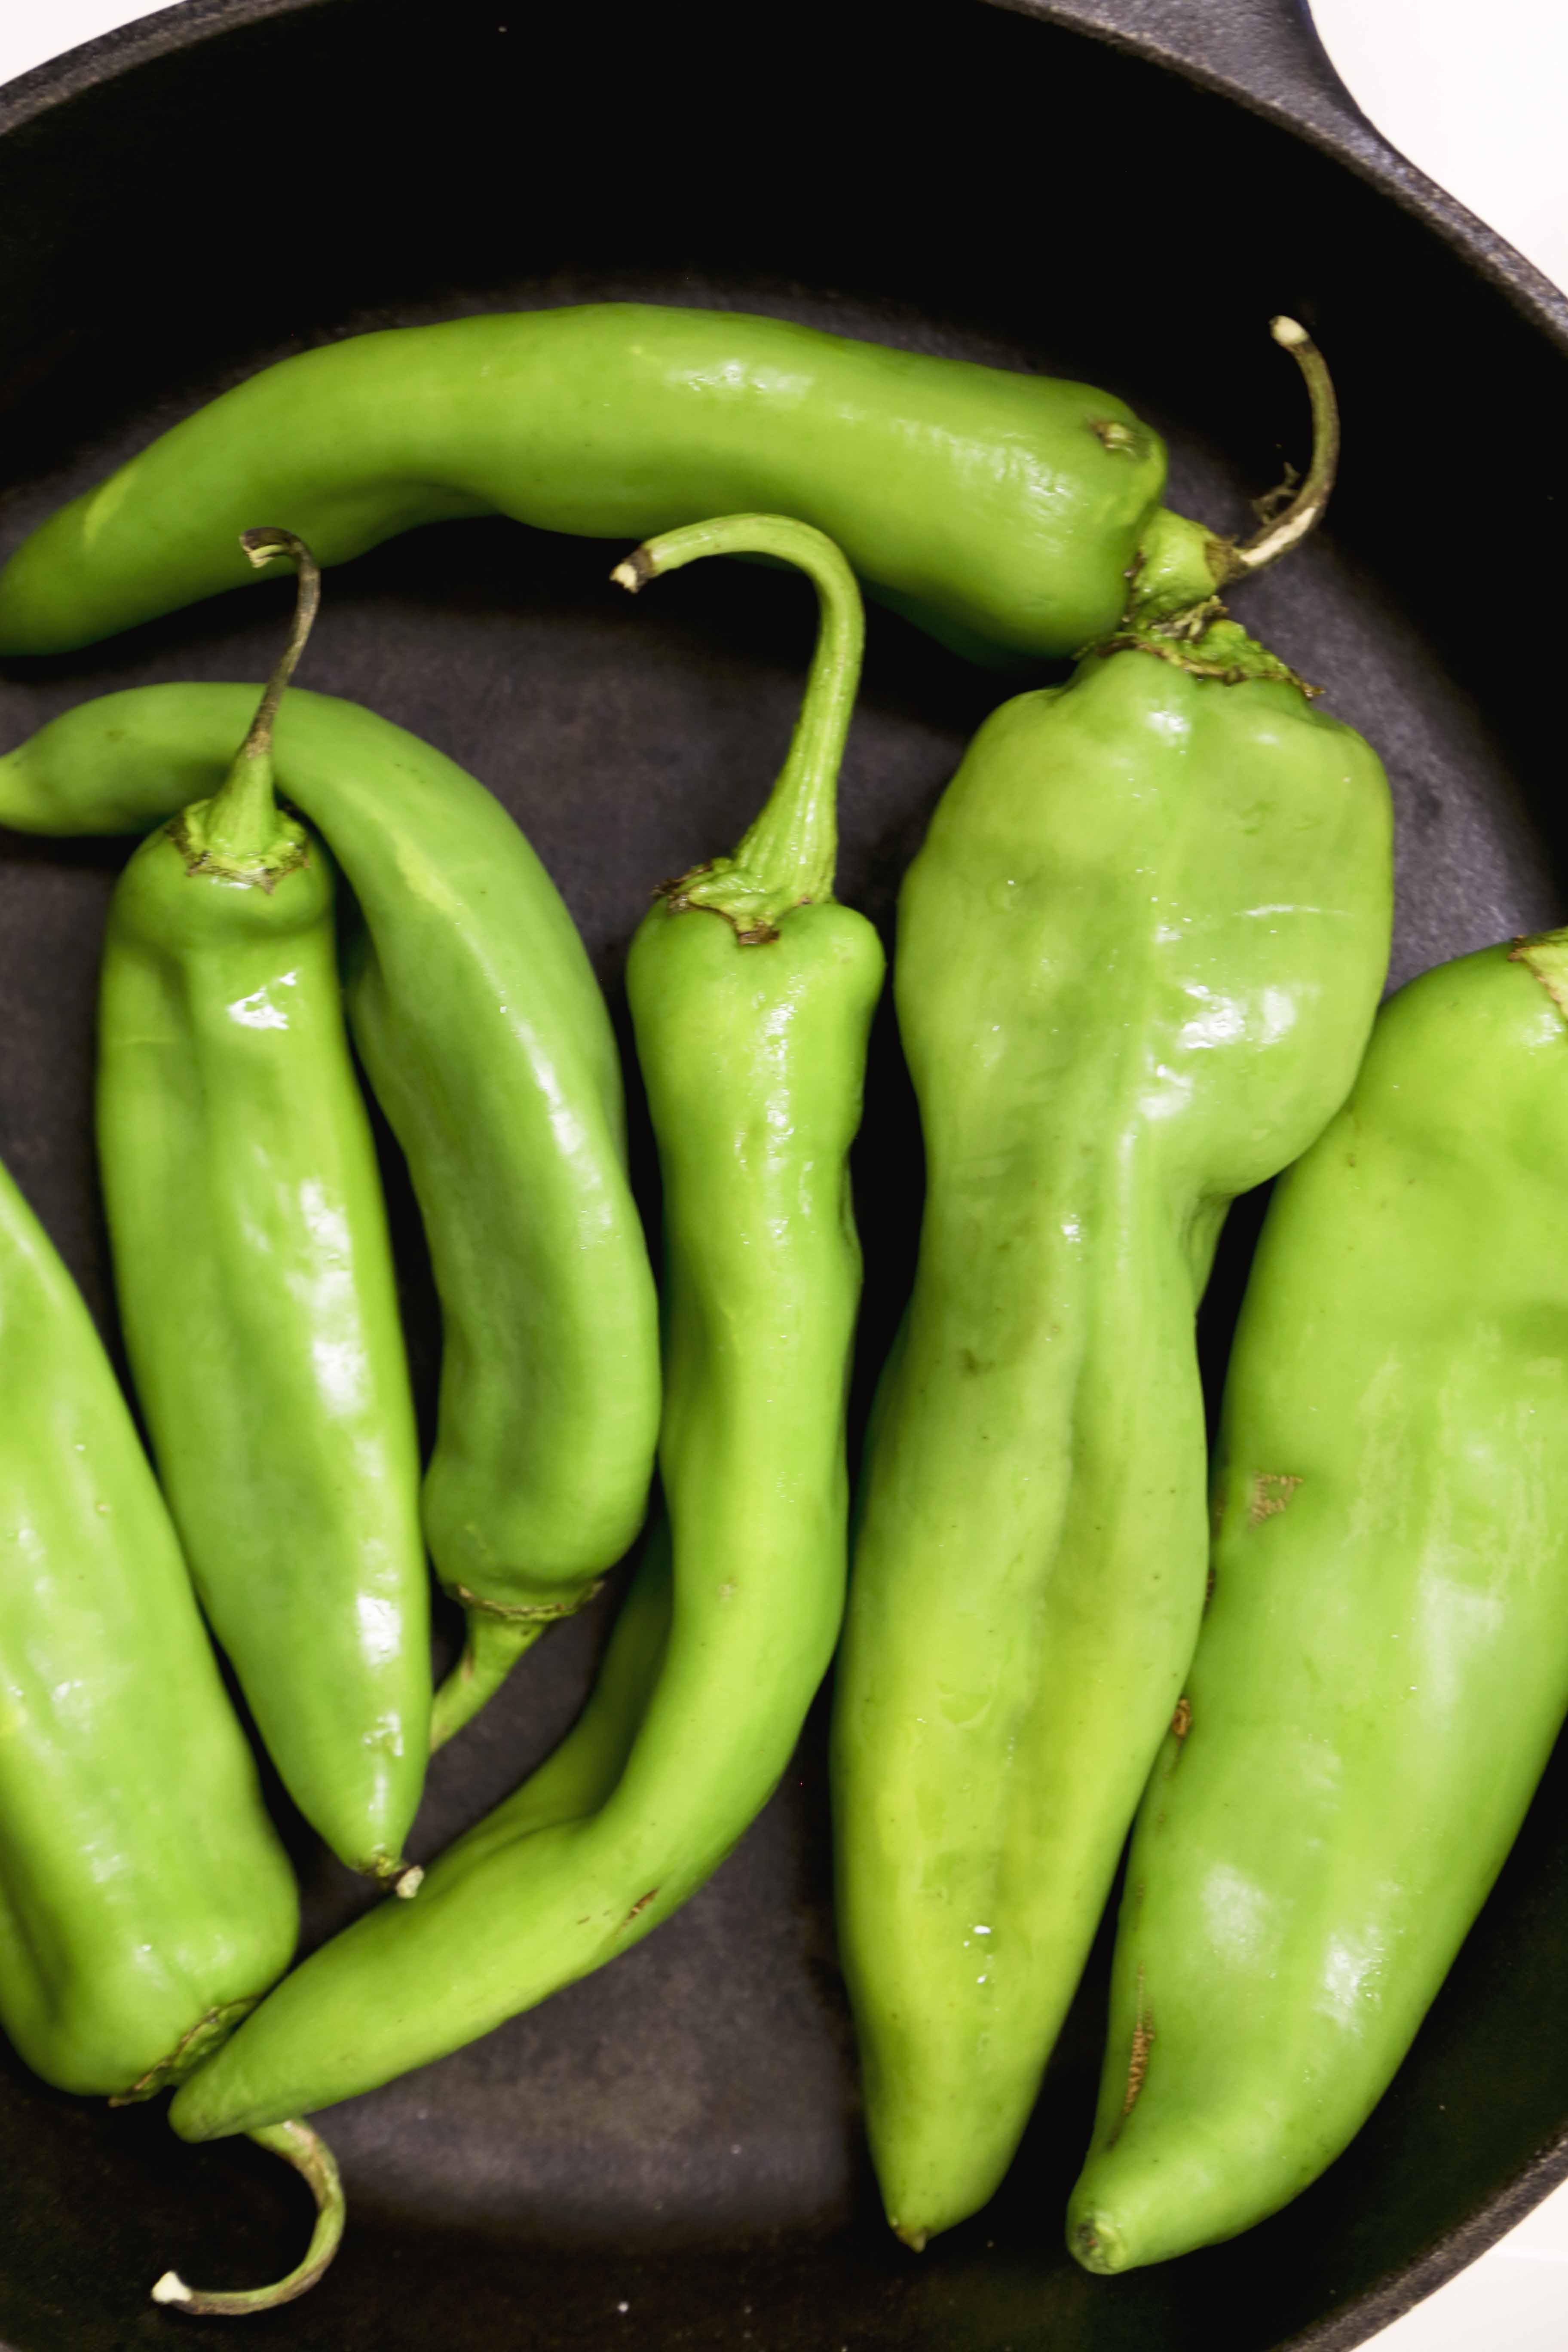
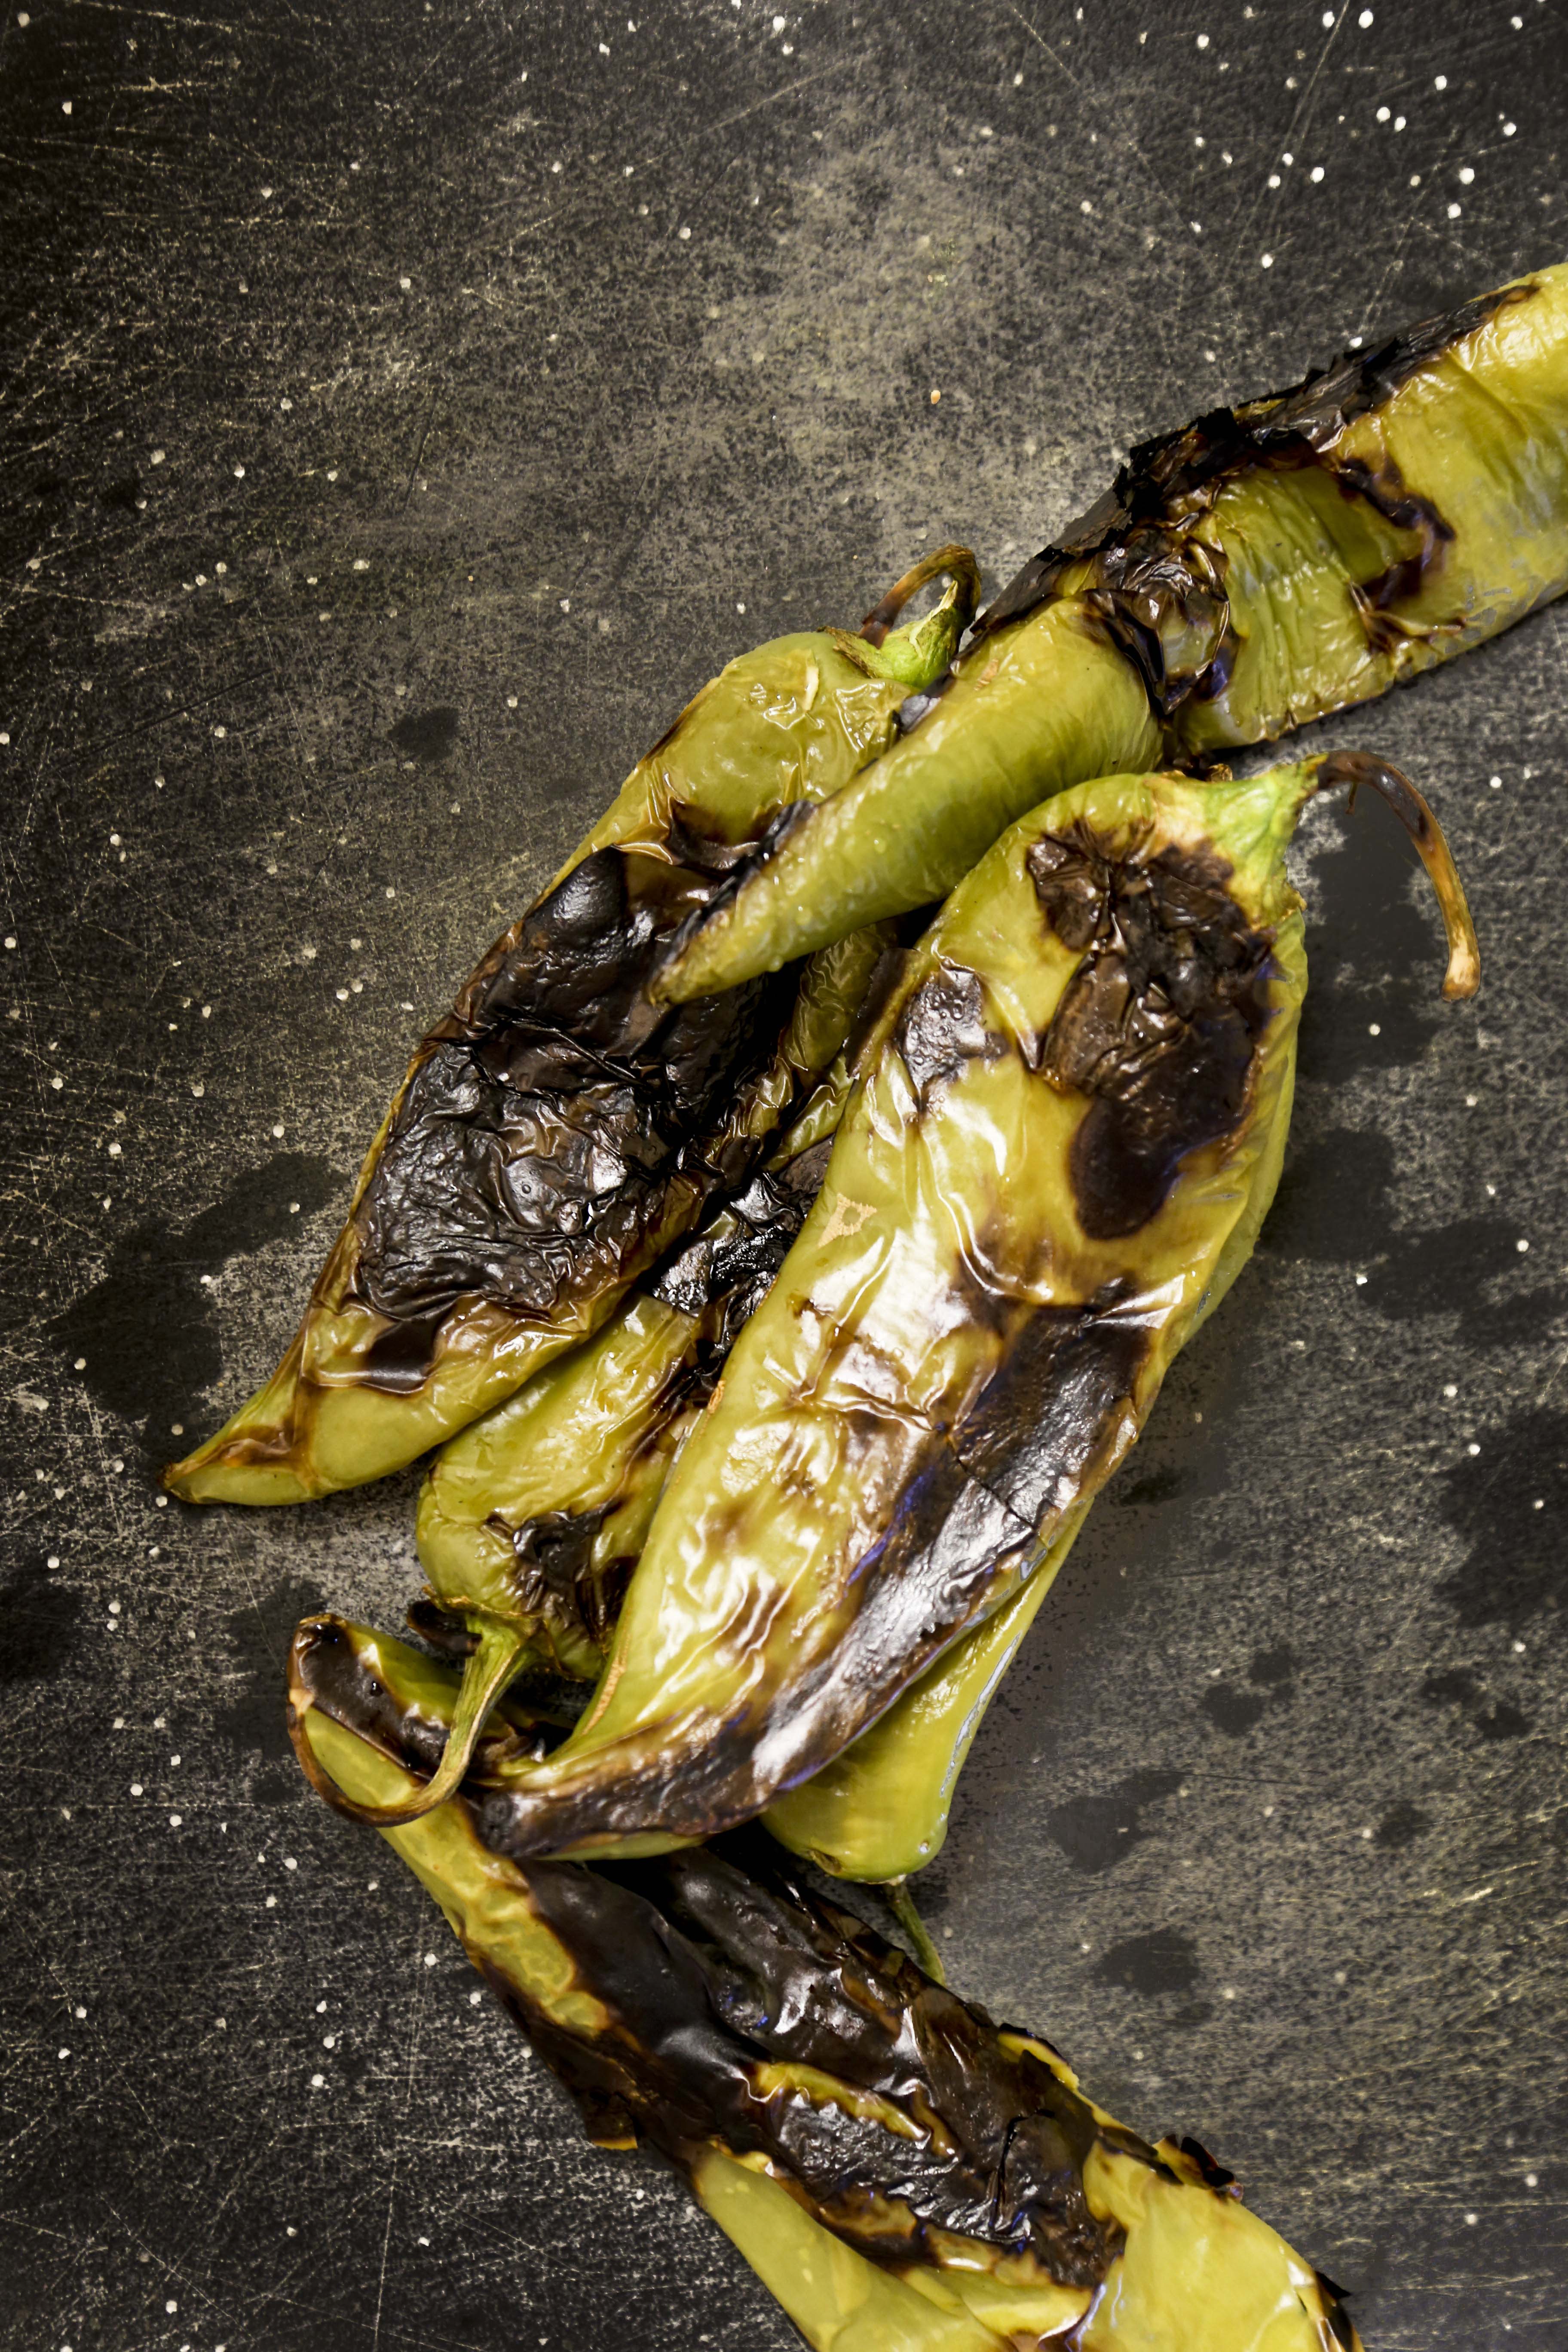
So I’ll be honest. This is one of those things I threw together because I haven’t been to the grocery store in almost two weeks (I know, how am I surviving right?). Spaghetti squash will last a good while on the counter, and I roasted some hatch chiles that Melissa’s Produce sent me a week ago, so we’re good to go. But don’t worry, just because I threw this together with ingredients on hand, doesn’t mean it’s not delicious. I’ve been eager to use those hatch chiles and this was seriously delicious.
I think you’ll love it!
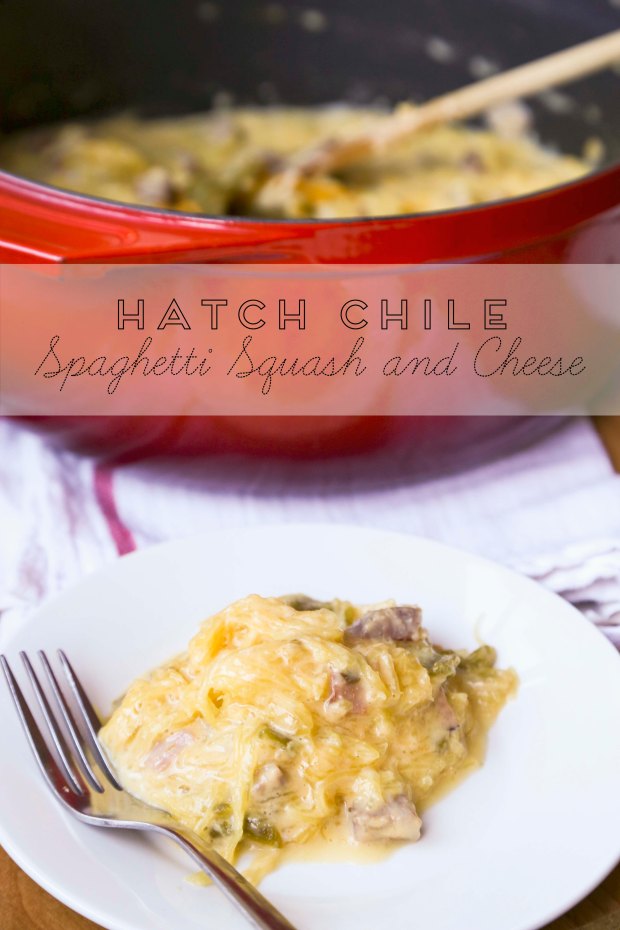
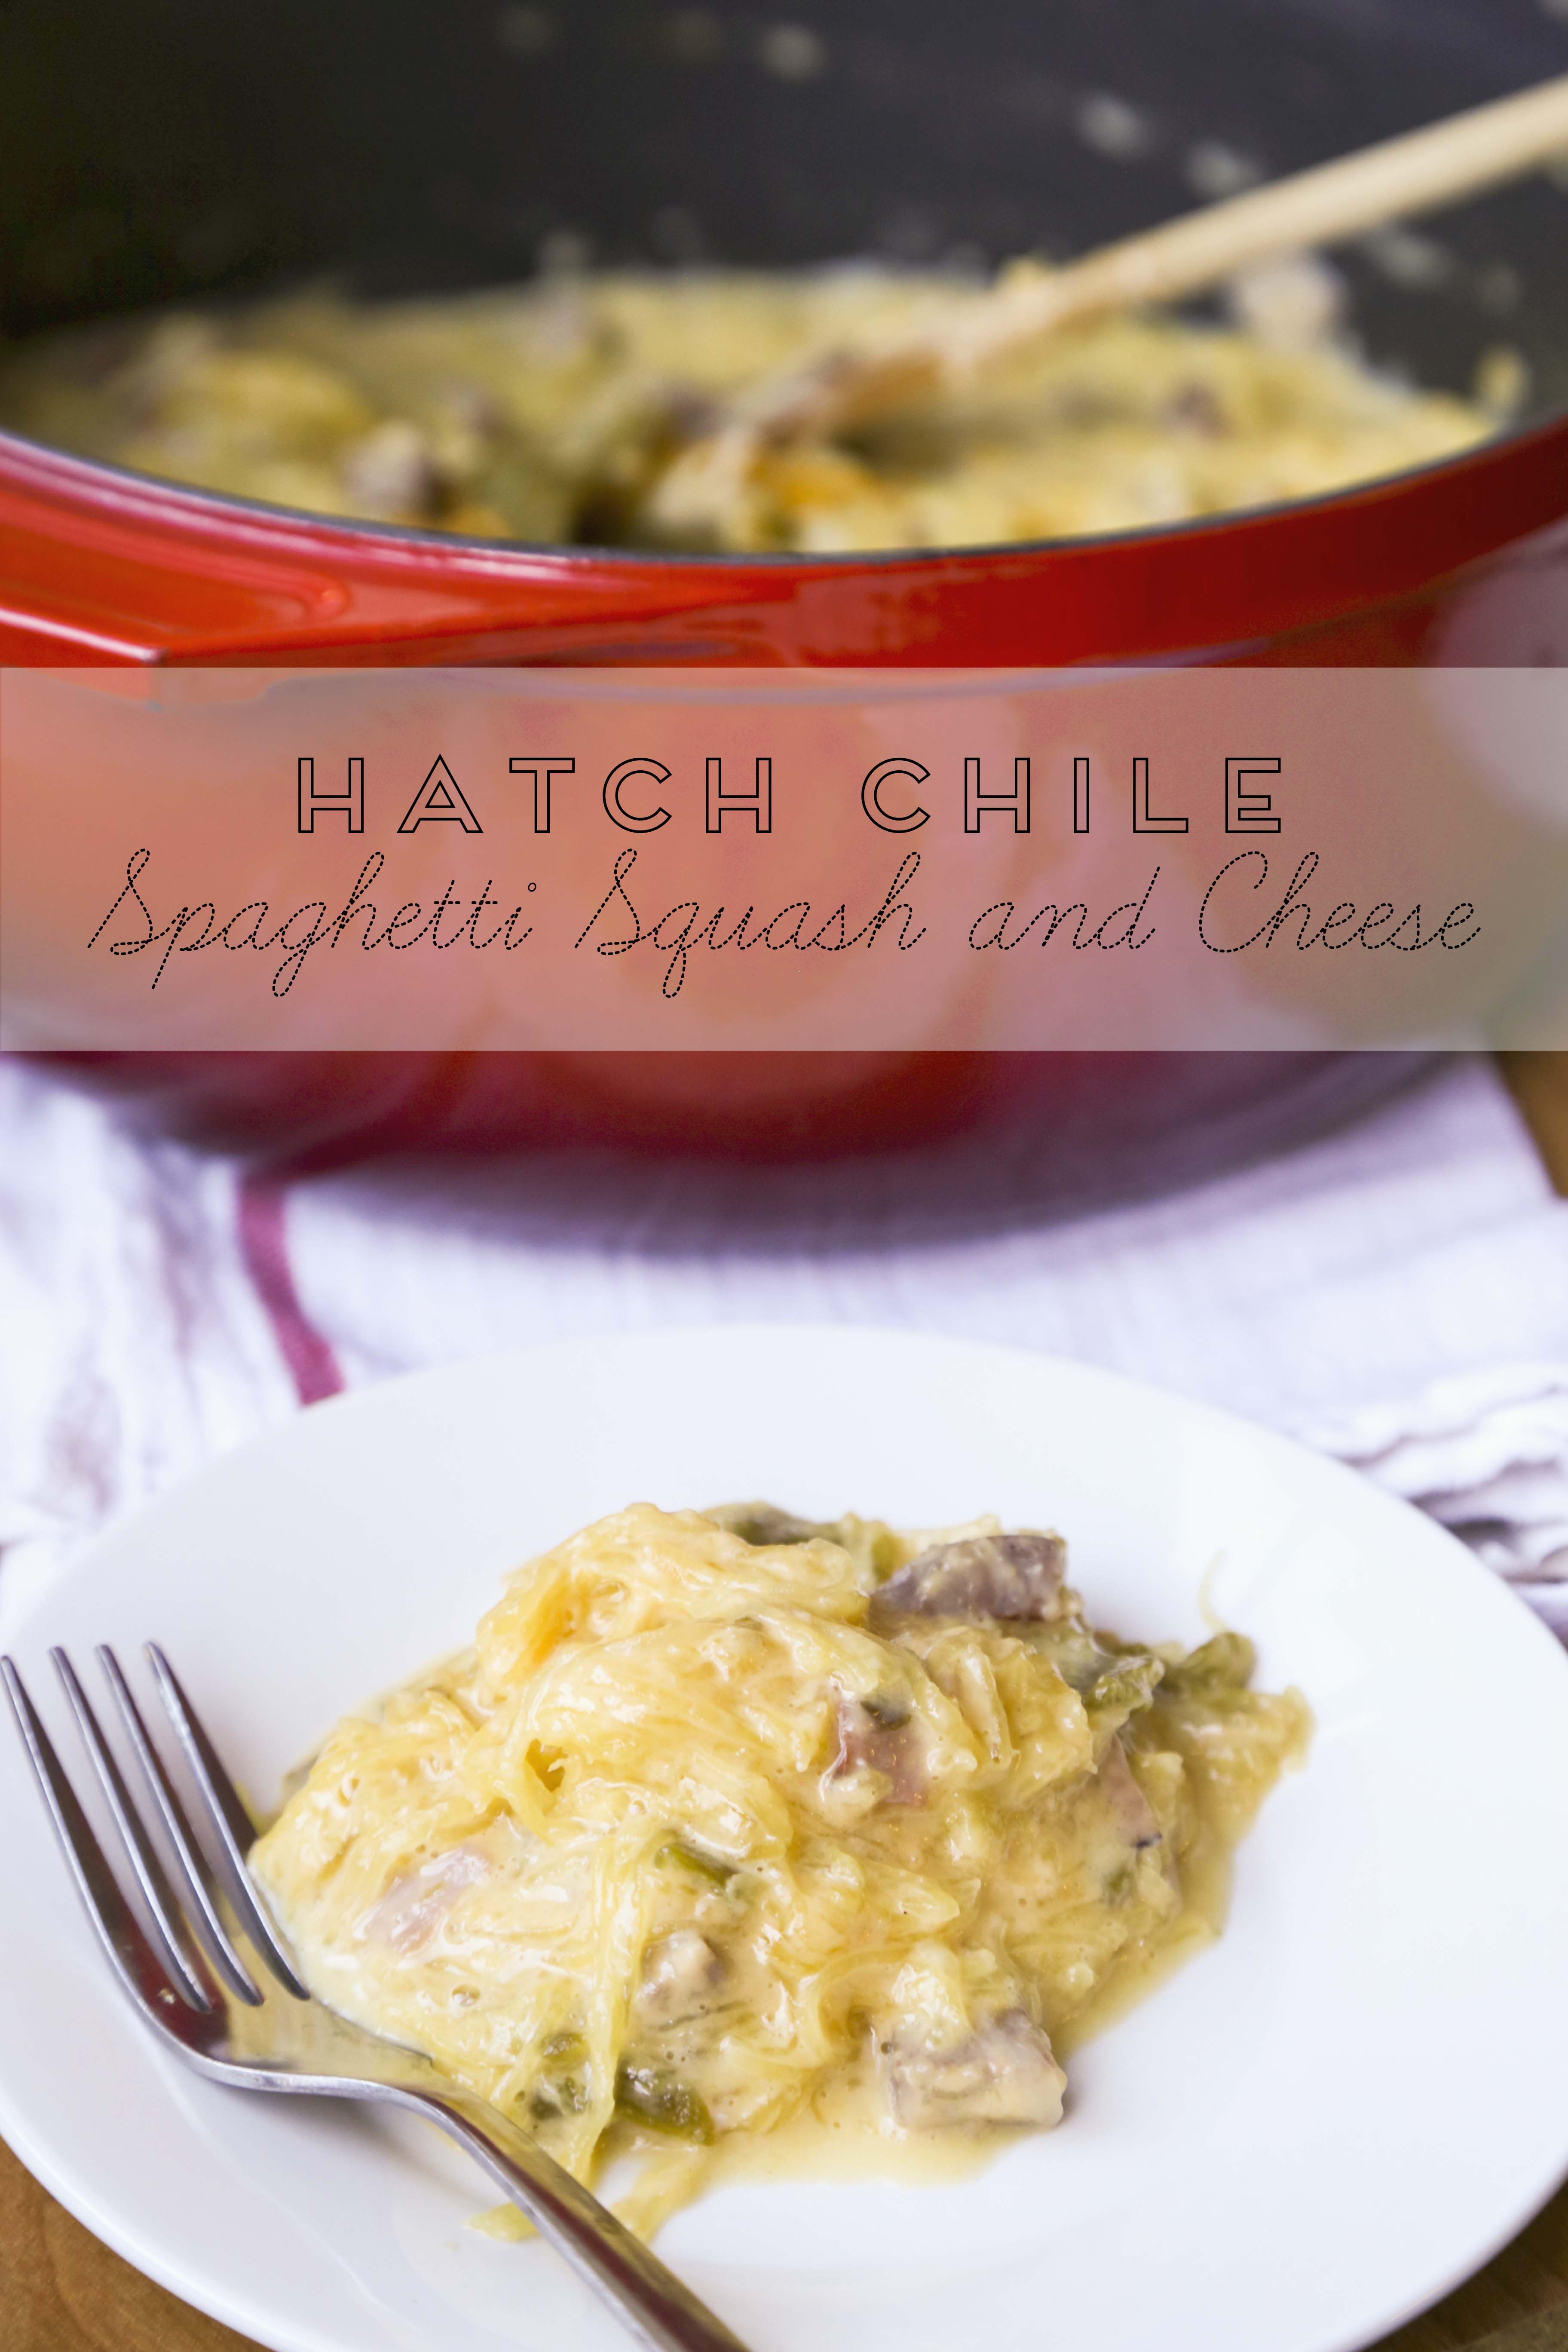
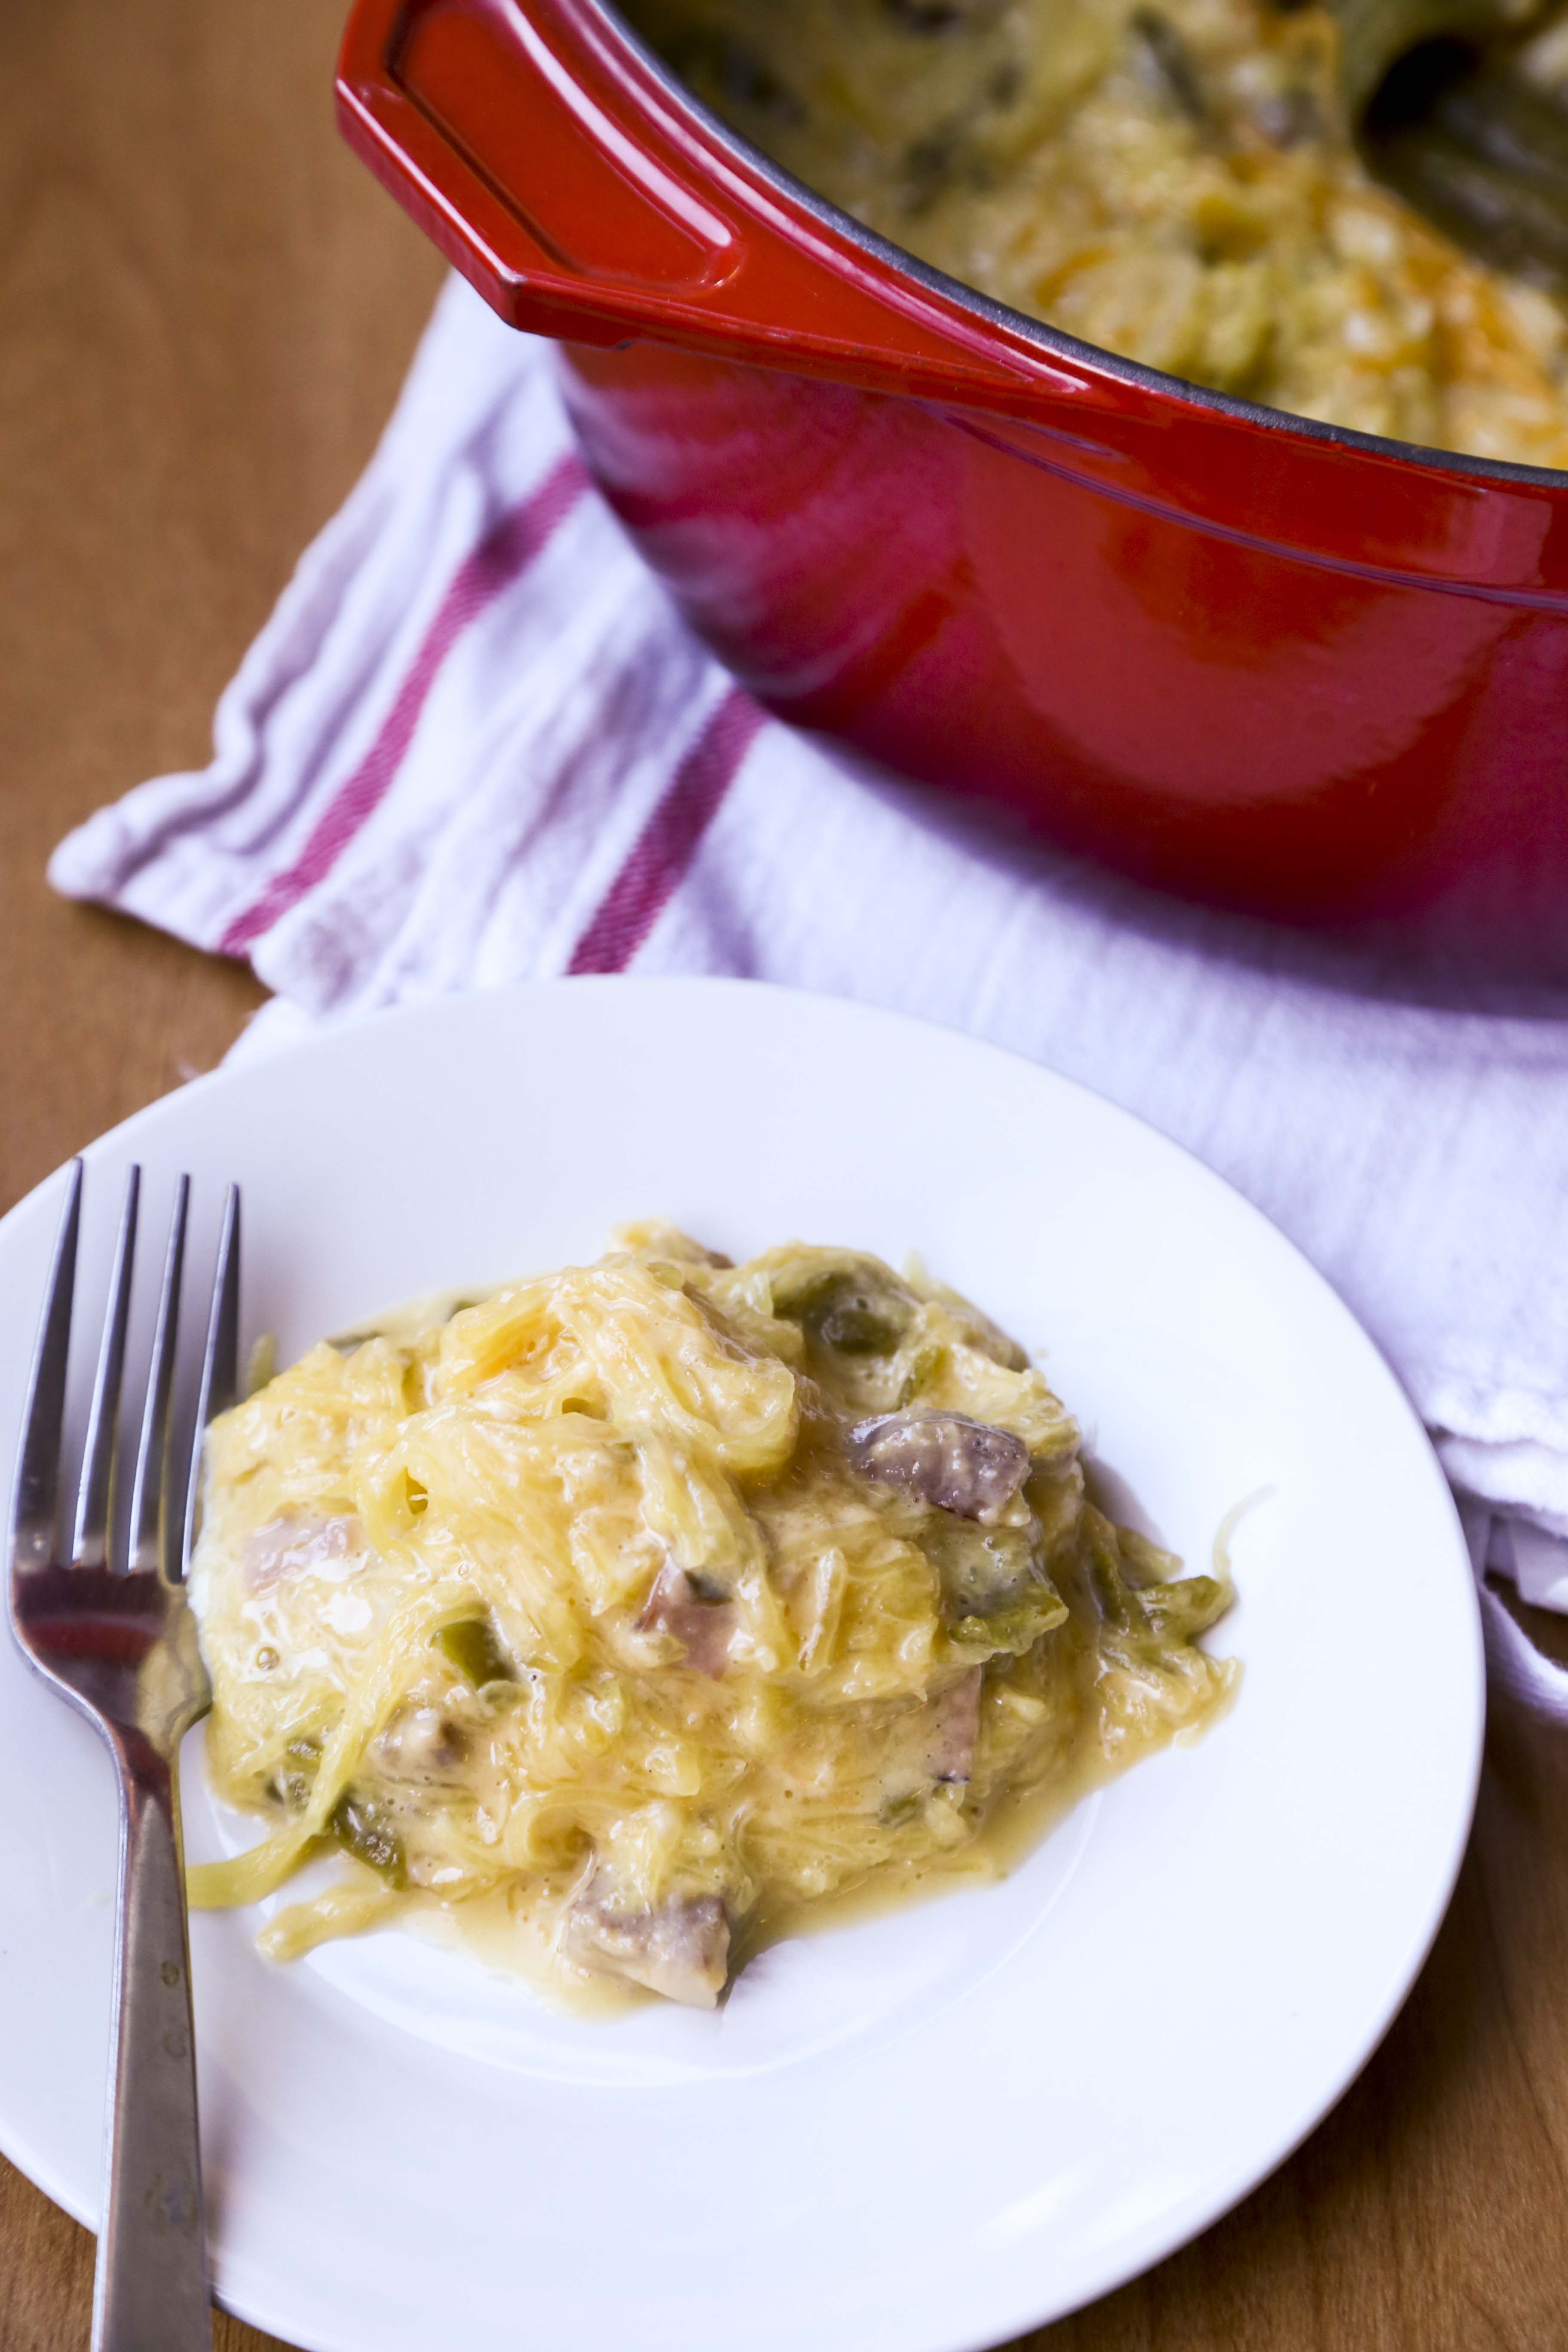
 Hatch Chile Spaghetti Squash and Cheese

1 spaghetti squash
1 tbsp olive oil
2 fully cooked sausages, diced (optional)
2 tbsp flour
2 cups milk
2 cups cheese
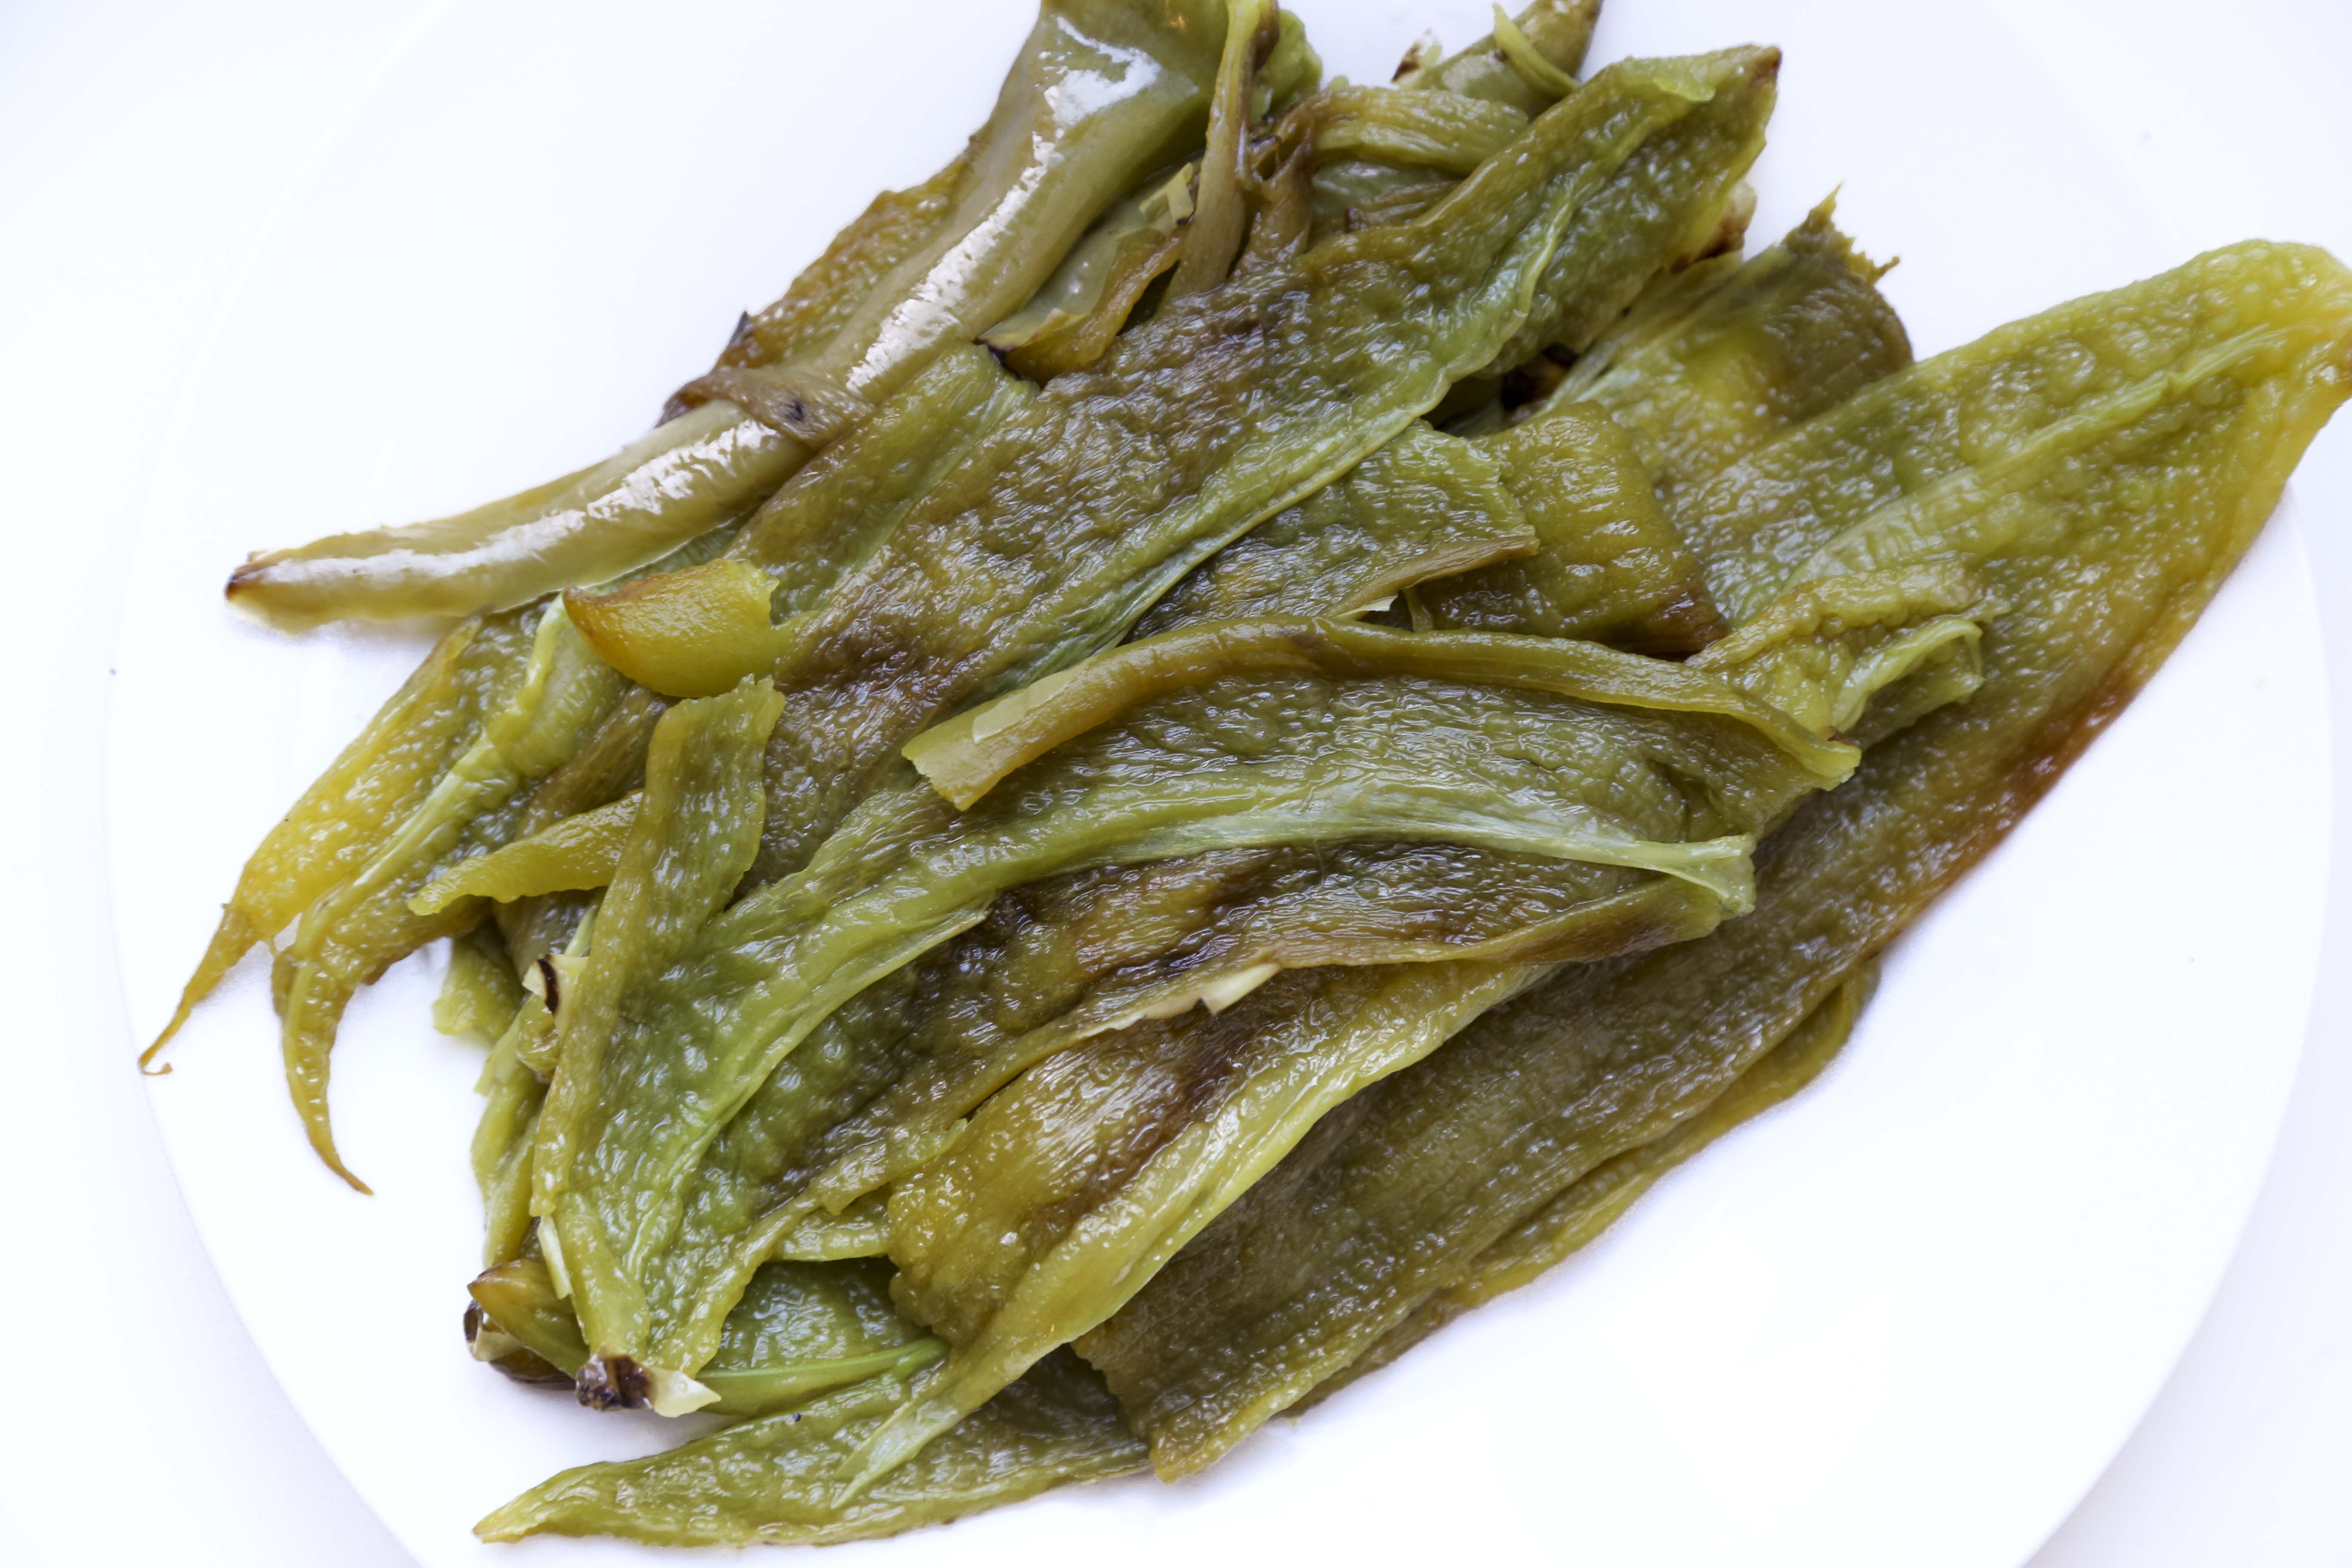
2 hatch chiles, roasted, peeled, seeded and chopped
salt and pepper to taste
Poke holes in your spaghetti squash with a sharp knife and microwave for 5-10 minutes. The cook time will vary depending on the size of your spaghetti squash. You’ll know it’s ready when you can run your knife through it fairly easily.
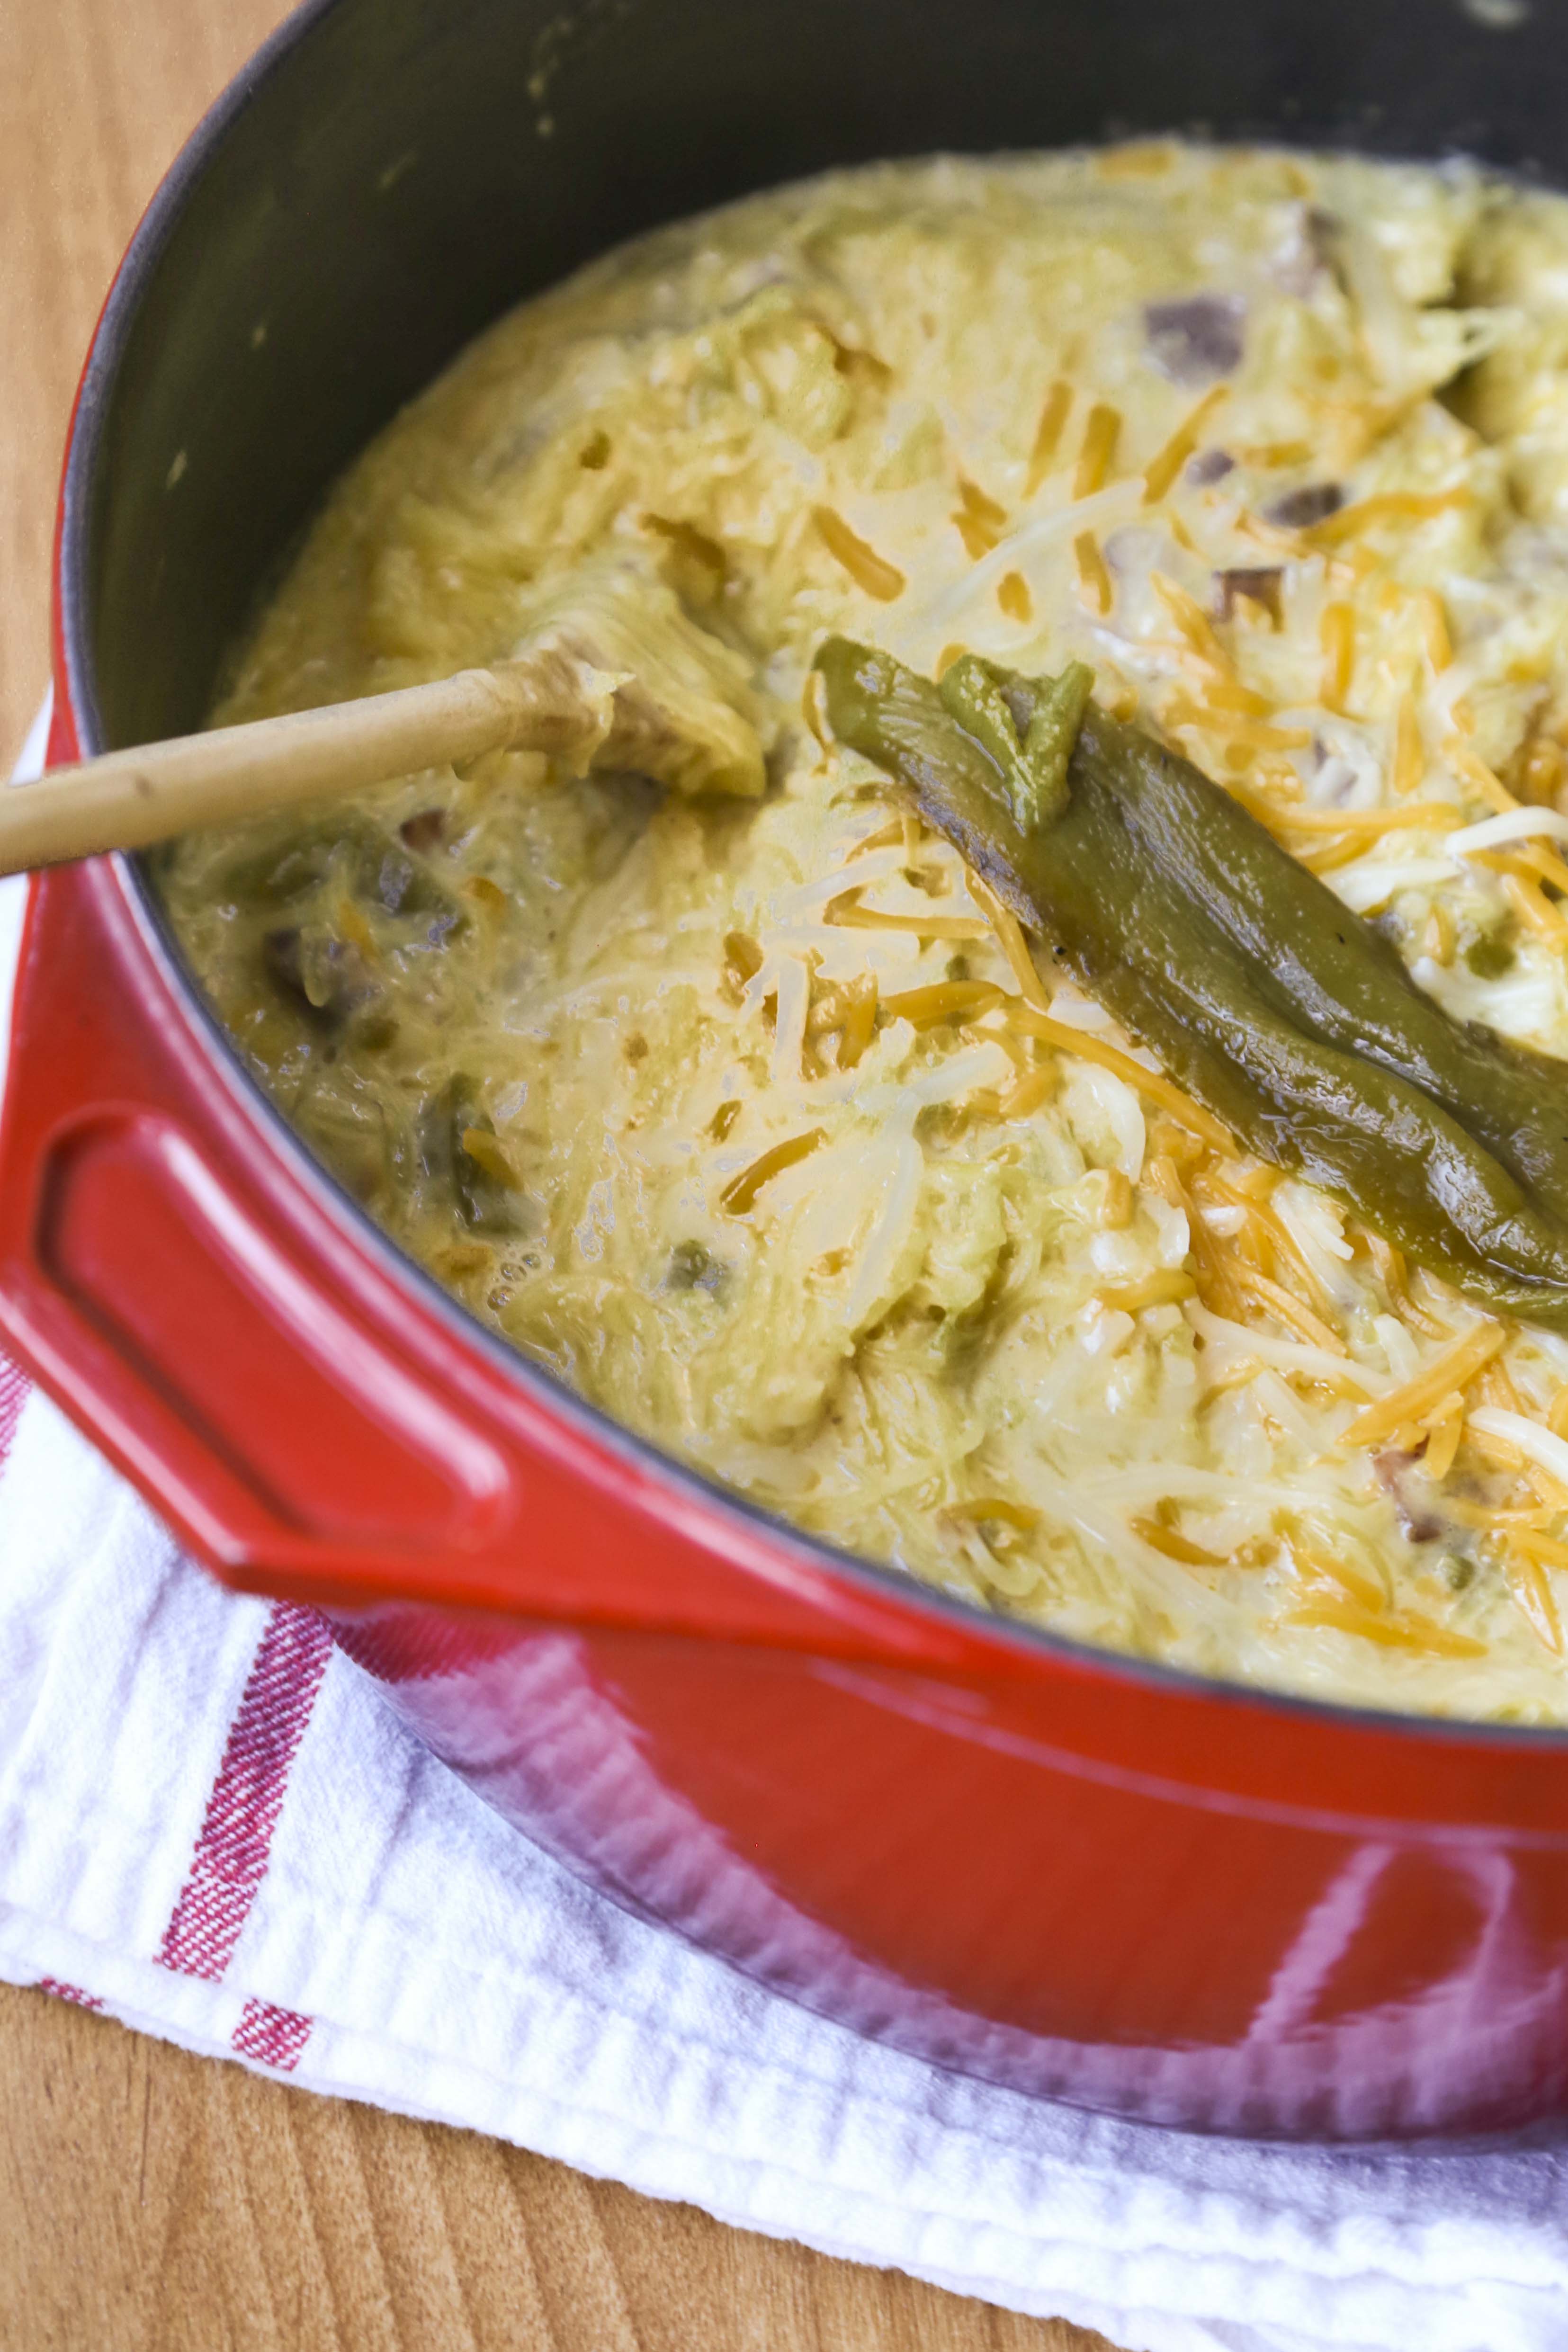
While your spaghetti squash is cooking, heat oil in a large pot. Once oil is hot, add sausage and brown until crispy on medium/high heat. Once the sausage is browned, turn the heat down to low and add flour. Toss with sausage and let it brown a minute or two. Slowly stream in milk while whisking, breaking up any clumps in the process. Once the milk is incoporated, add cheese and hatch chiles. Stir until cheese is melted, taste and season with salt and pepper to your desired amount (I only added a few pinches because I don’t like things too salty). Turn off heat and set aside.
Now go back to your spaghetti squash. By now it should be cooked and cool enough to handle. Slice in half, then spoon out the seeds. Using a fork, fluff and pull out the strands of the squash. Add the spaghetti squash to cheese sauce and stir until well combined. Garnish with extra cheese and hatch chiles if you’d like then serve and enjoy!

The spaghetti squash I used was enormous. I’ll be eating this for a few days, but no complaints there. This has an awesome kick from the hatch chiles, but it’s cooled by the creamy, cheesy sauce. You can also easily make this vegetarian by omitting the sausage (or using vegetarian sausage).
What I also love about spaghetti squash dishes (oh hey, remember the Buffalo Chicken Spaghetti Squash I made a while back?), is that it doesn’t feel too heavy. While I’m not claiming that this is healthy, I feel a little bit better about eating it than a full plate of pasta. I think you could make this a bit healthier by reducing the amount of cheese and adding some greens in there. We all need a little more kale in our life. I’ll try throwing some in there next time.

I’ll definitely make this again!
What are some of your pantry staples?