I have this problem where I pretty much always want to be on vacation. Not just at home with time off, but I want to be in a foreign country walking around and trying all the foods.
But that’s probably true for everyone, right?
I’ve been lucky enough to visit my fair share of countries. Since we’ve been togetherJesse and I have made it a point to go on a trip once a year. We went to China, Peru and Thailand/Cambodia (along with Mexico and Guatemala, do those count if we were visiting family?). Our 4th year together is looking to be a vacation-less one, since there’s a major expense coming up next year: wedding.
In both Peru and Thailand, we took cooking classes, which has become one of my favorite things to do on vacation.
In Thailand, there are tons of cooking classes. We went with the Thai Farm Cooking School in Chiang Mai, because some friends (they have an awesome travel blog!) we met while hiking to Machu Picchu had done it and recommended it.
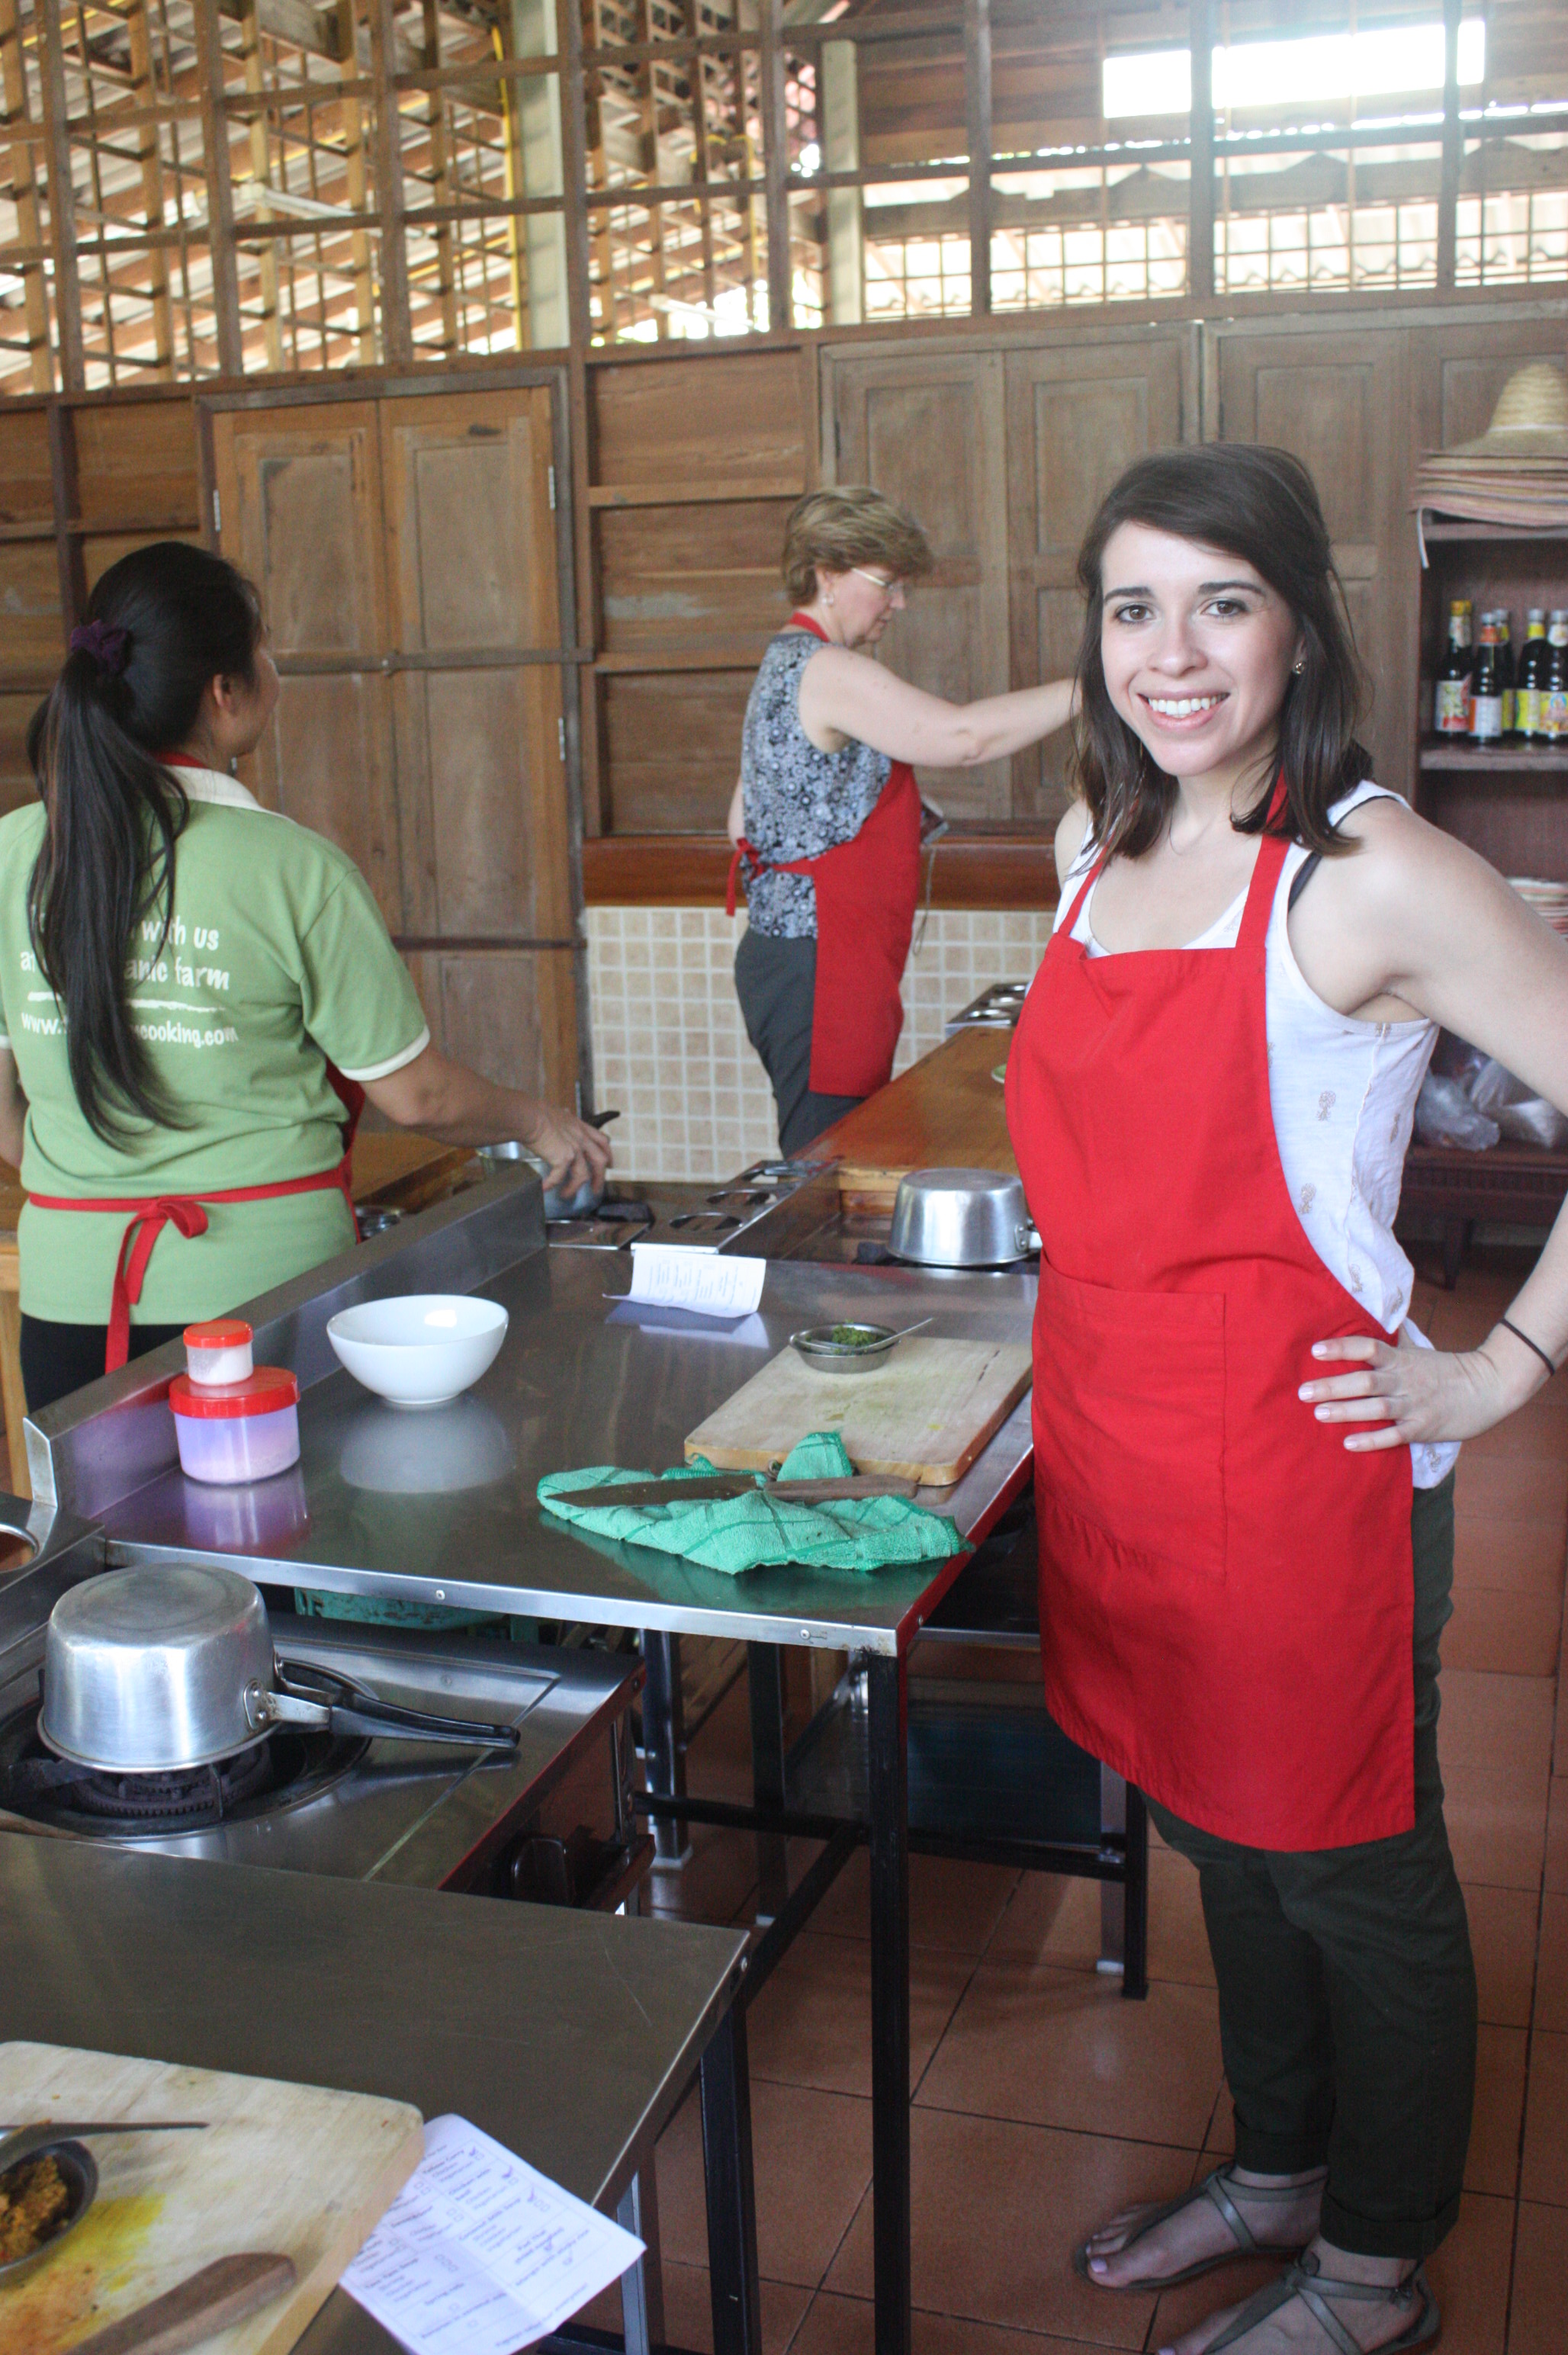
It was definitely worth it. Now that it’s been about 7 months since our vacation, Jesse and I had an itch to make some of the recipes in the cookbook we were given. So we hit up a local Asian market that I learned about at my new job (yay for supporting small business!), gathered all our ingredients and made this:
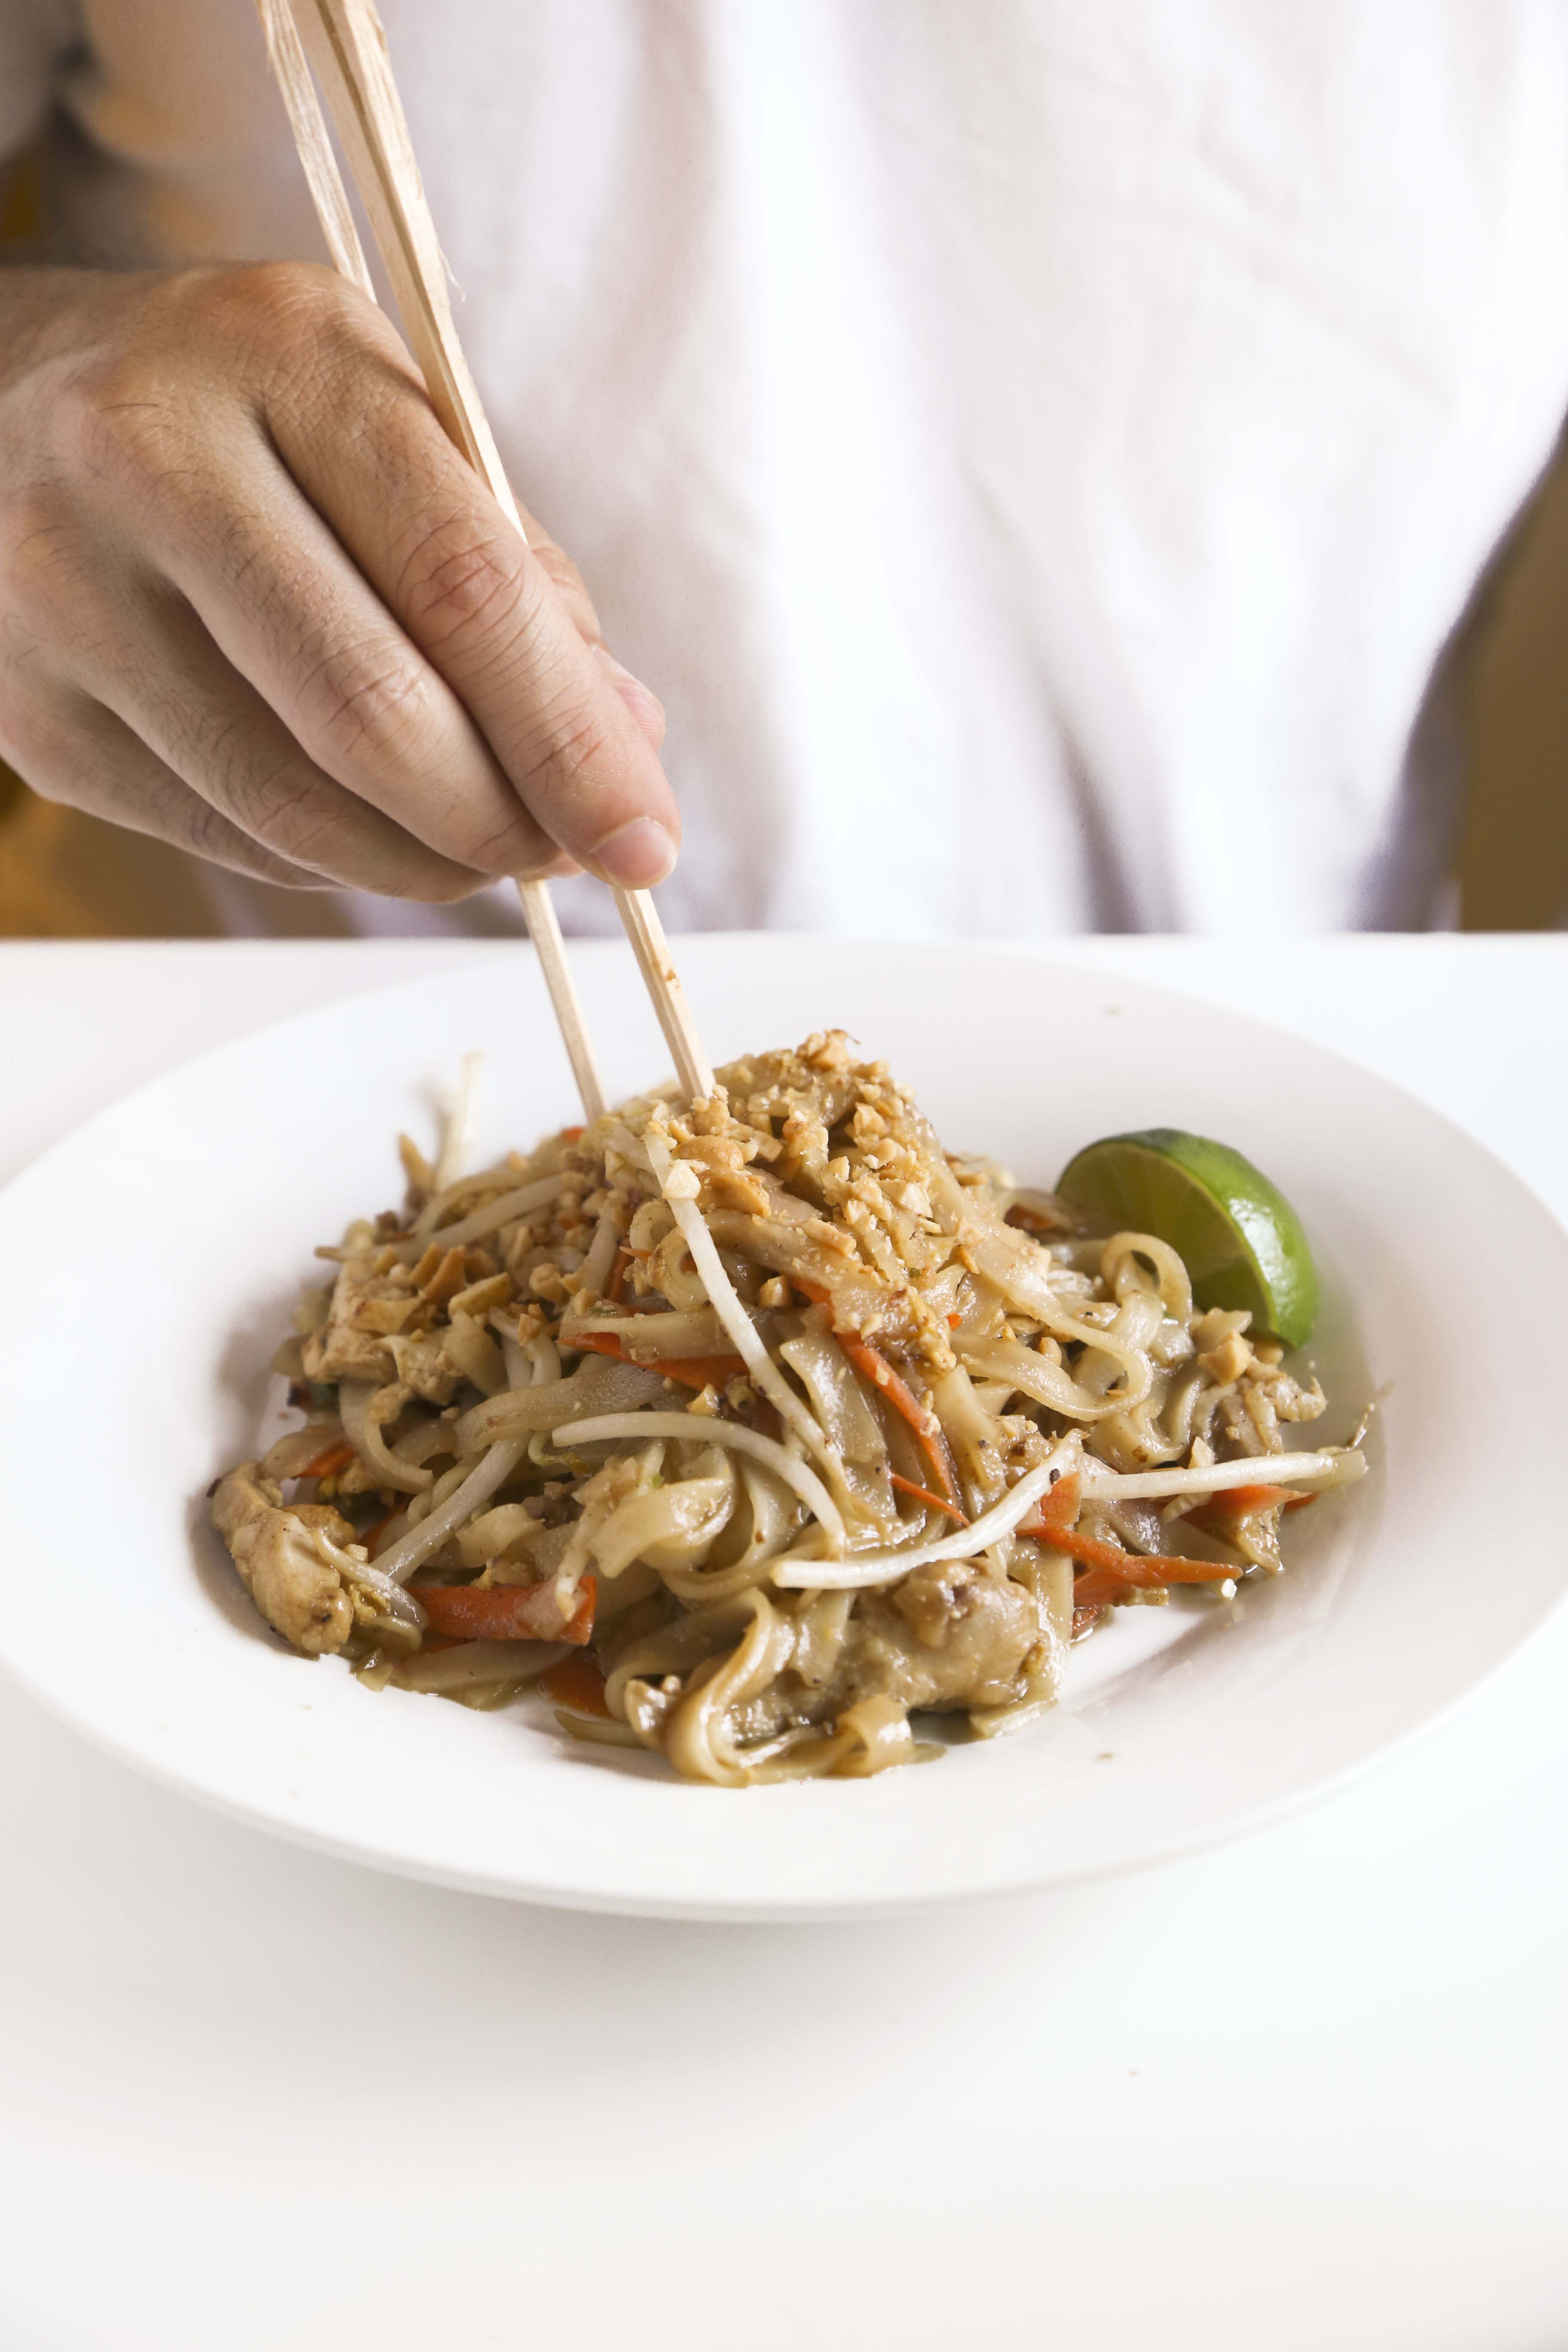
Isn’t pad thai everyone’s favorite? It’s also pretty easy to make too! We added chicken to it to make it more of a complete meal, but you can also omit the chicken (or the tofu) if you’d like.
Here’s what you’ll need to serve 2 or 3…
Chicken Pad Thai
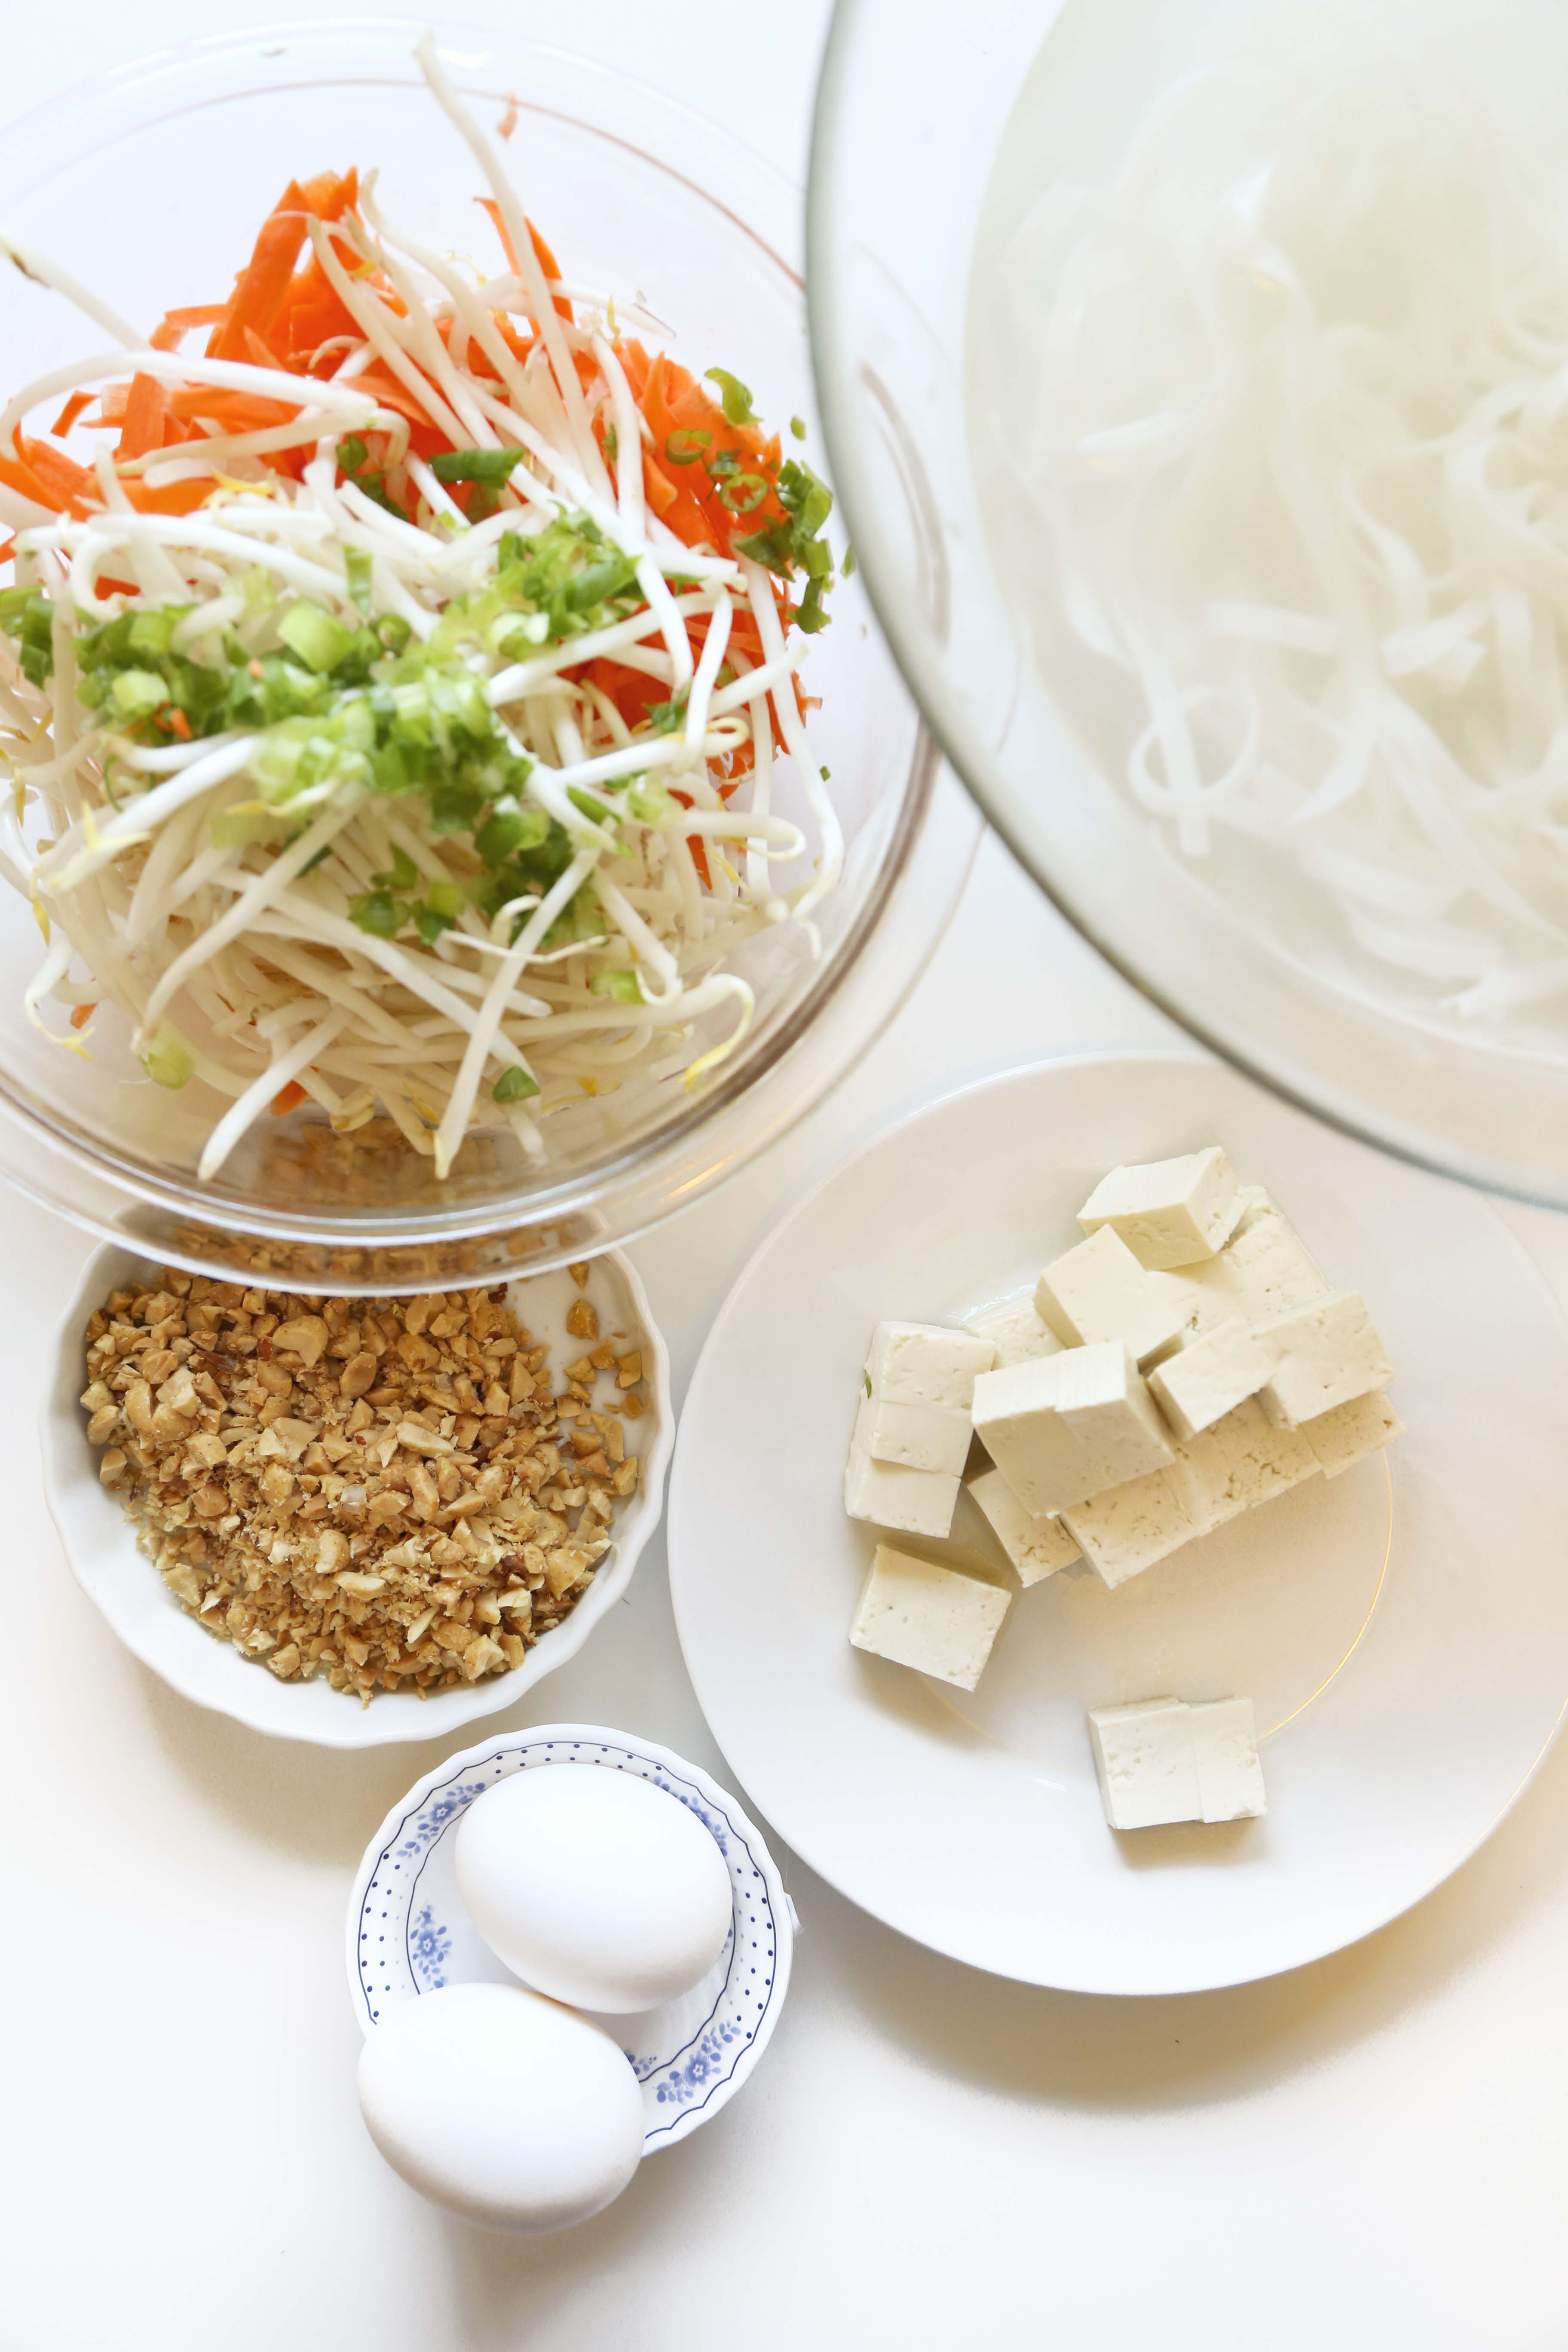
80g rice noodles
2 tbsp oil (vegetable or canola)
1/2 cup sliced tofu (optional)
1 piece of chicken breast, sliced
2 shallots, chopped
1 egg
1/2 cup grated carrot
1 cup of mung bean sprouts
2 tsp tamarind paste (or white vinegar)
1 1/2 tsp brown sugar (or palm sugar if you have it)
1 tbsp fish sauce
1/3 cup water
1 tsp molasses
Pinch of chili powder (or a squirt of sriracha)
Salt to taste
1 tbsp green onion (green part only)
Chopped peanuts and lime for serving
Soak noodles in warm water for 30 minutes until soft. In the meantime, prepare your sauce. In a bowl combine water, fish sauce, brown sugar, tamarind paste and molasses. (Note: Here I found a tamarind paste that was basically the whole tamarind, so I had to blend it but in Thailand I used a paste that dissolved. If you blend, just be sure there are no tamarind seeds in there). Set aside sauce.
Heat oil in a wok (or large pan if you don’t have a wok like me), until it starts to smoke. Add chicken, shallots and tofu. Toss until chicken is cooked and tofu is crispy. Move the chicken, shallots and tofu to one side of the pan. On the other side of the pan, scramble the egg. Once scrambled, toss them all together and add the noodles, carrots, bean sprouts and sauce. Mix until the noodles are cooked and all is well combined. Try a noodle and see if you think it needs salt. Salt as needed.
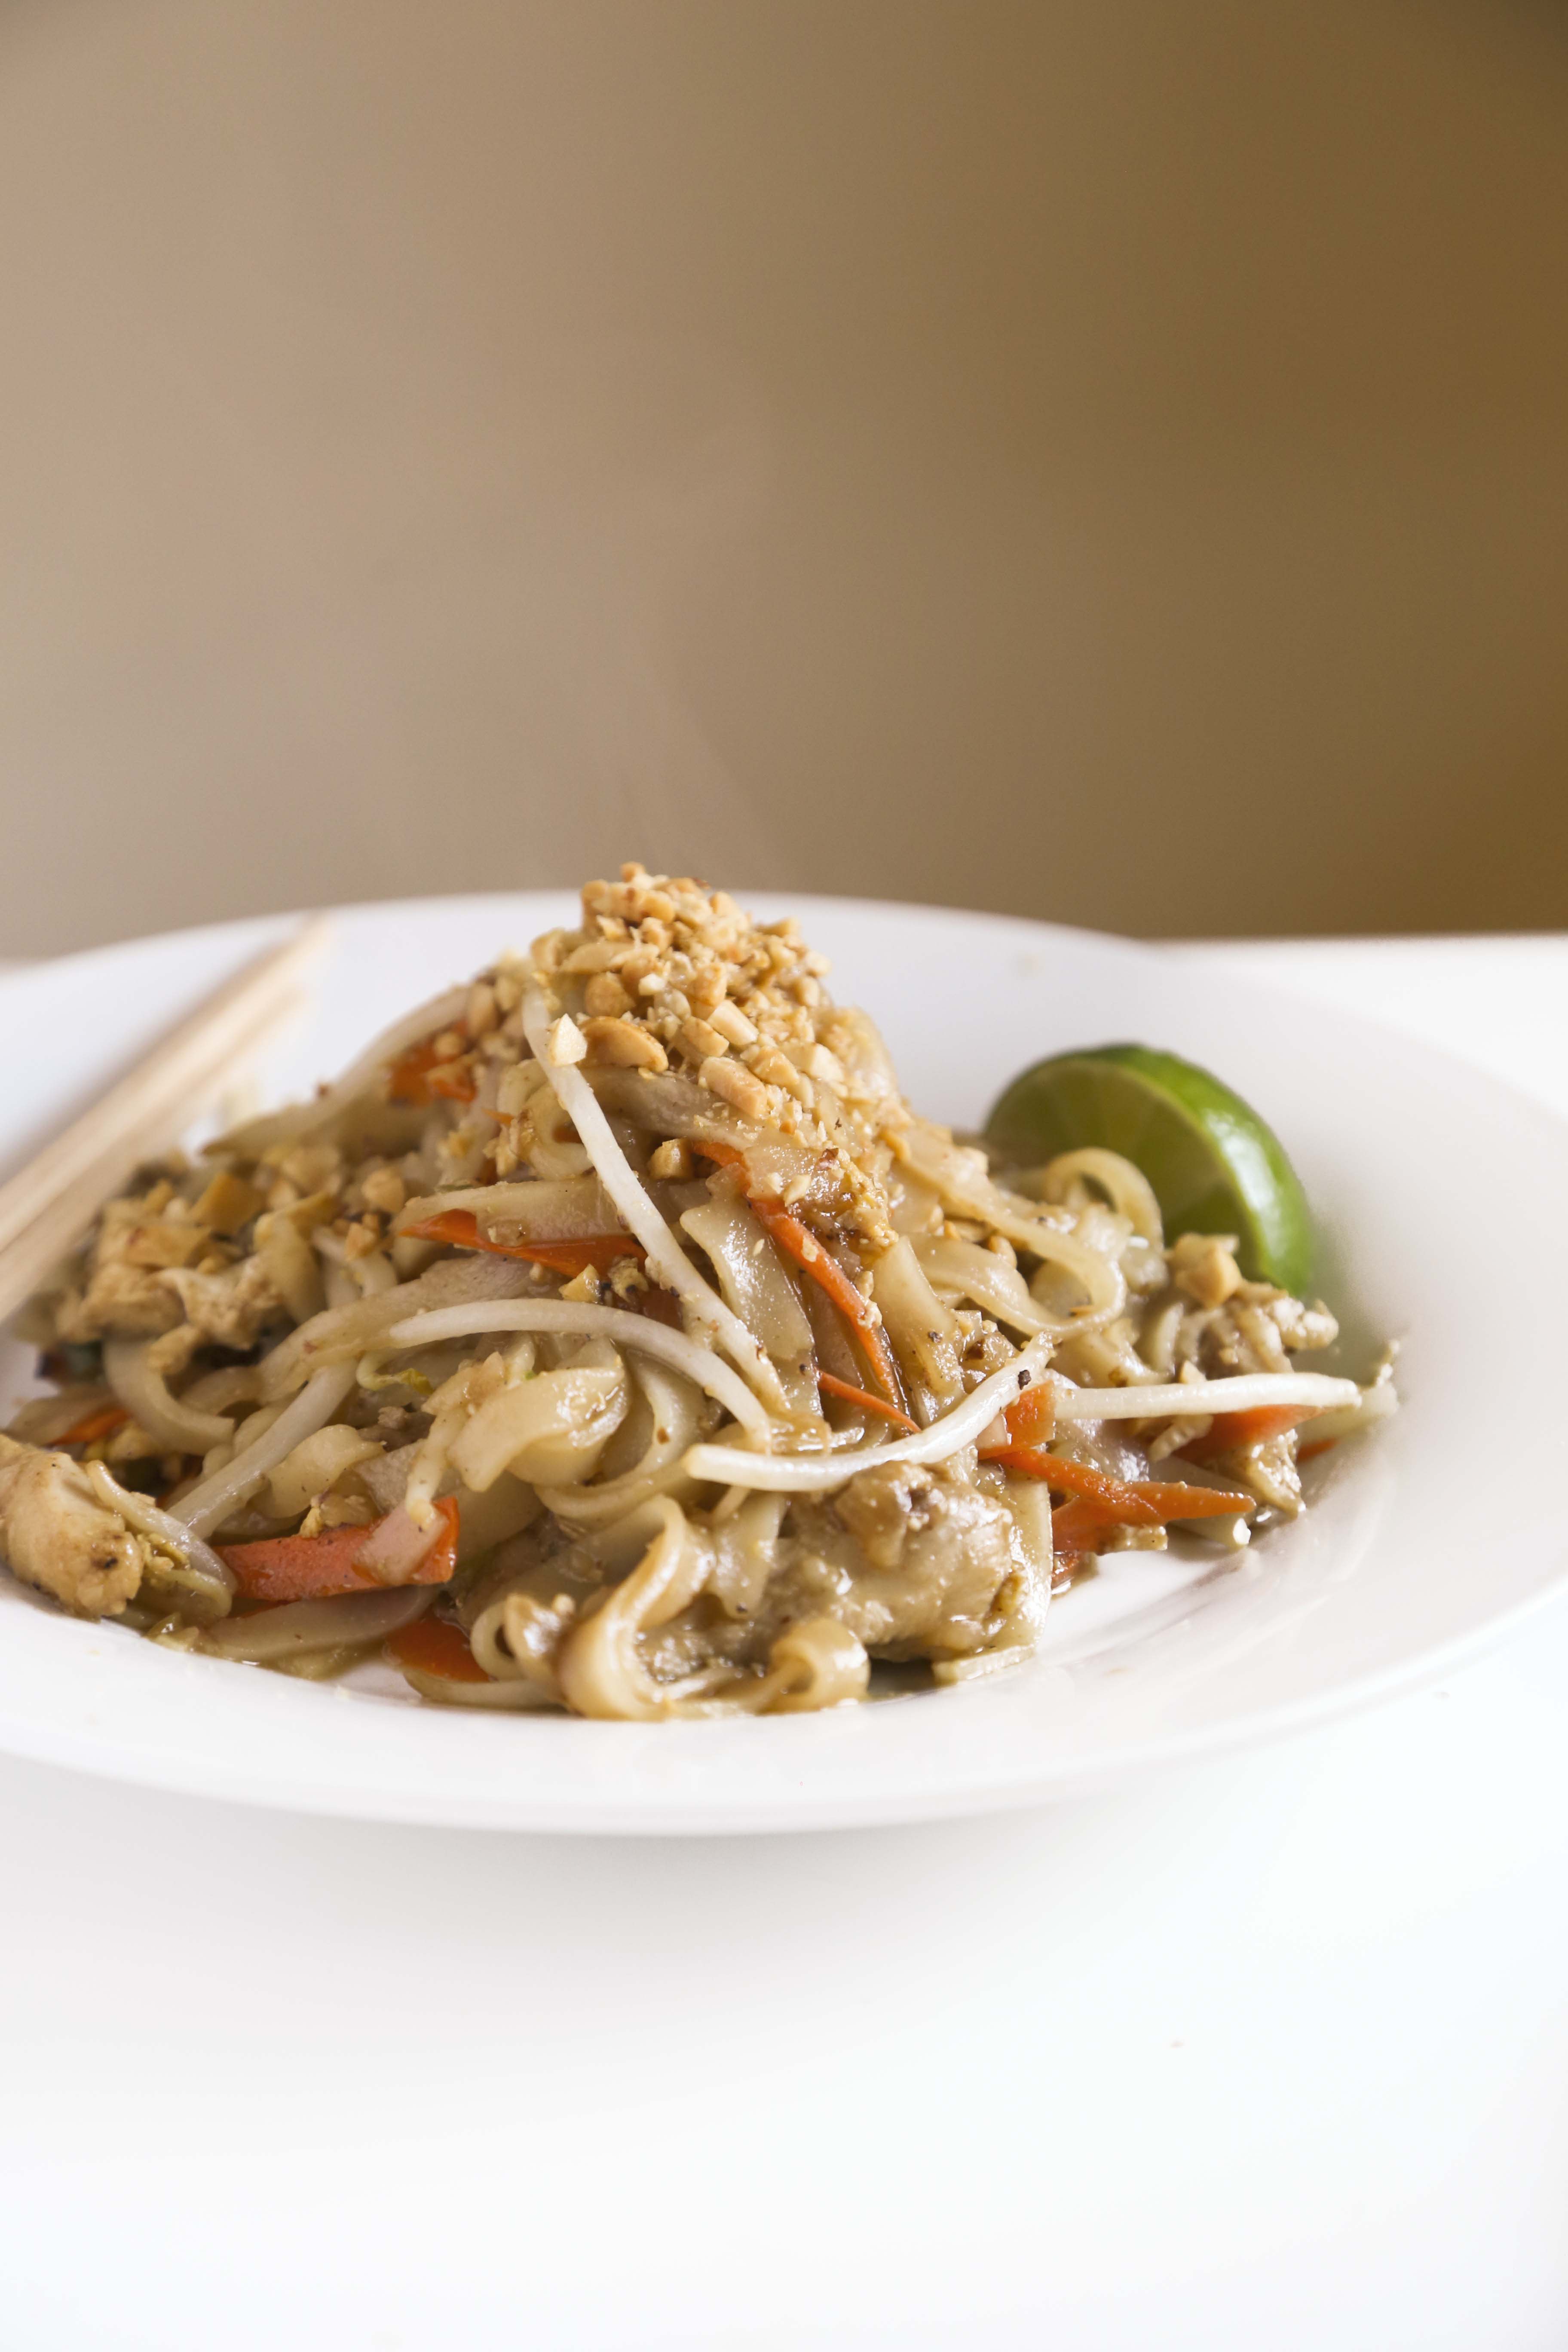
Serve with chopped peanuts and a wedge of lime.
Jesse and I devoured this yesterday. I’m almost a little bit embarrassed to tell you how much we ate. Ok not really. We doubled this and ate about 3/4 of it. Enough said.

We also discovered that we seriously want a wok. We made it in a dutch oven pot, which was fine but I think it would have turned out better (texture wise) in a wok. But it still turned out great.
Since we bought a ton of basic ingredients we’ll likely be making tons of Thai recipes this week. I can’t complain about that.