Peanut Butter and Jelly Smores… and other PB&J Creations

I feel like everyone I talk to had PB&J for lunch as a kid.  I had ham with cream cheese.  PB&J was not a staple in my household growing up.  I’m not even sure my mom kept peanut butter in the house, because she hates it.  Peanut butter is one of those super American things that my mom never got on board with.

But regardless, growing up here, I developed a love of Peanut Butter and Jelly.

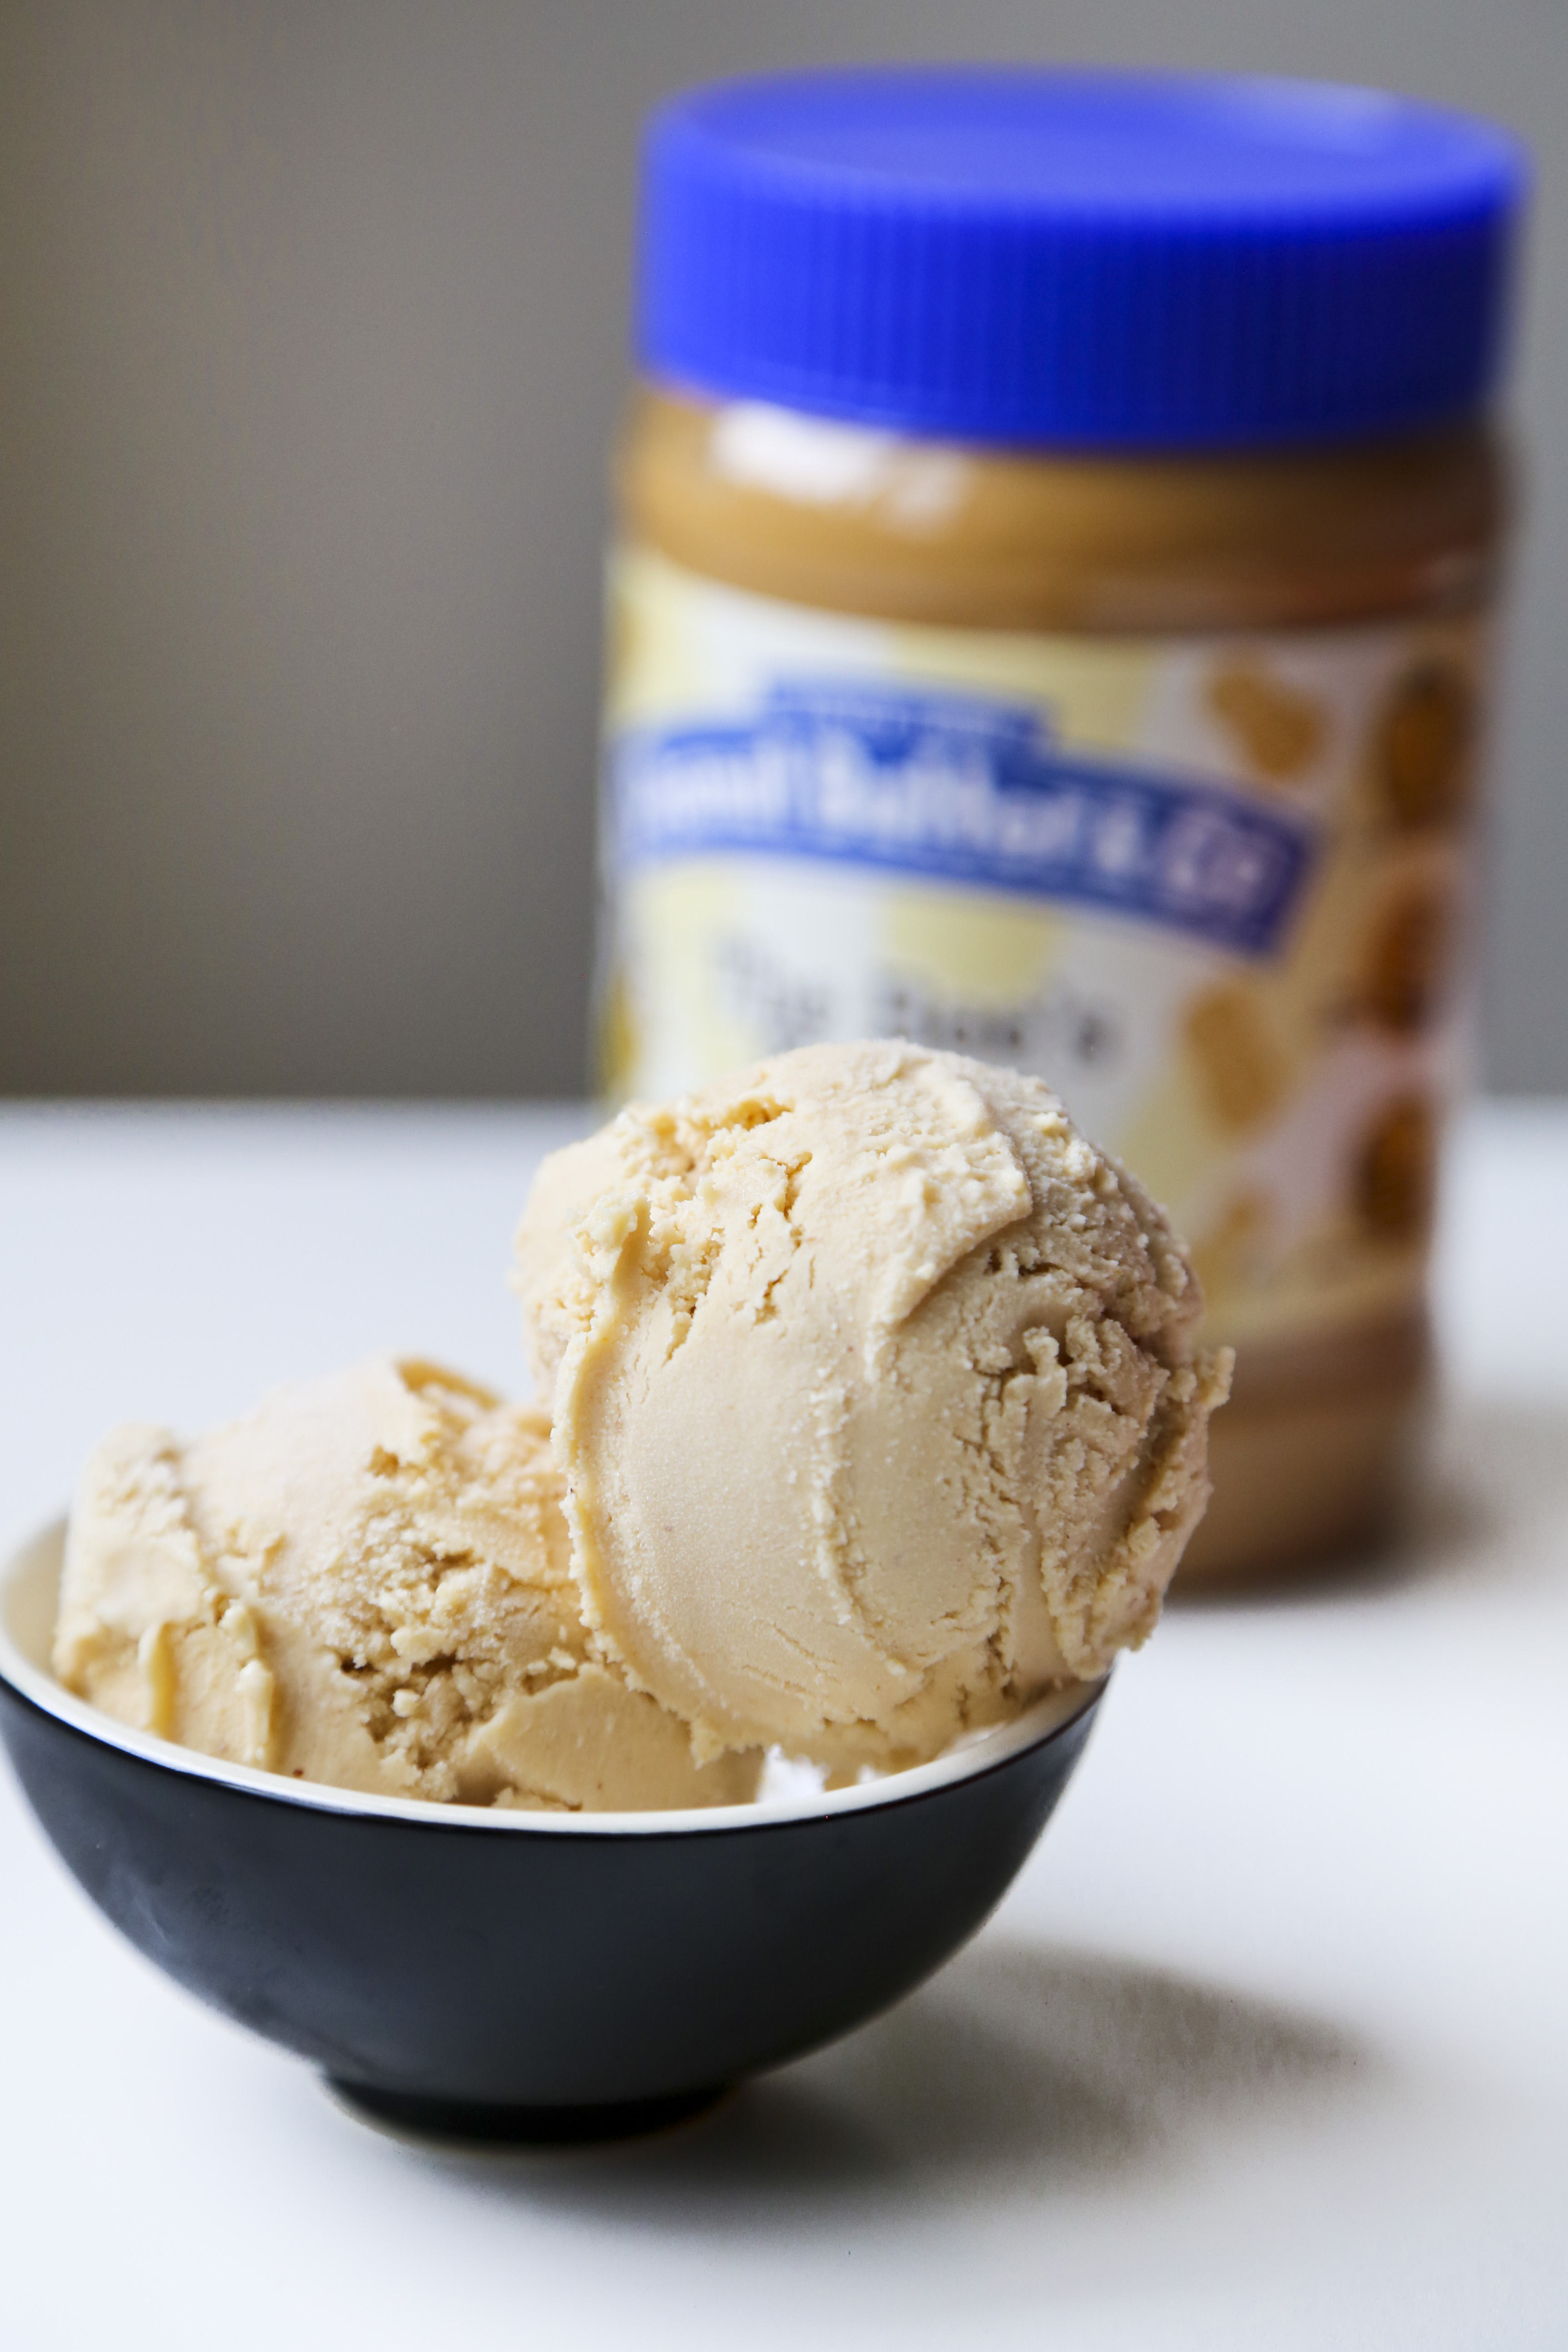
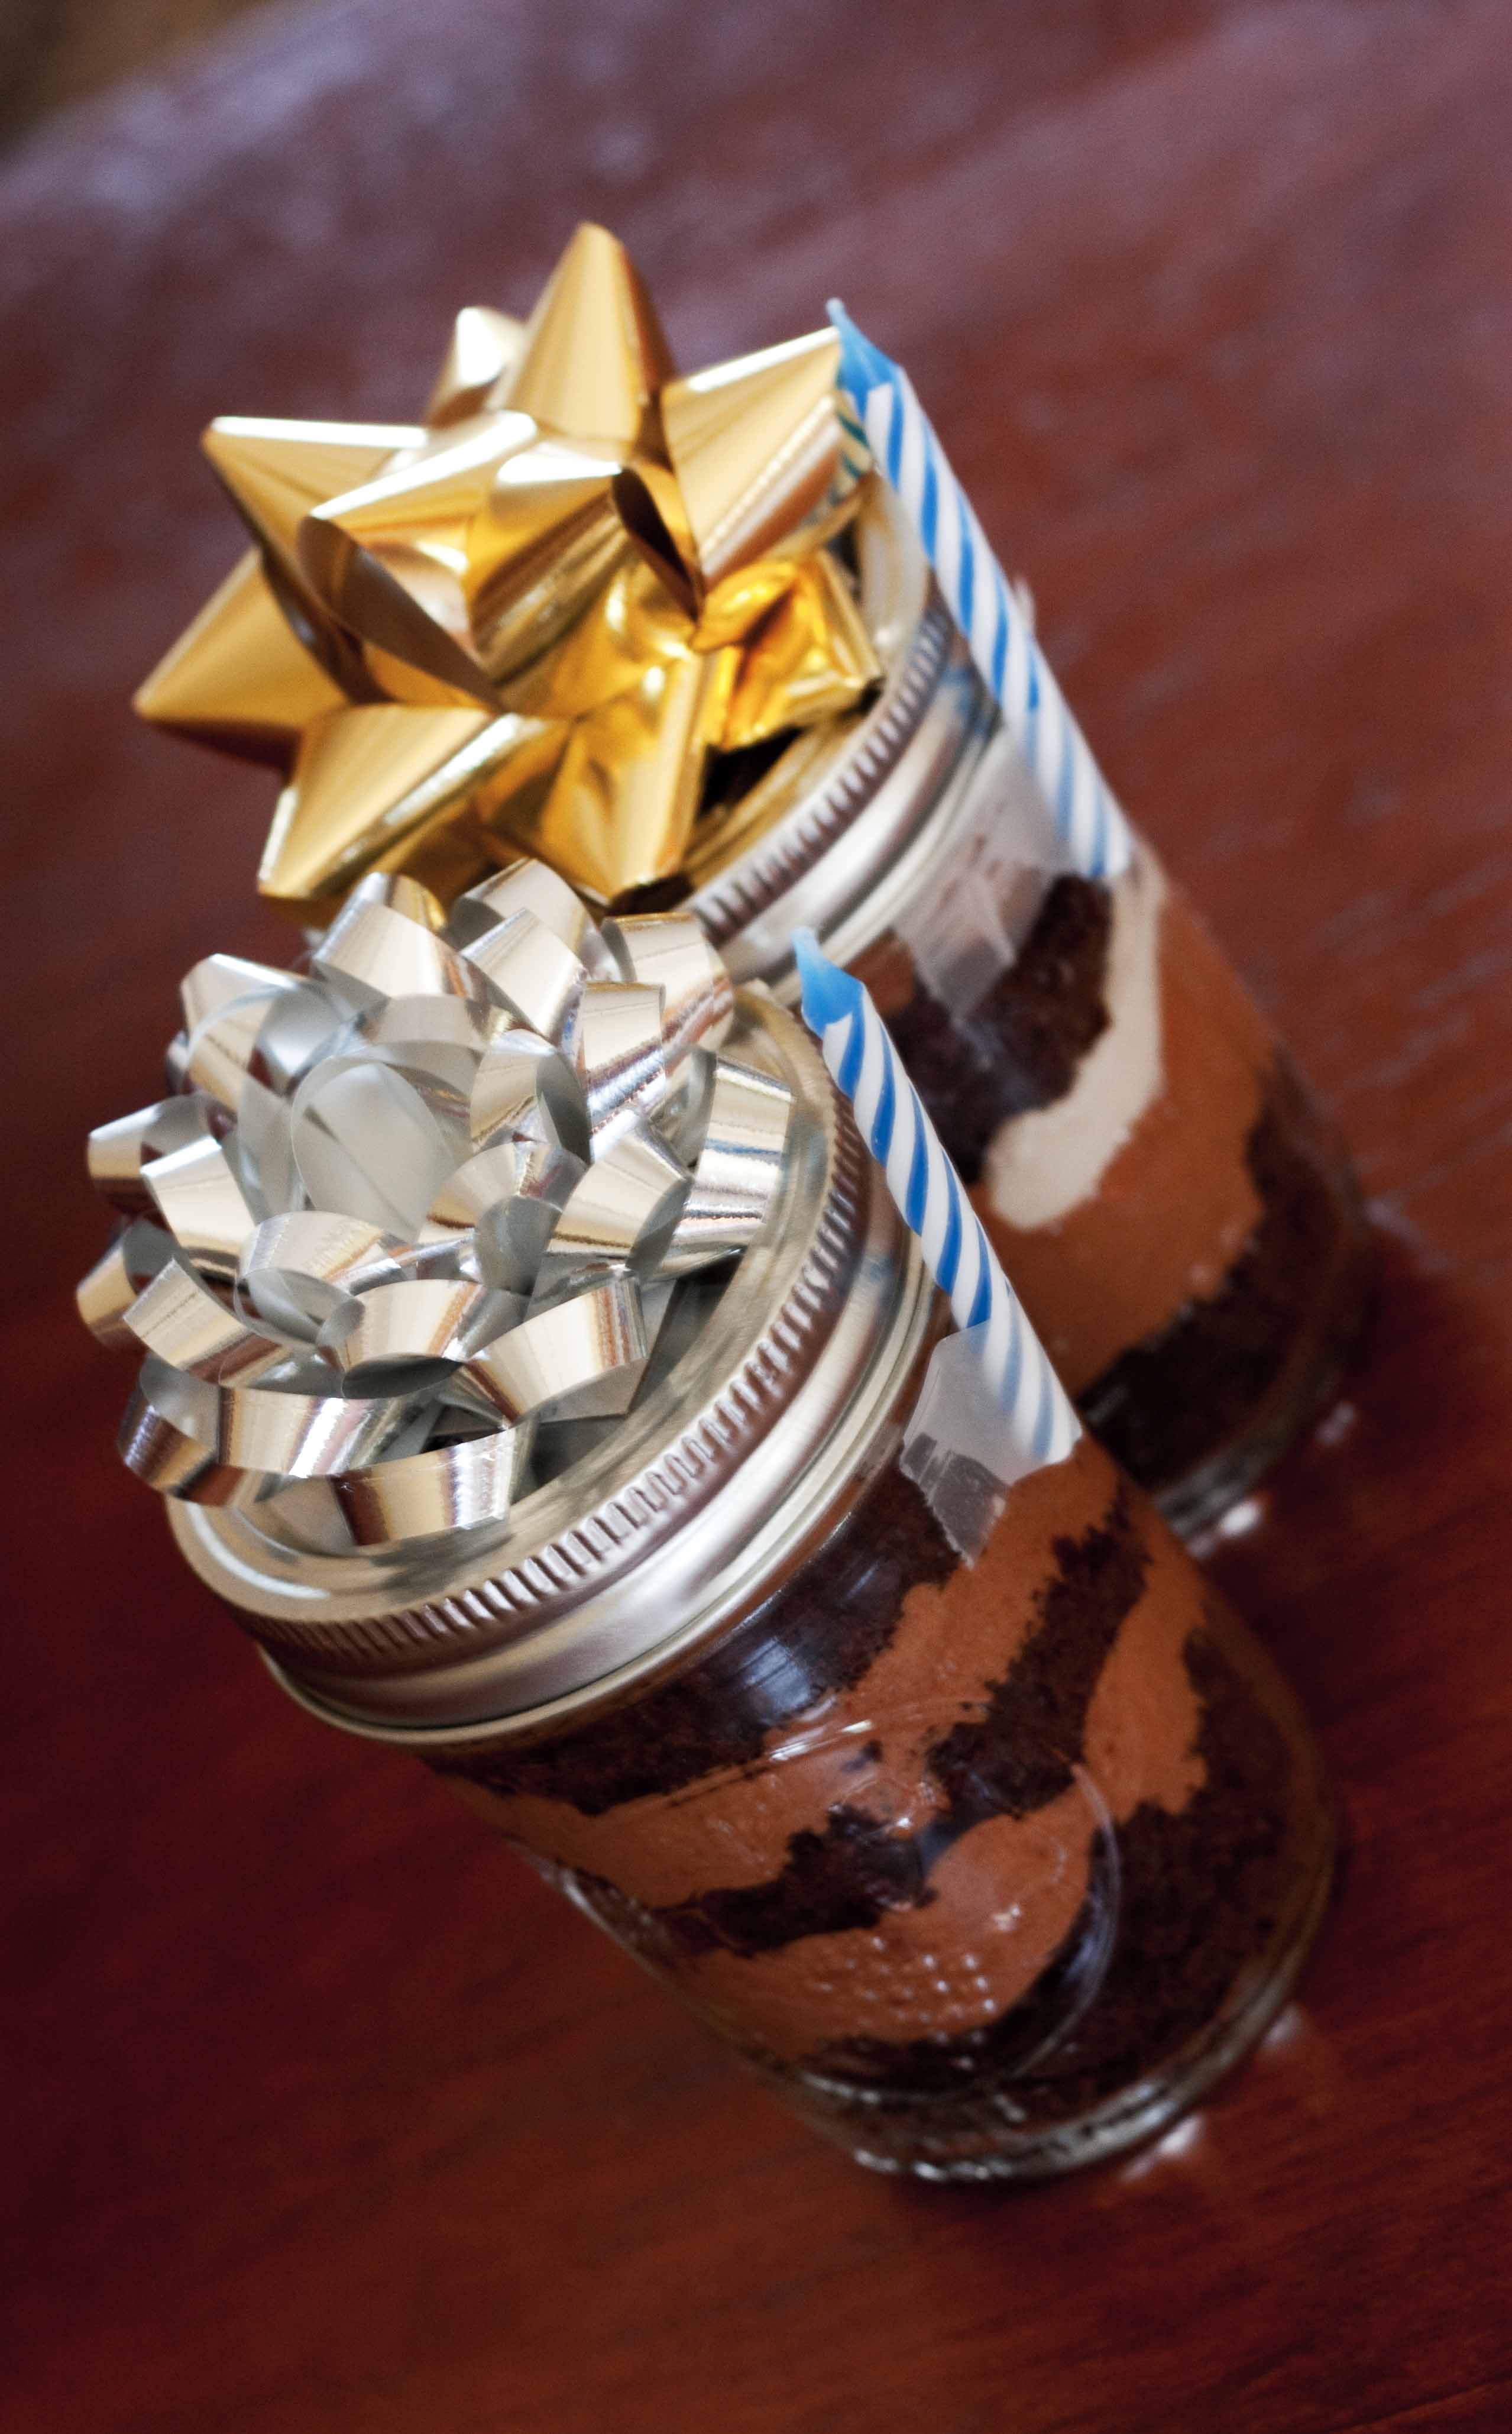
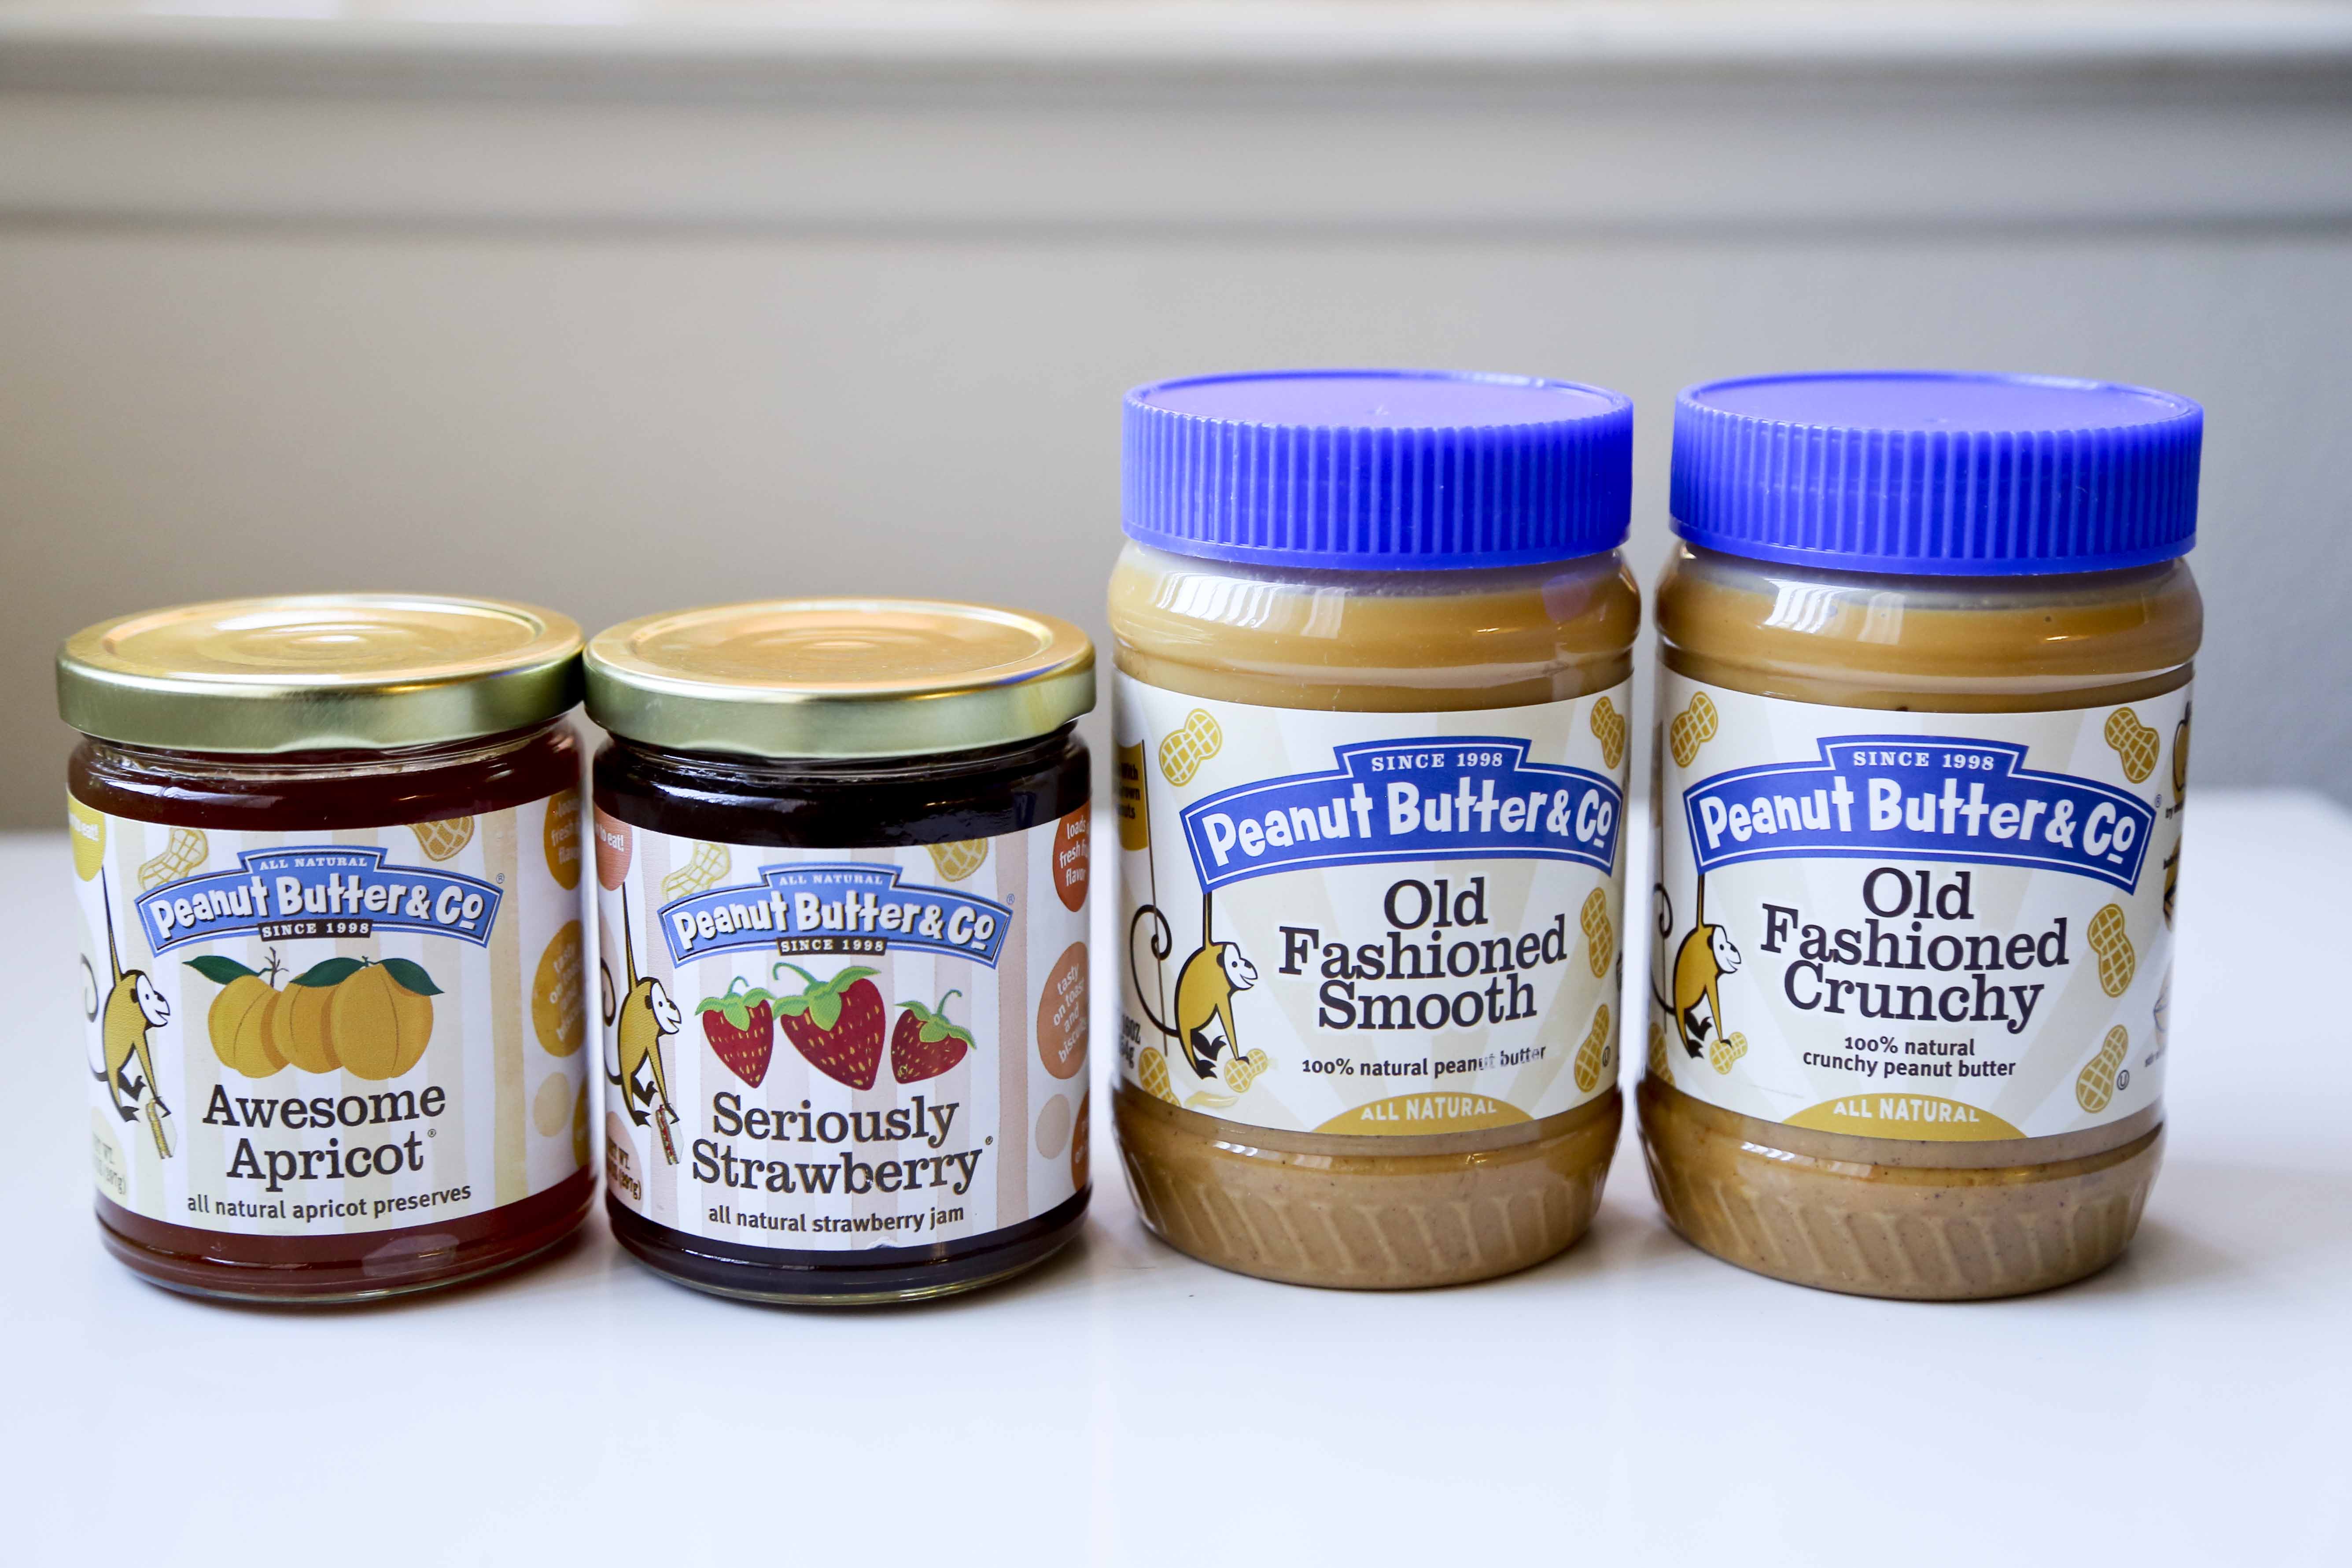
To share in the love of Peanut Butter and Jelly, Peanut Butter and Co. sent me and some other bloggers some jars of Peanut Butter and preserves to make some awesome peanut butter and jelly creations.   My jars arrived…

pbandco

and I was excited to start!  I had such high hopes.  I started by taking a stab at Peanut Butter and Jelly Sticky Buns.

pb&jstickybun1

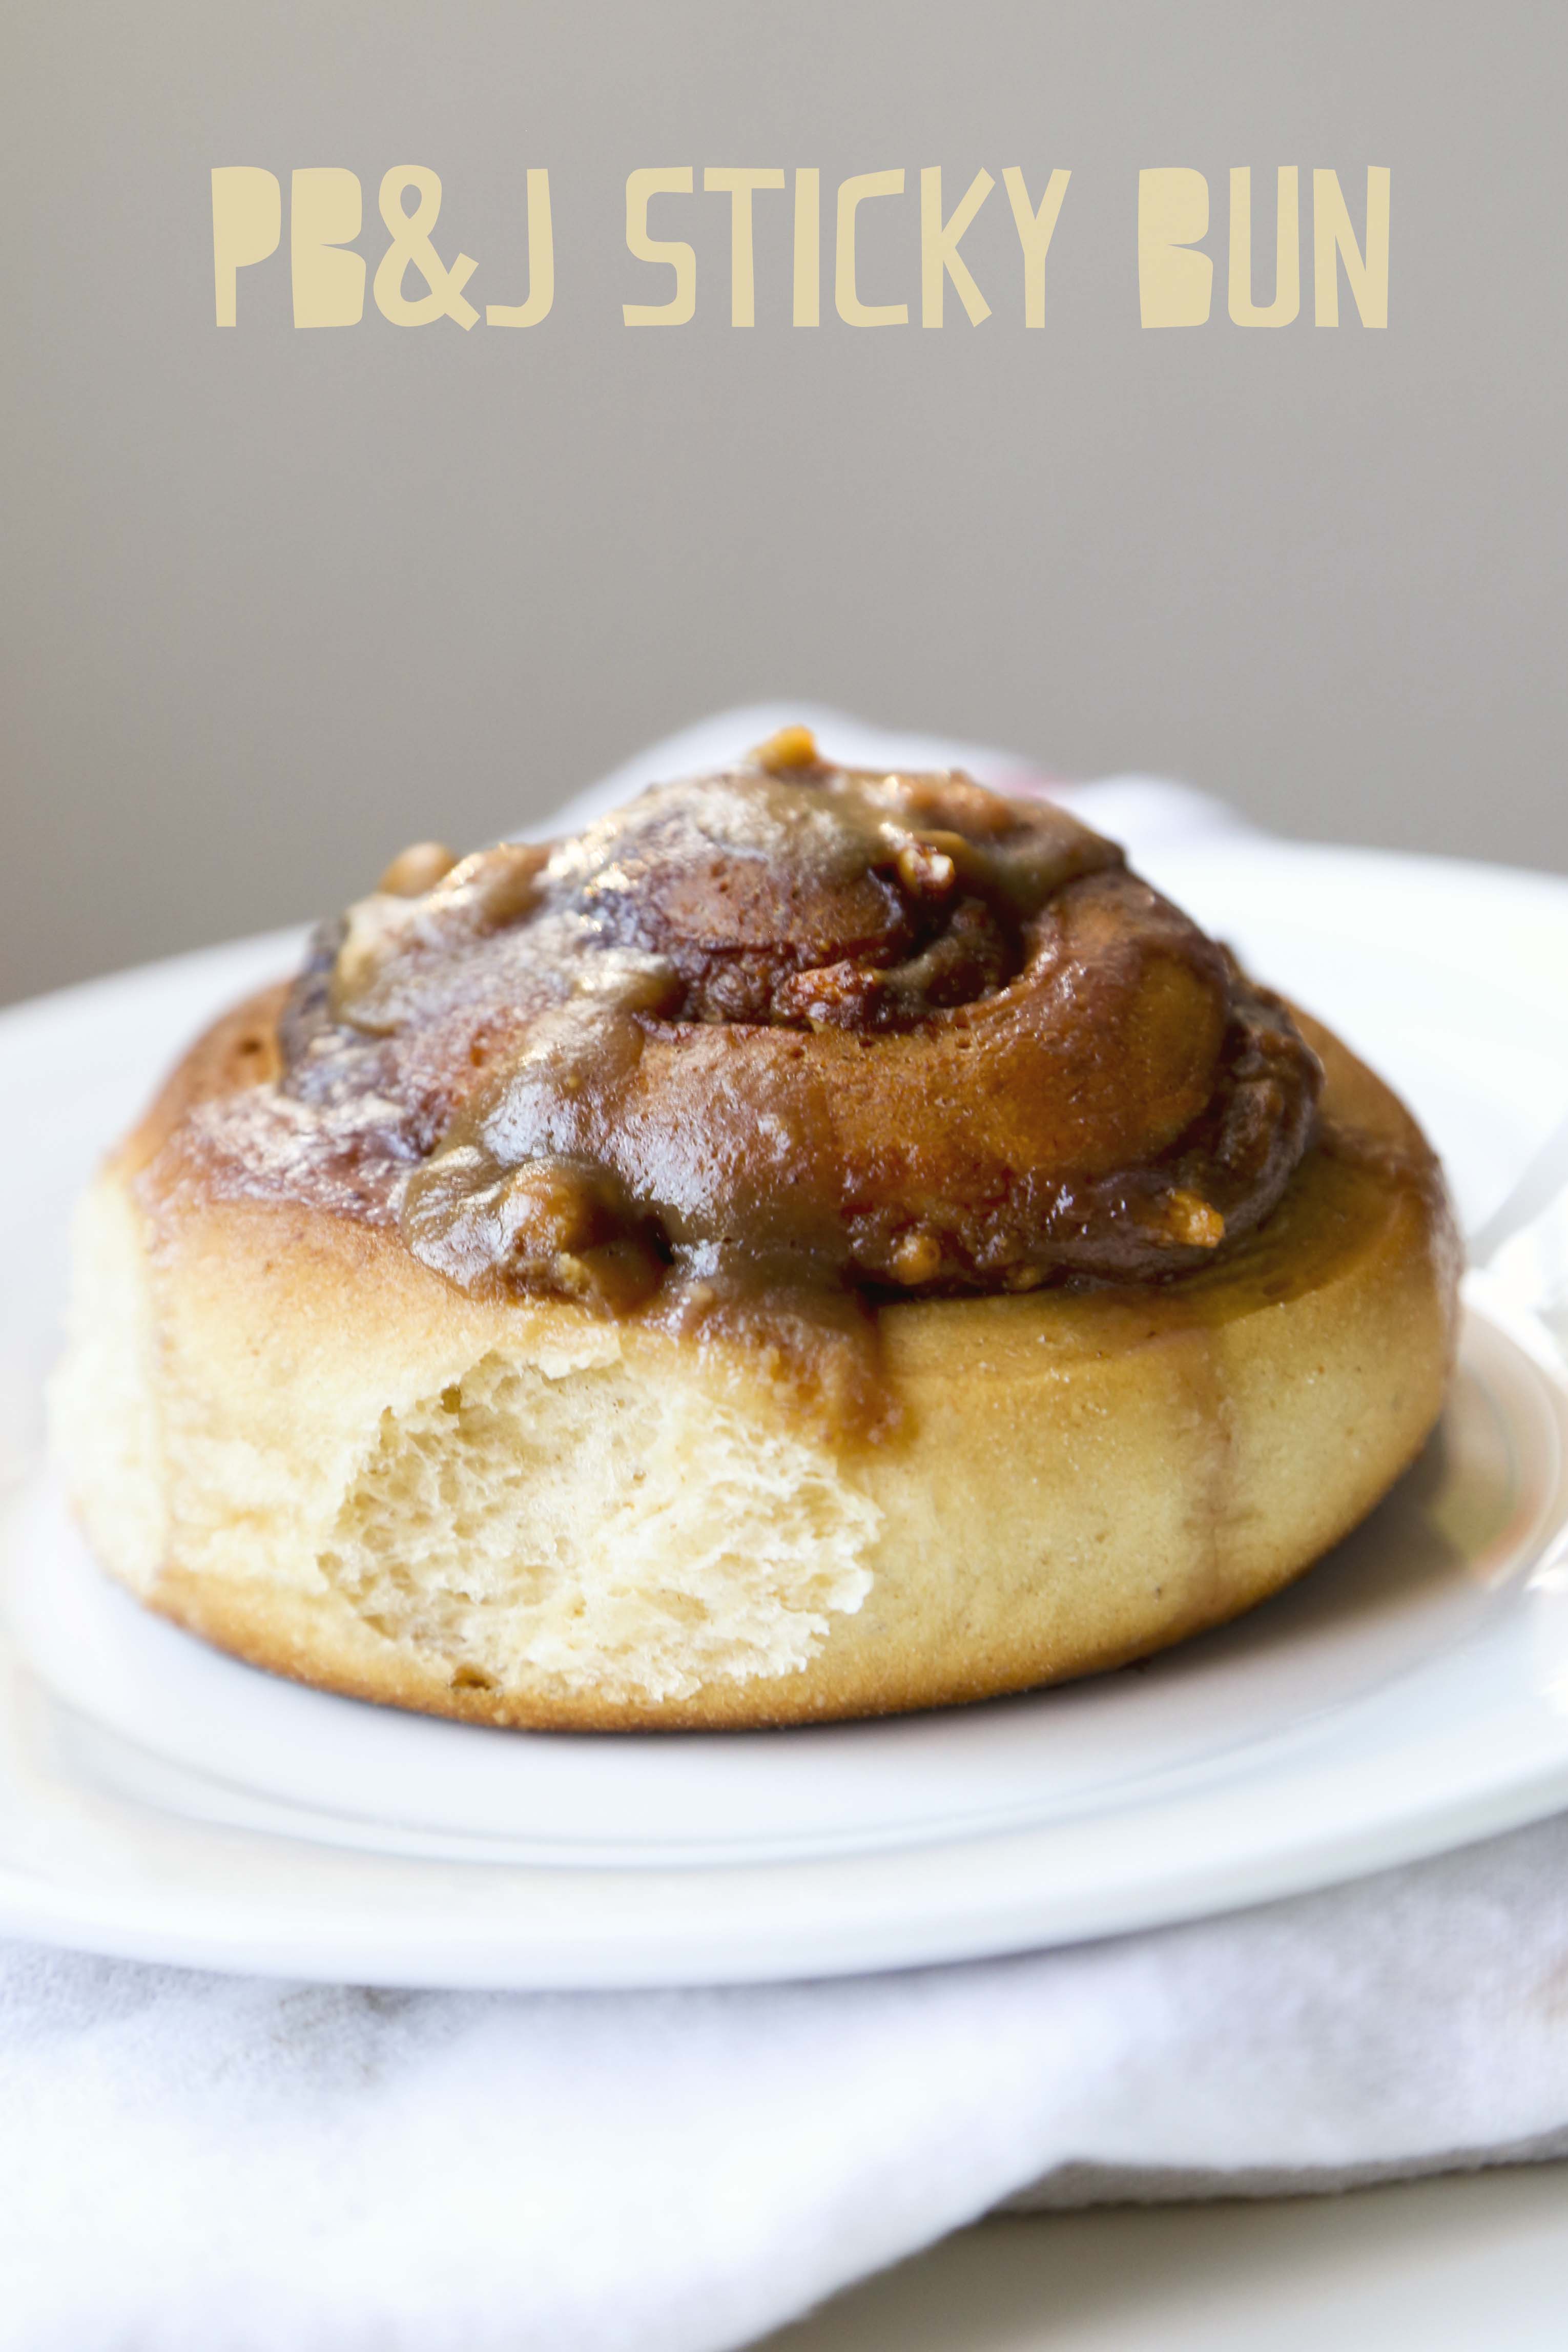
Doesn’t that sound awesome?  It was! But the recipe turned out a bit dry (my first time ever making some sort of sticky bun/cinnamon type roll!).  So tweaks are needed.  And sadly, I used so much PB and Seriously Strawberry Jam (it’s seriously delicious), that I had none left to retry the recipe.

Instead of retrying (maybe I will in the future), I decided to try another idea that piqued by interest: Peanut Butter and Jelly Smores.

The ingredients are pretty simple, but this is really the perfect end of summer (early fall) recipe.

PBJ smores2

Peanut Butter and Jelly Smores

2 graham crackers

2 large marshmallows

2 heaping tsps Old Fashioned Crunchy Peanut Butter

2 heaping tsp Awesome Apricot Preserves (or other jam of choice) 

PBJ smores1

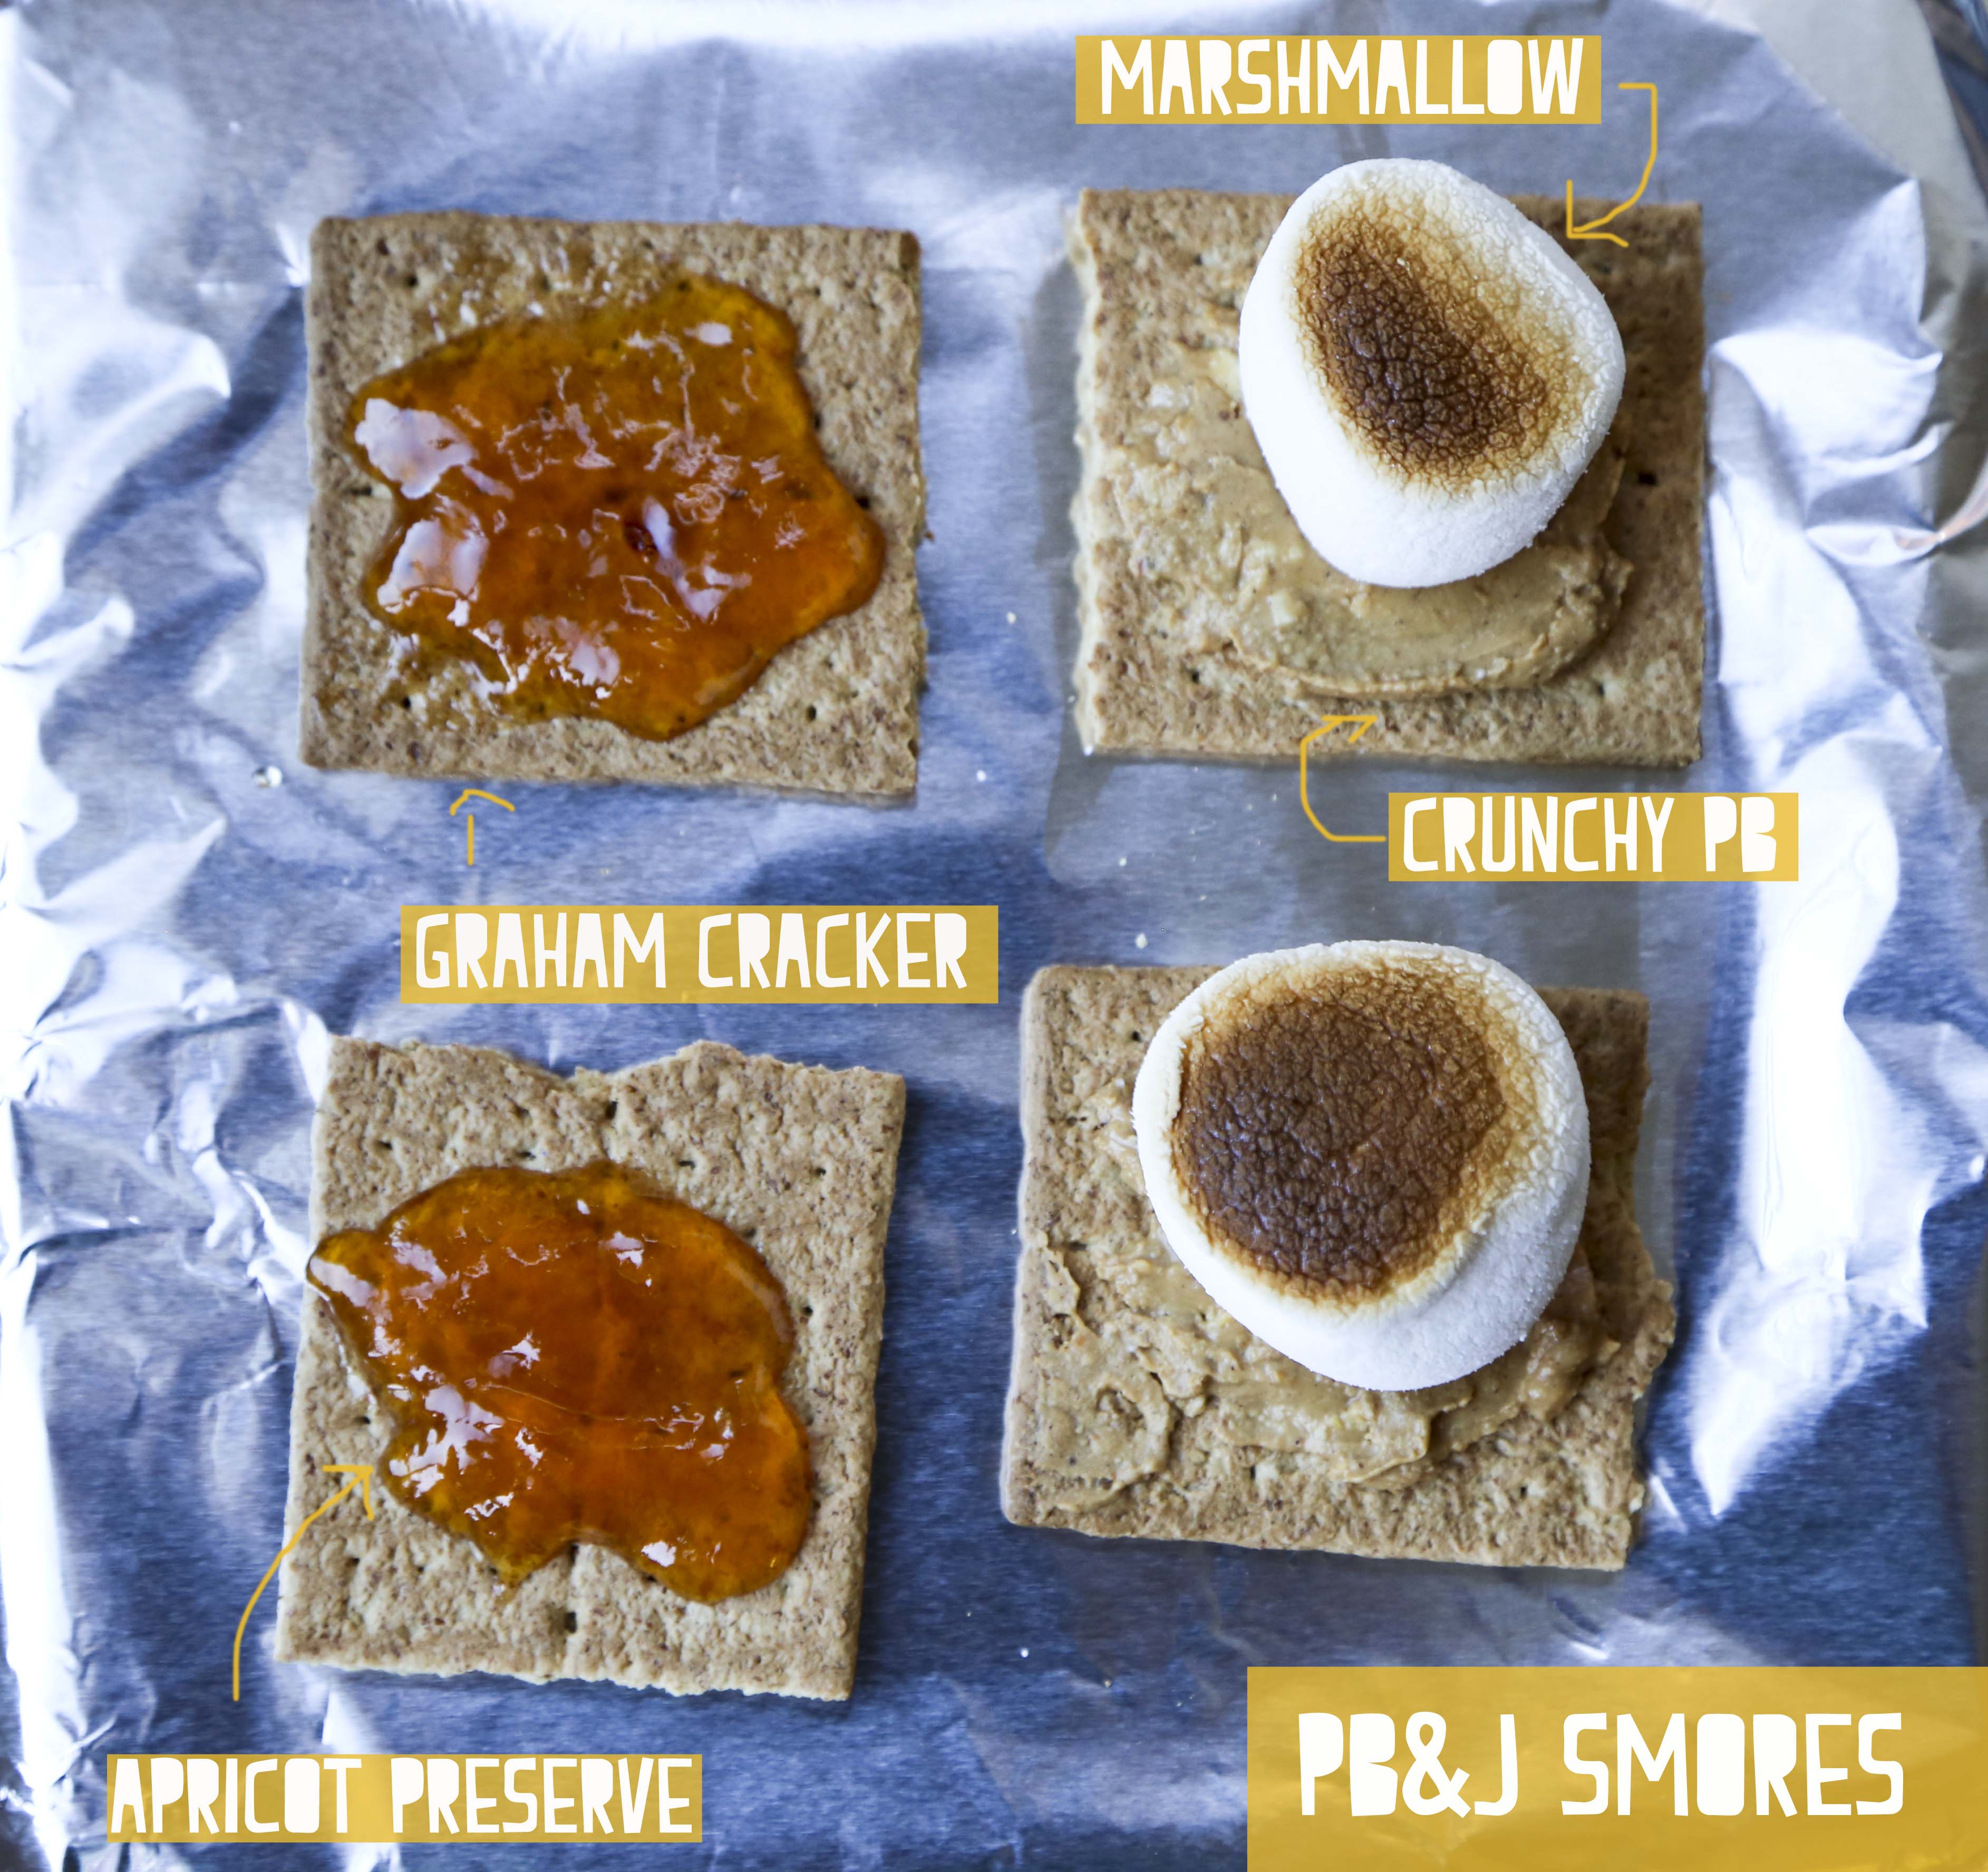
Cut graham crackers in half (so you have 4 pieces total).  Spread 1 tsp of peanut butter on each of two of the graham cracker pieces and 1 tsp of apricot preserves on the remaining two cracker pieces.  Place marshmallow in the peanut butter.  Put under the broiler for a few minutes (about 3 or 4) or until the marshmallow is toasted to the right consistency.  Put the pieces together and enjoy the oozey, gooey deliciousness!

PBJ smores3

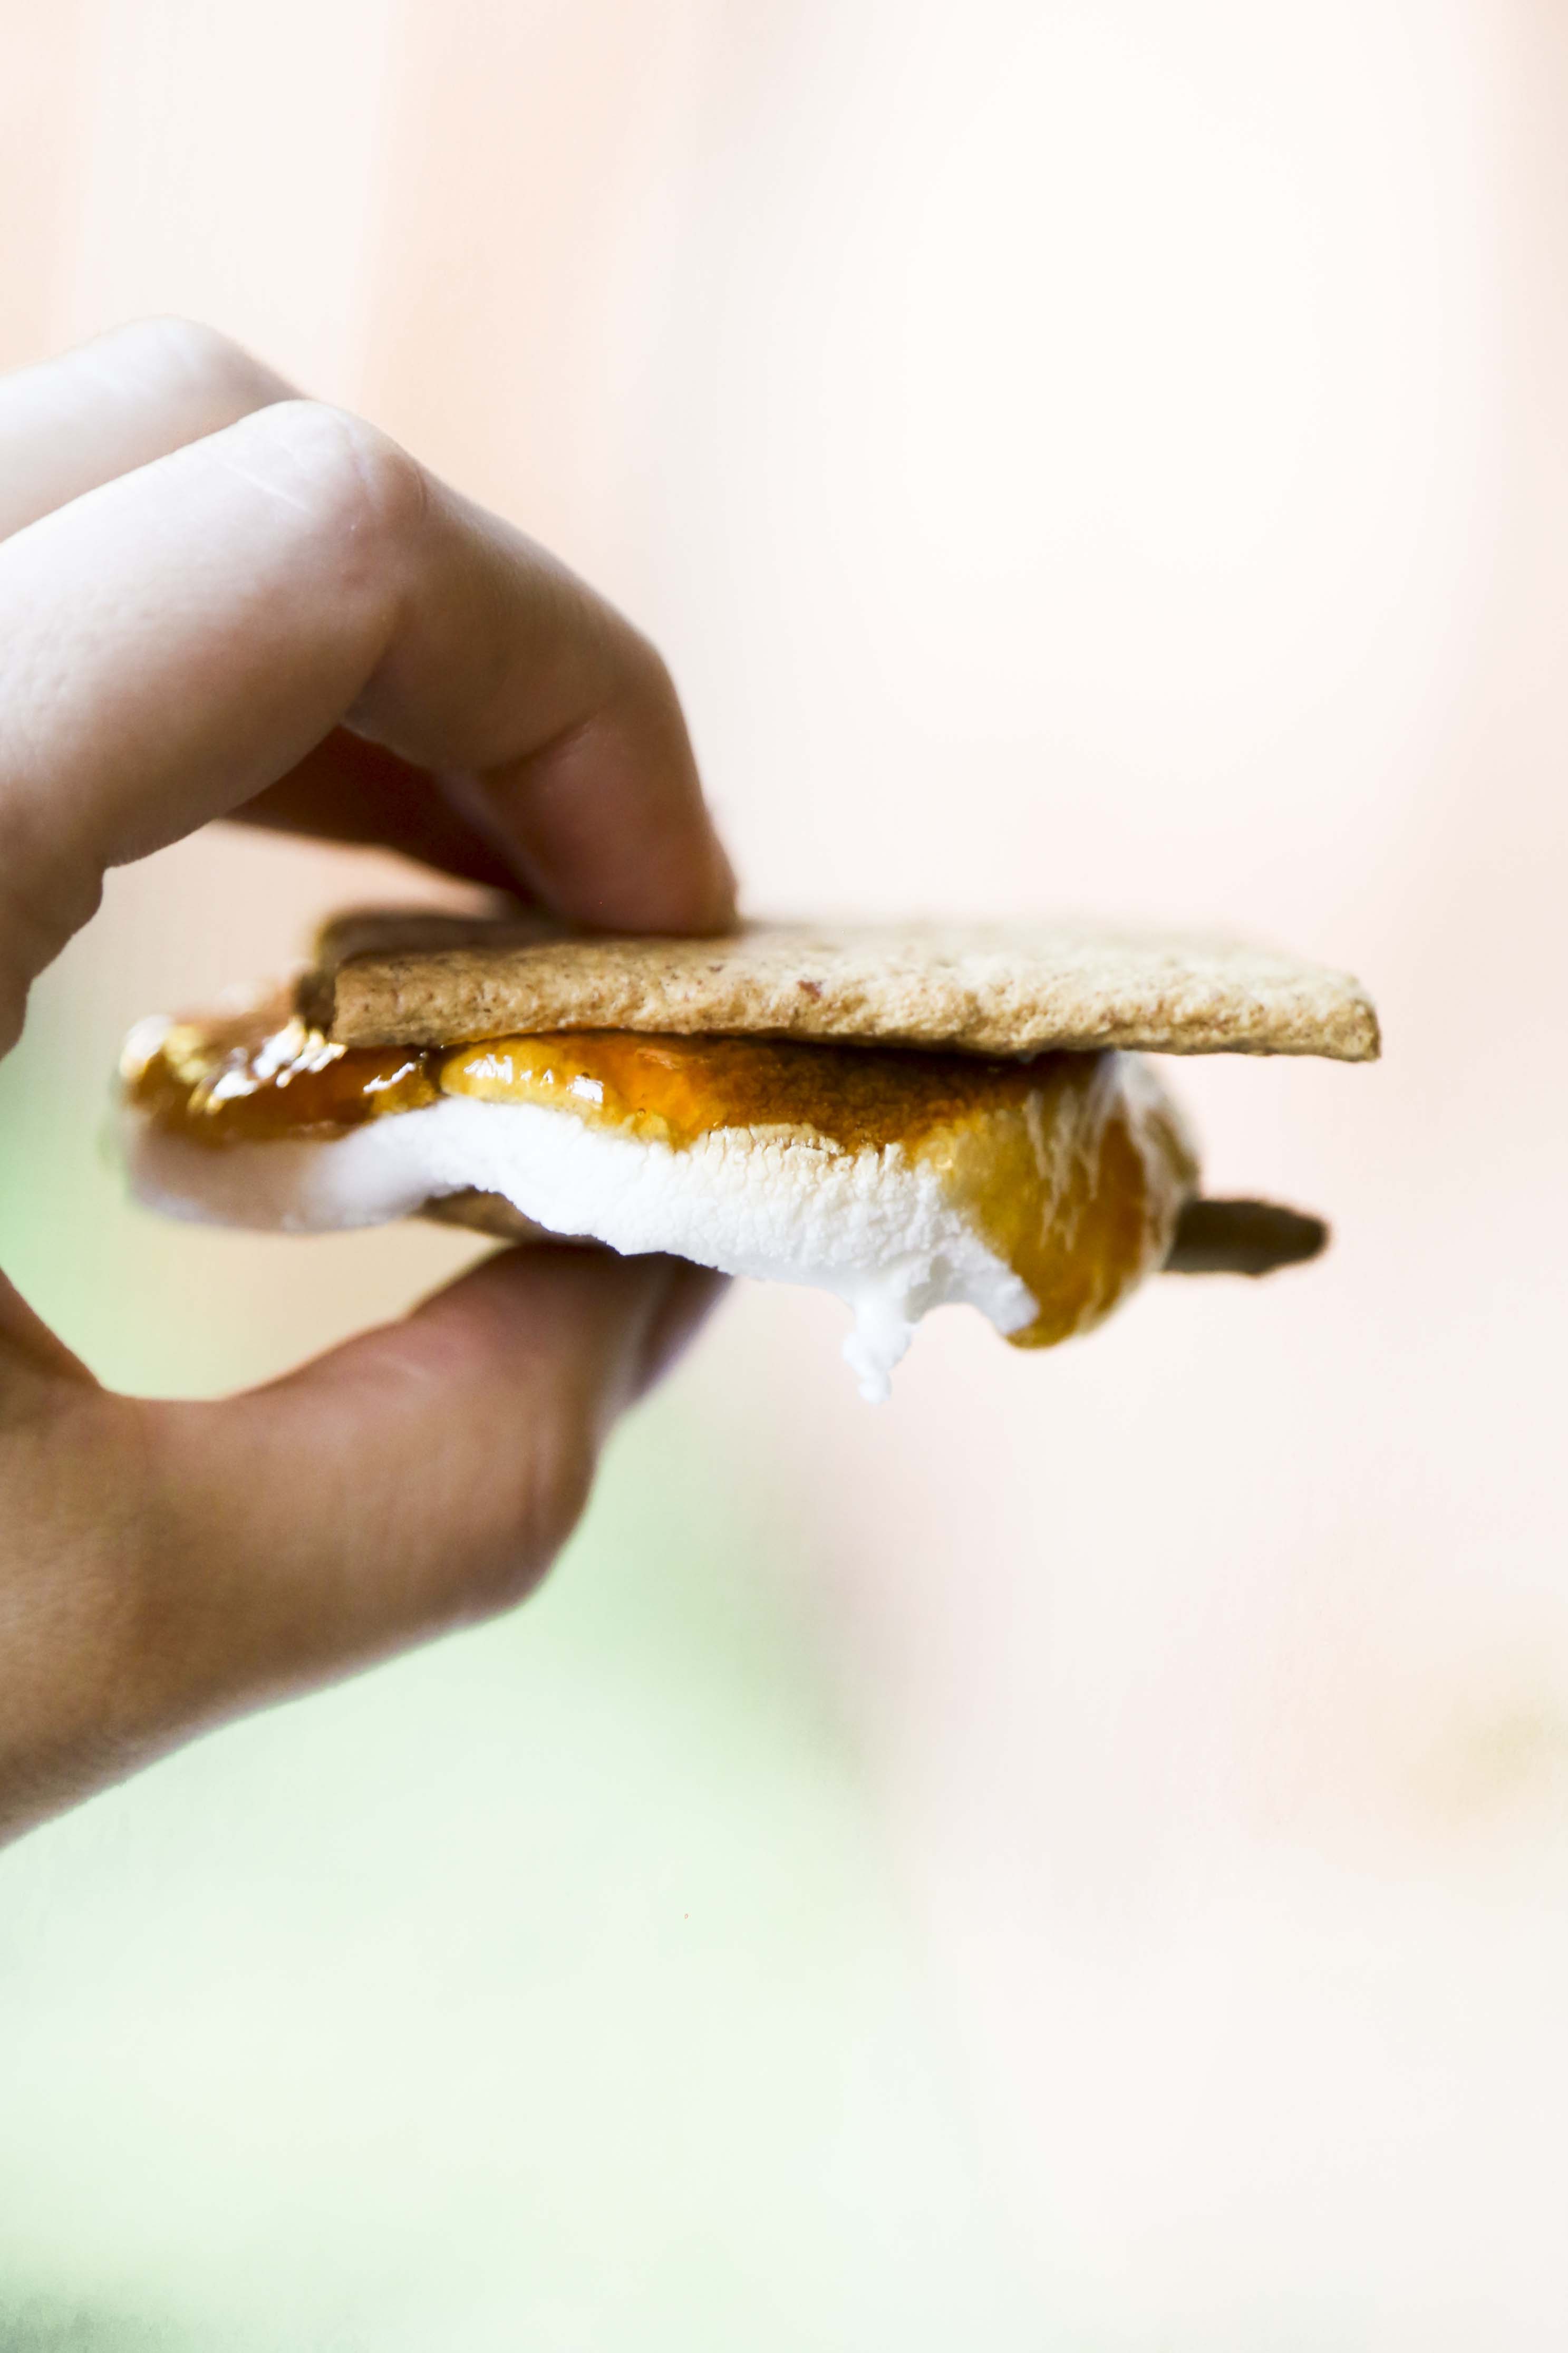
I wasn’t sure that the PB + Apricot combo would work out well, but it was delicious!   I definitely recommend it!

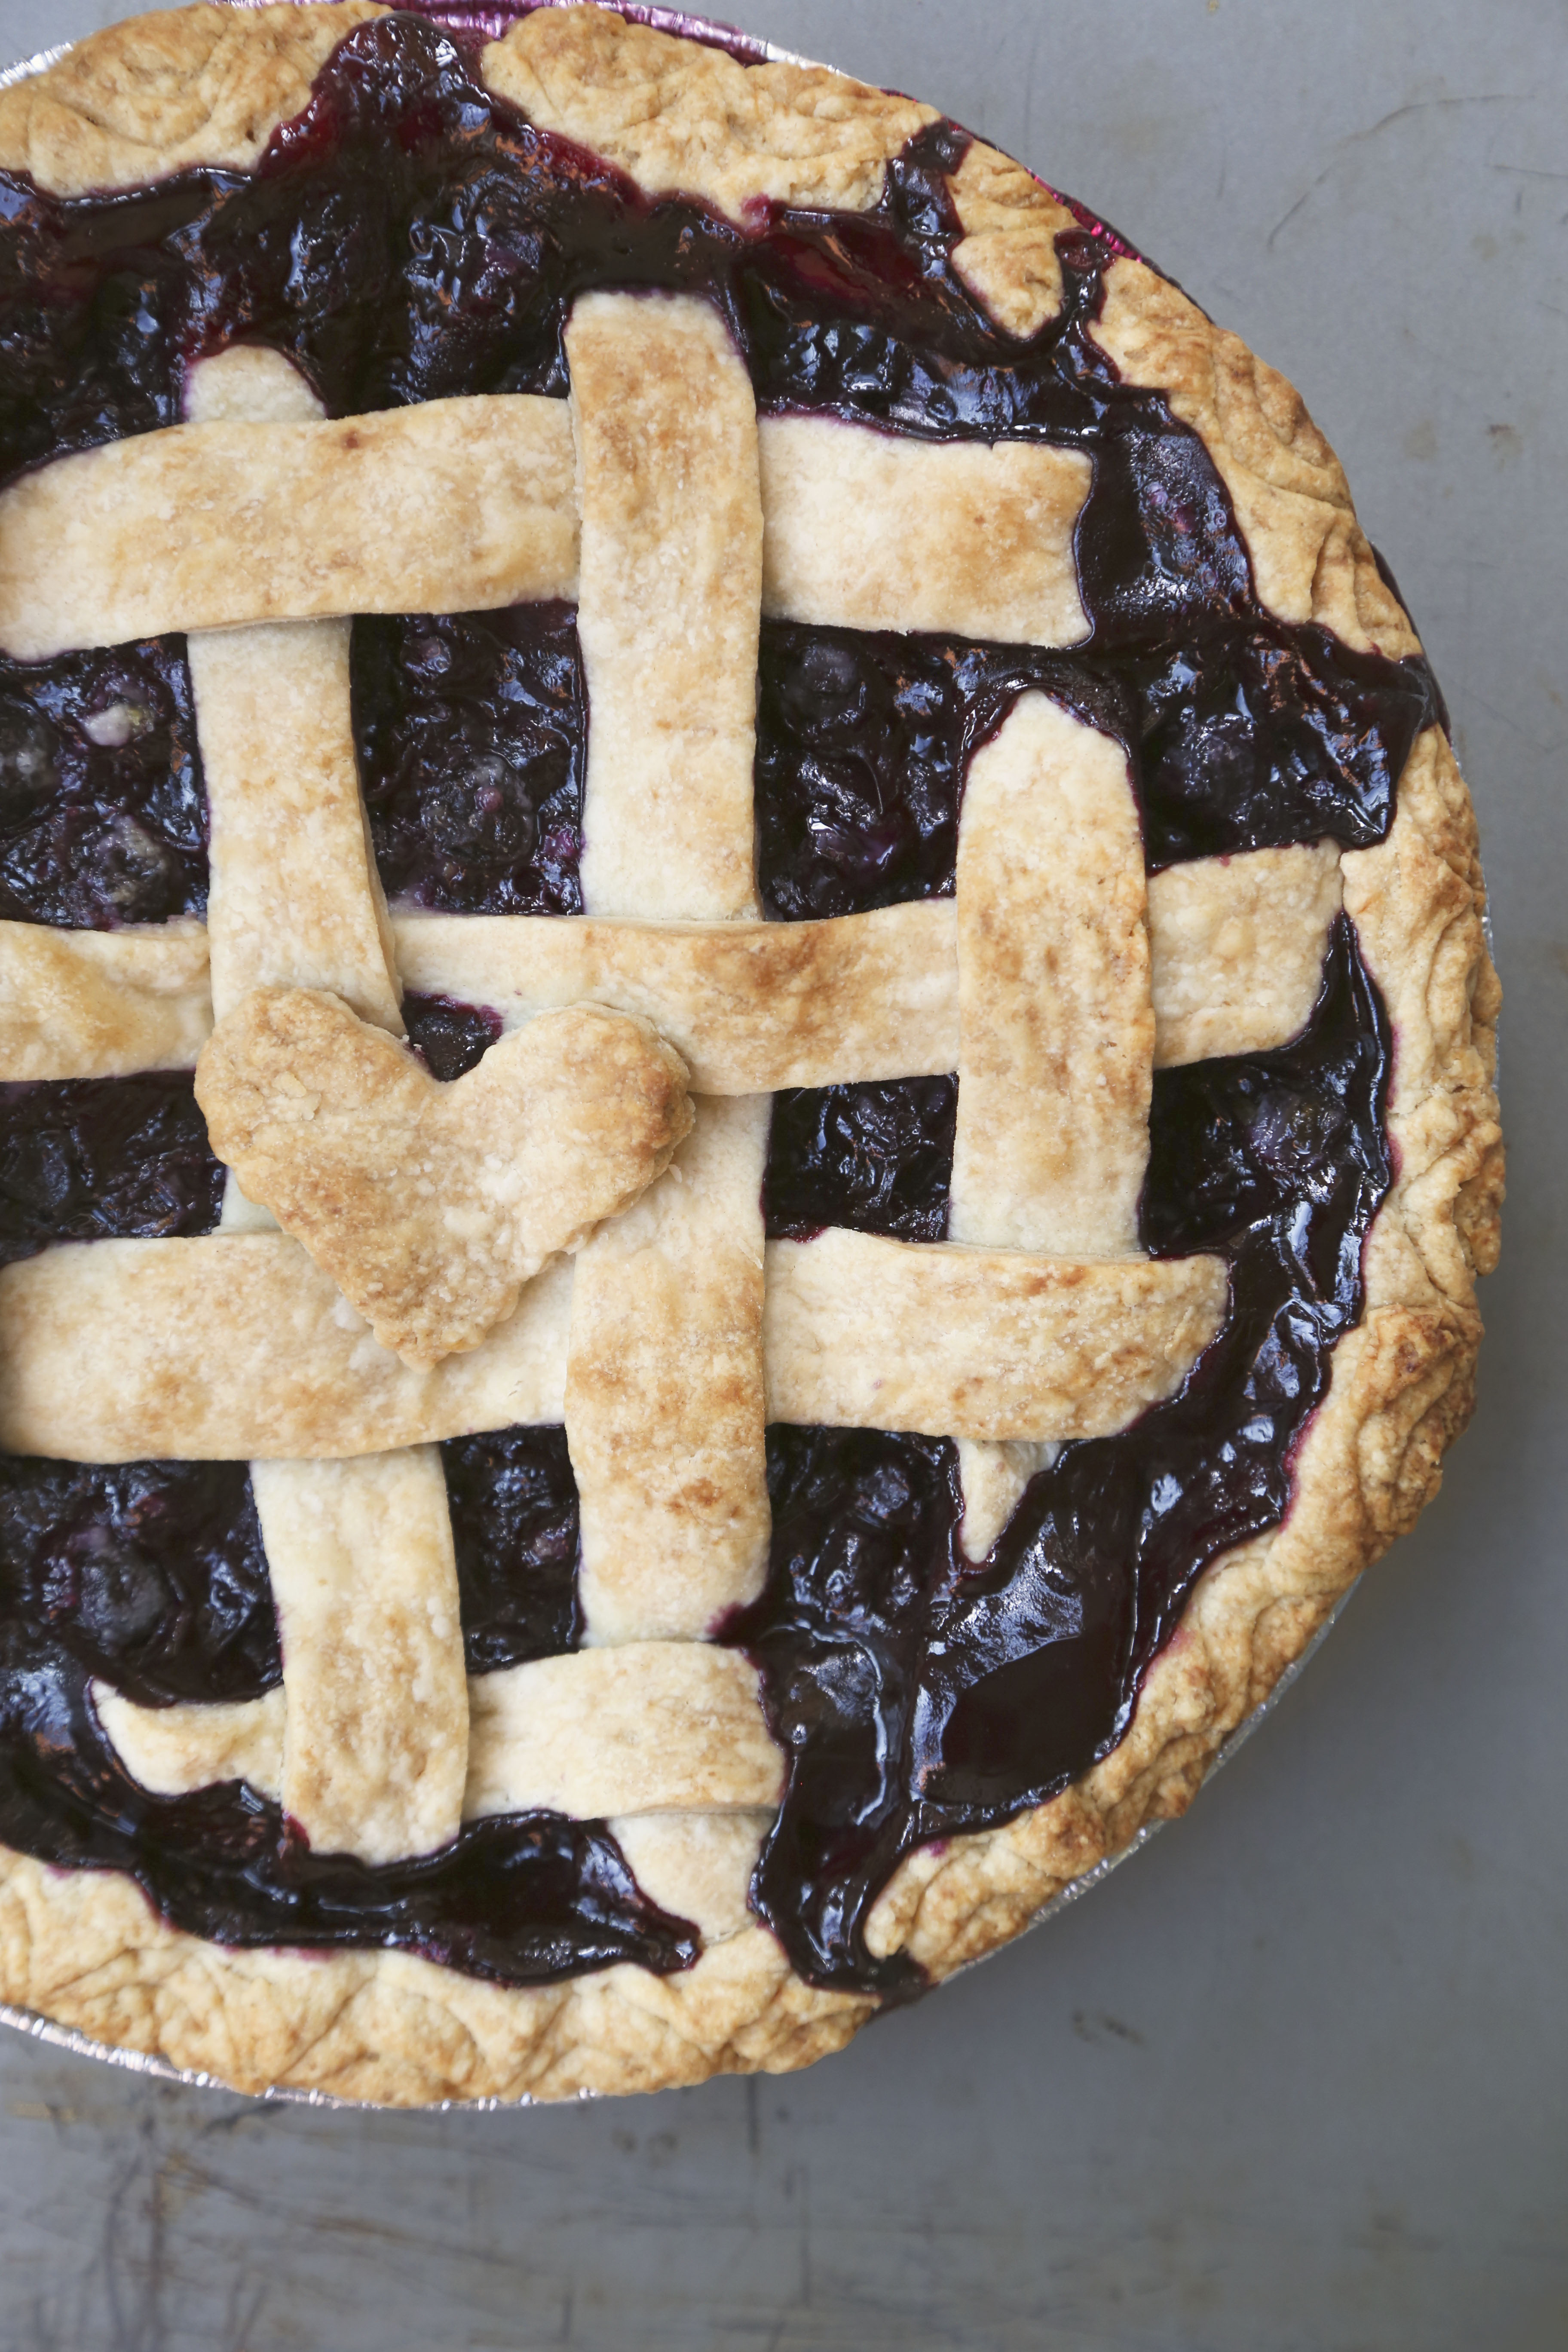
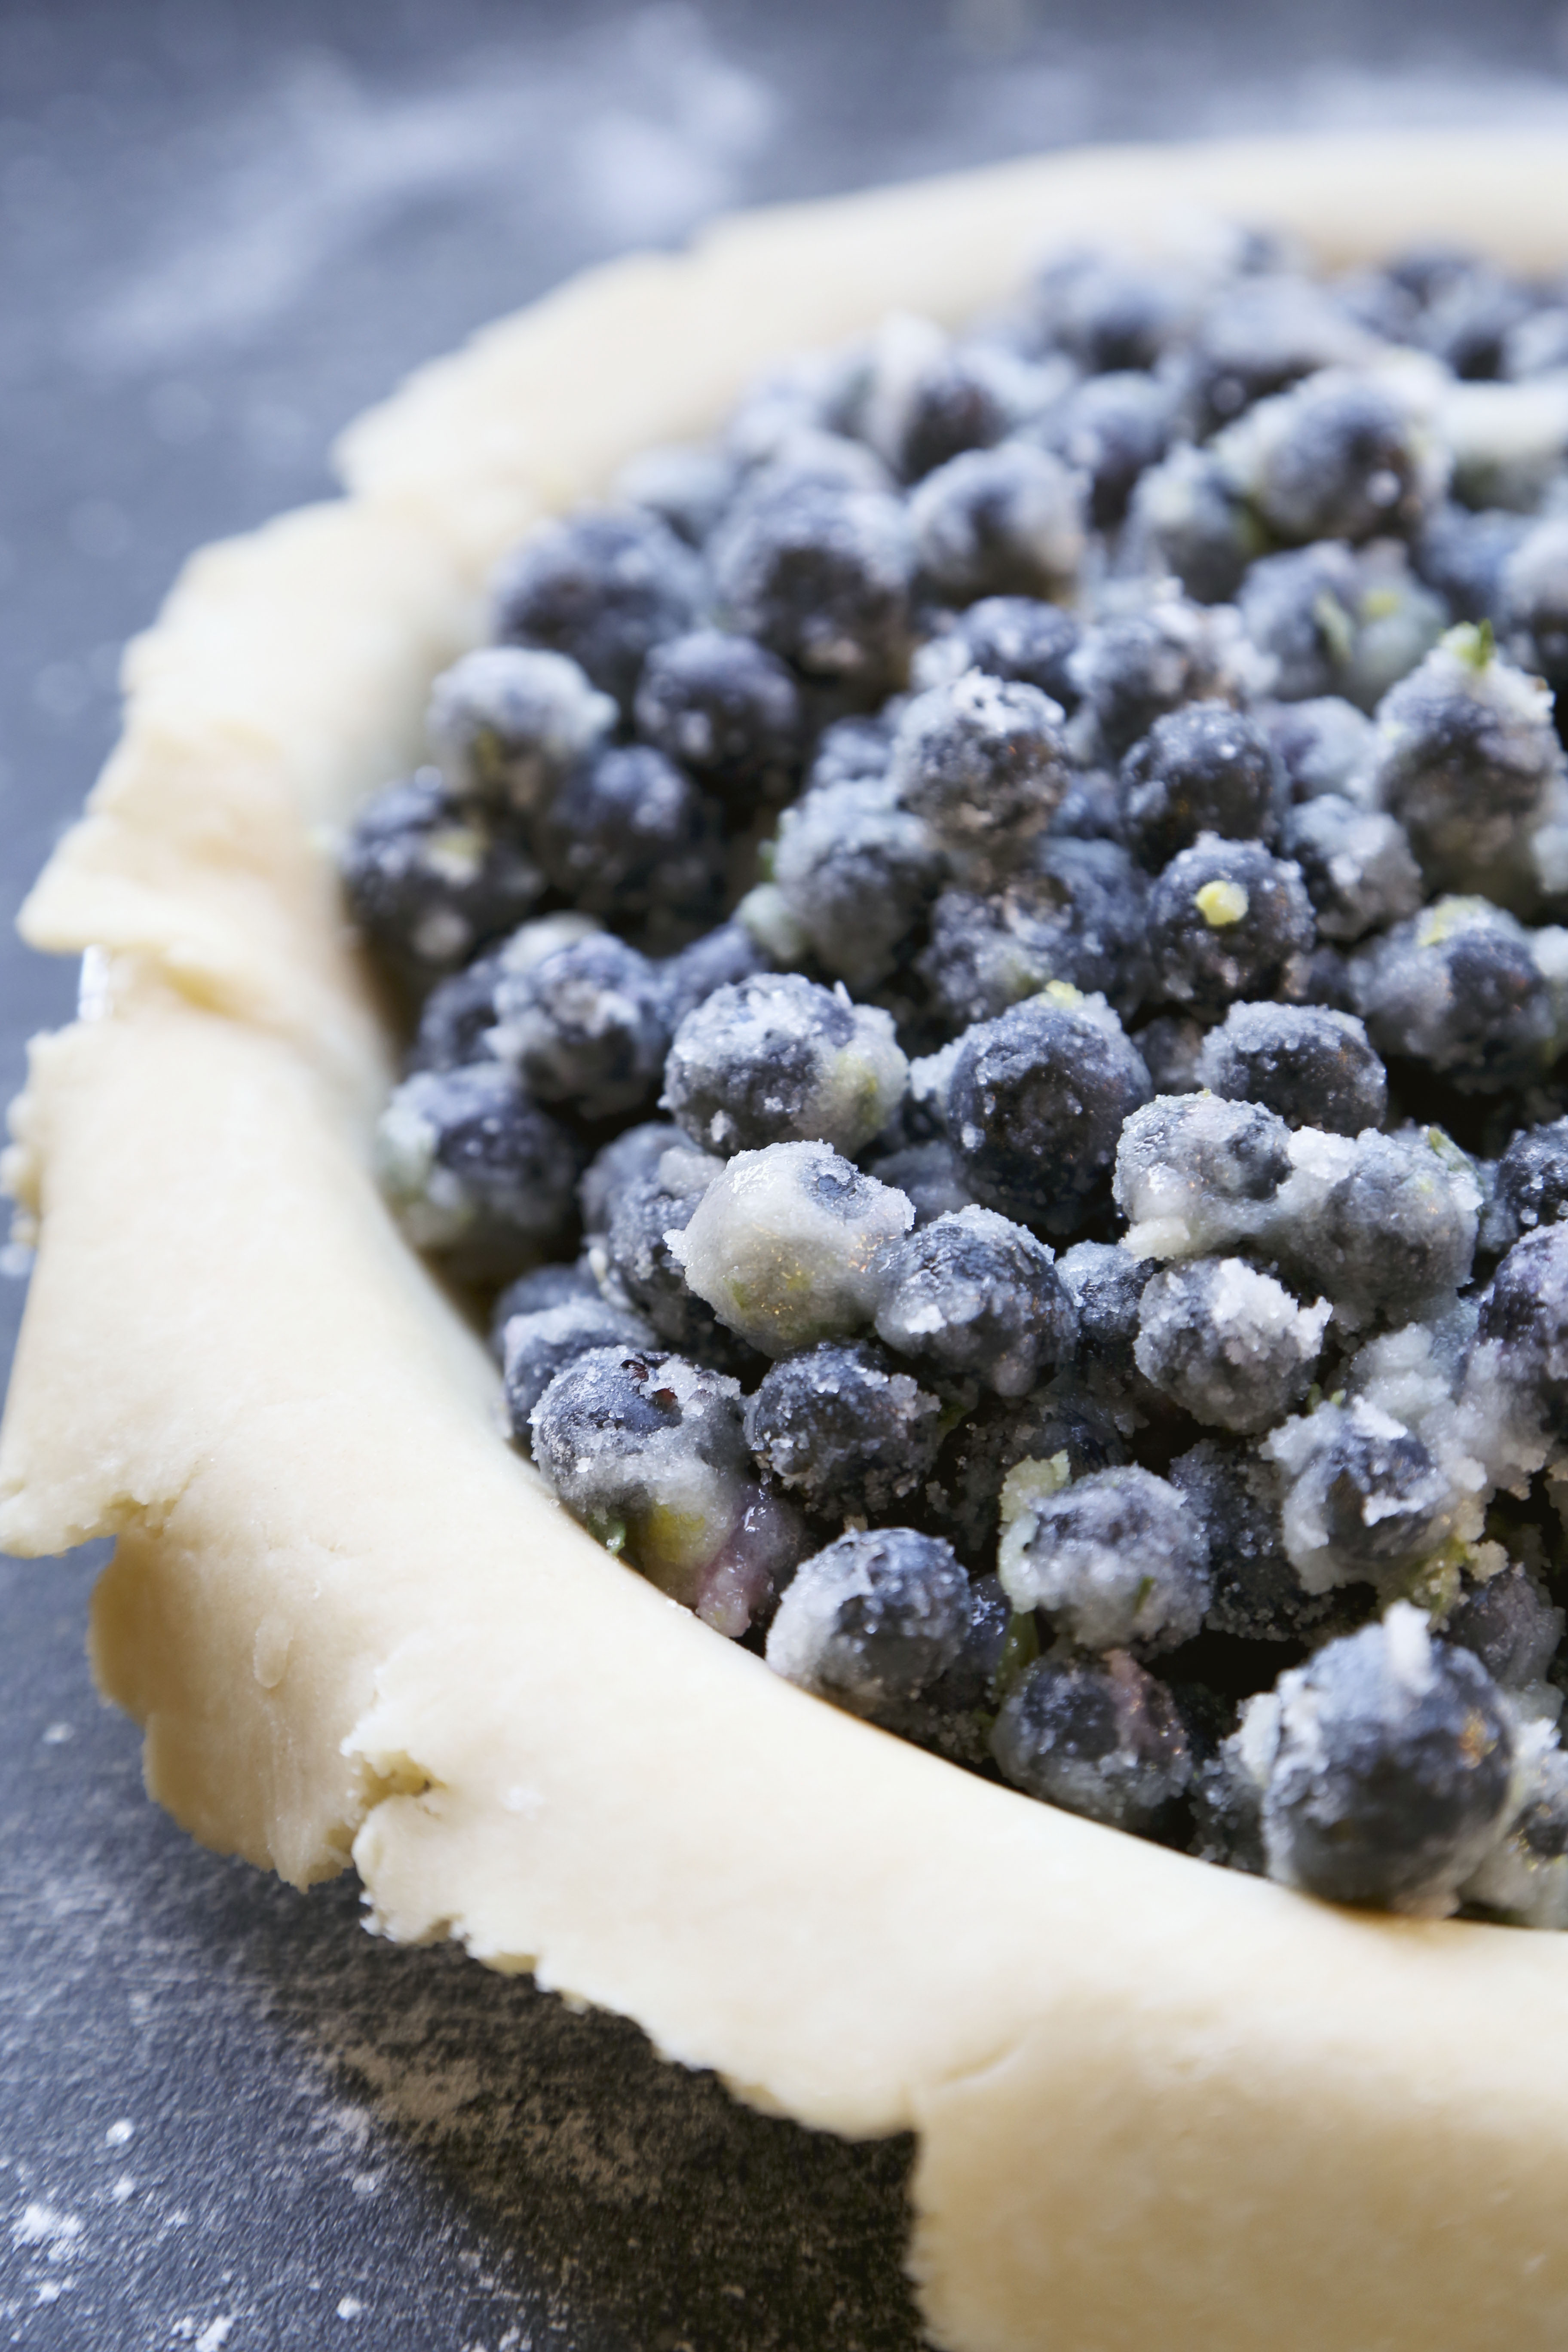
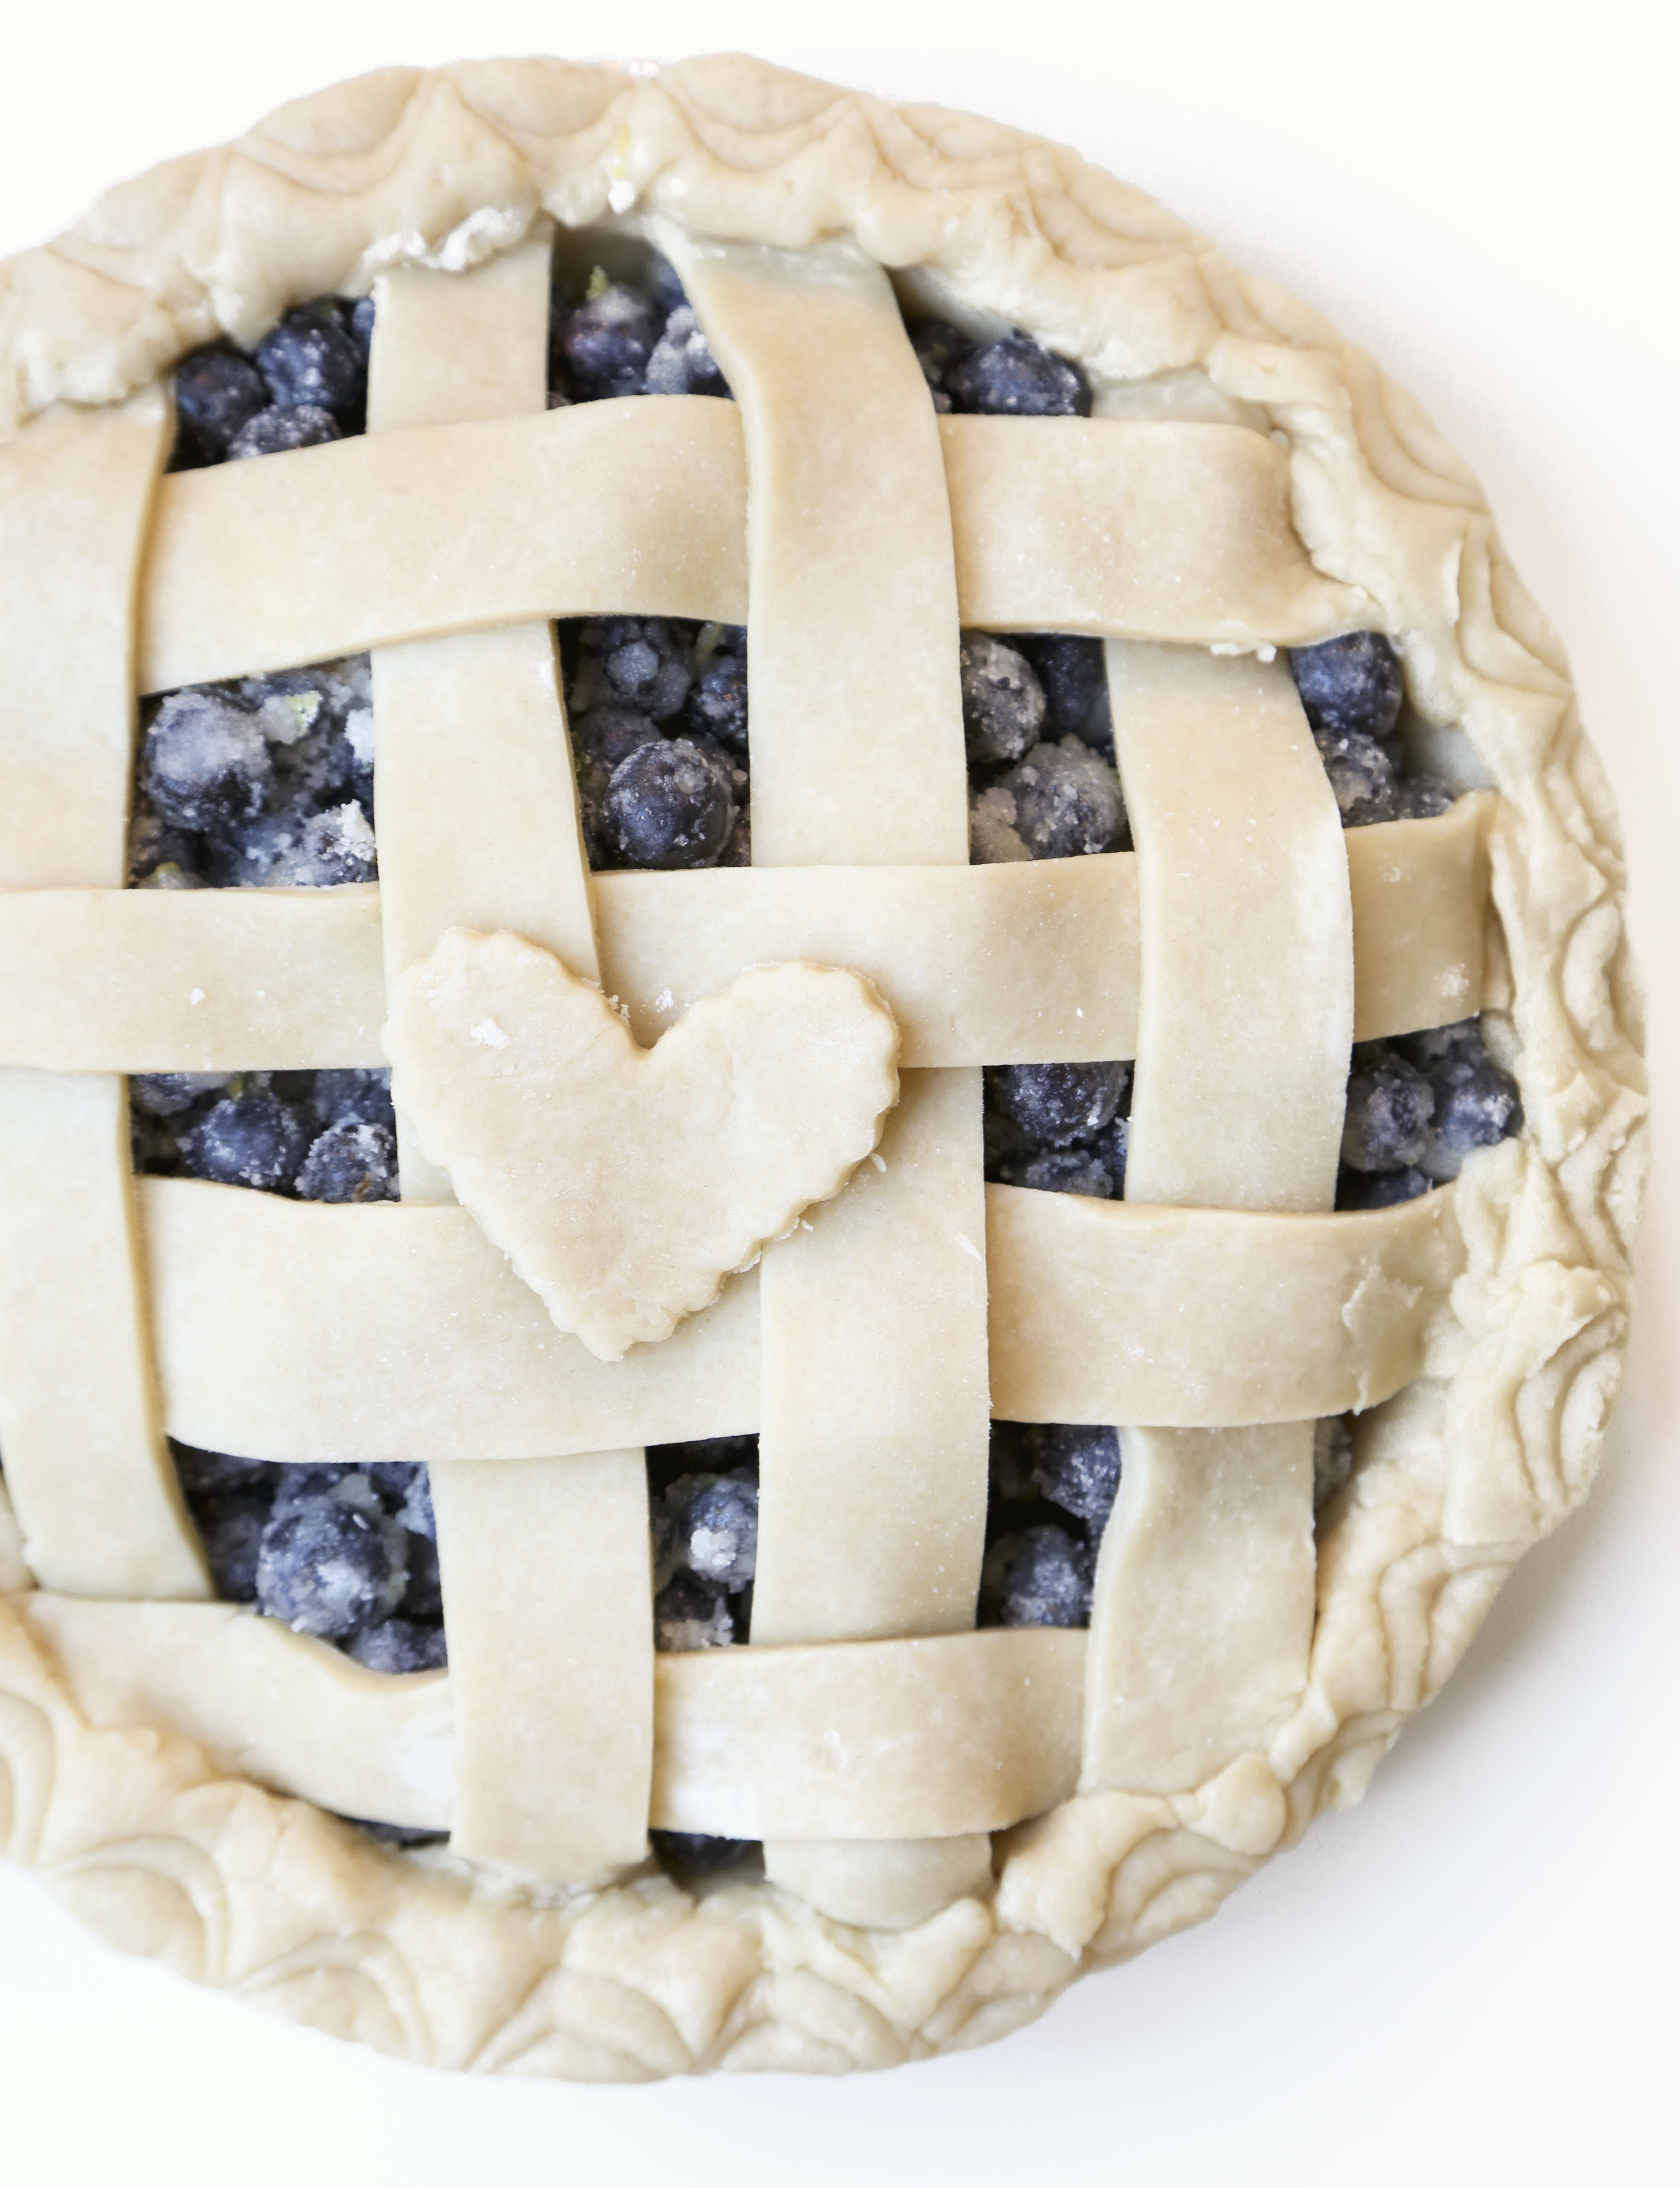
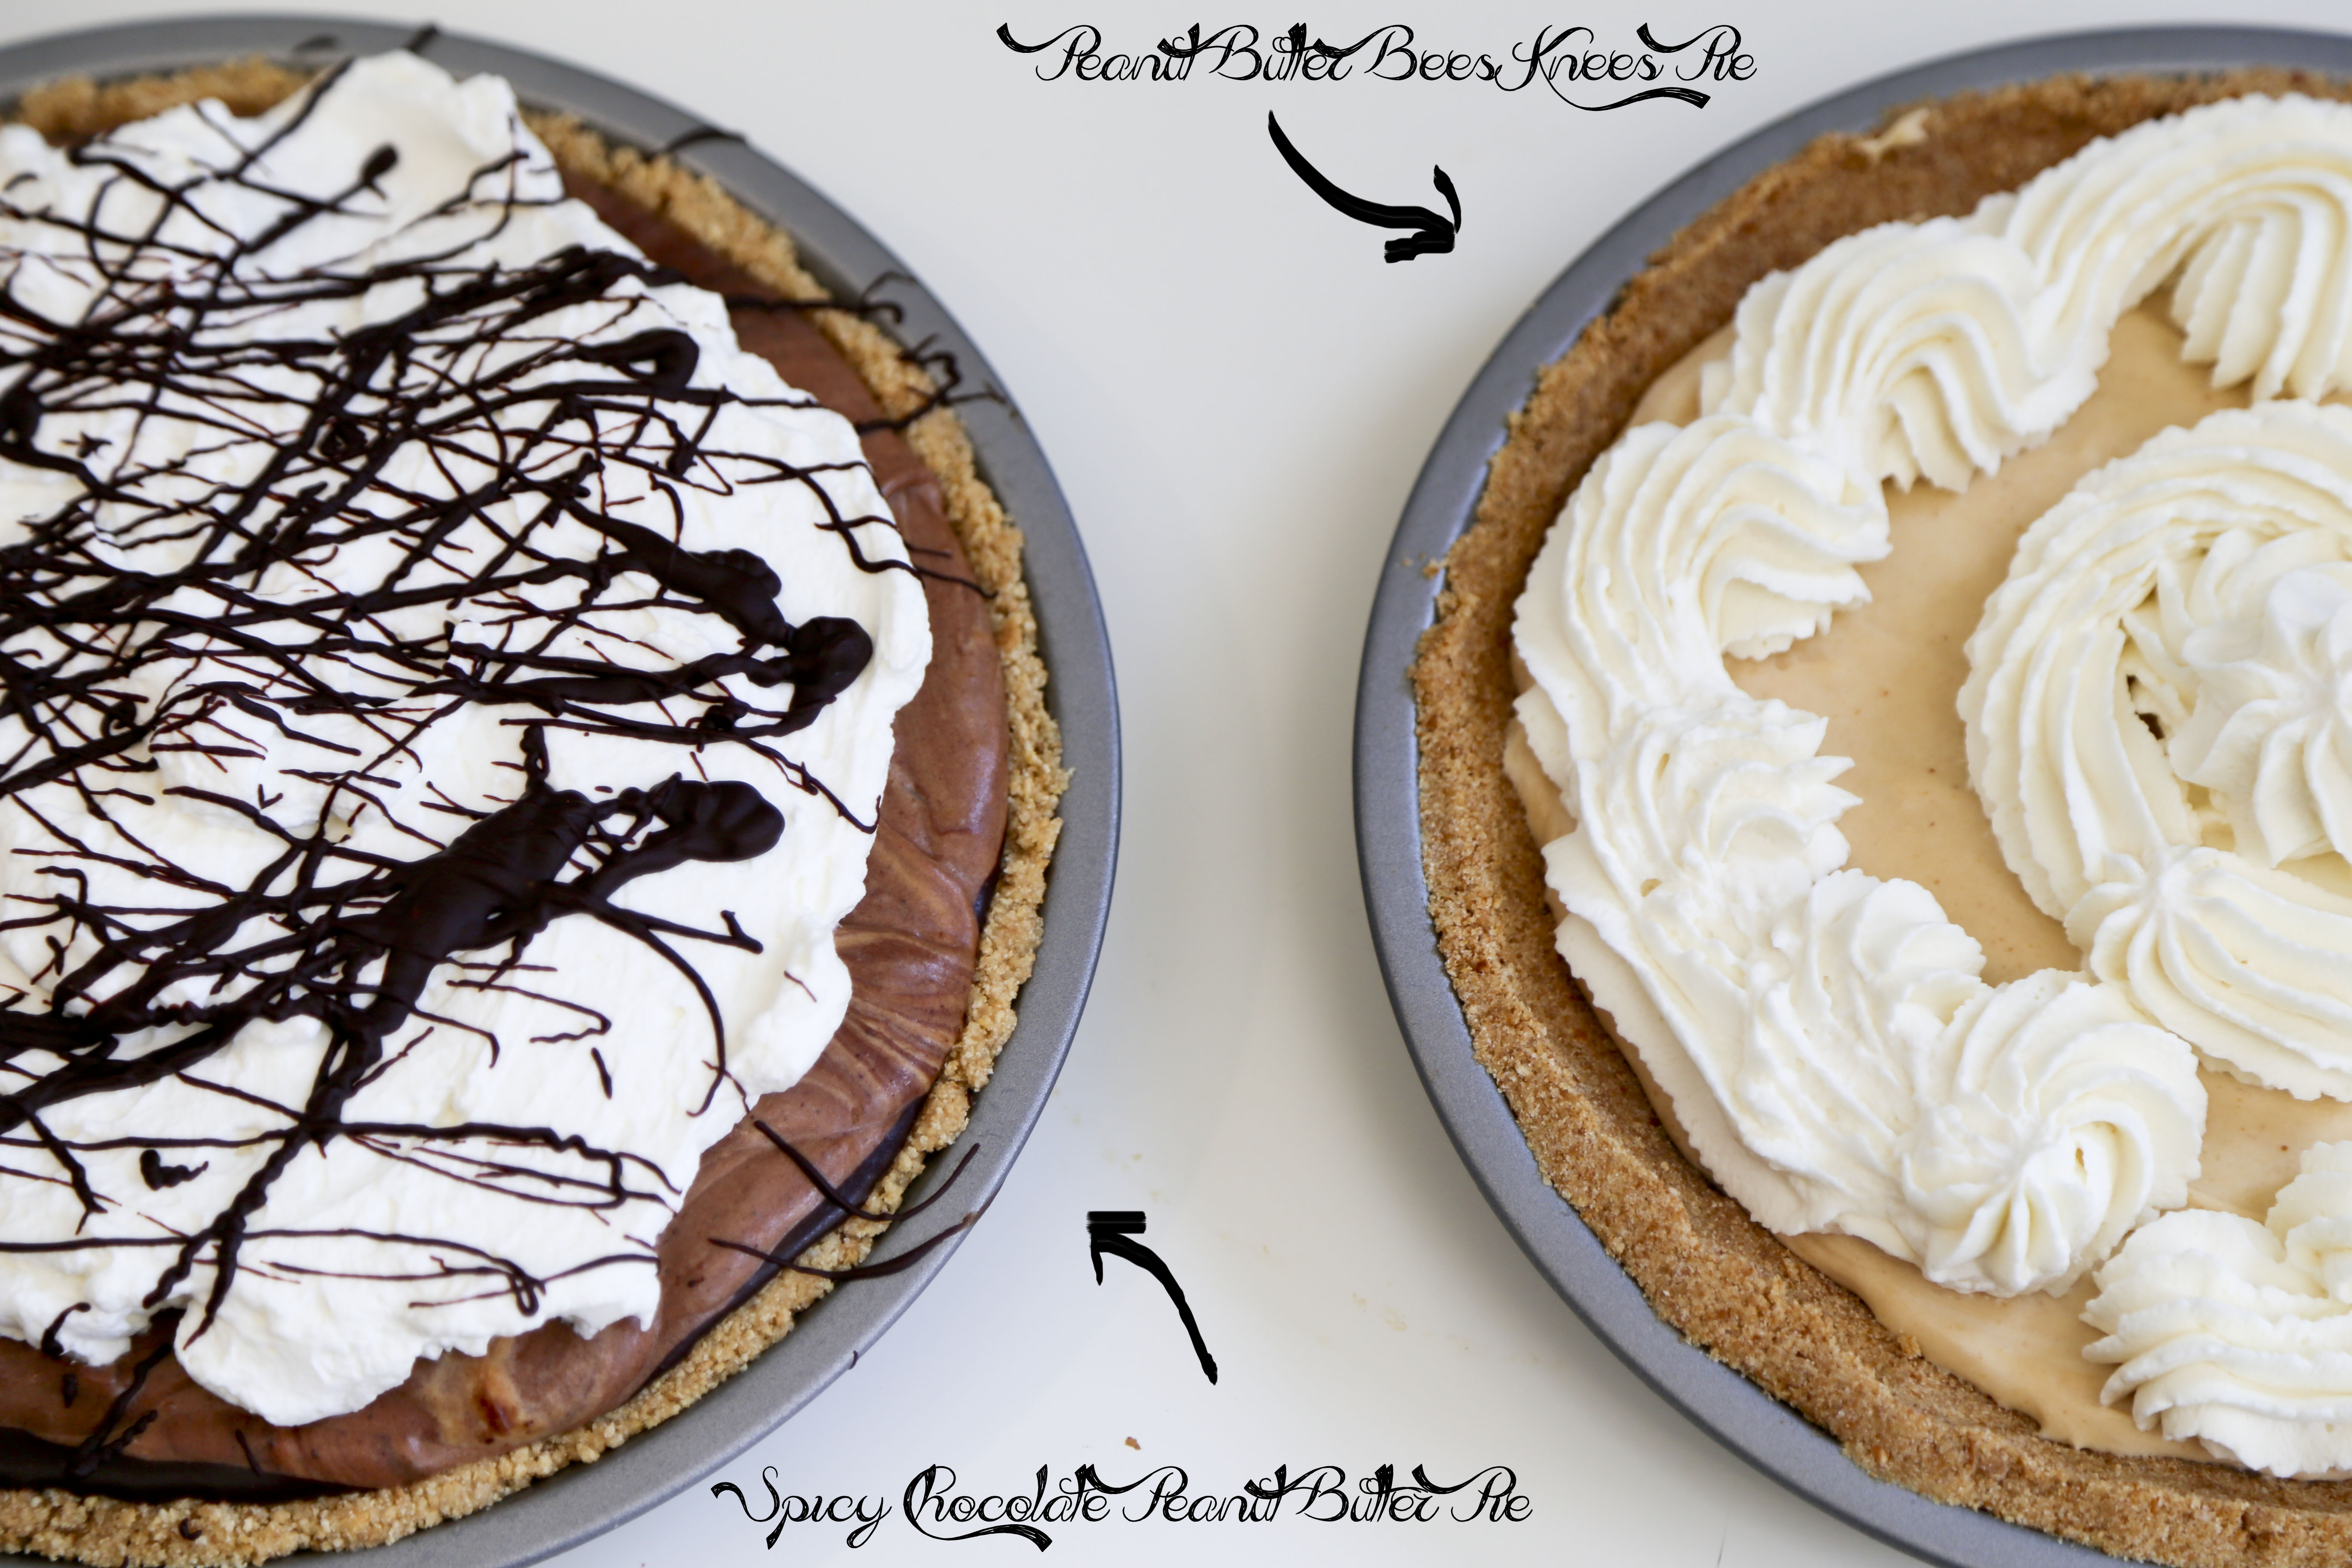
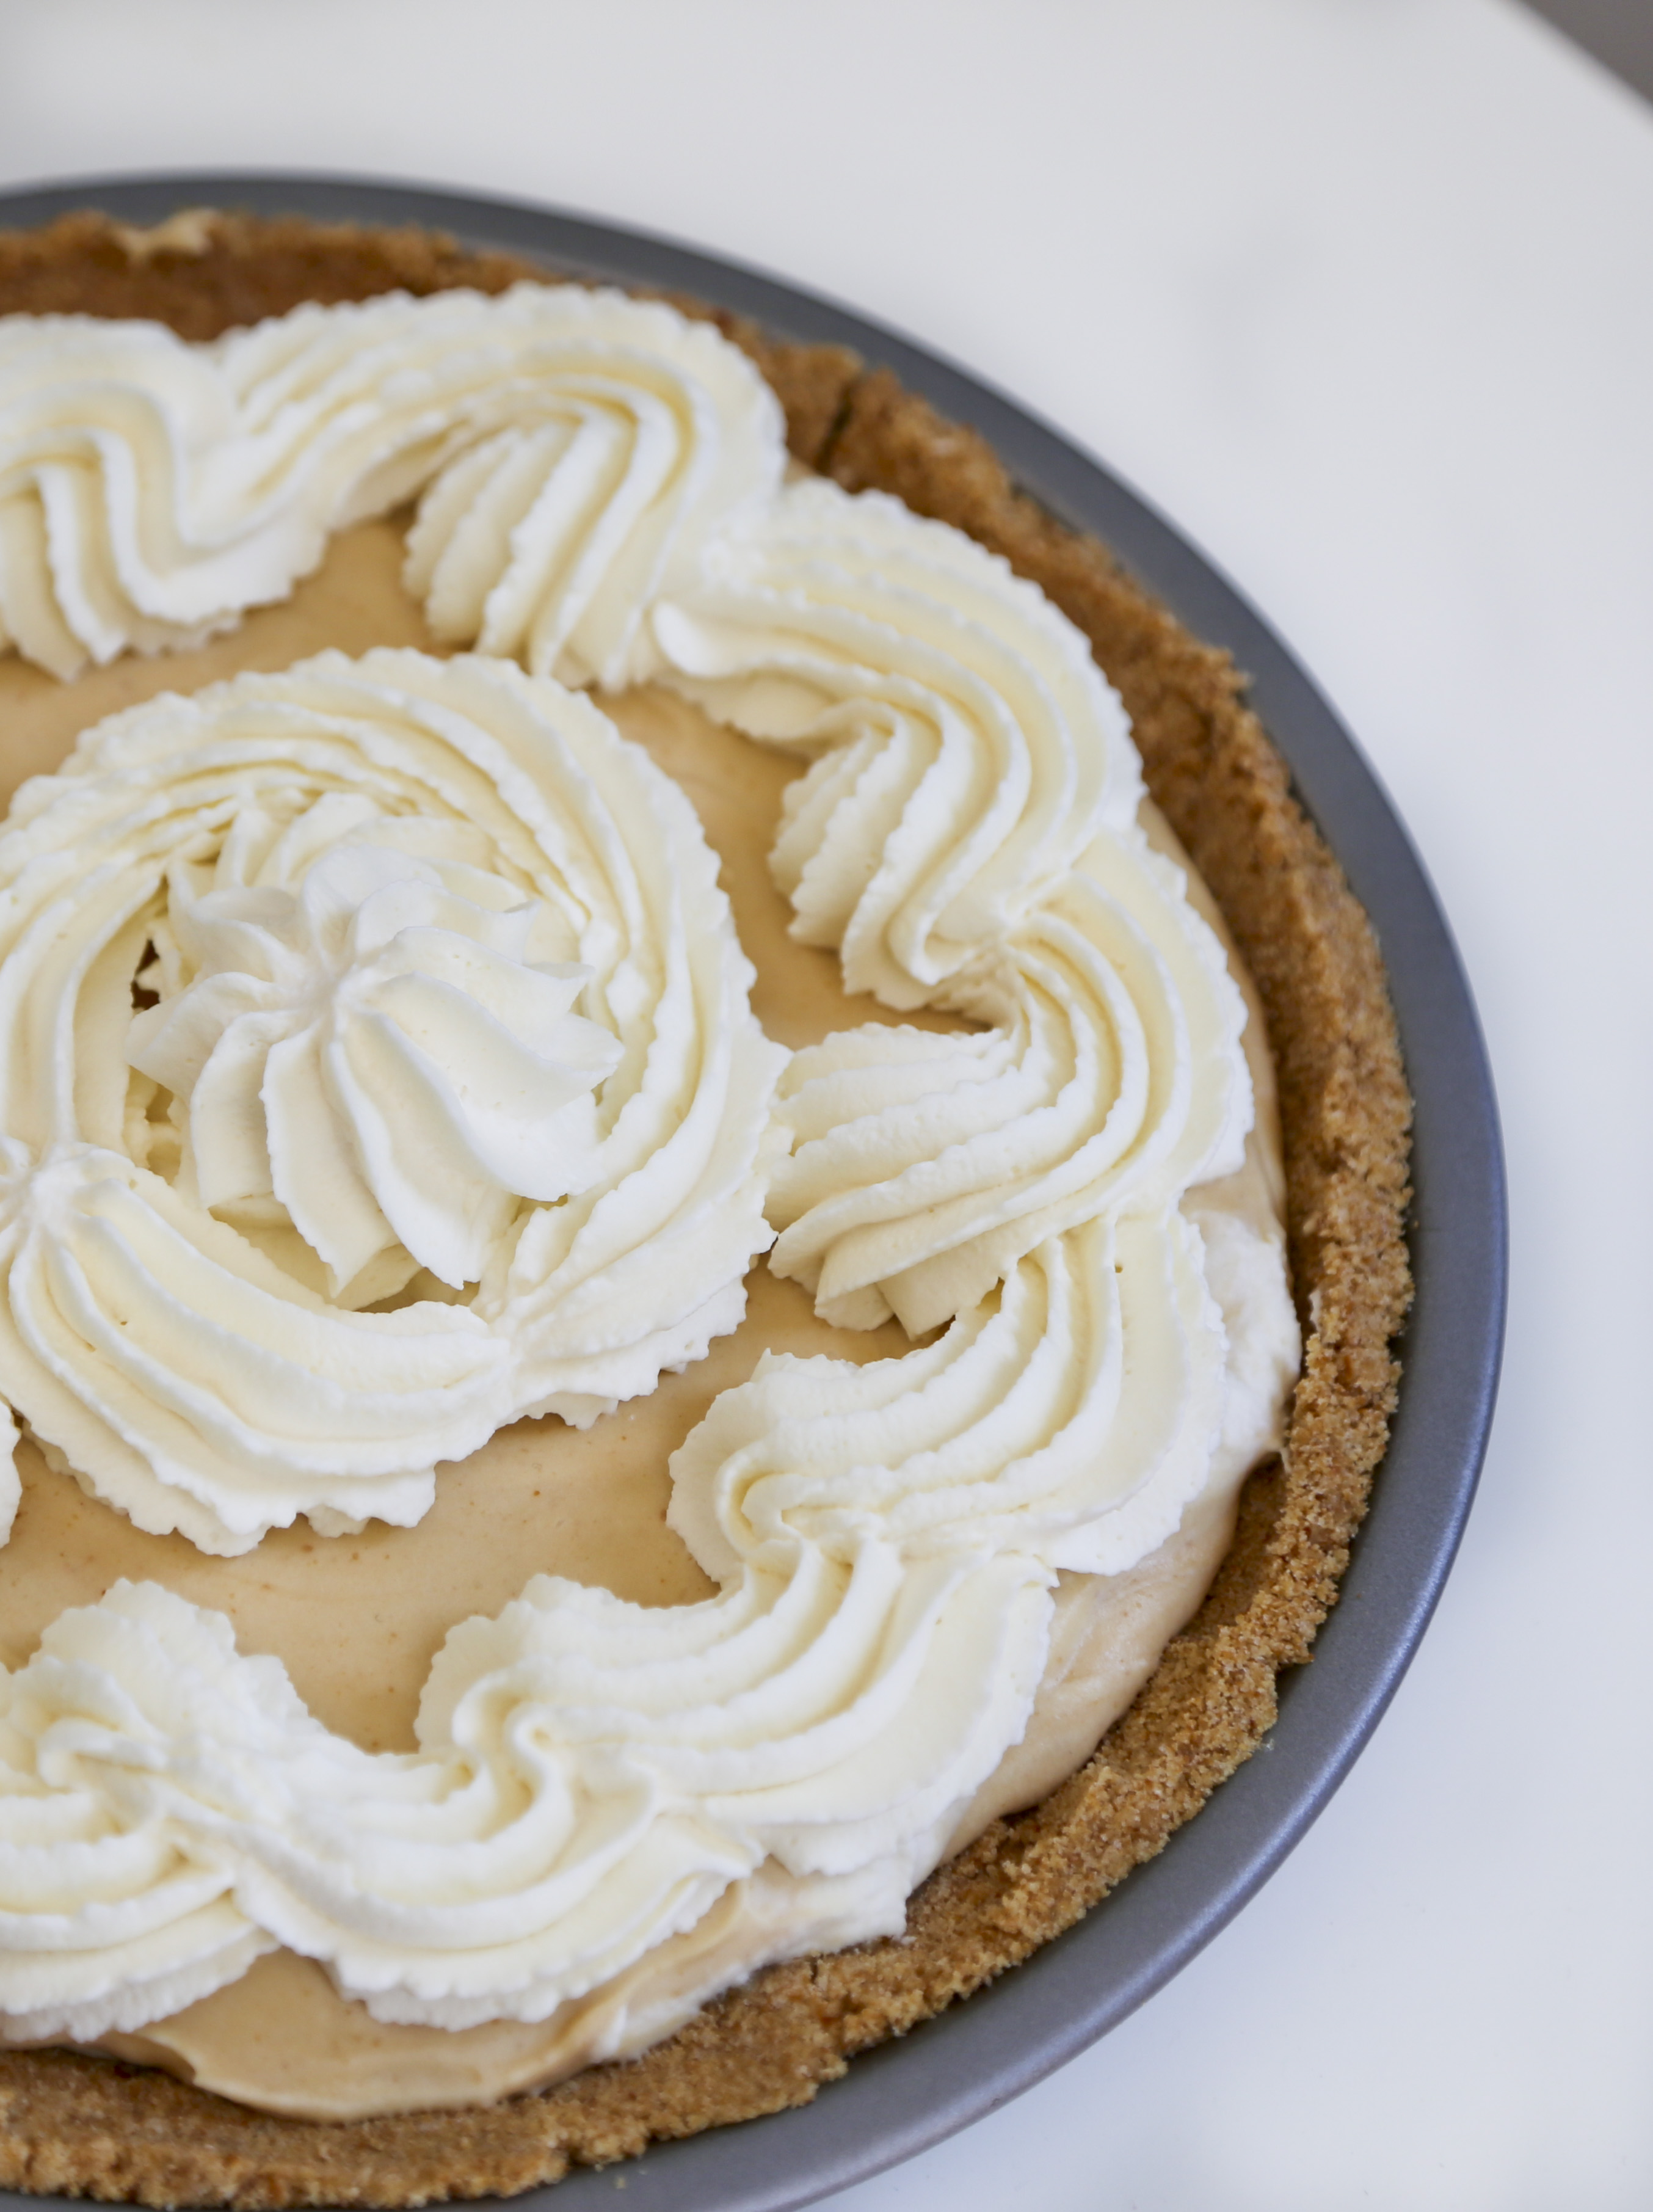
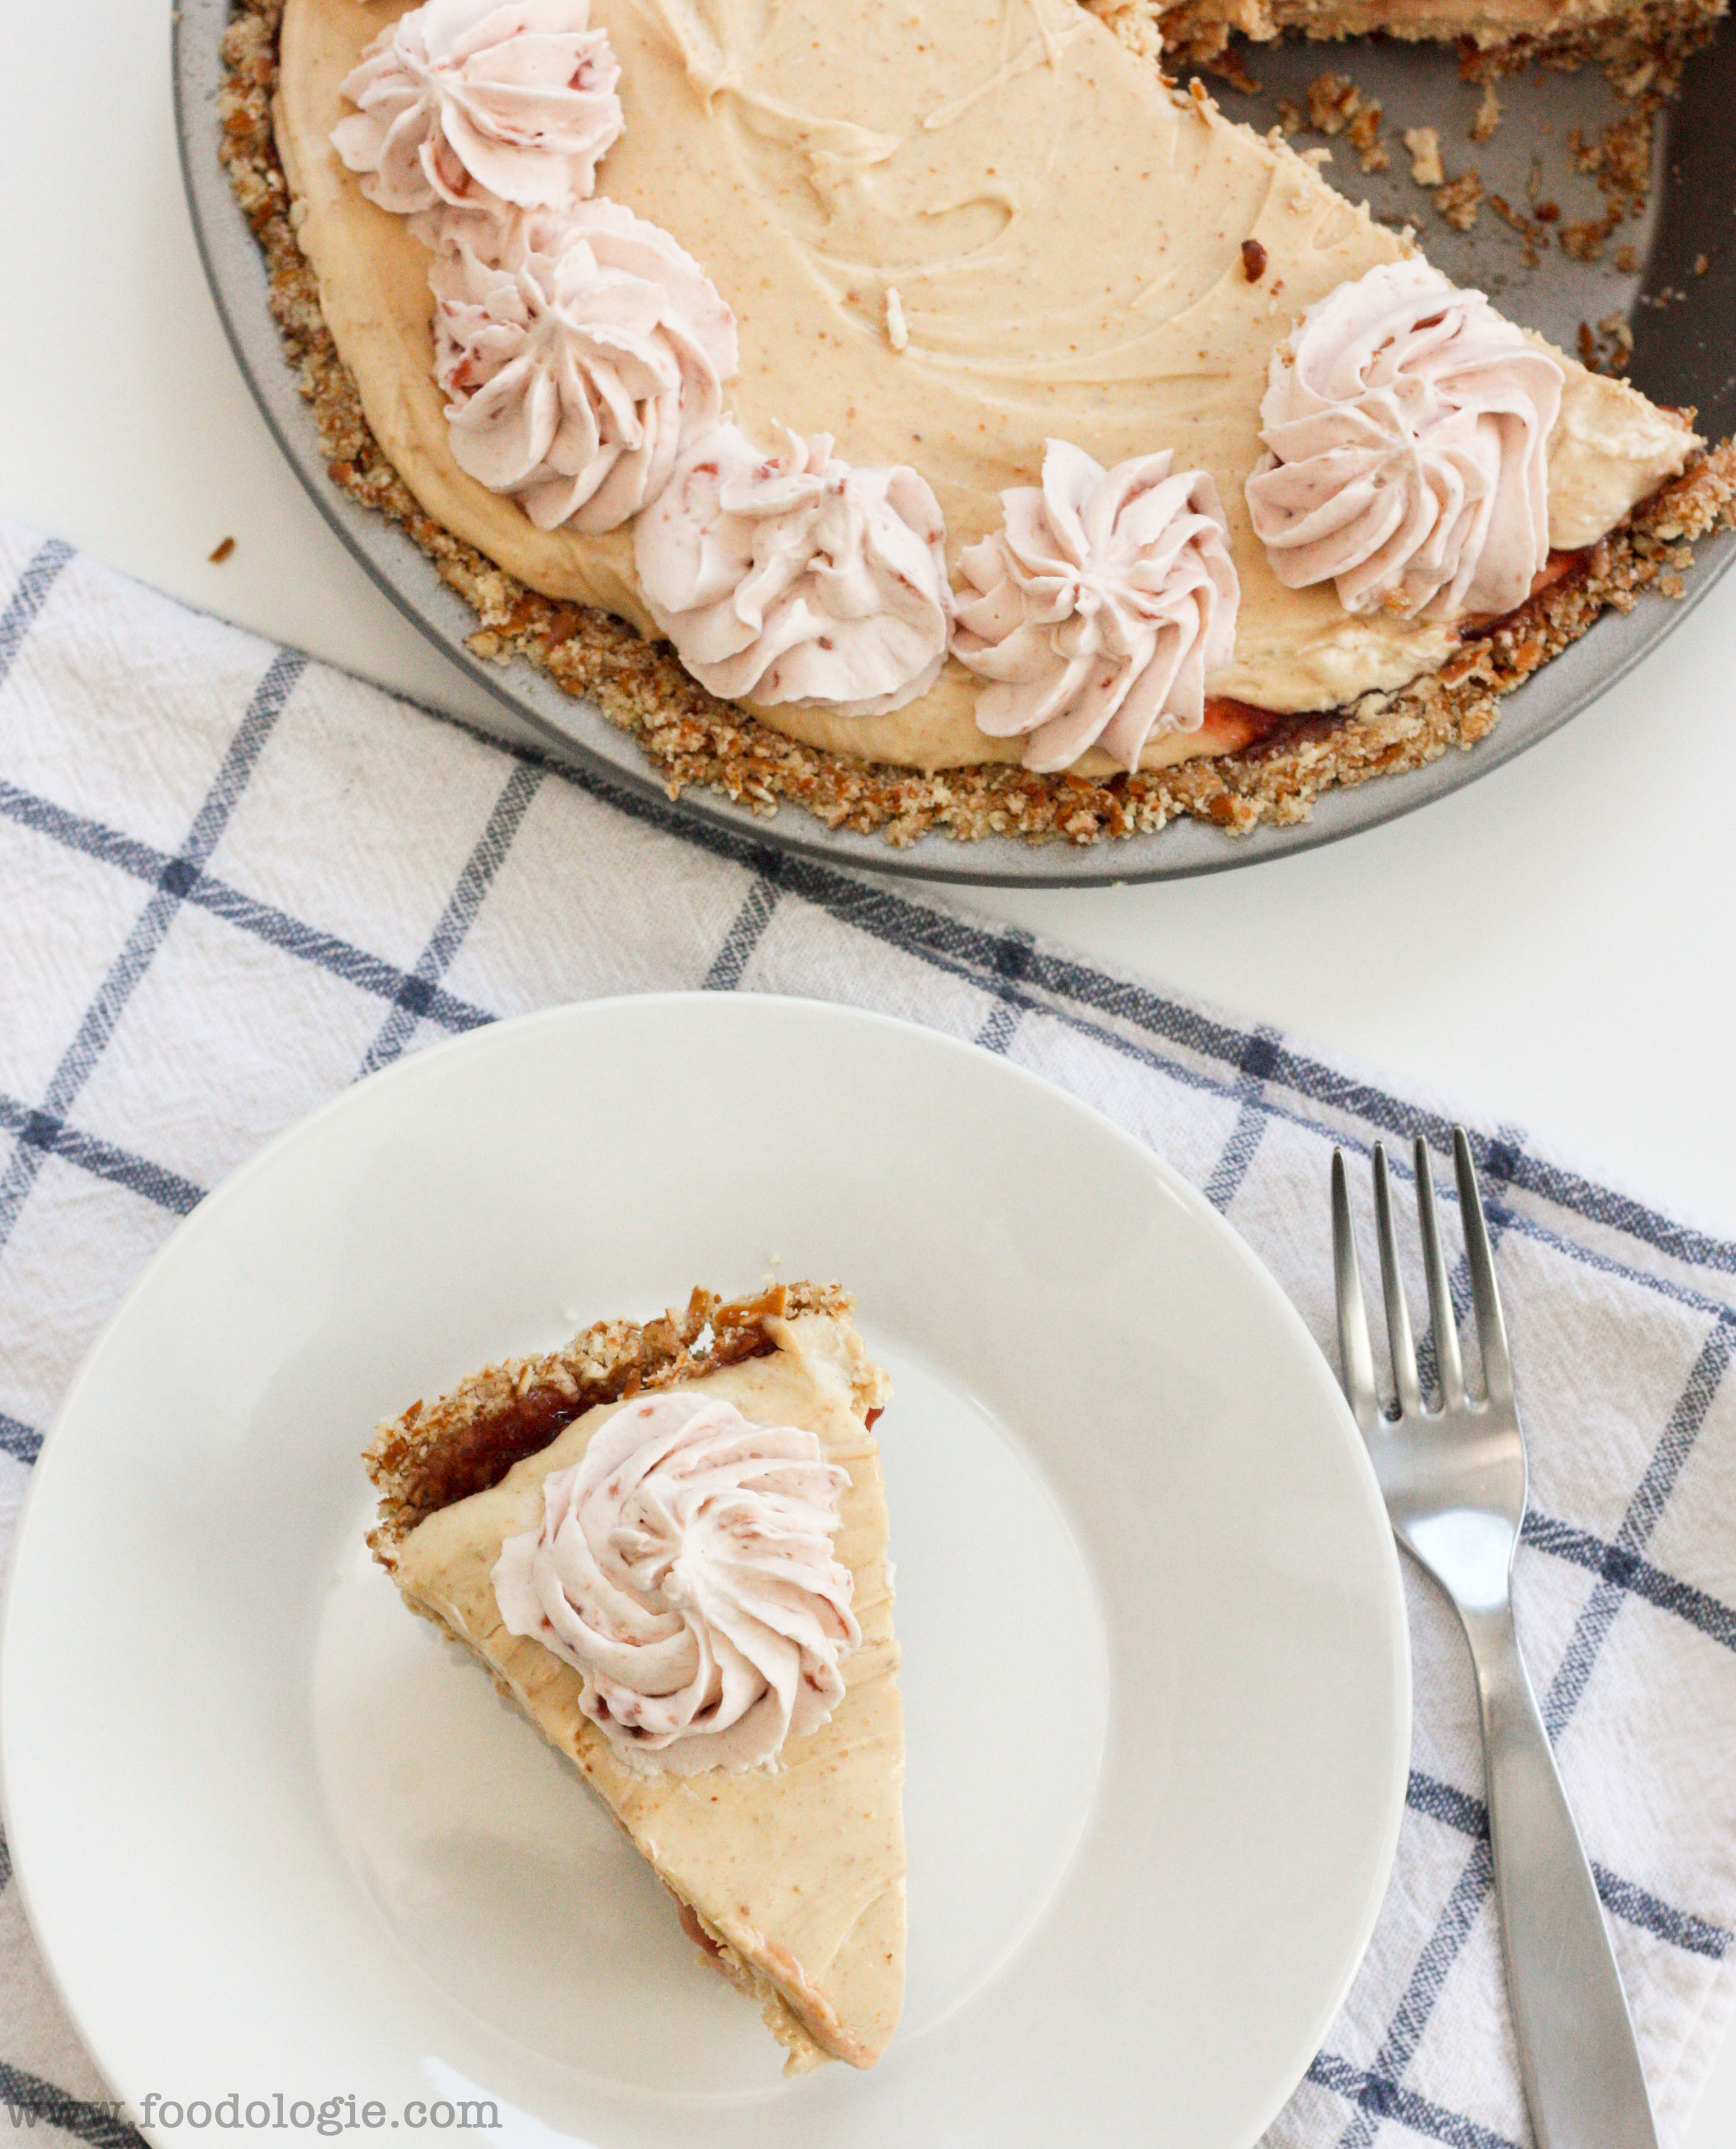
Let’s be honest, you can’t go wrong with PB&J.  There are so many delicious ways to eat it, like in Pie form!

pbandjpie2


What’s your favorite way to eat Peanut Butter and Jelly?  Are you a strict strawberry jam eater or do you branch out to other preserves?

Advertisement

Blueberry Lemon Thyme Pie in a Bourbon Crust

Before this week, I hadn’t made a pie in a really long time.  I had almost forgotten how fun it is to make a pie.

blueberrylemonpie1

There’s something really special about making a pie.  I think it has to do with all the steps.  It’s a process, but almost always, it’s worth it.

With this pie, it’s totally worth it. I can honestly say, I thoroughly enjoy making pies.  I love making the dough and using my fingers to break up the butter.  I love rolling out the dough to fit the pie pan.   I should also tell you that I’m a little bit in love with the crust.  I decided bourbon was a good idea, so I used bourbon instead of water.  Then I decided thyme goes great with blueberries and lemon. So why not?  I won’t lie, the thyme gives the pie a really earthy flavor.  I’m not sure it will be to everyone’s liking.  If you aren’t into earthiness, omit the thyme and you will have one rockin’ pie.

The only part of pie-making that I’m not crazy about is chopping fruit.  With this pie, this is a non-issue. pieingredients

This is pretty much the pie for those who don’t like to chop things.  There’s really zero chopping involved.  Just rinse your blueberries, grate your lemon and pluck some thyme off the stem, then throw it all together with some sugar and flour.  It all is pretty simple. blueberrylemonpie2

Of course with any pie, you can always get fancy.  Lattice tops are always fancy.  I tried to get even fancier by using a spoon to crimp the edge.  Oh and the little heart adds a nice touch, right?  All sorts of cute! blueberrylemonpie3

  I’m a fan.  If you’re in the mood for a fancy pants pie that is comforting and earthy (is earthy a bad thing?), this is the jam:

Blueberry Lemon Thyme Pie in a Bourbon Crust

For Crust:

350g all purpose flour
2 tbsp sugar
1/2 tsp salt
2 sticks butter, cold
1/4 cup bourbon

For Filling:

1.5lbs fresh blueberries (5 cups)
3/4-1 cup sugar
1/4 cup flour
1/2 tsp salt zest and juice of 1 lemon
1 tbsp fresh thyme  

First make your crust.  Mix together dry ingredients.  Cut your butter into cubes, using your fingers work into your flour mixture until you get coarse crumbs.  Add bourbon and work into a ball.  Wrap in plastic and refrigerate 4 hours or overnight.  Resting is a critical part of pie dough  making.  If your pie dough is shrinking, it’s because it hasn’t rested enough. So let it chill in the fridge a few hours. Pour yourself a glass of bourbon while you wait.

When you’re ready to make your pie, make your filling.  In a bowl, combine all ingredients Roll out the crust, half for the bottom and half for the top.  Place one half in the bottom of the pan.  Fill with fruit filling.  Then make a lattice top (or just roll it out and cut a few slits in the top), crimp as desired.

 If you want some cool pie crimping ideas, check this out. Put your pie in the freezer while you preheat your oven to 350F.  Once heated, bake for about an hour or until the blueberries are bubbling all around. Allow to cool completely and serve. eatingblueberrypie

Blueberry pie always looks like a mess when served.  But that’s part of the fun of pies.  Unlike layer cakes, pie aren’t perfect.  They’re messy and chunky, but overall pretty great.


I’m really interested to try more herbs in pies.  I’m thinking maybe strawberry basil might be a good combo.

Any other ideas?  How do you feel about pies? Fan? Not so much?

Honey Peanut Butter Ice Cream with Peanut Butter & Co.’s Bee’s Knees

Desserts are my weakness in life.  I wish I knew how to stop eating dessert on a daily basis.  But I don’t.

For the most part, I live on the moderation train.  I’ll eat anything but in moderation.  Sometimes when I overdo it (as I have been recently), I impose the “homemade” rule on myself.  I hate food rules but this one has worked for me.

The homemade rule is: I won’t eat a dessert (or other high calorie food) unless I make it myself.

If I want a cookie, I don’t need to go buy a pack of Chips Ahoy.  I can pull out all the ingredients and make it myself.

If I want mac and cheese, I’m buying pasta, milk, cheese and making my own cheese sauce.  None of that powder stuff.

If I want ice cream, I’m going to buy some milk and cream and pull out the ice cream maker.

It’s a good rule to have, because it makes me wait.  We’re used to instant gratification, having things exactly when we want them.  But with a lot of high calorie treats, that’s not really how it should be.  So my “homemade” rule is one of the better food rules, in my opinion.  It makes me slow down.

It’s time for me to impose my “homemade” rule, because yesterday I ate Costco frozen yogurt and I just finished a store-bought Oatmeal Raisin Cookie.  While homemade foods still have calories and fat, I feel better knowing that I’m not adding chemicals to my foods.  Not to mention, I can control the amount of fat, sugar and salt.  It’s not perfect, but it’s a step in the right direction.

I pretty much always want ice cream, so when Peanut Butter & Co. sent me their The Bee’s Knees Peanut Butter to try out, I decided ice cream was the perfect creation.

HoneyPBIceCream1

Honey Peanut Butter Ice Cream

1/2 cup honey
2 egg yolks
1 cup heavy cream
1 1/2 cup milk (I used non-fat)
1 cup The Bee’s Knees Peanut Butter

Beat together honey and egg yolks until slightly fluffy.  Beat in heavy cream and milk.  Pour into a medium sauce pan.  Turn on heat to medium.  Stirring occasionally until it starts to thicken slightly (about 10 minutes).  Once the mixture starts to get a bit thick, mix in peanut butter.

Remove from heat and allow to cool completely, then chill.  Pour into ice cream maker according to manufacturer’s ingredients.

Freeze for a few hours to set.  Serve and enjoy! HoneyPBIceCream2

I melted some extra Bee’s Knee’s Peanut Butter and drizzled it on top.  It was pretty much amazing.

Next time I want to try to make this without the added honey.  I think The Bee’s Knees can hold the honey-peanut butter flavor on its own without the extra sweetener.

HoneyPBIceCream3

Want to try making this ice cream on your own?  How about winning two free jars of The Bee’s Knees?  Peanut Butter and Co. is being awesome and giving away two jars of The Bee’s Knees to one Foodologie reader!


To enter the giveaway, head over to my Facebook Page.  Click the “Giveaway” tab and follow the module to enter.


You can enter by:

Leaving a comment on this blog post telling me what your favorite ice cream flavor is

Liking Foodologie on Facebook

Following me on Twitter

Tweeting about the giveaway.


The giveaway ends May 28th at midnight. Winner we be announced May 28th. Entry open to US residents only.

Disclaimer: As a member of Peanut Butter & Co.’s Yum Squad food blogger club, I received product in exchange for this post. All opinions expressed are my own.


What’s your favorite ice cream flavor?  I am a little bit in love with pistachio.

Peanut Butter Honey “Bee’s Knees” Pie

Can we talk about TV for a minute?  For my birthday, Jesse got me a Kindle Fire.

I was super excited to have an ebook reader, but then I learned that it comes with a month of free Amazon Prime… That includes the free streaming…

Instead of voraciously reading the classics like I originally intended to, I’ve been watching Downton Abbey.  I get it, I’m like 5 years too late.  But I’m loving it.  To further my recent TV obsession, on Friday night I made Jesse watch 3 episodes of “Orange is the New Black.”  Awesome.

So since I like being late to the party, let me tell you about something I made for a party a while back.  You remember the Peanut Butter Throwdown, right?

I made White Chocolate Wonderful Ice Cream

whitechocpbicecream1

But I also made pie, because pie is always a good idea.

pies

Let me tell you about one of them because you know what else is a good idea? Pretzel crusts.

Along with being obsessed with multiple TV shows, I’m also really into pretzel crusts.  I love the salty and sweet combination, so in pie form it takes it to a whole new level.

beeskneespie

Peanut Butter Honey Pie

1 1/4 cup pretzel crumbs
1/2 cup butter, melted
1/4 cup sugar
1/2 cup Bee’s Knees peanut butter
4 oz cream cheese, softened
7 oz sweetened condensed milk
1 1/2 cups heavy whipping cream, divided
4 tbsp honey

First make your crust by mixing together pretzel crumbs, butter and sugar.  Press into a 9” pie dish and place in the freezer until ready to use.

Next, beat together peanut butter, cream cheese and sweetened condensed milk.  Beat 1/2 cup of heavy whipping cream until if holds firm peaks.  Fold whipped cream into peanut butter mixture until combined.  Set aside.

Beat remaining 1 cup of whipped cream.  Once it start to form peaks, add in 4 tbsp honey.

Next assemble the pie.  Spread peanut butter mixture into the pie crust.  Top with honey whipped cream.  Chill for a few hours.  Serve cold.

Ok now you can forgive me while I go crawl into bed to watch more Downton Abbey.

Which shows are you into these days?

I also recently discovered Catfish.  That’s totally amazing…

Strawberry Shortcake in a Jar

It’s almost summer, you know what that means?

Summer means that everyone and their mother is making strawberry shortcake.  Why don’t you take a ride with me on the strawberry shortcake wagon, but with a twist of Foodologie.

StrawberryShortcakeinaJar4

That’s code for take something sweet and put it in a jar.  I love things in jars…

piesinjars

Pies in Jars

bdaycakeinjar3

Birthday Cake in a Jar

coconutcurrystew

Coconut Curry Stew in a Jar

strawberrybasilginandtonic2

Cocktails in jars: Strawberry Basil Gin and Tonic

The list goes on really.  But aside from the hipster-y “cute” factor of a jar, I find them to be extremely functional.  They’re sturdy and portable.  I can’t tell you how many times I’ve dropped jars, thrown them into bags.  They just don’t break.  It’s great.

So let’s go back to strawberry shortcakes.

StrawberryShortcakeinaJar2


They’re one of those appealing desserts because they’re simply delicious.  Everyone seems to have a way to make them.  Some people use biscuits, some use pound cake, others use angel food cake.

I like to use plain yellow cake (specifically this recipe for Moist Yellow Cake from Epicurious).  It’s lighter than pound cake but denser than angel food cake.  It’s really just all sorts of amazing.

Here’s what you need:

That’s a pretty short list of ingredients for such a fantastic dessert.  The beautiful thing about making them in jars is that they’ll pretty much look cute no matter what you do.

StrawberryShortcakeinaJar1


Wash and slice your strawberries.  Remember these are going in jars, so you want to cut them into small pieces.  Toss with sugar and lemon juice.  I eyeball the sugar, about 1/4 cup for every cup of strawberries.  If you like them sweeter, add more sugar.  Remember this is all about how it tastes best for you. Let the strawberries sit (macerate, if you want to get technical) for 15-20 minutes so they let out all those wonderful juices and you get strawberry saucy goodness (yes, saucy goodness is a legitimate culinary term).

Next whip your cream.  I don’t like mine too sweet.  I add a few tablespoons of sugar for each cup of whipped cream, and about 1/2 a tsp of vanilla.  Once your whipped cream is mixed, transfer it to a ziploc bag.

Now you can assemble.  Take your cake and break it up into little chunks. Place some in the bottom of your jar, next put a few spoonfuls of strawberries in there, press down with a spoon.  Next the whipped cream.  Cut off a corner of the ziploc bag so you have a piping bag of sorts.  Pipe some whipped make sure to get it one the edges so it looks nice.  Then repeat (be sure to press down the cake so more fits in there!).  Depending on how big your jars are and how thick your layers are, you might be able to do 2 or 3 layers.

StrawberryShortcakeinaJar3

Serve or put a lid on them and take them to go!

I wish I had eaten these on a picnic in a park or on the beach, because that really would have added to the full effect of it all.  They’ll just have to go on the menu for my next picnic.

What’s your favorite summer dessert?

Roasting a Goat. For Real.

Sometimes I think I like the process of cooking/baking more than I like the eating part at the end.  Don’t get me wrong, I love eating (who doesn’t, right?), but I often find myself in situations where I’m trying to figure out how to make the most elaborate thing possible.

This weekend’s cooking extravaganza was a prime example of this.

I’ll be honest.  I didn’t really make this.  I made the marinade and the side dishes.  The real work was from these two guys:

(Why yes that is my boyfriend wielding a knife like a butcher bad ass.)

So I can’t really take credit for roasting the goat, but I’ll take credit for the marinade: lemon zest, lemon juice, rosemary, sage, oregano, thyme, cilantro, mint, salt (lots of it), pepper, onions and lots and lots of garlic.

I’m not joking.  It really was a whole goat.  40 pounds. That means a whole lot of marinade is needed and a whole lot of people to eat it, the latter is not really an issue.

So Jesse built a contraption, because I can’t think of another way to describe it, to roast the goat on.

Clearly he’s the handy one in the relationship… Unfortunately upon picking up the goat early on Saturday morning, we found the goat was too big for the roasting contraption. Oops.

Plan B.  Roast the goat in pieces.  Not an ideal situation.  I really wanted it to be an entire goat, because honestly, that sounds more exciting (and maybe intimidating?).  But this worked too.

Now friends, the trick to roasting a goat is low flame and patience, because it takes hours.  It took about 4 hours to make, and I imagine if we had done the whole thing in one piece it would have taken far longer.  In the meantime, there were snacks and drinks and music.

What does great with a goat?
Here was my menu:

-Roasted Goat
-Goat Kabobs with Goat Meat, Onion, Red Peppers and Pineapple.  Brushed with oil and grilled (FYI These were AMAZING)
-Spinach-Strawberry Salad with Red Onions, Candied Pecans and Balsamic Vinaigrette
-Jeweled Rice: Cinnamon and Cardamom Spiced Rice with Dried Fruit and Nuts
-Bread and Tortillas
-Dessert: Fresh Watermelon, Passion Fruit Cream Pie (recipe coming soon!), and Lemon Cream Pie

All sorts of tasty.

(Oh yeah, that’s totally my boyfriend slicing a goat leg like a boss)

So let’s be honest.  Roasting a goat is a little ridiculous and probably not something you’re going to do on your average weekend, but for the food enthusiast, I would say it’s worth it.  At the very least, it’s fun to sit around with your friends as a goat roasts behind you, like a super elaborate BBQ… with a goat leg on it…

Or maybe just so that when people ask you what you did this weekend you can say “I roasted an entire goat.”

You decide 🙂

Lemon Cupcakes with Berry Whipped Cream Icing

I’m starting to realize I have a tendency toward repetitiveness.  I do things over and over again without really getting tired of it.

Example #1: Today I listened to the same song over and over again from about 10am until 4pm. I literally kept hitting repeat on YouTube.

Example #2: Every so often, when I have nothing to do, I like to watch Pride and Prejudice alone in my bed and cry my eyes out when Elizabeth is telling her father how much she loves Mr. Darcy.  It gets me every time.

Example #3: I make lemon cupcakes for any number of occasions.  I never get tired of experimenting in my quest to make the perfect lemon cupcakes/cake.

I think this is the jackpot though.  Oh wait, do I claim that every time?  Who knows… let’s go with it.

Lemon Cupcakes with Berry Whipped Cream Icing

adapted from Epicurious Moist Yellow Cake

3 cups all purpose flour
1 tbsp baking powder
1/2 tsp salt
1 cup butter, room temperature
1 3/4 cup sugar
5 eggs
zest and juice of 2 lemons
1 tsp vanilla extract
3/4- 1 cup milk*
1 box instant vanilla pudding mix
1 1/2 cup heavy cream
1/4 cup powered sugar
3-4 tbsp berry jam (i.e. strawberry, raspberry, blueberry, etc)

Pre-heat oven to 350F.

Sift together flour, baking powder and salt.  Set aside.

Combine lemon juice and milk.  You want enough to make 1 1/4 cup of the mixture.  So squeeze the lemon juice into a measuring cup and fill until you get 1 1/4 cups.  Set aside.

Cream together butter and sugar.  Beat 3-5 minutes until fluffy.  Add lemon zest, vanilla and one egg at a time, beating 30 seconds between each egg.   Add flour mixture 1/2 cup (ish) at a time and milk mixture, alternating add each one.  Lastly, mix in the instant pudding mix.

Pour batter into line cupcake pan.  Bake 15-20 minutes depending on the strength of your oven, or until golden brown and cooked through.  Makes about 30 cupcakes.

Allow to cool completely and make the icing.  Beat heavy cream to soft peaks.  Add powdered sugar and jam, a bit at a time.  Keep beating until stiff.  Put icing in a piping bag and top off cupcakes (or spread with a knife).

Serve immediately or keep refrigerated until about an hour before serving.

This is definitely something I’d like to repeat, not just because I like making cupcakes but because they were delicious. I think this is going to replace any other lemon cupcake recipe I thought was best.  These are better.  Trust me.  Give it a try, then repeat.

I’d also like to repeat the shrimp tacos I made for dinner last night that I’m kicking myself for not photographing.  Oh well.  For the sake of repetition, here’s one more photo…  Is that okay?

It’s past midnight.  I can’t sleep.  I’m listening to the same song I listened to all day and am tempted to go into my kitchen to make these again.  Or maybe I should break my repetitive streak and make something new.  What do you think?

Lemon Blueberry Tartlets

There are 8lbs of blueberries in the fridge.  No, I’m not kidding, nor am I exaggerating.

I love blueberries, and usually I am of the firm belief that they are so delicious that they should be eaten fresh on their own.  But I’m the only person in my household who eats blueberries and as much as I like them.  I don’t think I can eat 8lbs before they spoil.

So be prepared for some blueberry-related recipes.

This first one though should really be categorized as a lemon recipe.

If you don’t love lemon flavored desserts, we can’t be friends.

Okay, not really, I still love you.  But this recipe is so intensely lemony that it takes a true lemon fanatic (aka my sister and me) to truly appreciate its majestic qualities.

Truth be told.  It’s pretty easy.  All you do is make some lemon curd, put it in a graham cracker crust and top it with fresh blueberries.  Don’t let the simple preparation fool you.  This thing is intense, amazing and perfect for summer.

Lemon Blueberry Tartlets

1 package graham crackers
6 tbsp melted butter
3 eggs
3/4 cup sugar
1/3 cup lemon juice (about the juice of 2 lemons)
4 tbsp butter, softened
zest of 2 lemons
1-2 cups blueberries

Make your crust:

Crush the graham crackers, pour melted butter over graham cracker crumbs.  Toss to combine and press into one large tart pan or about 5 mini tartlet pans.  Refrigerate.

Make Lemon Filling:

Place a stainless steel or glass bowl over a pot of boiling water.  In the bowl, combine the eggs, sugar, and lemon juice.  Stir over the double boiler until thick.  This will take about 10 minutes.  Carefully remove from heat and stir in the butter and lemon zest.  Set aside and allow to cool completely.  You can make this a day or two in advance and just keep it refrigerated.

Assemble Tartlets:

Spoon lemon filling into prepared graham cracker crusts.  Arrange blueberries over the filling.  Sprinkle with a little powdered sugar to make it look extra special.

Serve immediately or refrigerate.  Makes 5 mini tartlets or 1 large tart.

If you love lemon and blueberries as much as I do, I can almost guarantee the end result will look like this:

Lastly, do you have any blueberry recipes or ideas to recommend?

Summer Pie in a Jar

Ithaca made me a jar person.

At the risk of sounding totally hippie/granola, I will say I find jars to be very multifunctional.  Not only can you carry soups, beverages and meals in them, you can also make a pie in one…

Versatile.  I like it.  I also like blueberries and nectarines.  Let’s find a way to combine them all.

Doesn’t that look like summer?  I thought so.

Summer Blueberry-Nectarine Pie in a Jar

5 half pint mason jars
1 recipe for pate brisee (this is the crust, you can also use store bought)
2 nectarine, diced (optional to peel)
1 cup blueberries
1/4 cup flour
1/2 cup sugar
1 tsp vanilla extract

A quick note before starting: make your crust/pate brisee a few hours, or the night before, to prevent the dreaded shrinking crust. The longer it rests, the better!

Roll your crust on a well floured surface.  I suggest rolling it thinner than you would roll your average pie crust, if not your crust to filling ratio will be quite high, but keep it thick if that’s you’re style.  After rolling, line jars with pie crust.  This was a little tricky for me.  I bought the jars that were kinda narrow so I couldn’t fit my hand in it, so I suggest using the wider mouthed jars.  I had to piece to together and use a spoon to press it down.  Either way it should look somewhat like this by the end:

Place them in the fridge or freezer as soon as they’re ready.  You don’t want melted/soft crusts in your jar!

While your jars chill, dice (and peel, if you like) your nectarines and wash your blueberries.  In a bowl, combine nectarines, blueberries, sugar, flour and vanilla.  Toss to coat all the fruit in the sugar and flour.  Let sit for a few minutes.

In the meantime, make your pie lids.  Roll out some more pie dough then using the jar lid, cut out circles.

Next, quickly fill your pie jars with fruit filling.

Put on the lids and either press the edges using a fork, or your fingers.

Whichever you prefer is fine.  You can also get creative with cookie cutters and cut out different shapes to make the top, or use a crumble topping.

At this point you can either put them in a freezer and save them for a rainy day or you can bake them off!

Should you choose to bake them right away, pre-heat your oven to 400F.  Bake for 30-45 minutes or until golden brown and bubbling on the top.

I used the toaster oven.  It’s summer after all.  Who wants to turn the oven on and heat up the whole house?

No thanks.  But I would say yes to this

After they’ve cooled, you can put a bow on them

and give it as a gift.

or serve it up on a plate.

Either way, this is a pretty fun way to use a jar!