Miracles happen.
I’m back to blogging, and you’re going to hate me. I made cupcakes.
I know cupcakes are so 2008.
Since I’ve been wedding planning, (Side note: we’re 4 months away. Where did time go? We have a wedding website. This means it’s happening) I’ve become acutely aware of wedding trends. Cupcakes are no longer cool. Layer cakes are in (which I’ve loved probably since 2008).
BUT cupcakes are so handy for outdoor events. The weather up here in the Bay Area has been hit or miss recently, but today we’re heading outdoors for a bubble soccer birthday celebration. I’m always the person who volunteers to bring a cake, but sometimes don’t you just want a dang cupcake?
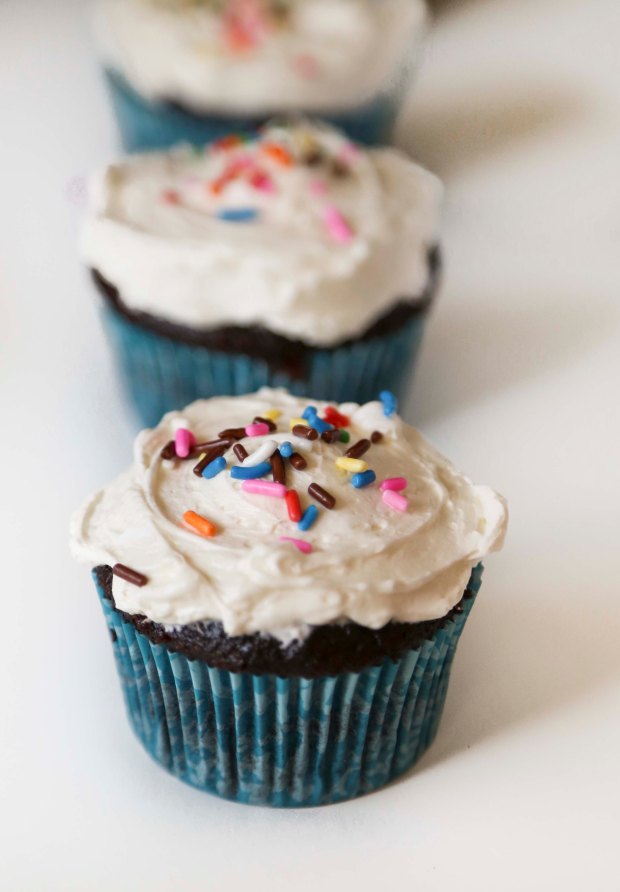
They’re cute. They’re simple. They’re delicious.
Eat a cupcake. Feel free to listen to the Buena Vista Social Club station on Pandora while you make and eat them. That’s what I’m doing and it’s amazing.
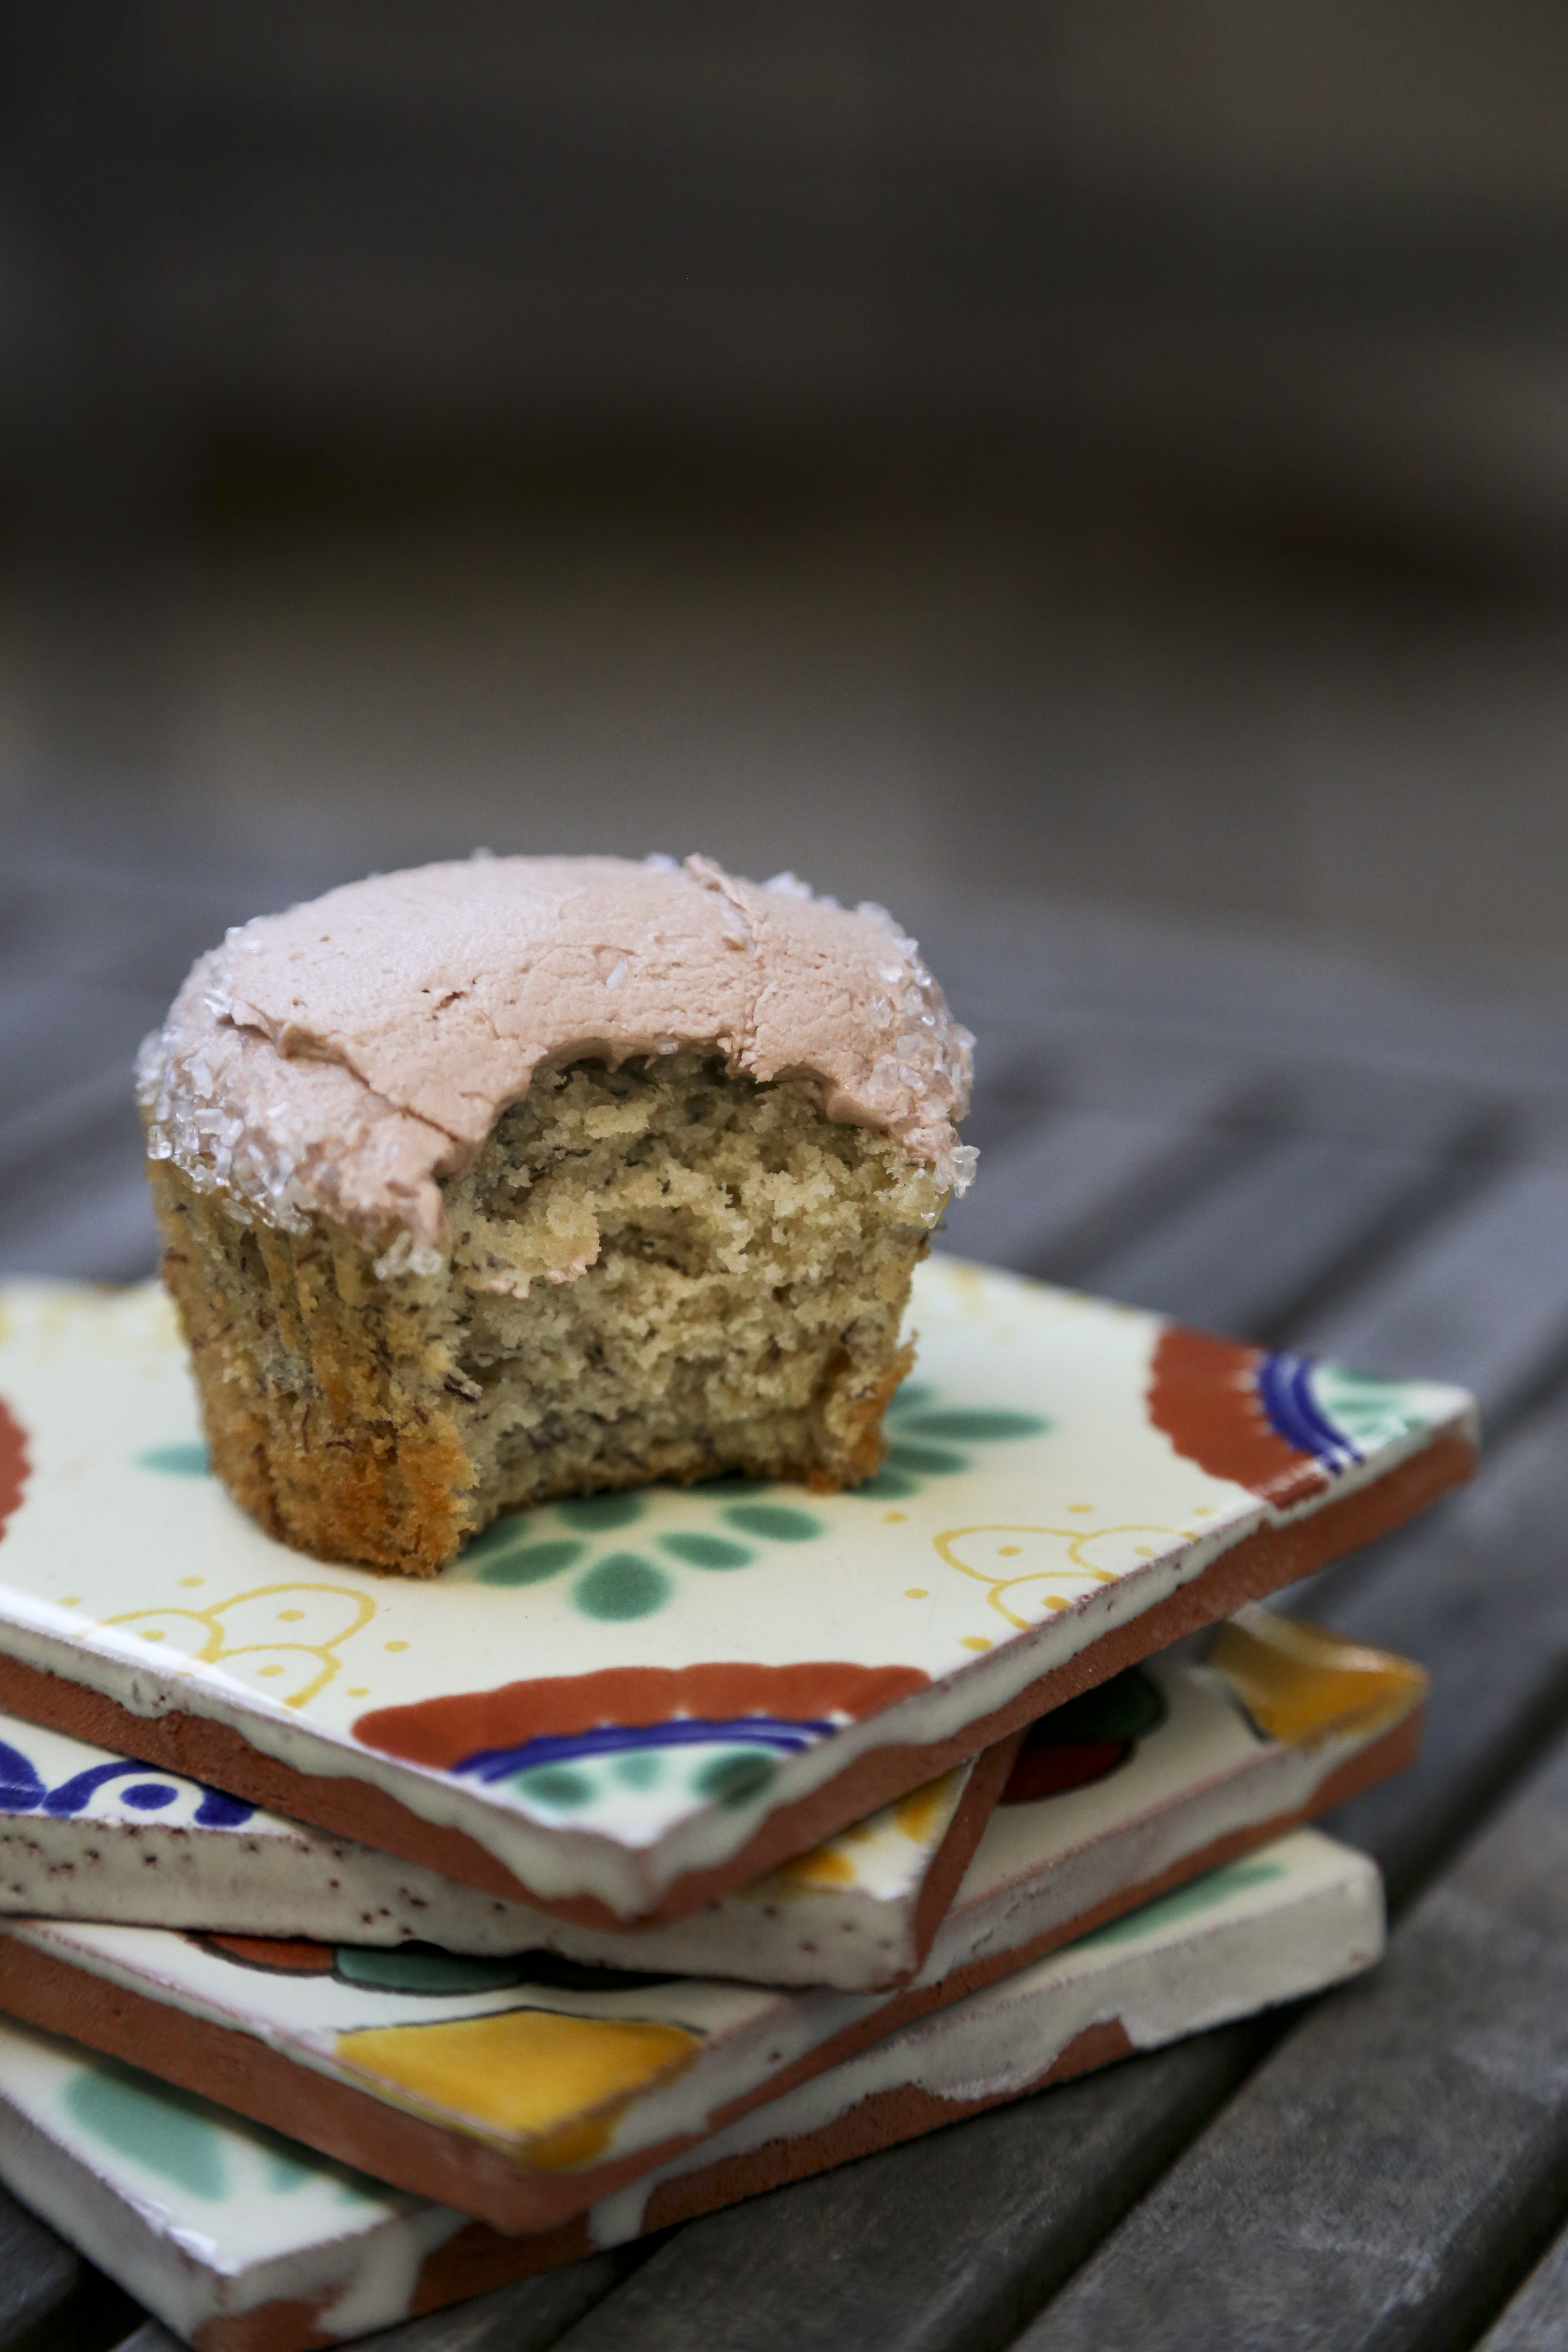
These cupcakes have become by go to recipe. They’re a crowdpleaser and the frosting isn’t sickeningly sweet.
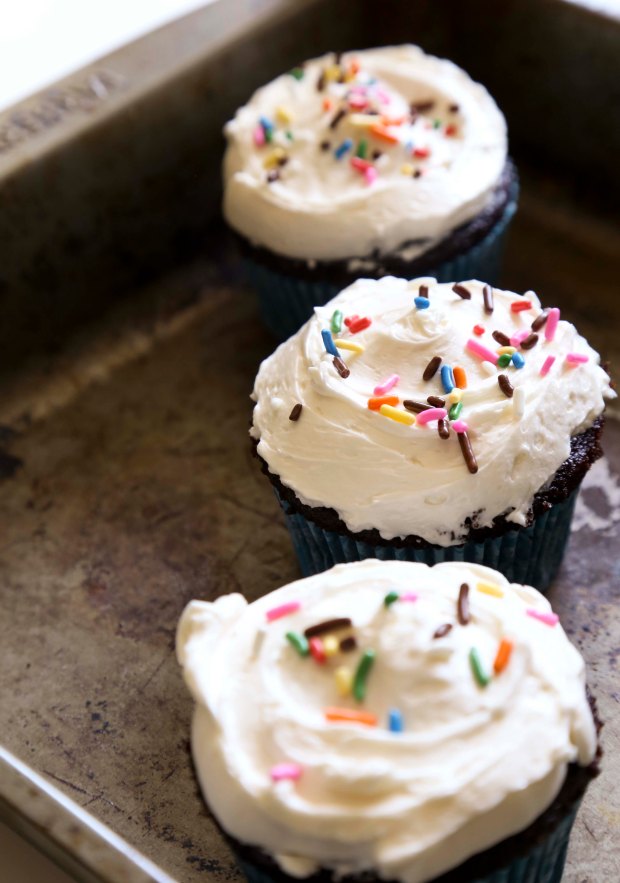
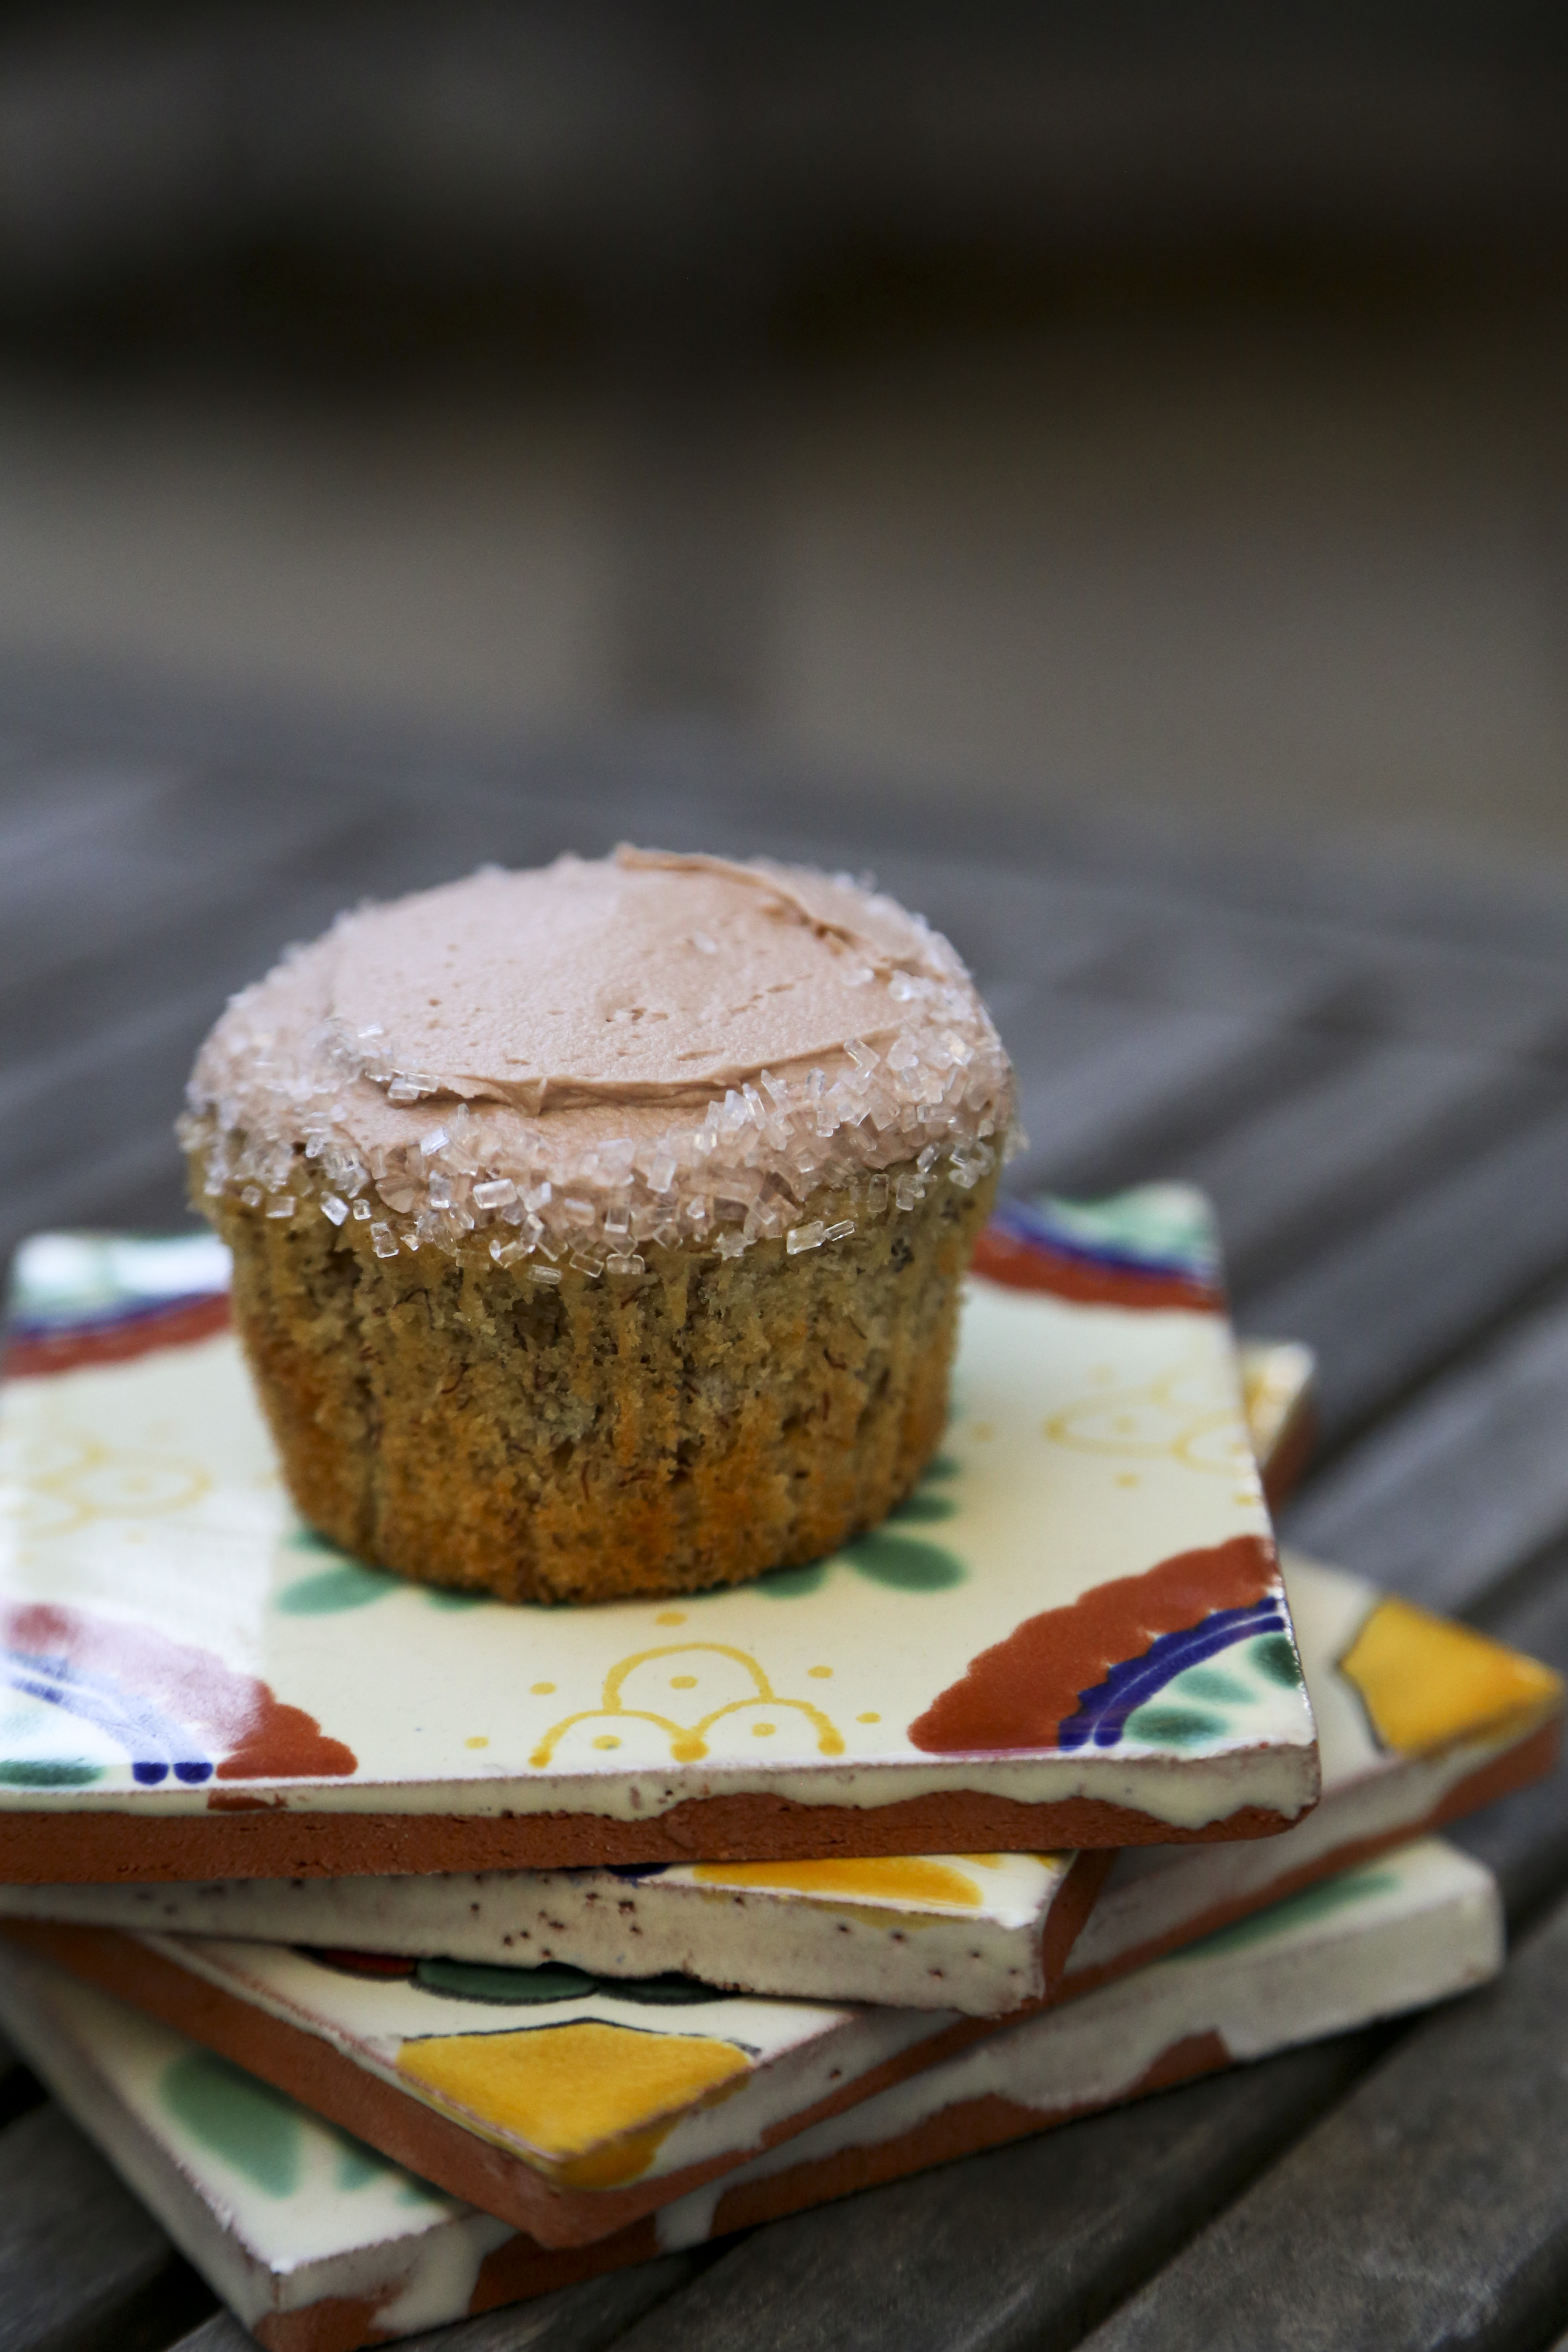
Chocolate Cupcakes with Vanilla Buttercream
cupcakes from Hershey’s, Buttercream from Me?
For cupcakes:
2 cups sugar
1 3/4 cups all-purpose flour
3/4 cup Cocoa Powder
1 1/2 teaspoons baking powder
1 1/2 teaspoons baking soda
1 teaspoon salt
2 eggs
1 cup milk (I used almond milk and it was a-okay!)
1/2 cup vegetable oil
2 teaspoons vanilla extract
1 cup boiling water
For Vanilla Buttercream:
3 egg whites
1 cup granulated sugar
3 sticks of butter (I know… seriously 3), softened
1 tbsp vanilla extract
Make your cupcakes. Preheat oven to 350F. Combine all the dry ingredients in a bowl. Add eggs, milk, oil and vanilla extract and beat until combined. Lastly beat in boiling water. The batter is really runny but trust me, it’s delicious.
Line cupcake pan with liners of choice (the cuter the better). Fill each liner with 1/4 cup of batter. Bake for 15-18 minutes or until it passes the toothpick test (note: 15 minutes is the perfect amount for me). Repeat until all batter is gone. I usually get 24-26 cupcakes out of this recipe.
Allow to cool completely. Then make frosting.
Whisk together egg whites and sugar in your stand mixer bowl. Place over a pot of boiling water (make sure water isn’t touching the bowl), stir it every so often until the egg whites become hot and you can no longer feel the sugar granules. There’s probably an appropriate temperature that it needs to reach but I have no idea what that is. I just touch it.
Transfer to the mixer and whip using the whisk attachment until they’ve formed stiff peaks.
Remove the whisk attachment and change to the paddle attachment for your mixer. Add vanilla. Then start to beat in butter until the butter is incorporated and it’s smooth. If you want here you can add any flavoring.
I’ve done peanut butter, dulce de leche, caramel, strawberry jam. They’re all magic. Or you can just stick with vanilla and be a happy camper.
I like to chill my frosting a little bit before frosting because I find it easier to work with. Just about 10 minutes. Give it a try.
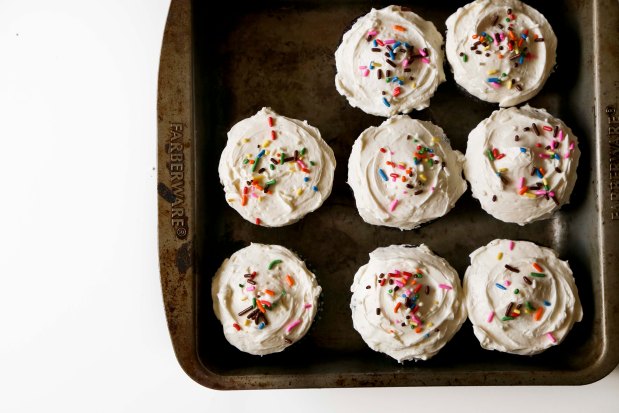
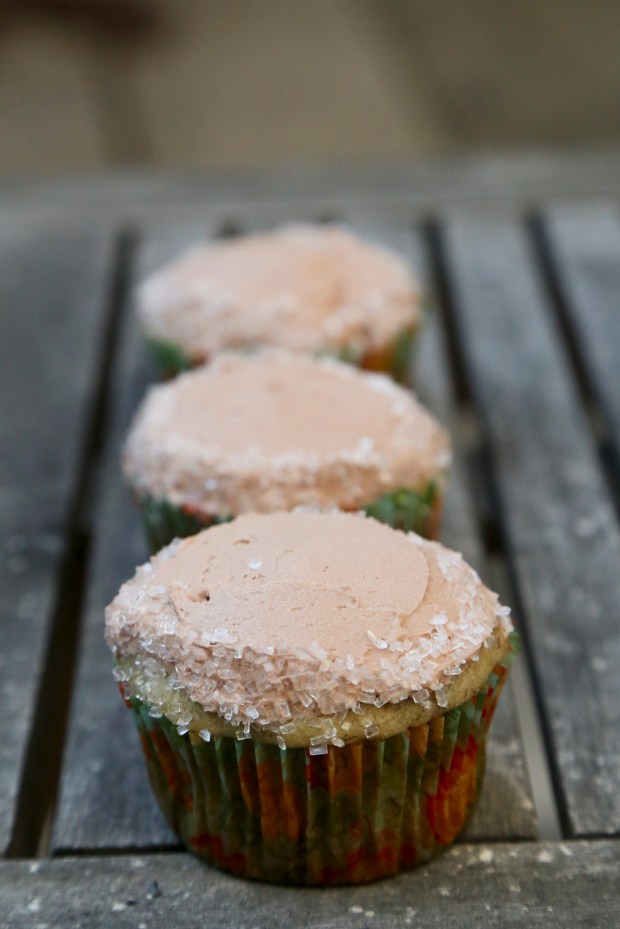
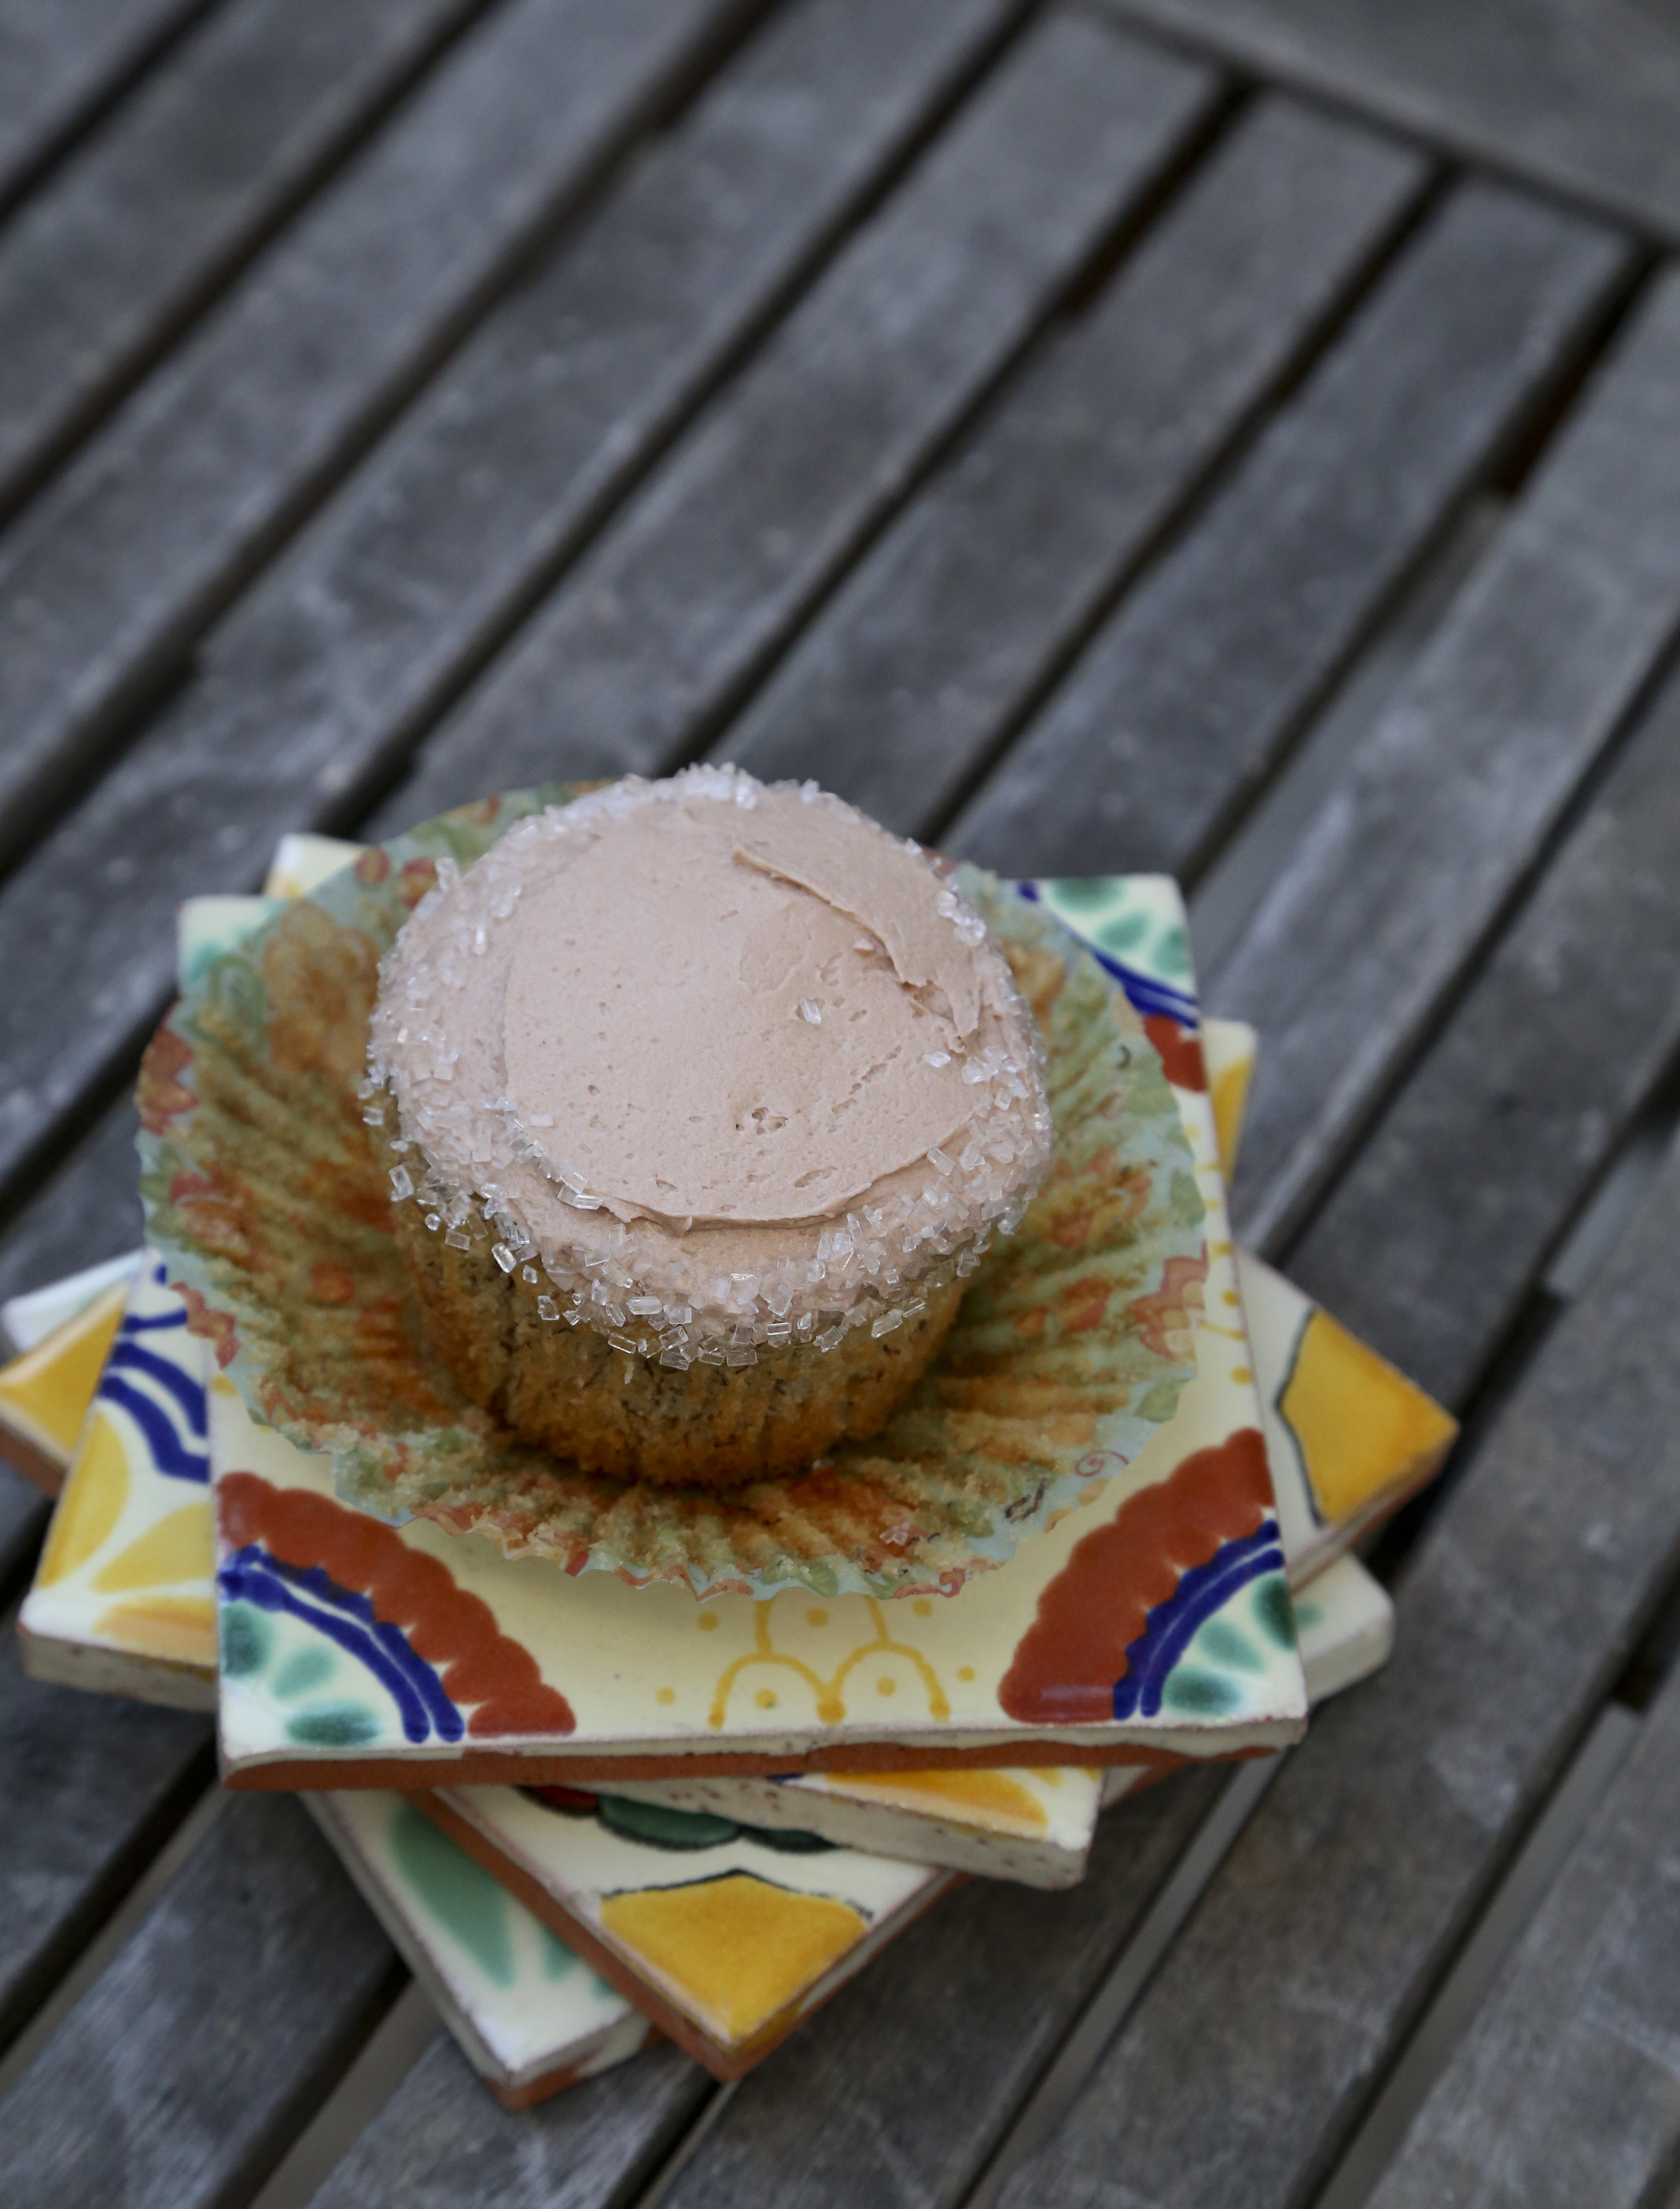
Frost your cupcakes and decorate as you like. Sprinkles are encouraged.
Take them to a party and feed them to your friends.
Happy Sunday! Hope you’re enjoying the day Game of Thrones returns! (<—- ok read


)
)
