Brinner Party: Build Your Own Breakfast Burrito

Disclaimer: The Eggland’s Best coupons, promo items, information, and two gift cards have been provided by Eggland’s Best.

I’m a huge fan of breakfast for dinner.   I probably have breakfast for dinner at least twice per week.  The beauty of breakfast is that it’s flexible.  While usually my breakfast for dinner (aka Brinner) is usually pretty simple (i.e. eggs and beans), you can get full on fancy with brinner.  I’m glad to know other people share my affinity for Brinner, especially Eggland’s Best.

egglandsbest

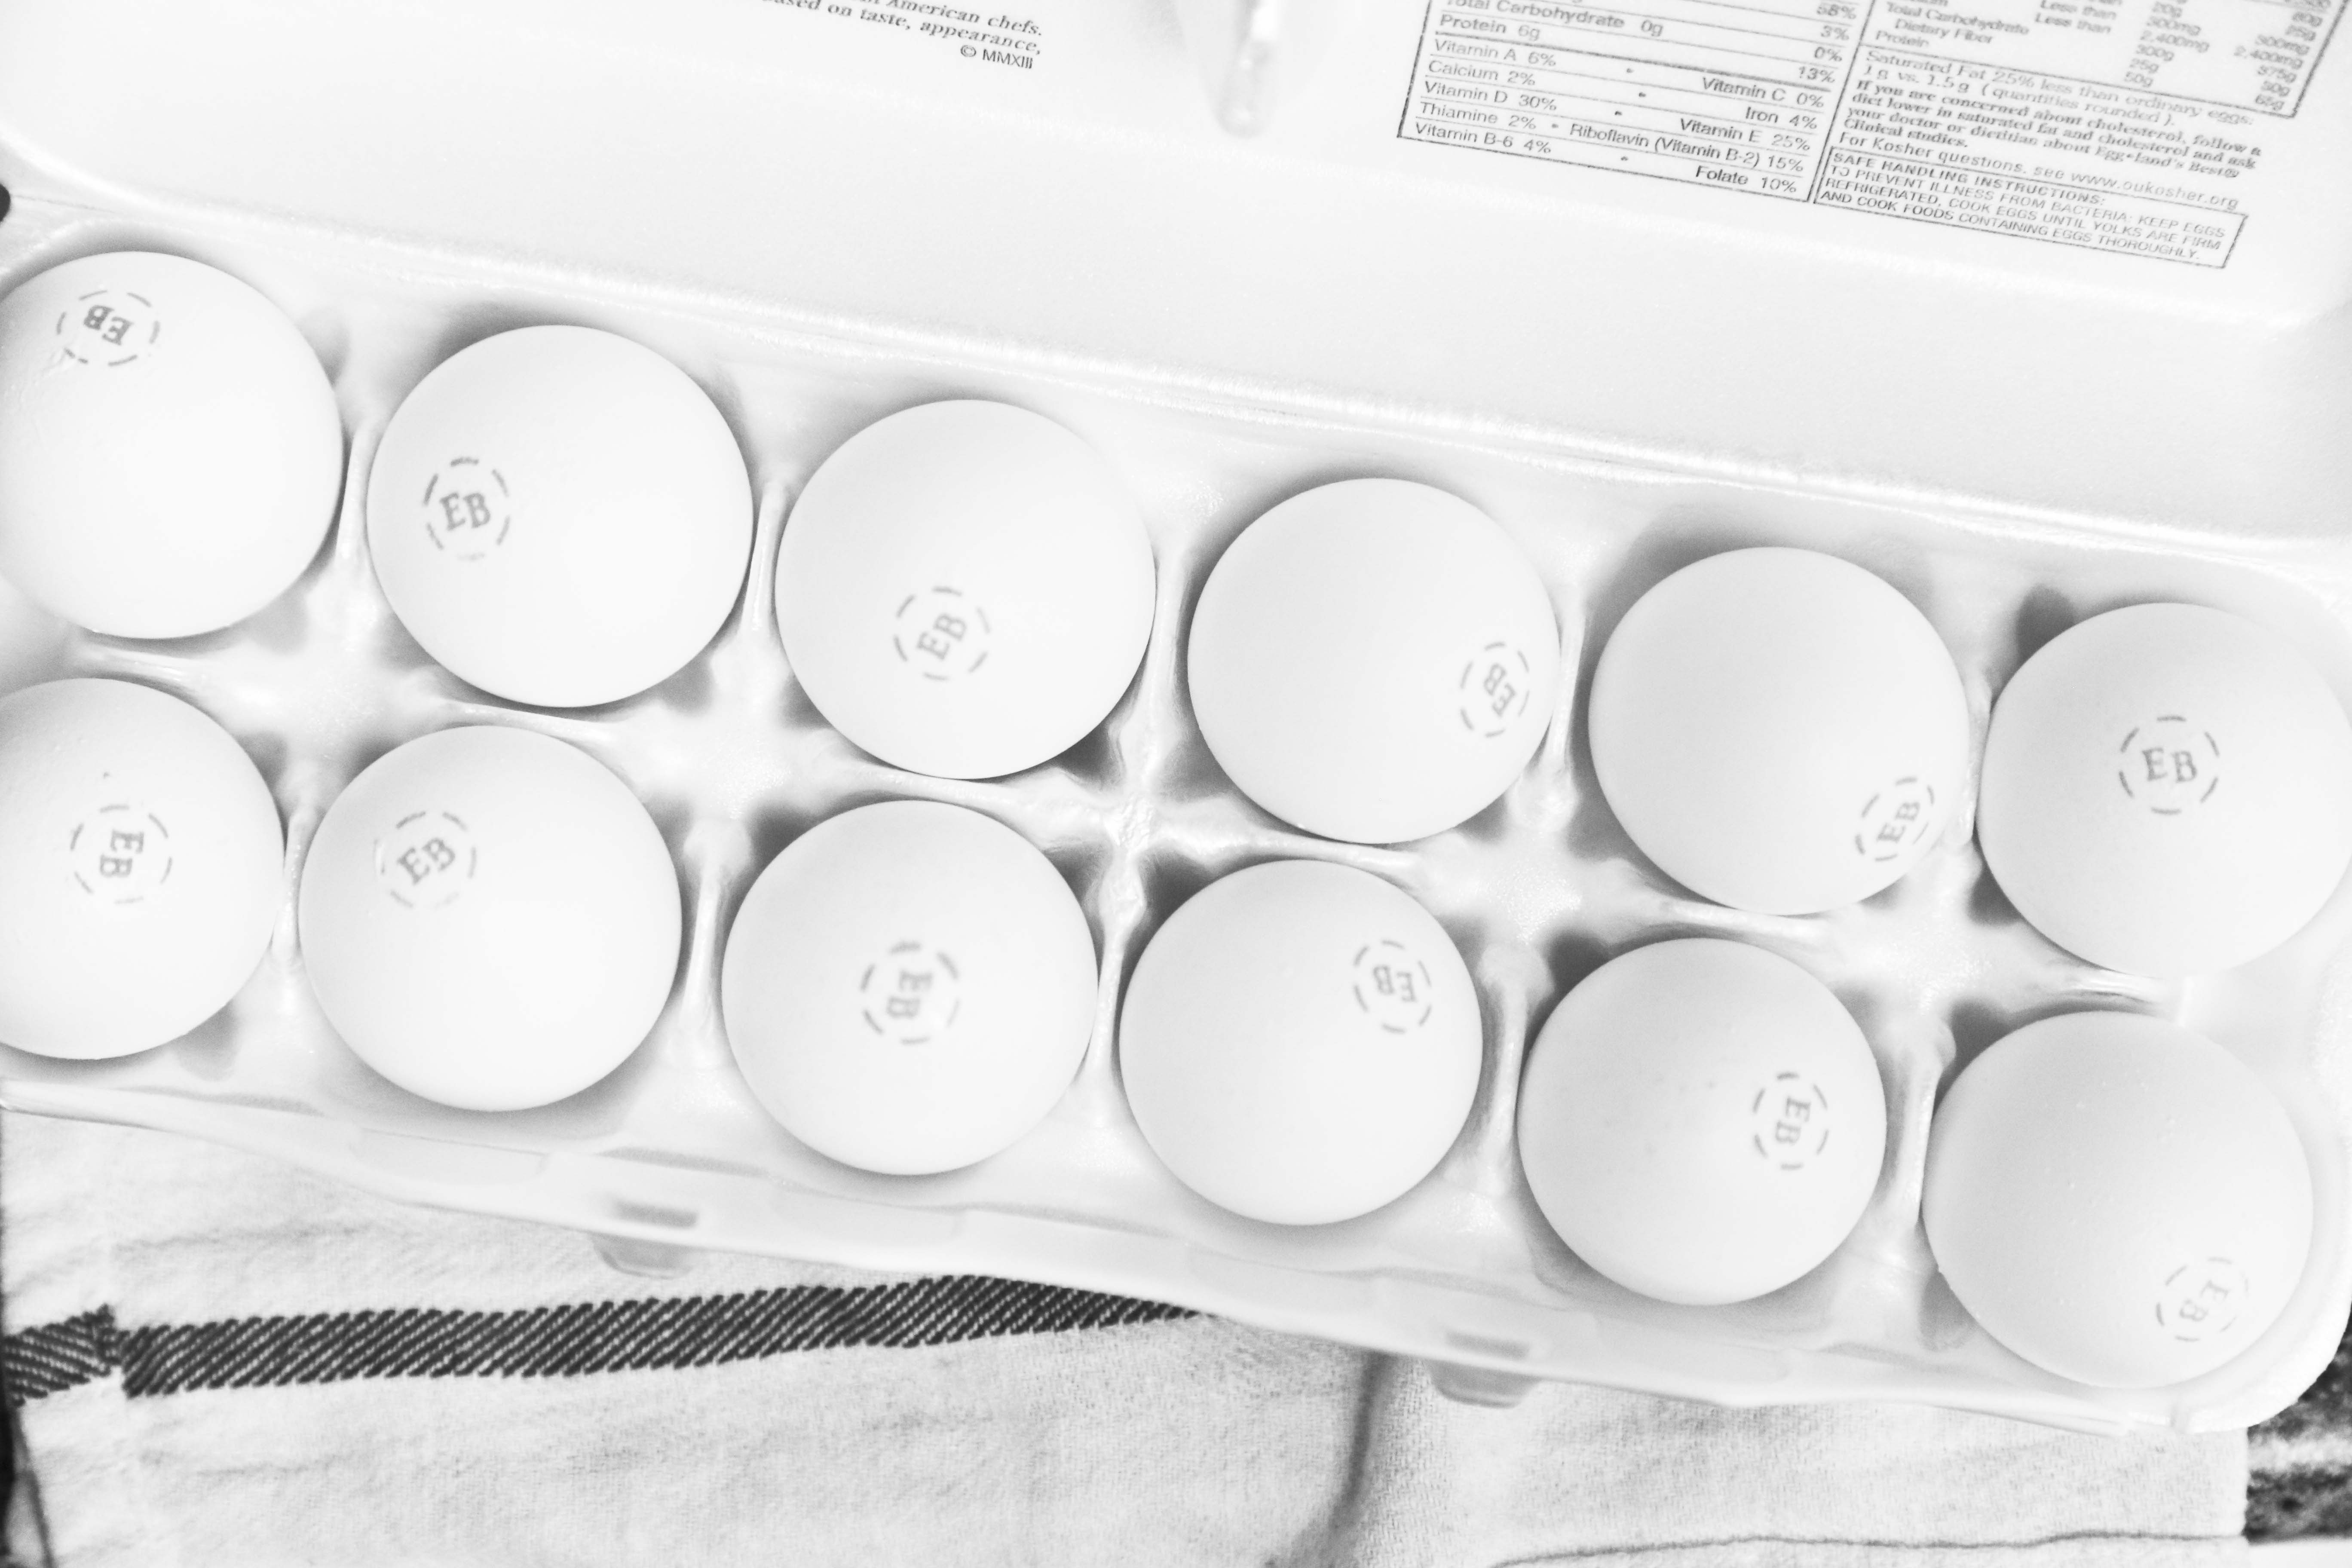
Eggland’s Best is an egg company.  You might have seen them around the grocery store or on Twitter or Facebook.  I had never tried their eggs before but when they offered some up to throw a “Brinner Party,” I was all over it.

I mean who can say no to eggs? They’re a little bit great (don’t forget how awesome Egg Salad on a Hot Dog is!)

Given my love of Eggs, Brinner and Food Parties (Hi, remember Peanut Butter Party and Chicken & Waffles?), a Brinner party was a natural next step.

We all know any good dinner party needs:

  • A drink
  • An Appetizer
  • An Entree
  • Dessert

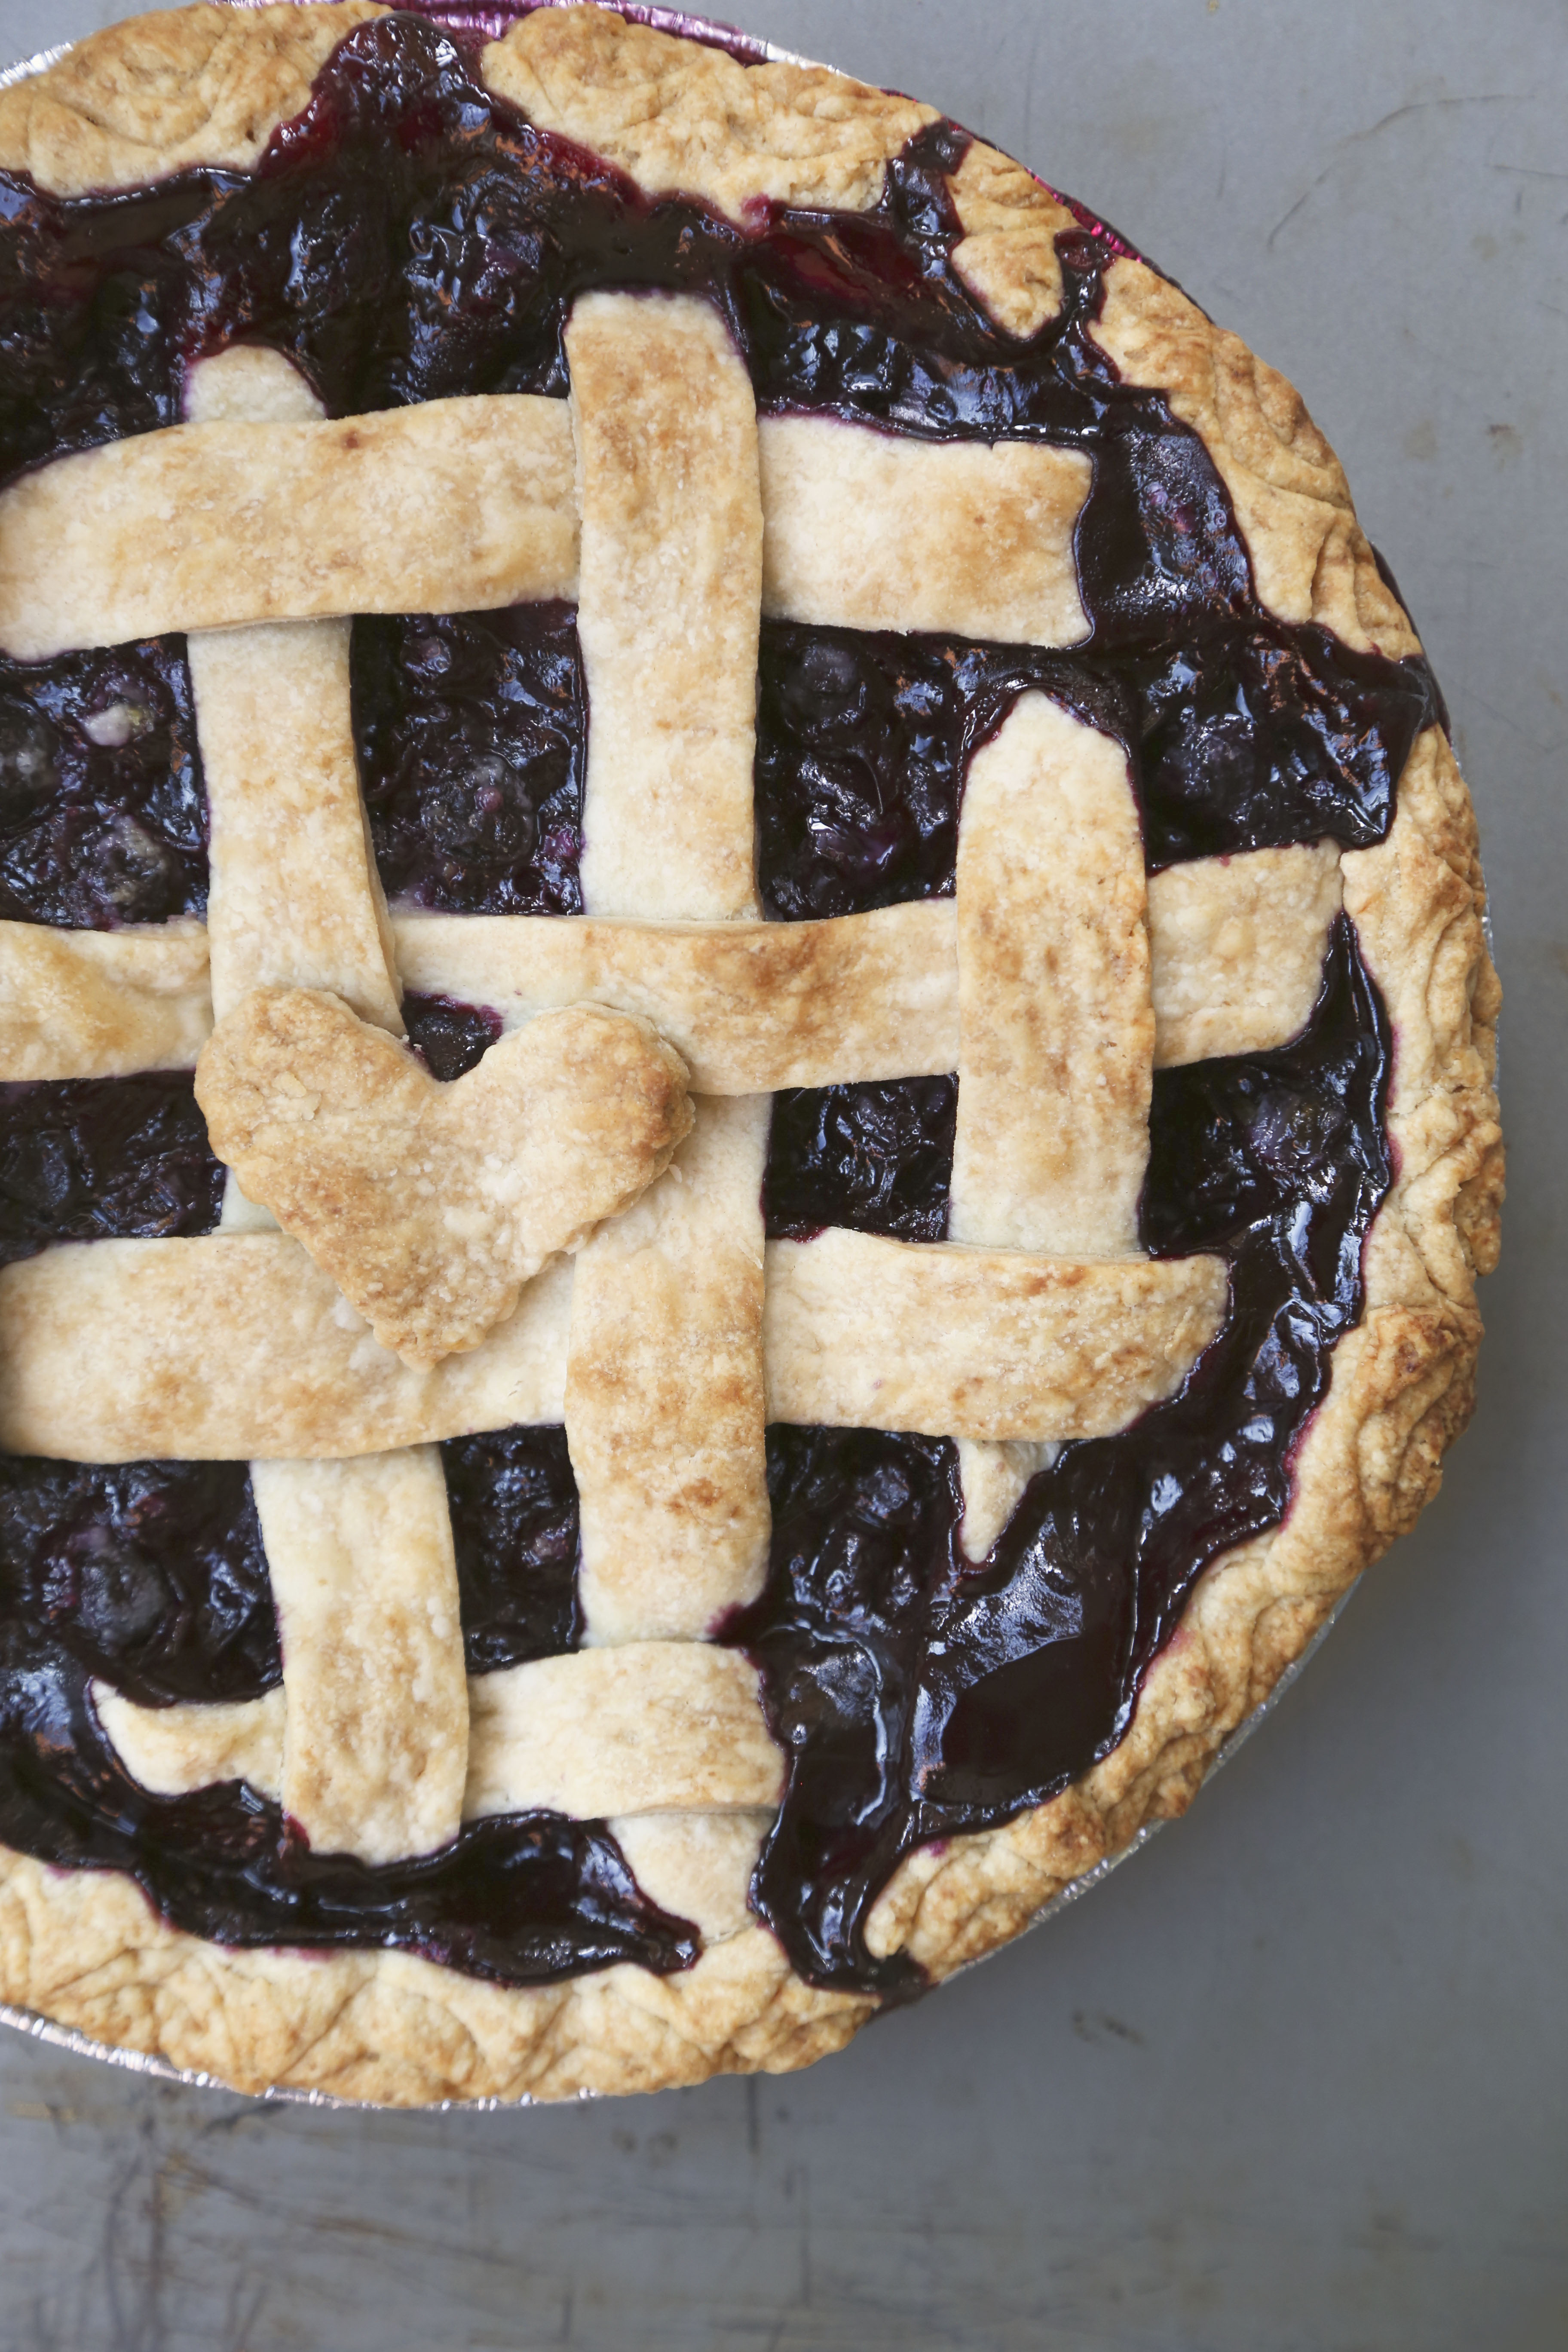
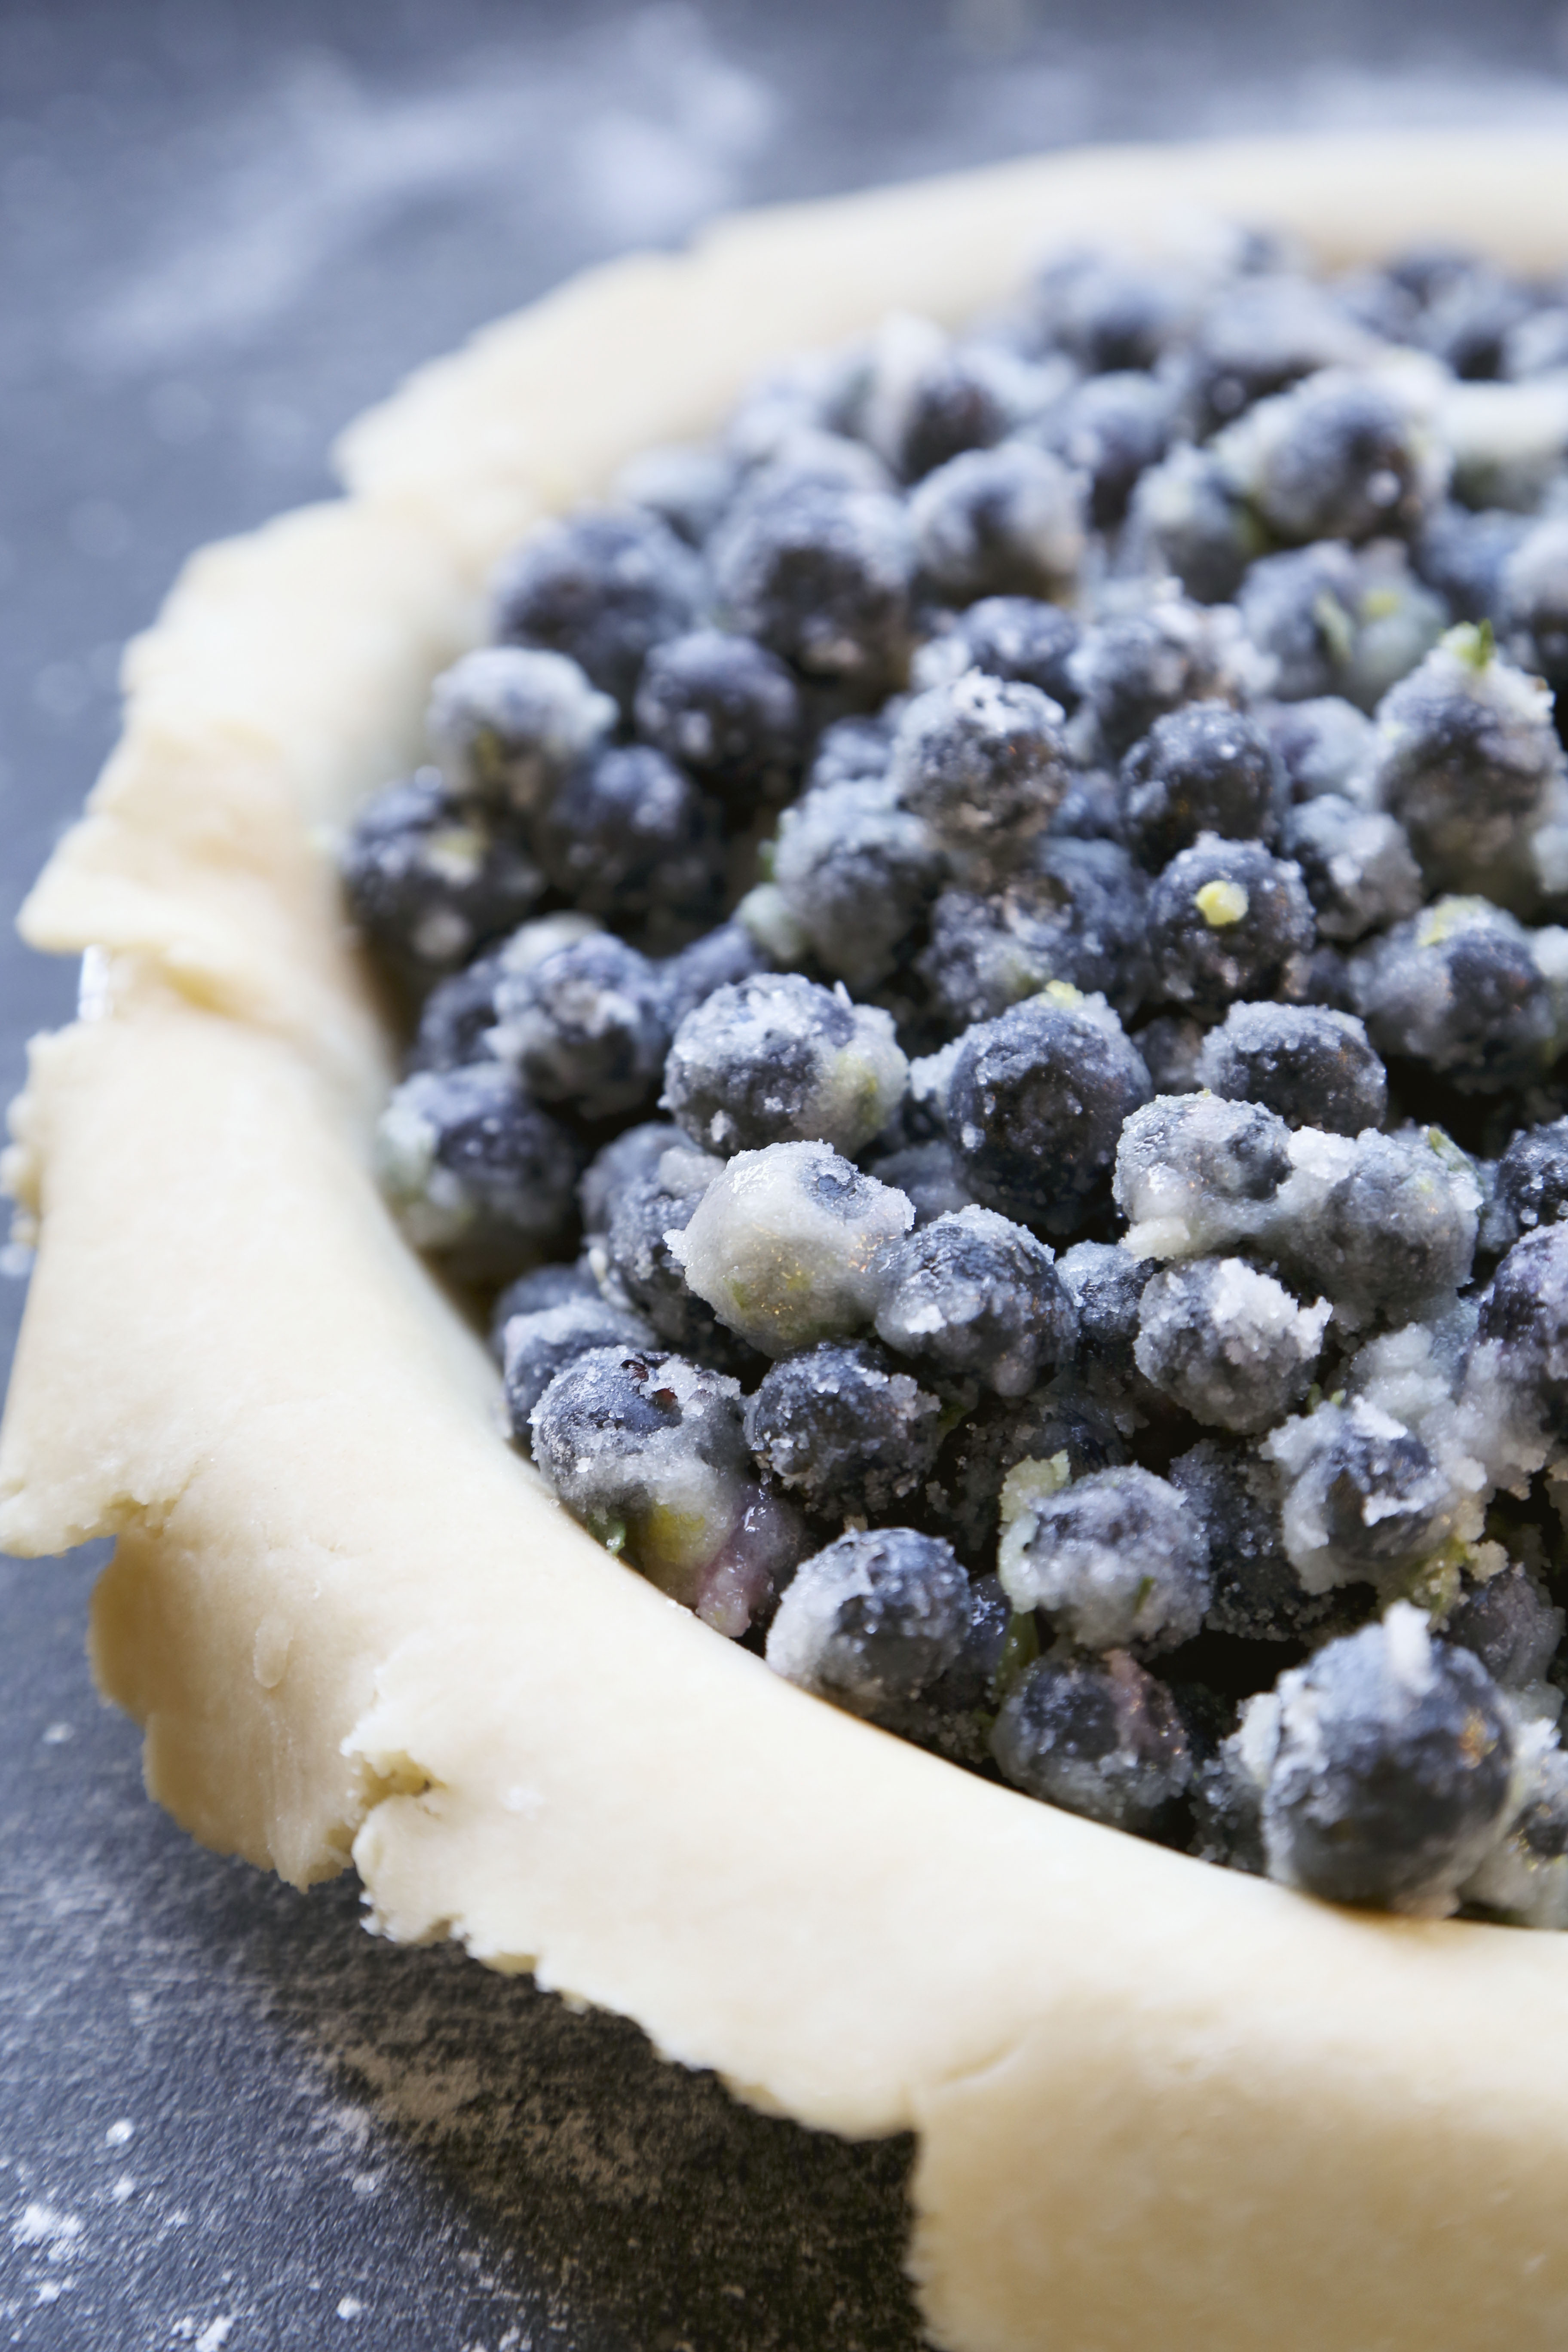
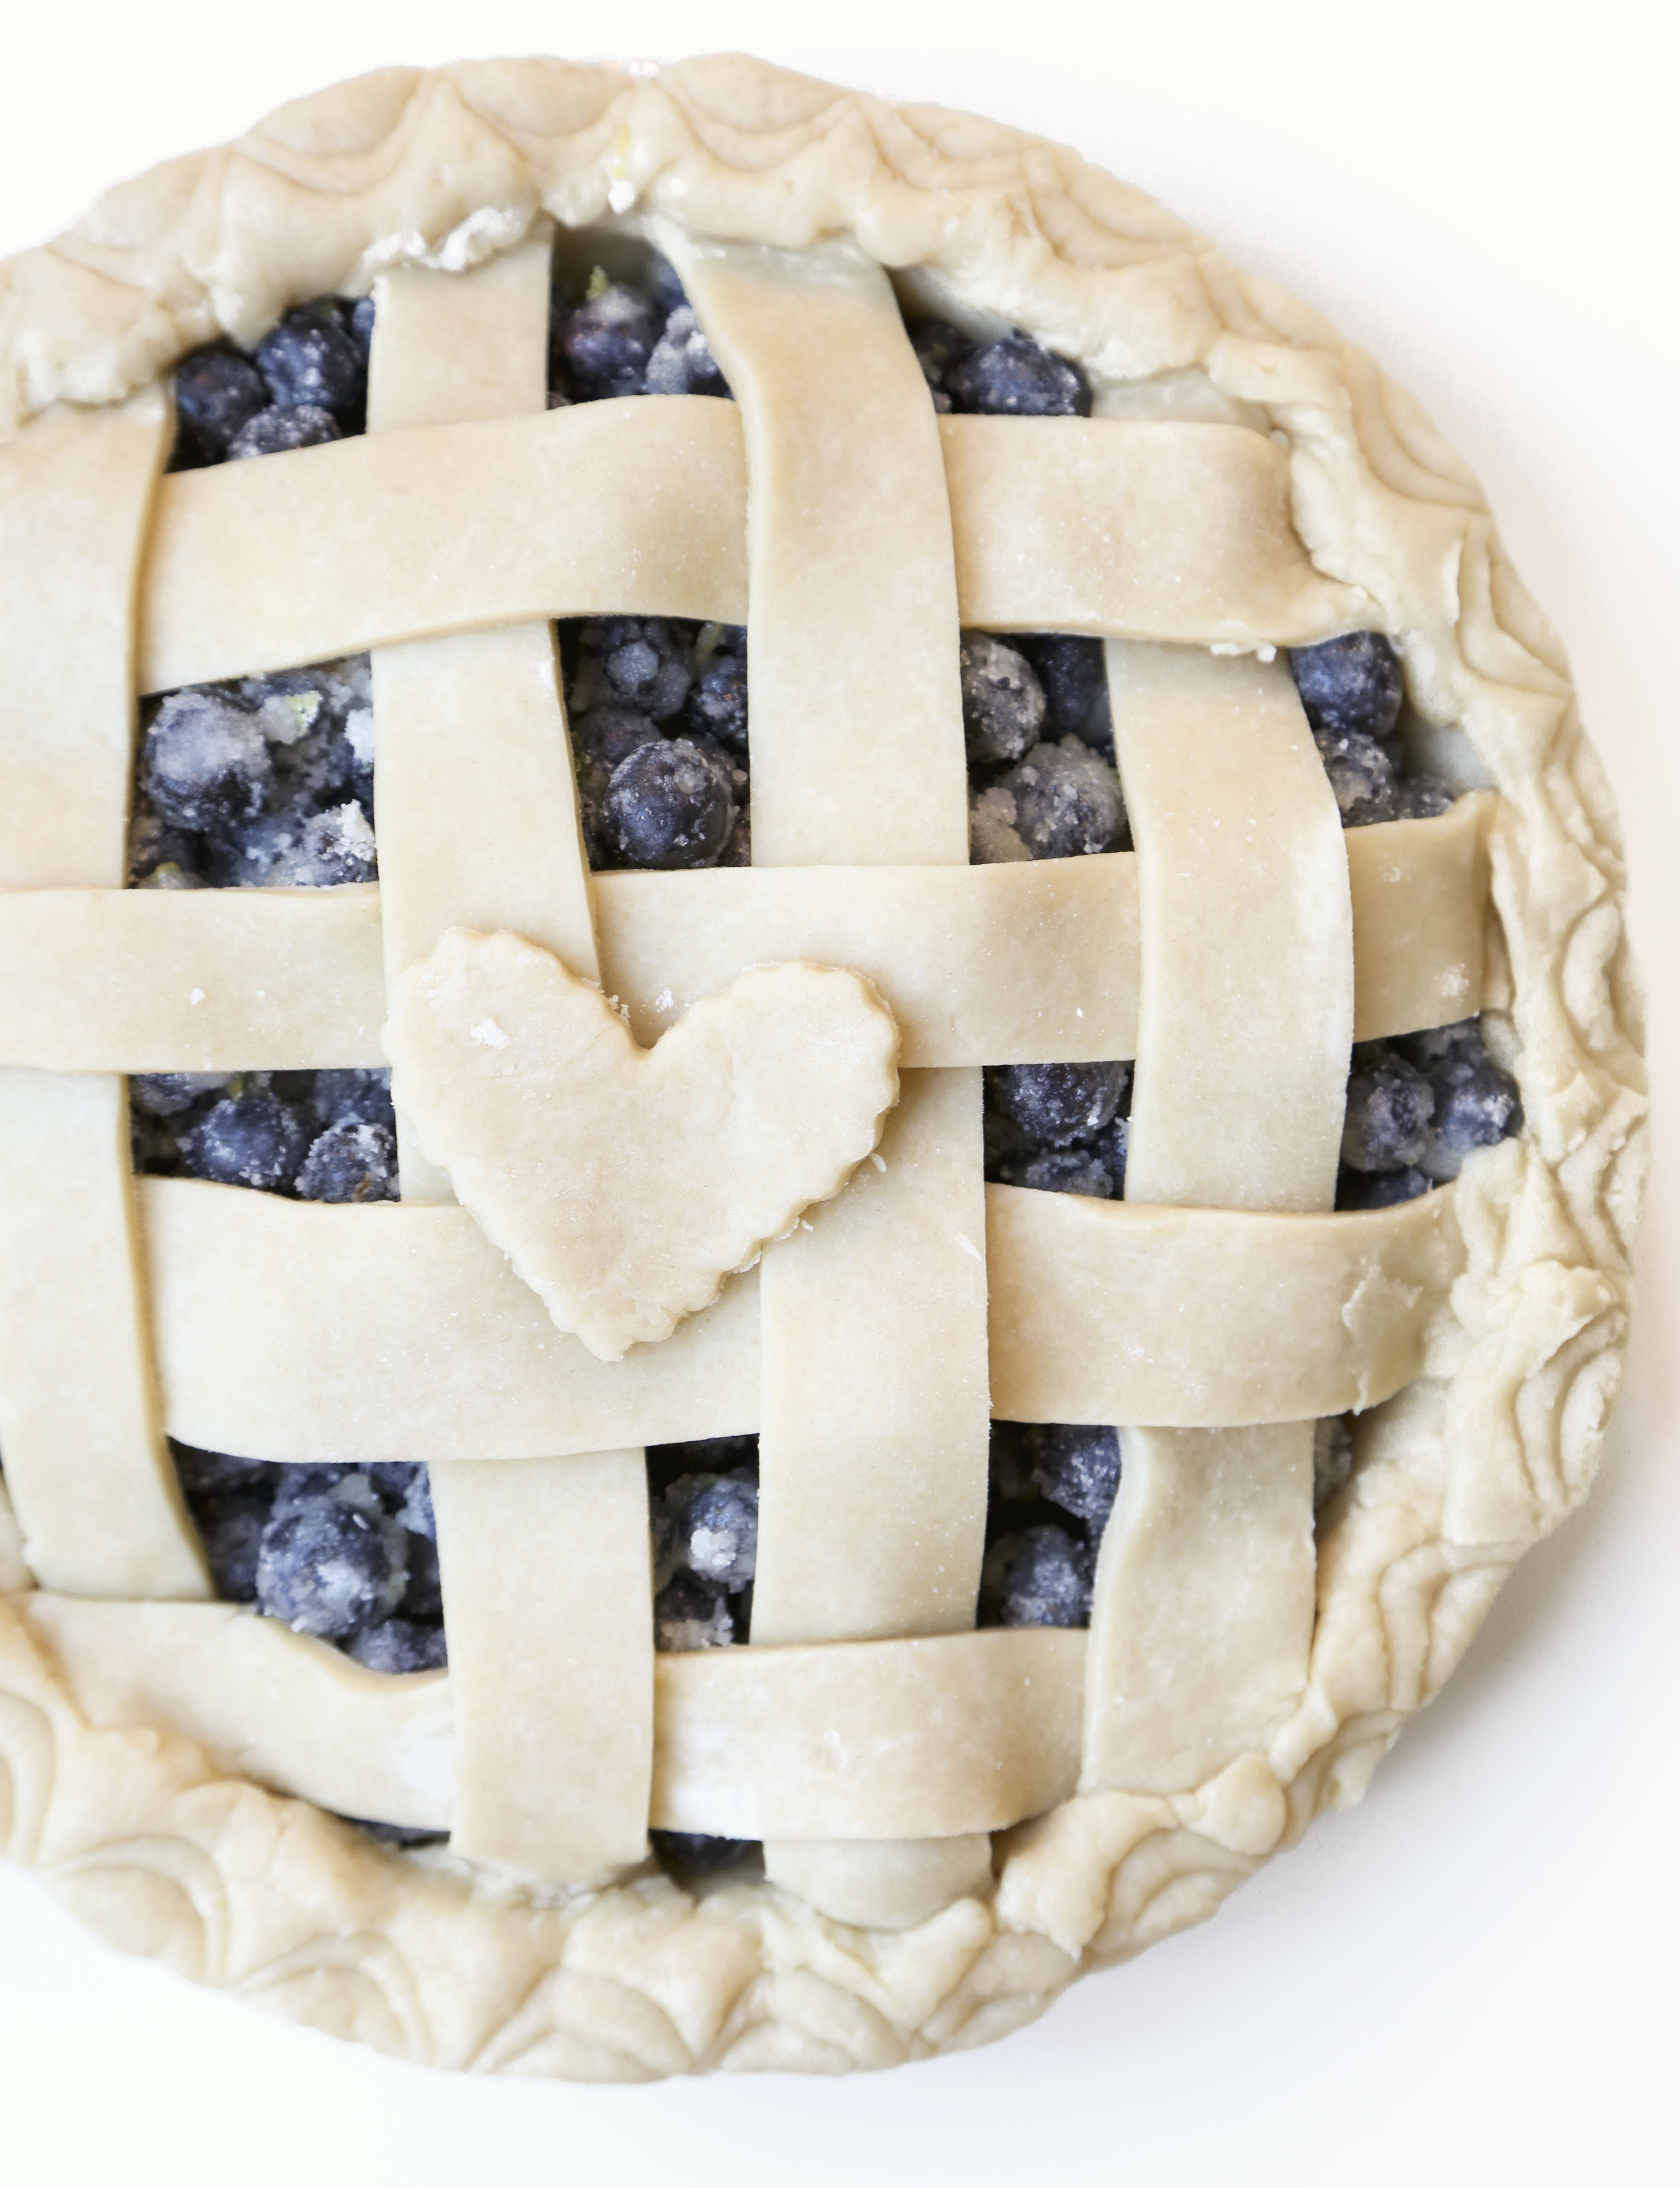
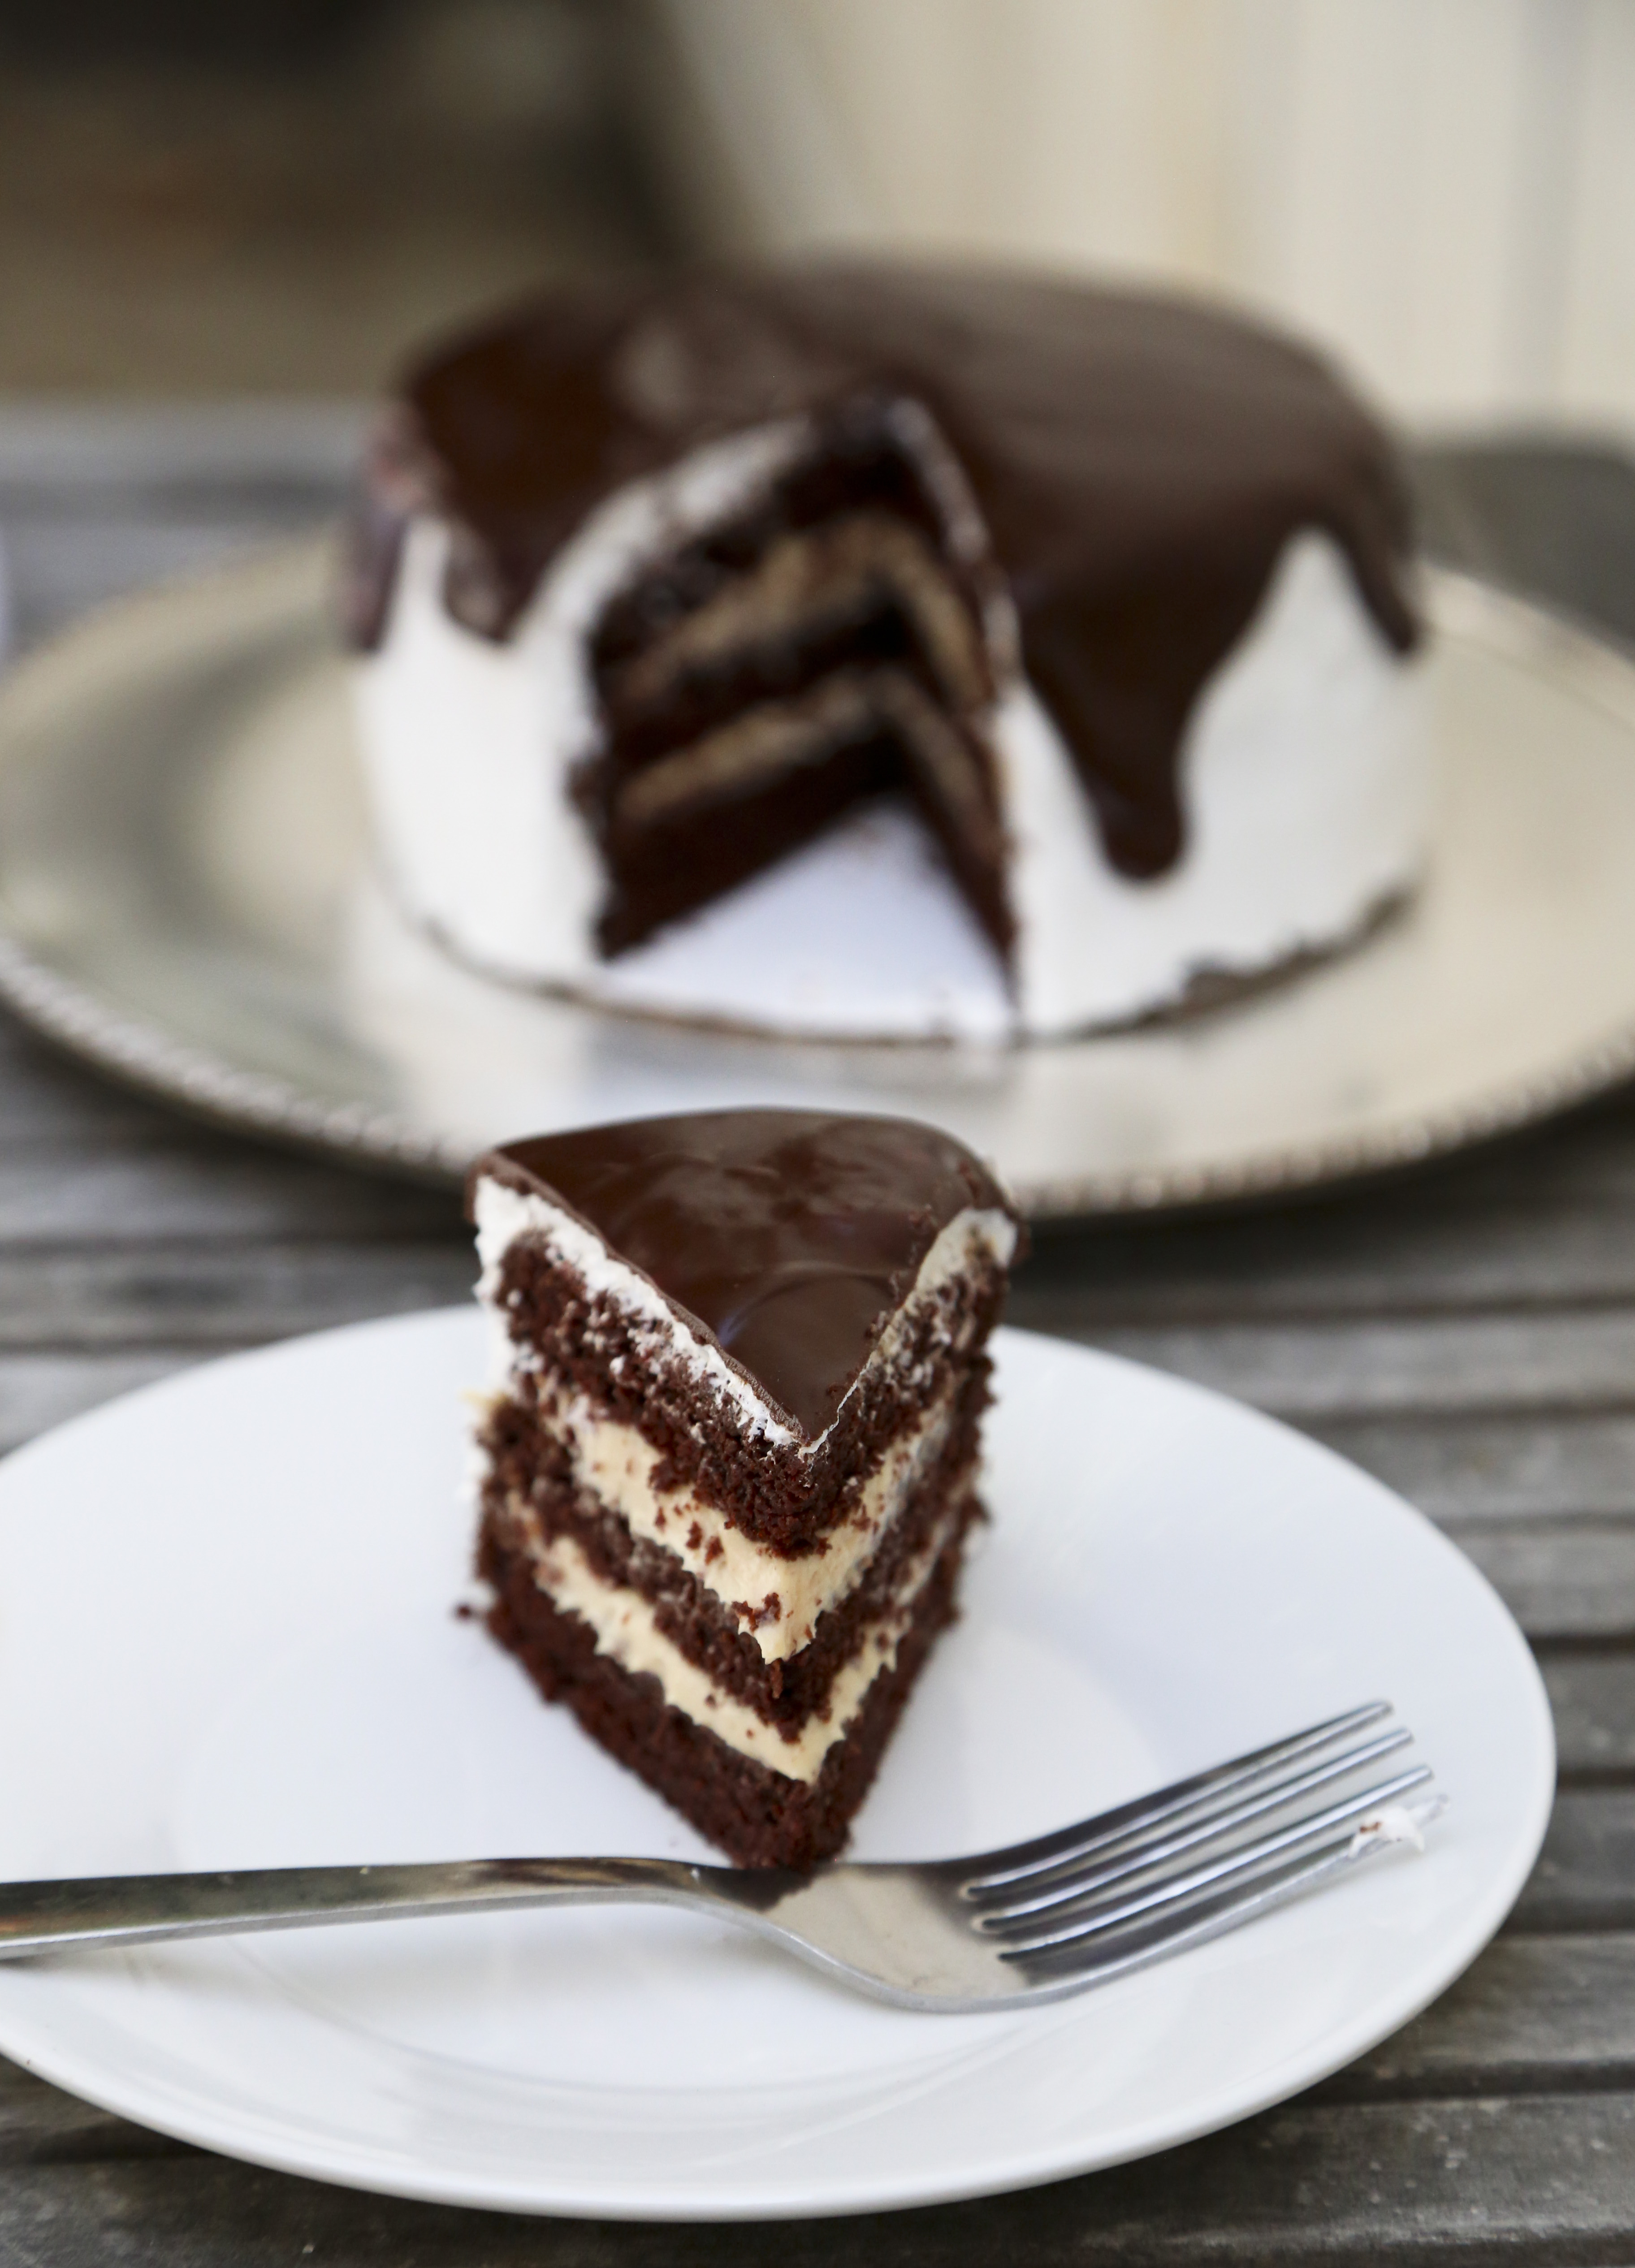
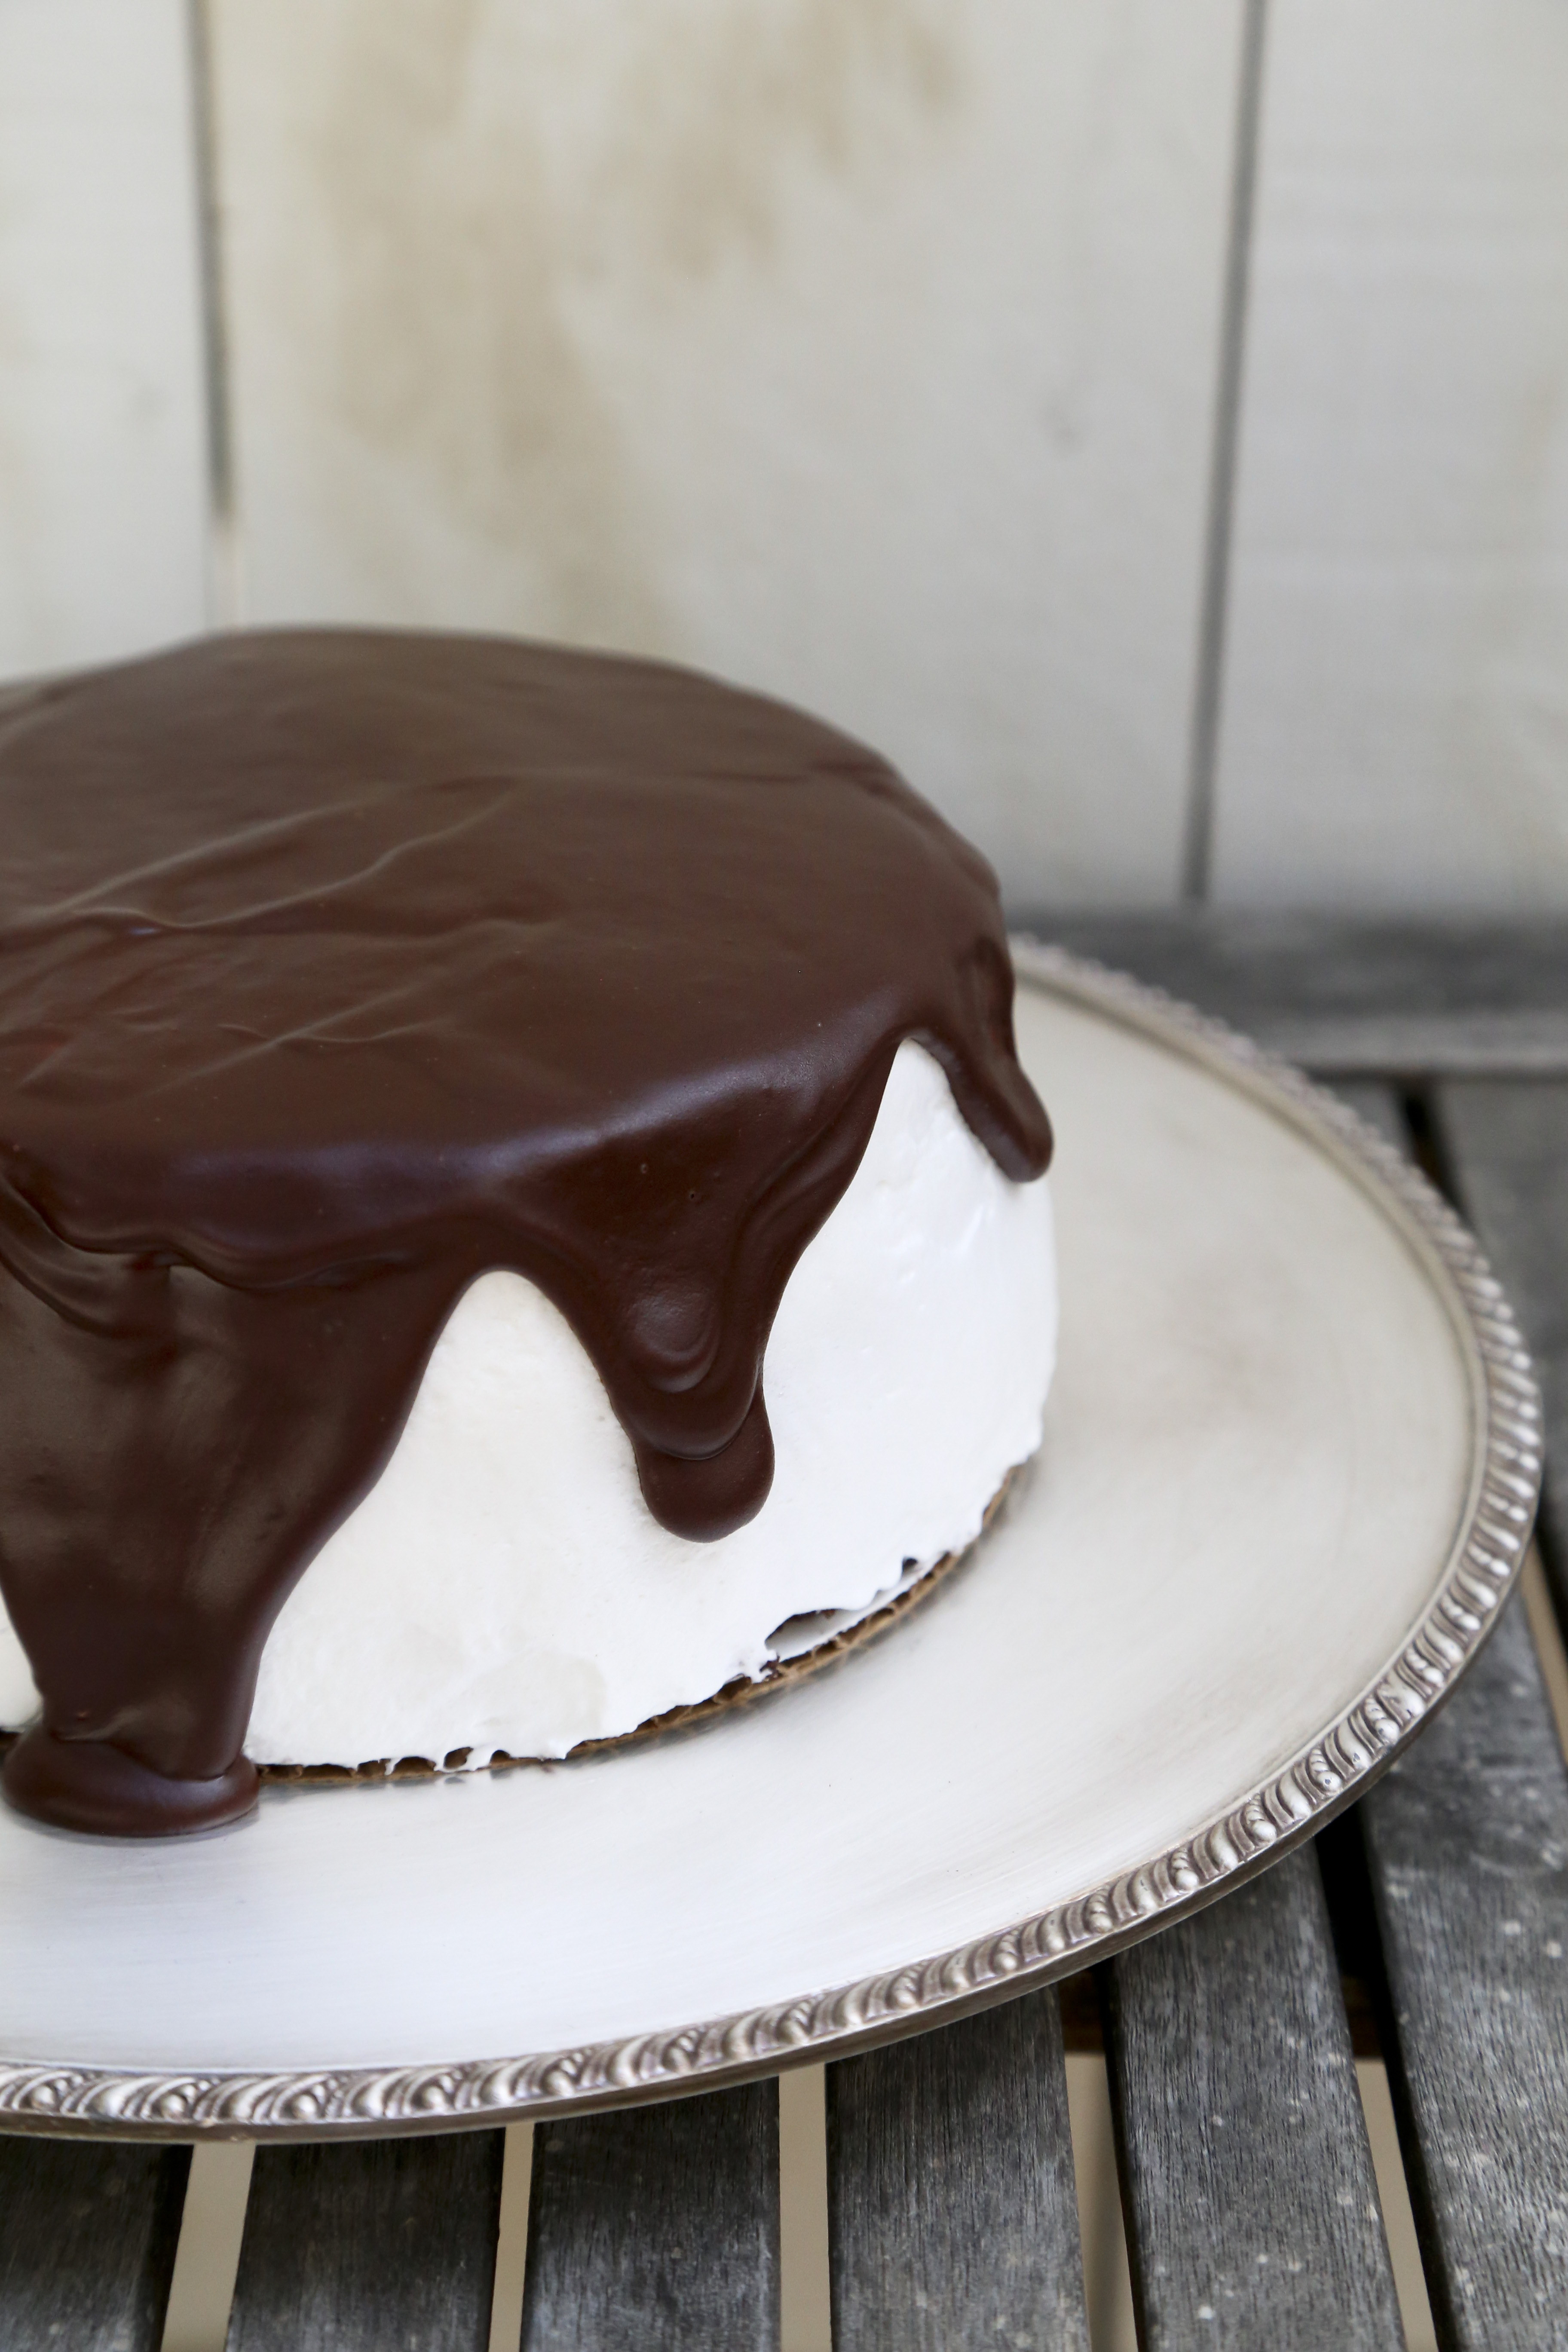
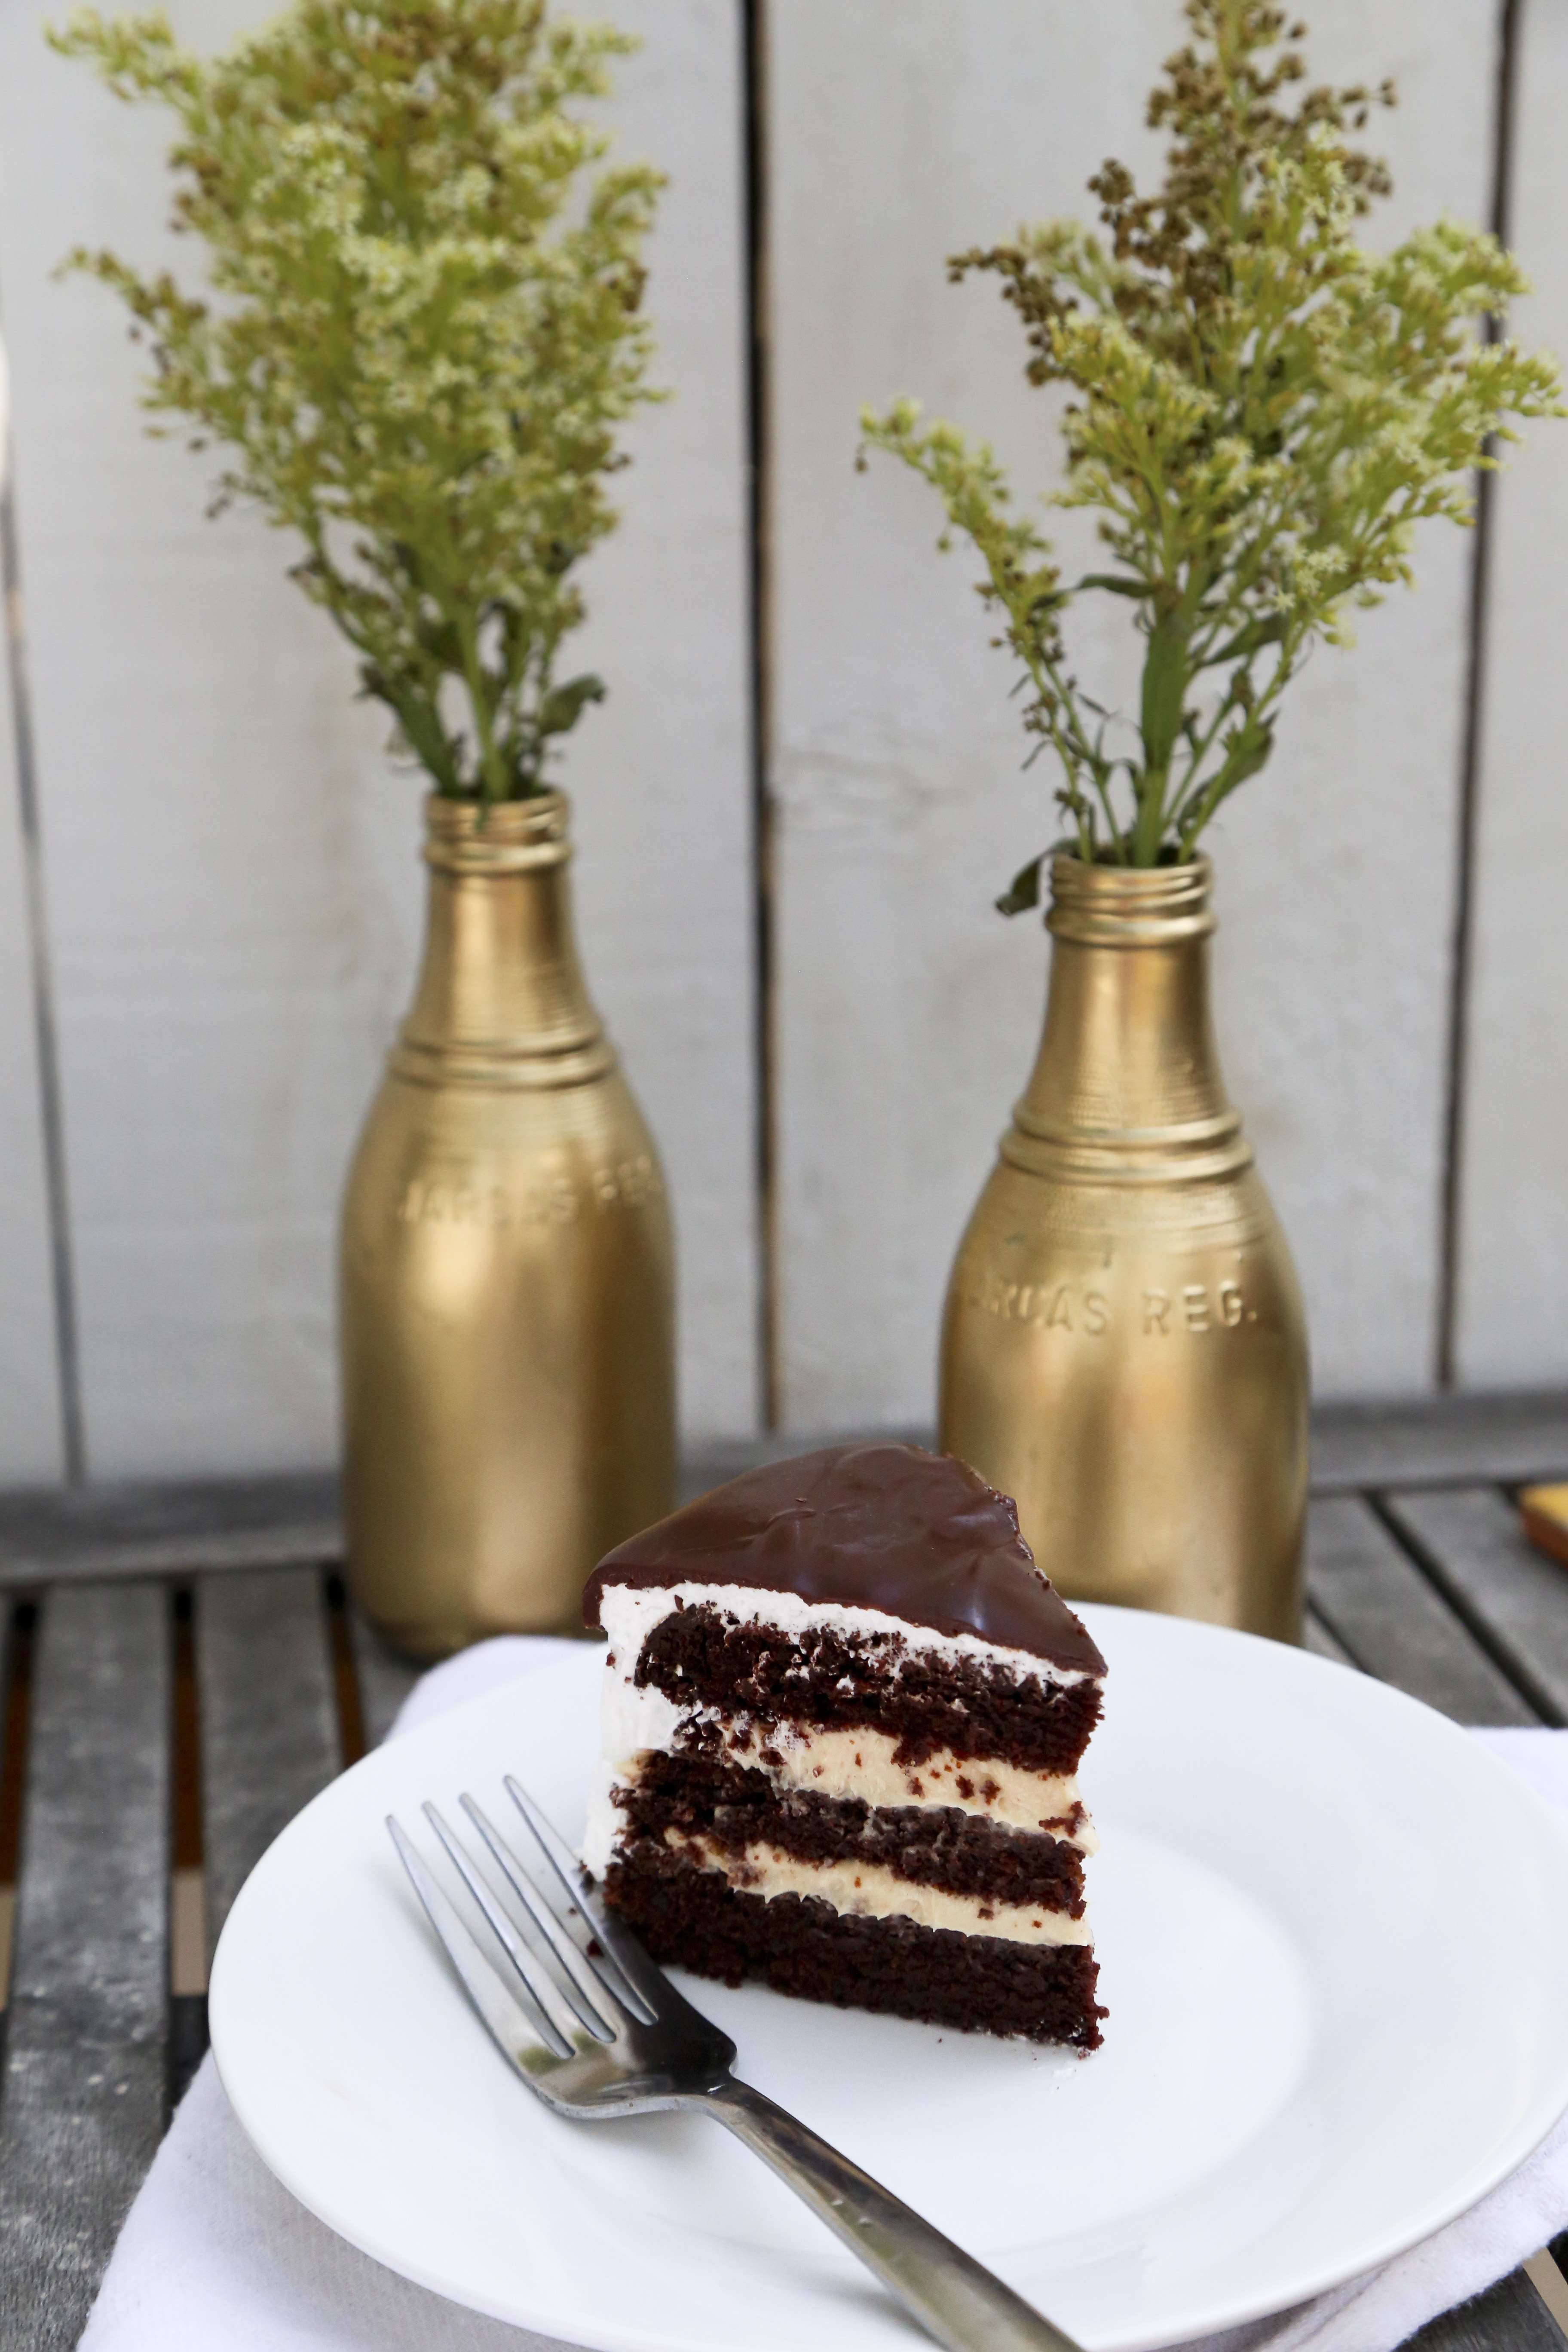
I hit 3 out of 4 with this party.  You won’t believe this but I actually skipped dessert! (Who am I?!?!)

I had high hopes for dessert, but didn’t follow through because everyone was too full from the menu.  Must have been all those eggs! (PROTEIN! It keeps you full!) <— This is NOT me making a health claim… not that I ever do.

This brinner party also coincided with the World Cup Final.  So of course, any sporting event (and brinner party) needs a good cocktail.  I went with peach bellinis with fresh homemade peach puree:

PeachBellini

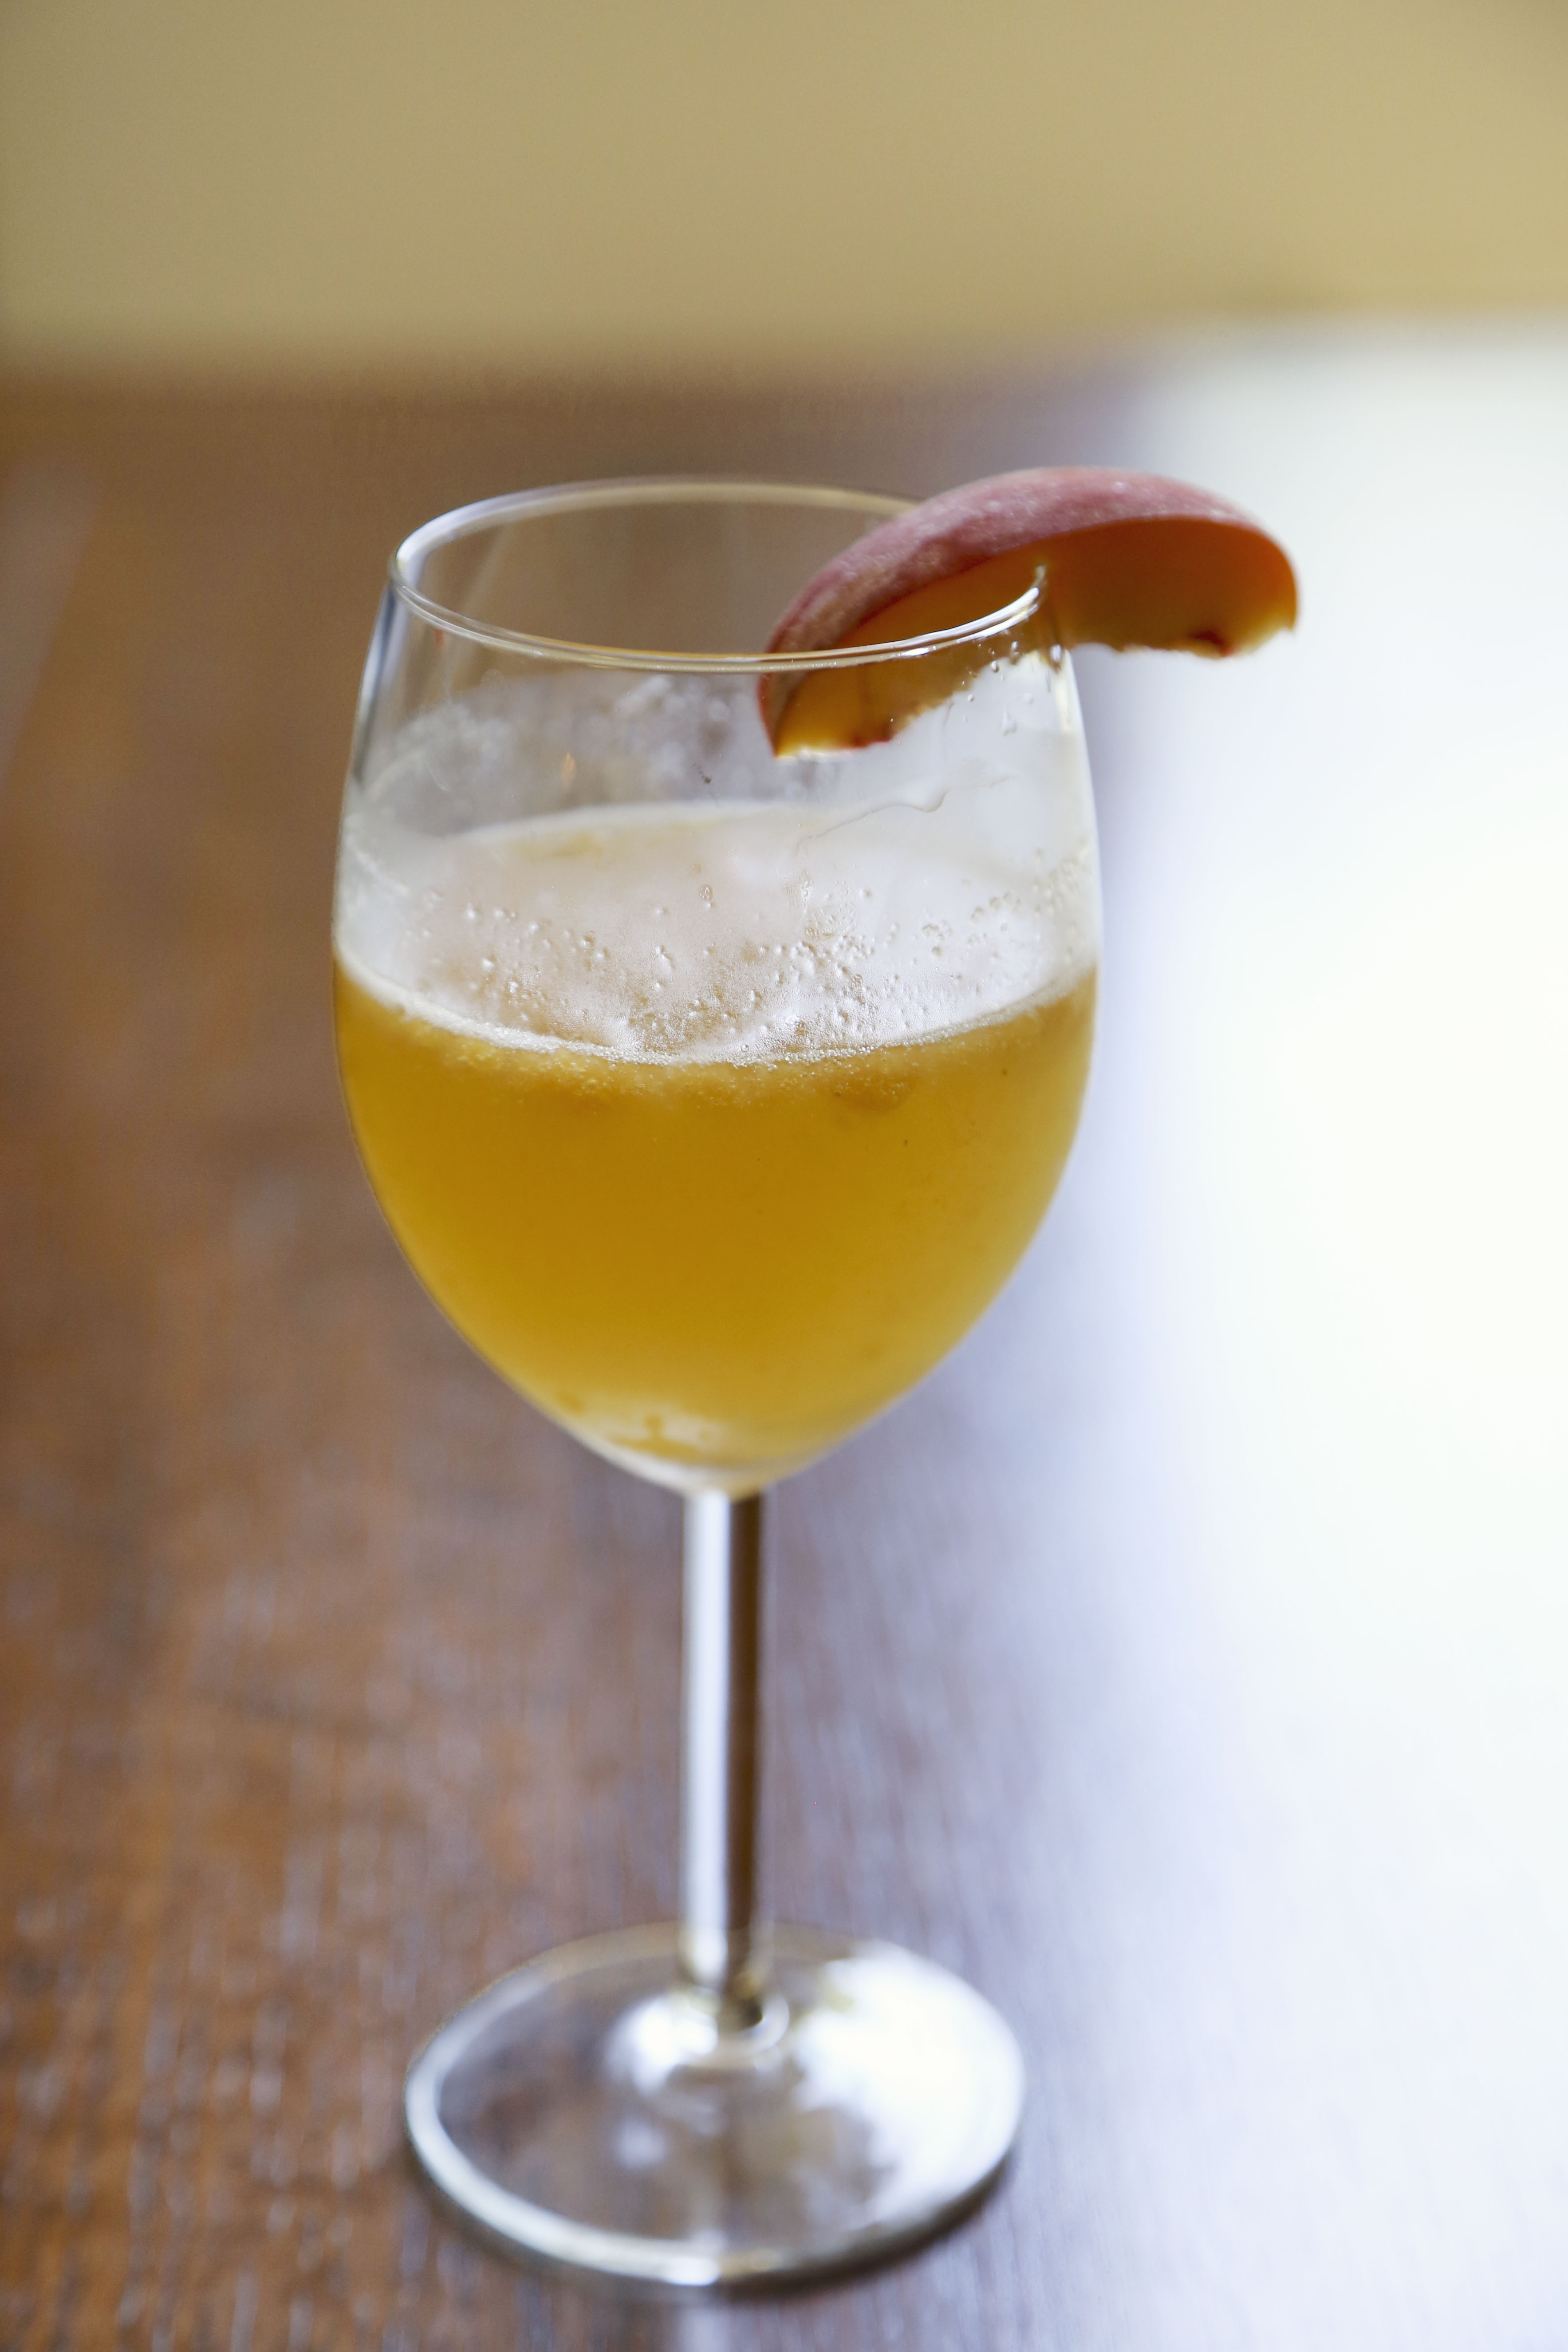
Super simple.  Peel some peaches, throw them in the food processor (or vitamix) and mix with your champagne of choice.  Then ta-da! Serve up! No added sugar just peach and alcohol.

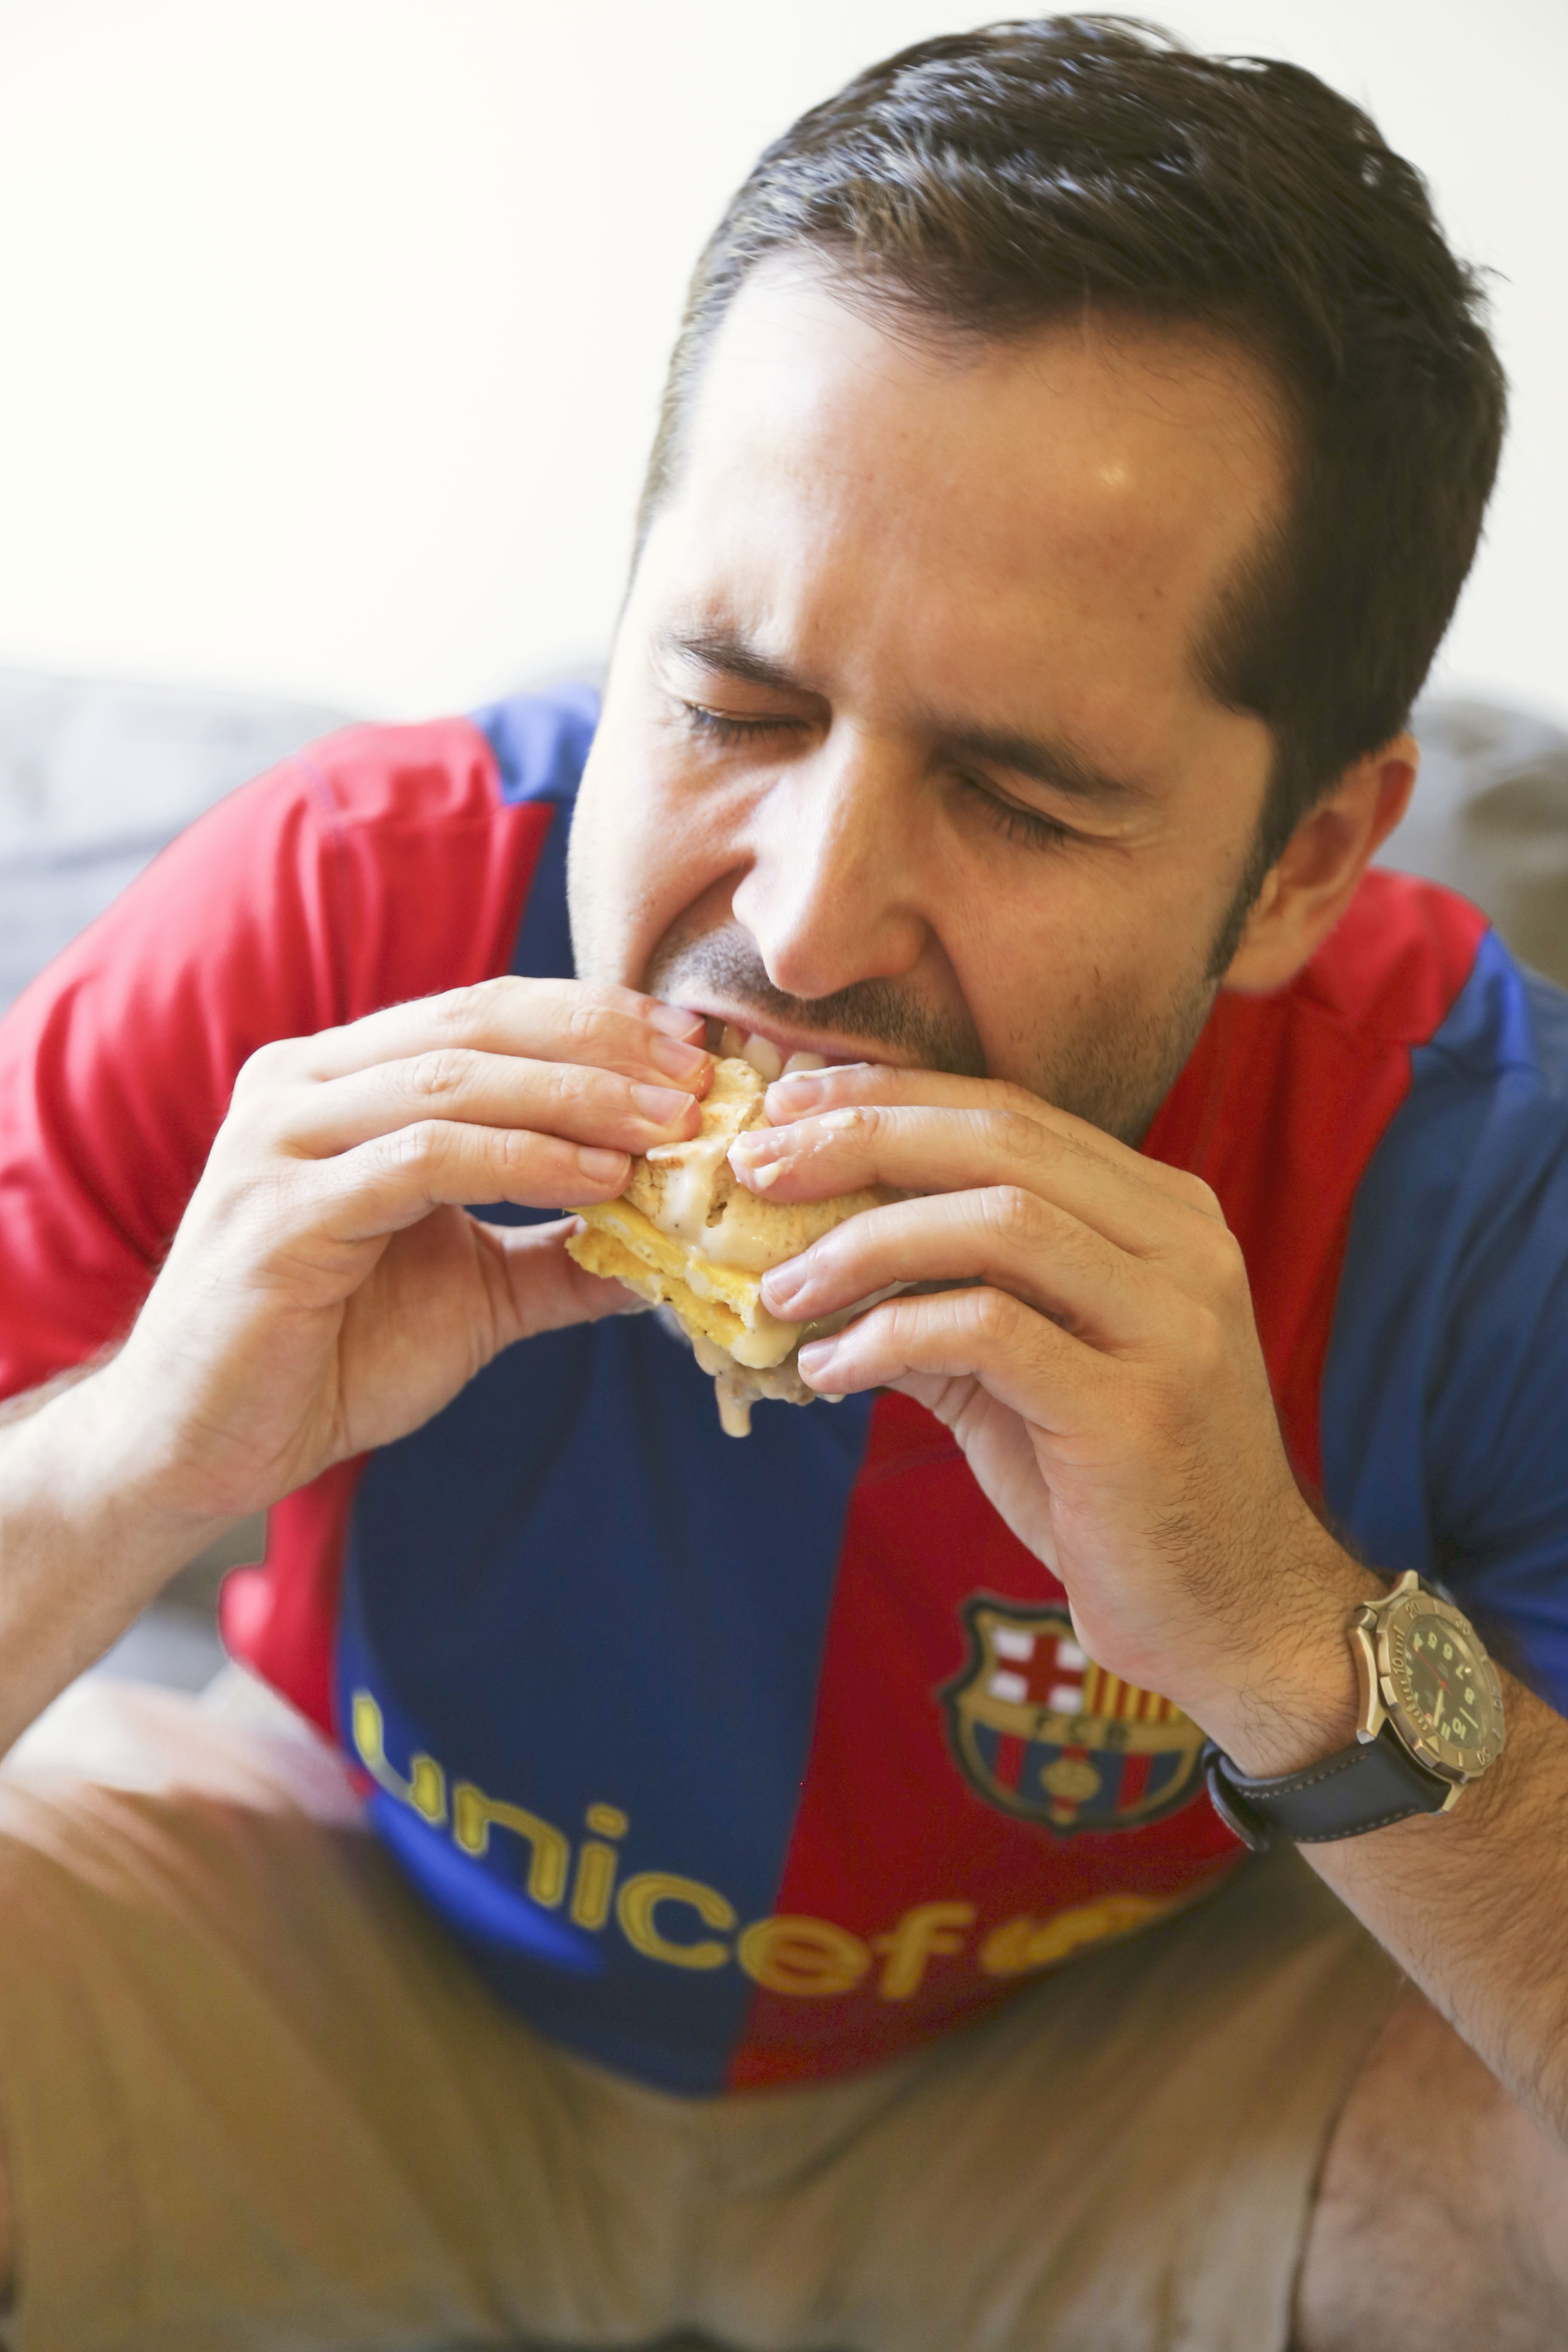
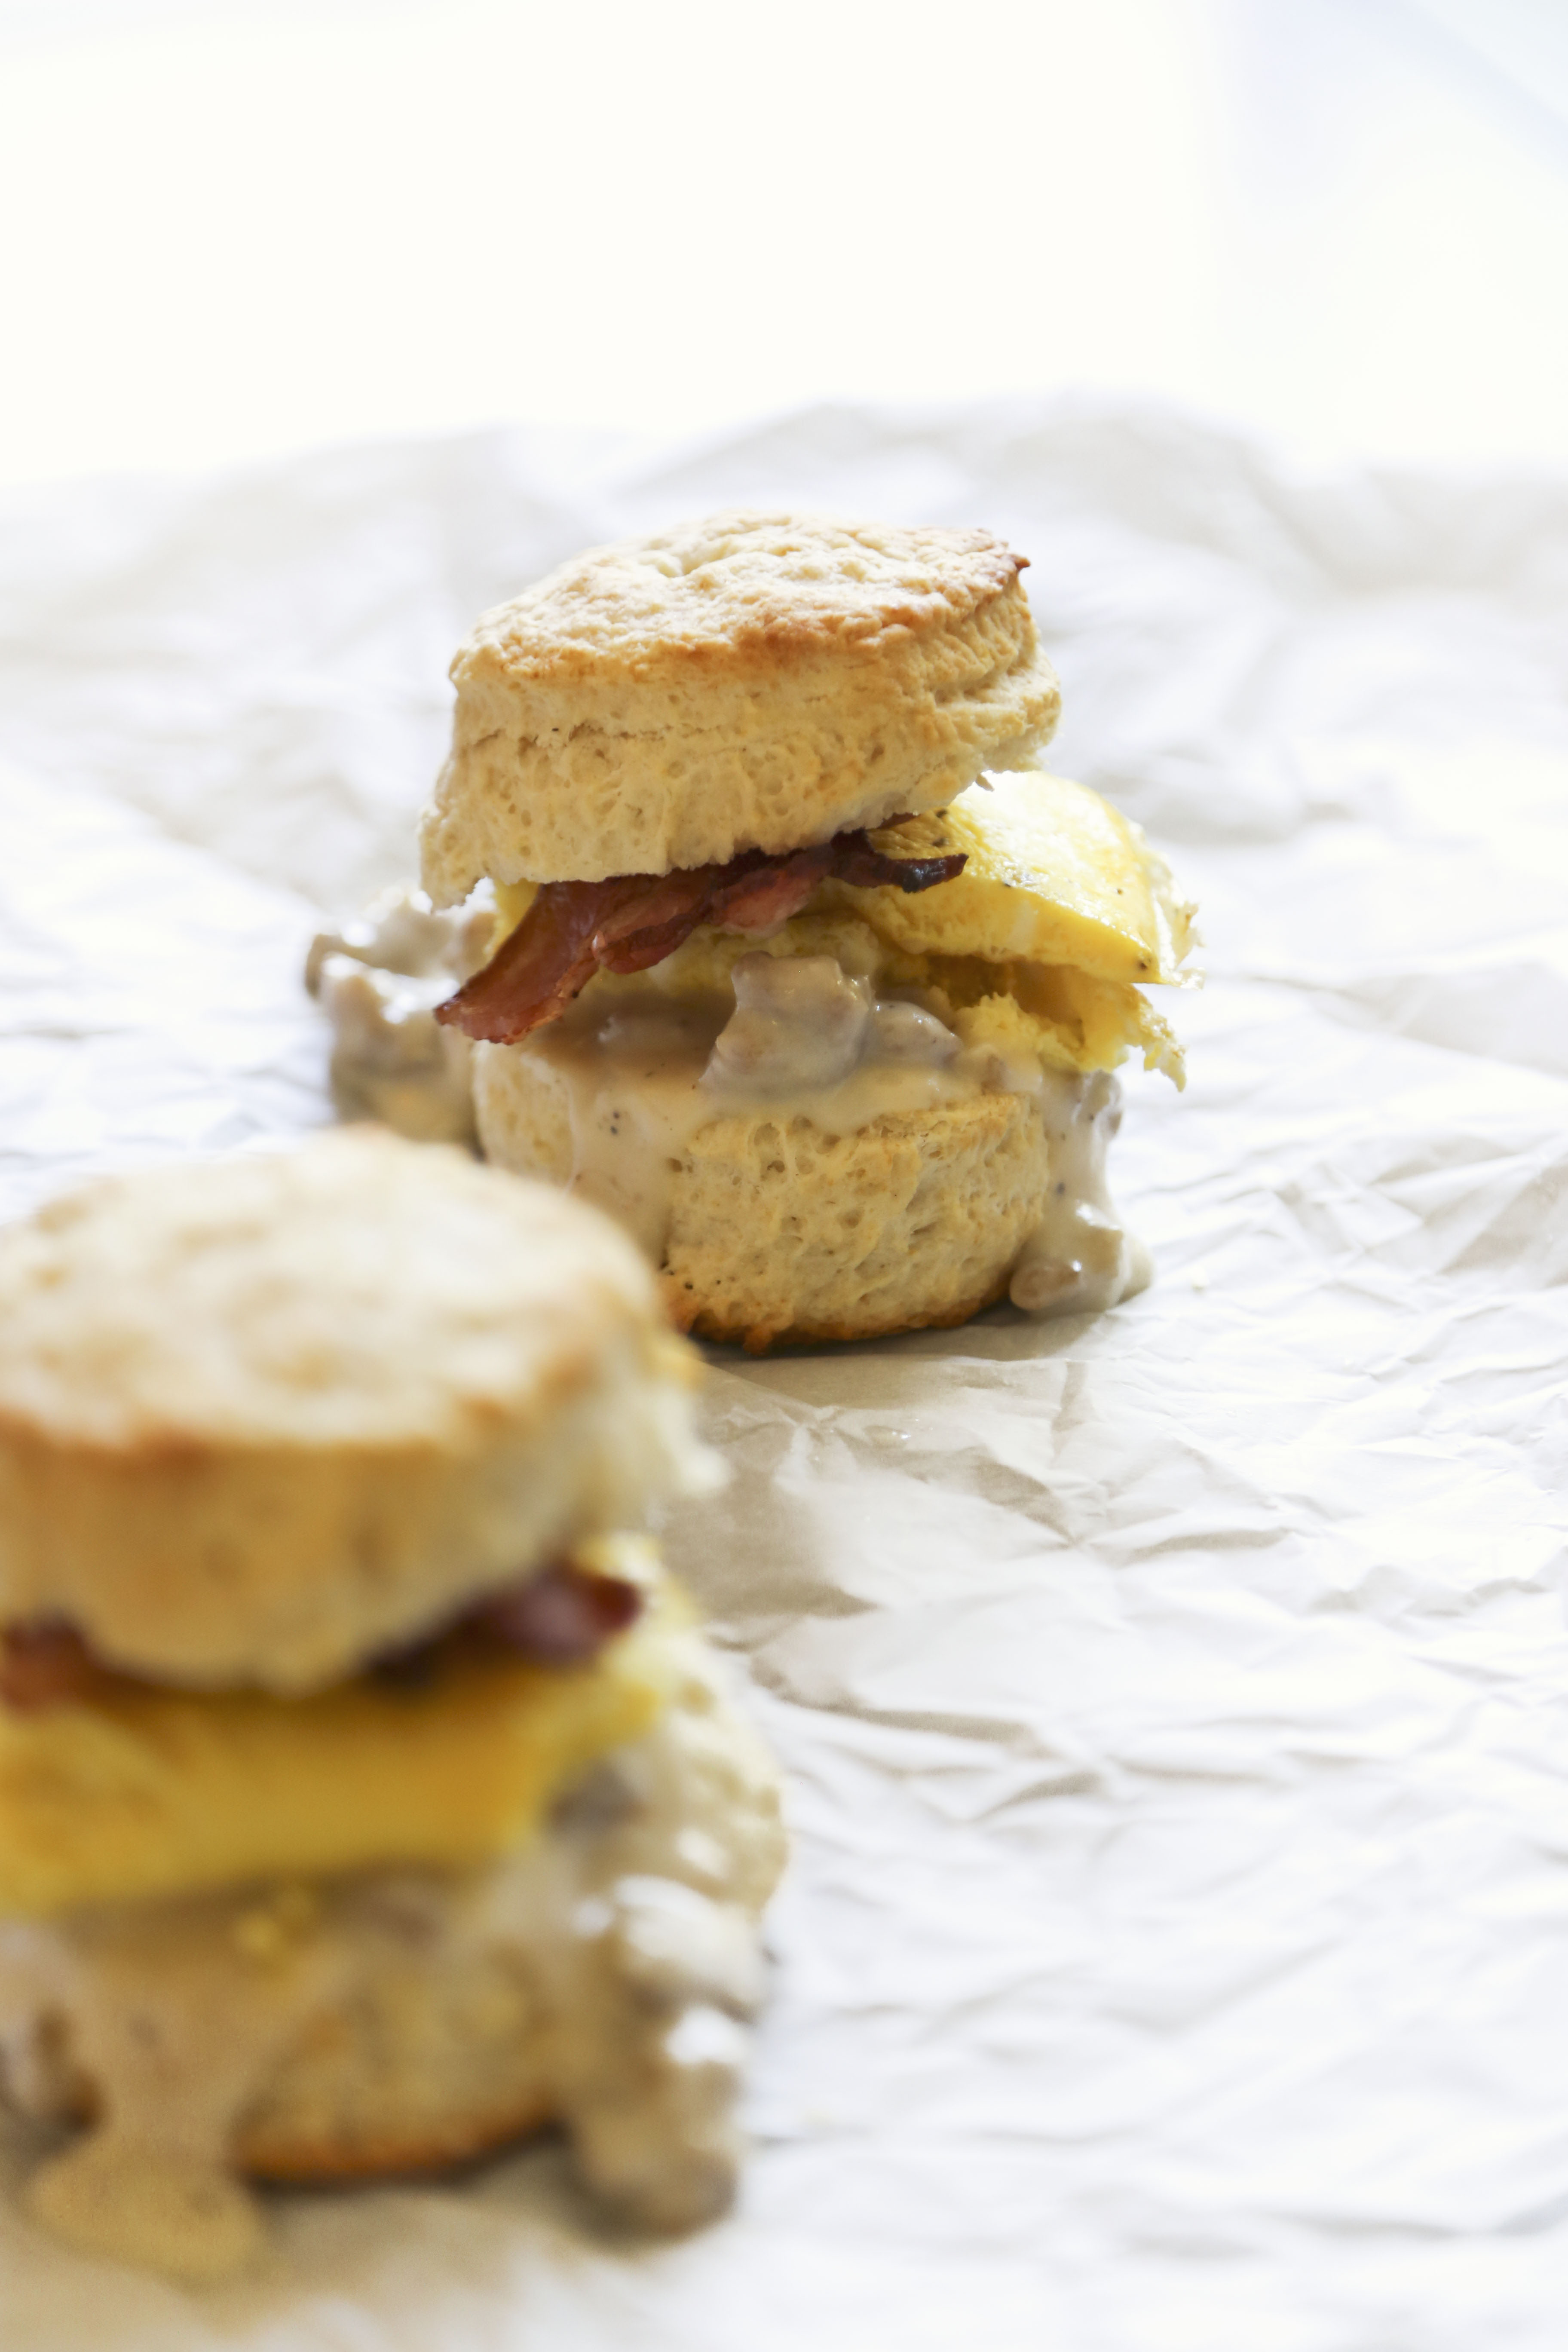
With cocktails served, first up were the appetizers.  Since the world cup was going on, I decided to keep it sports friendly.  I don’t know about you, but sliders are one of my favorite sports-watching-foods.  So how about some breakfast sliders?

breakfast slider2

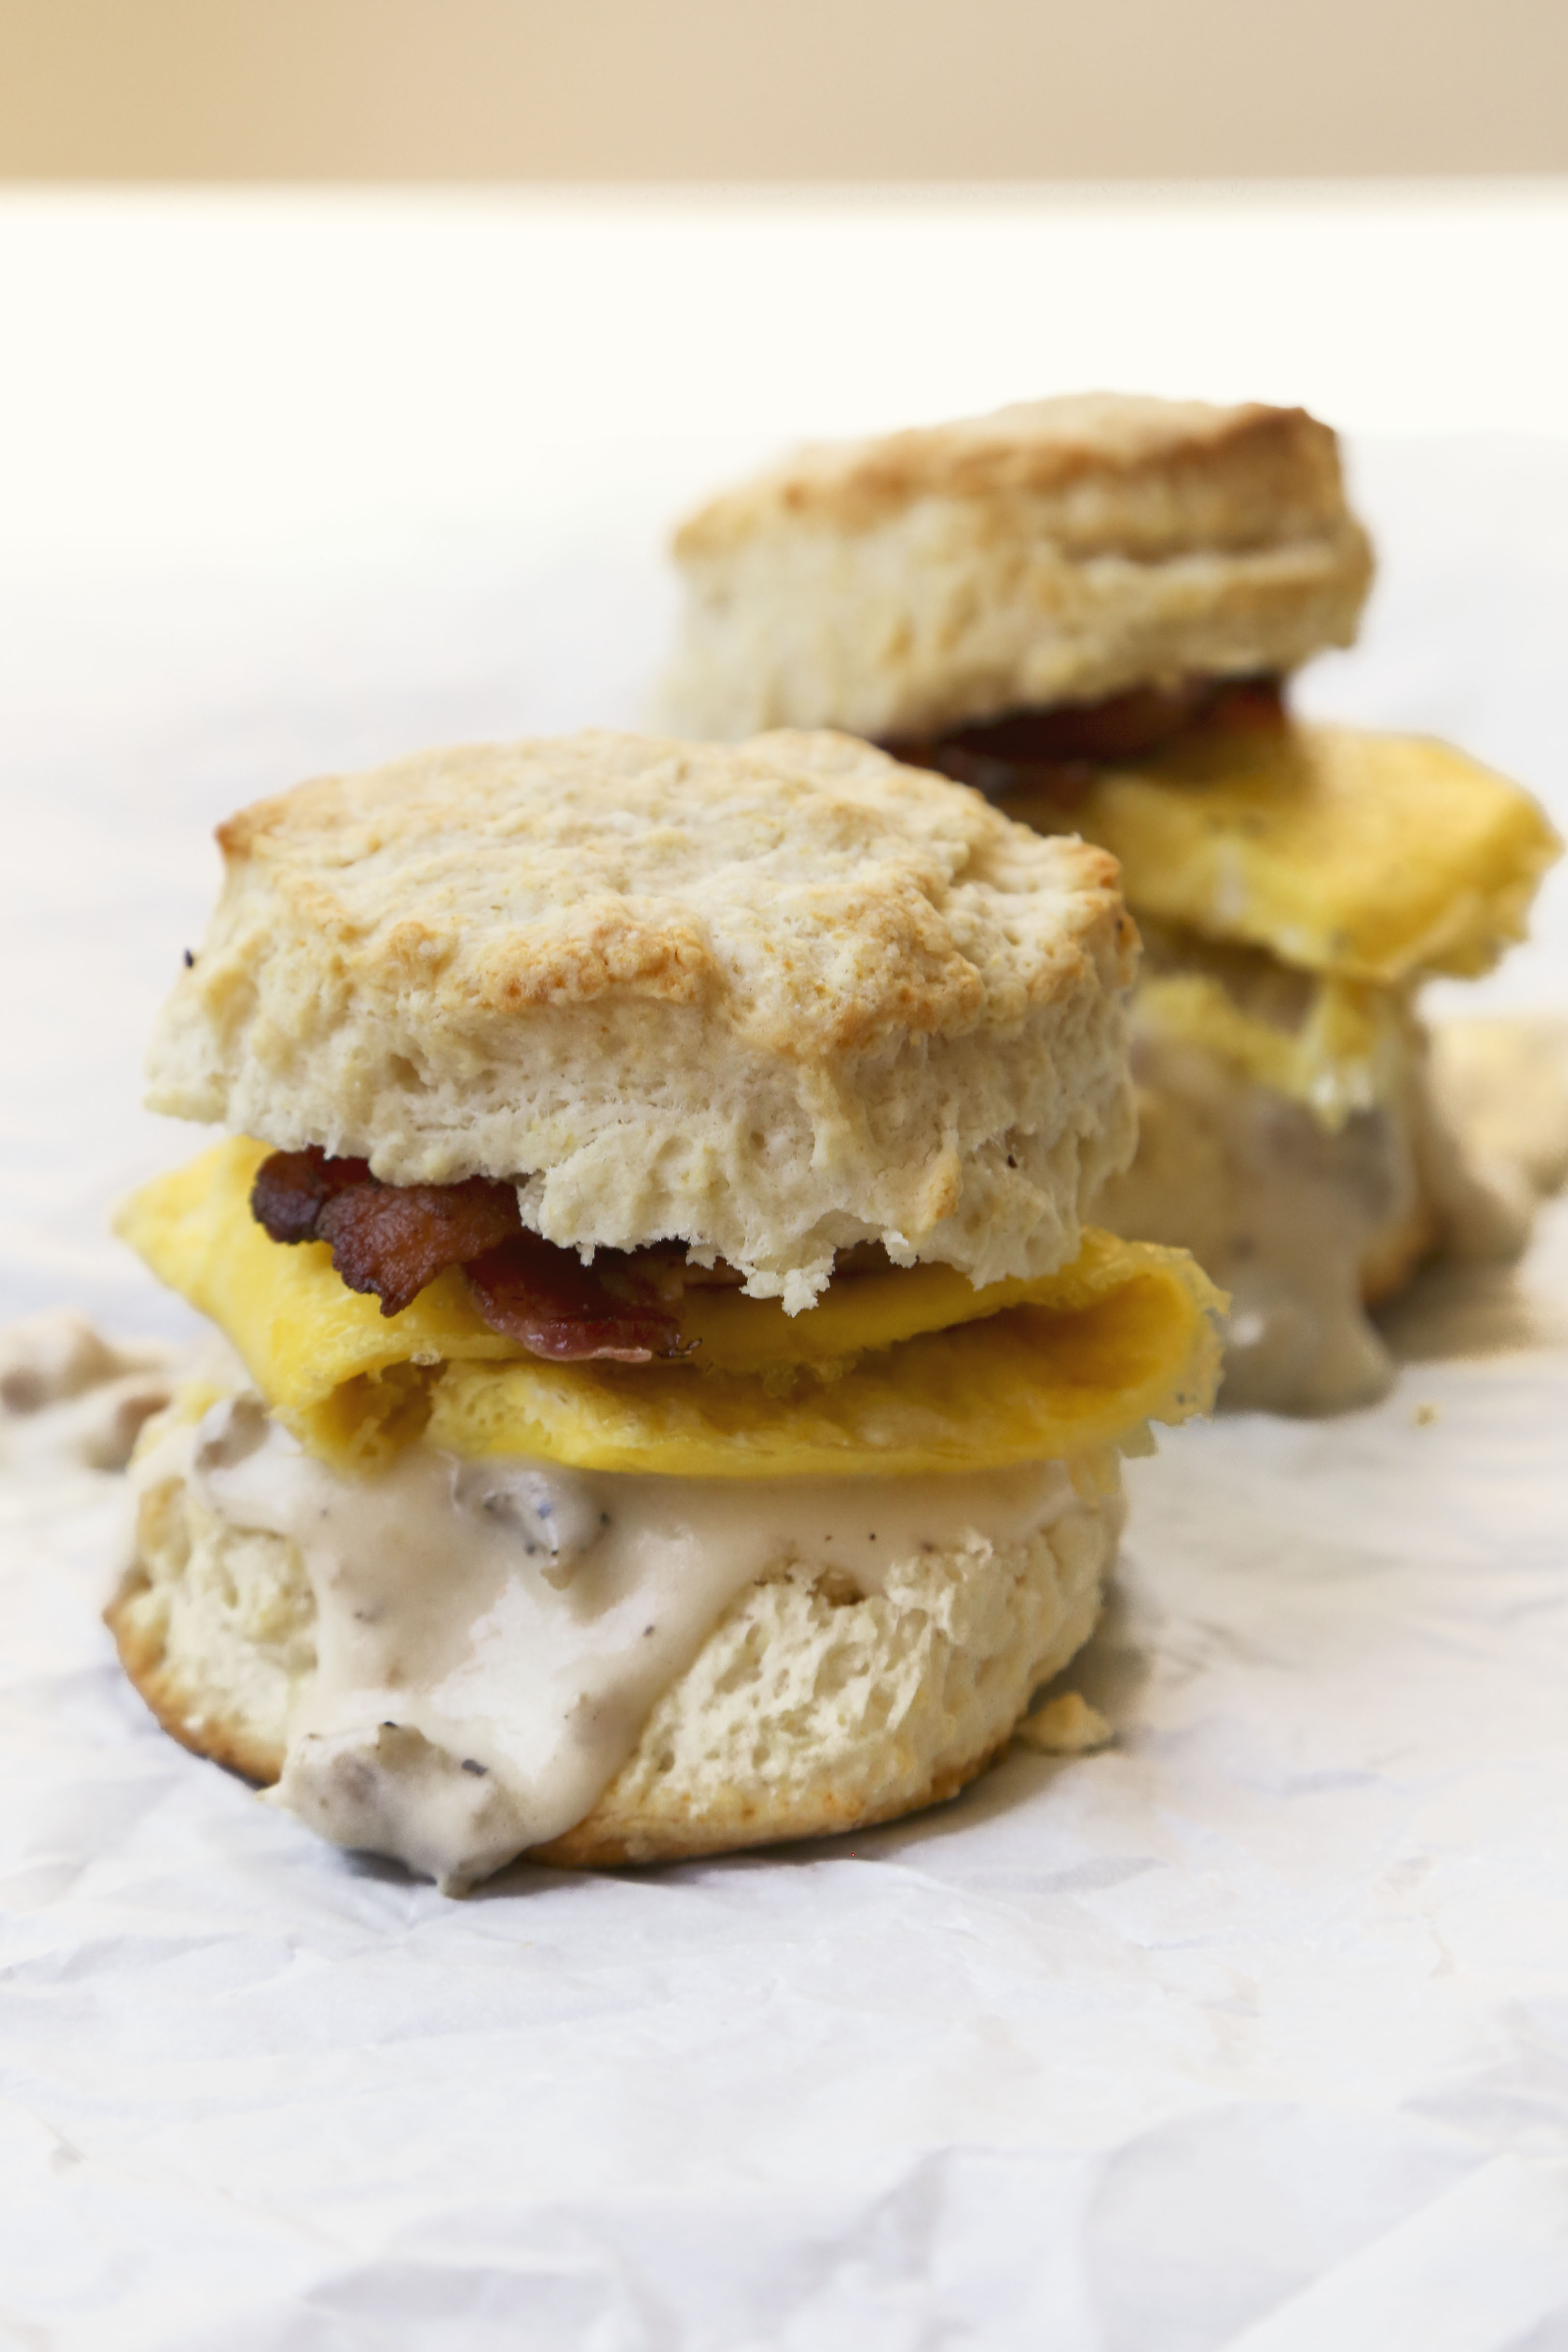
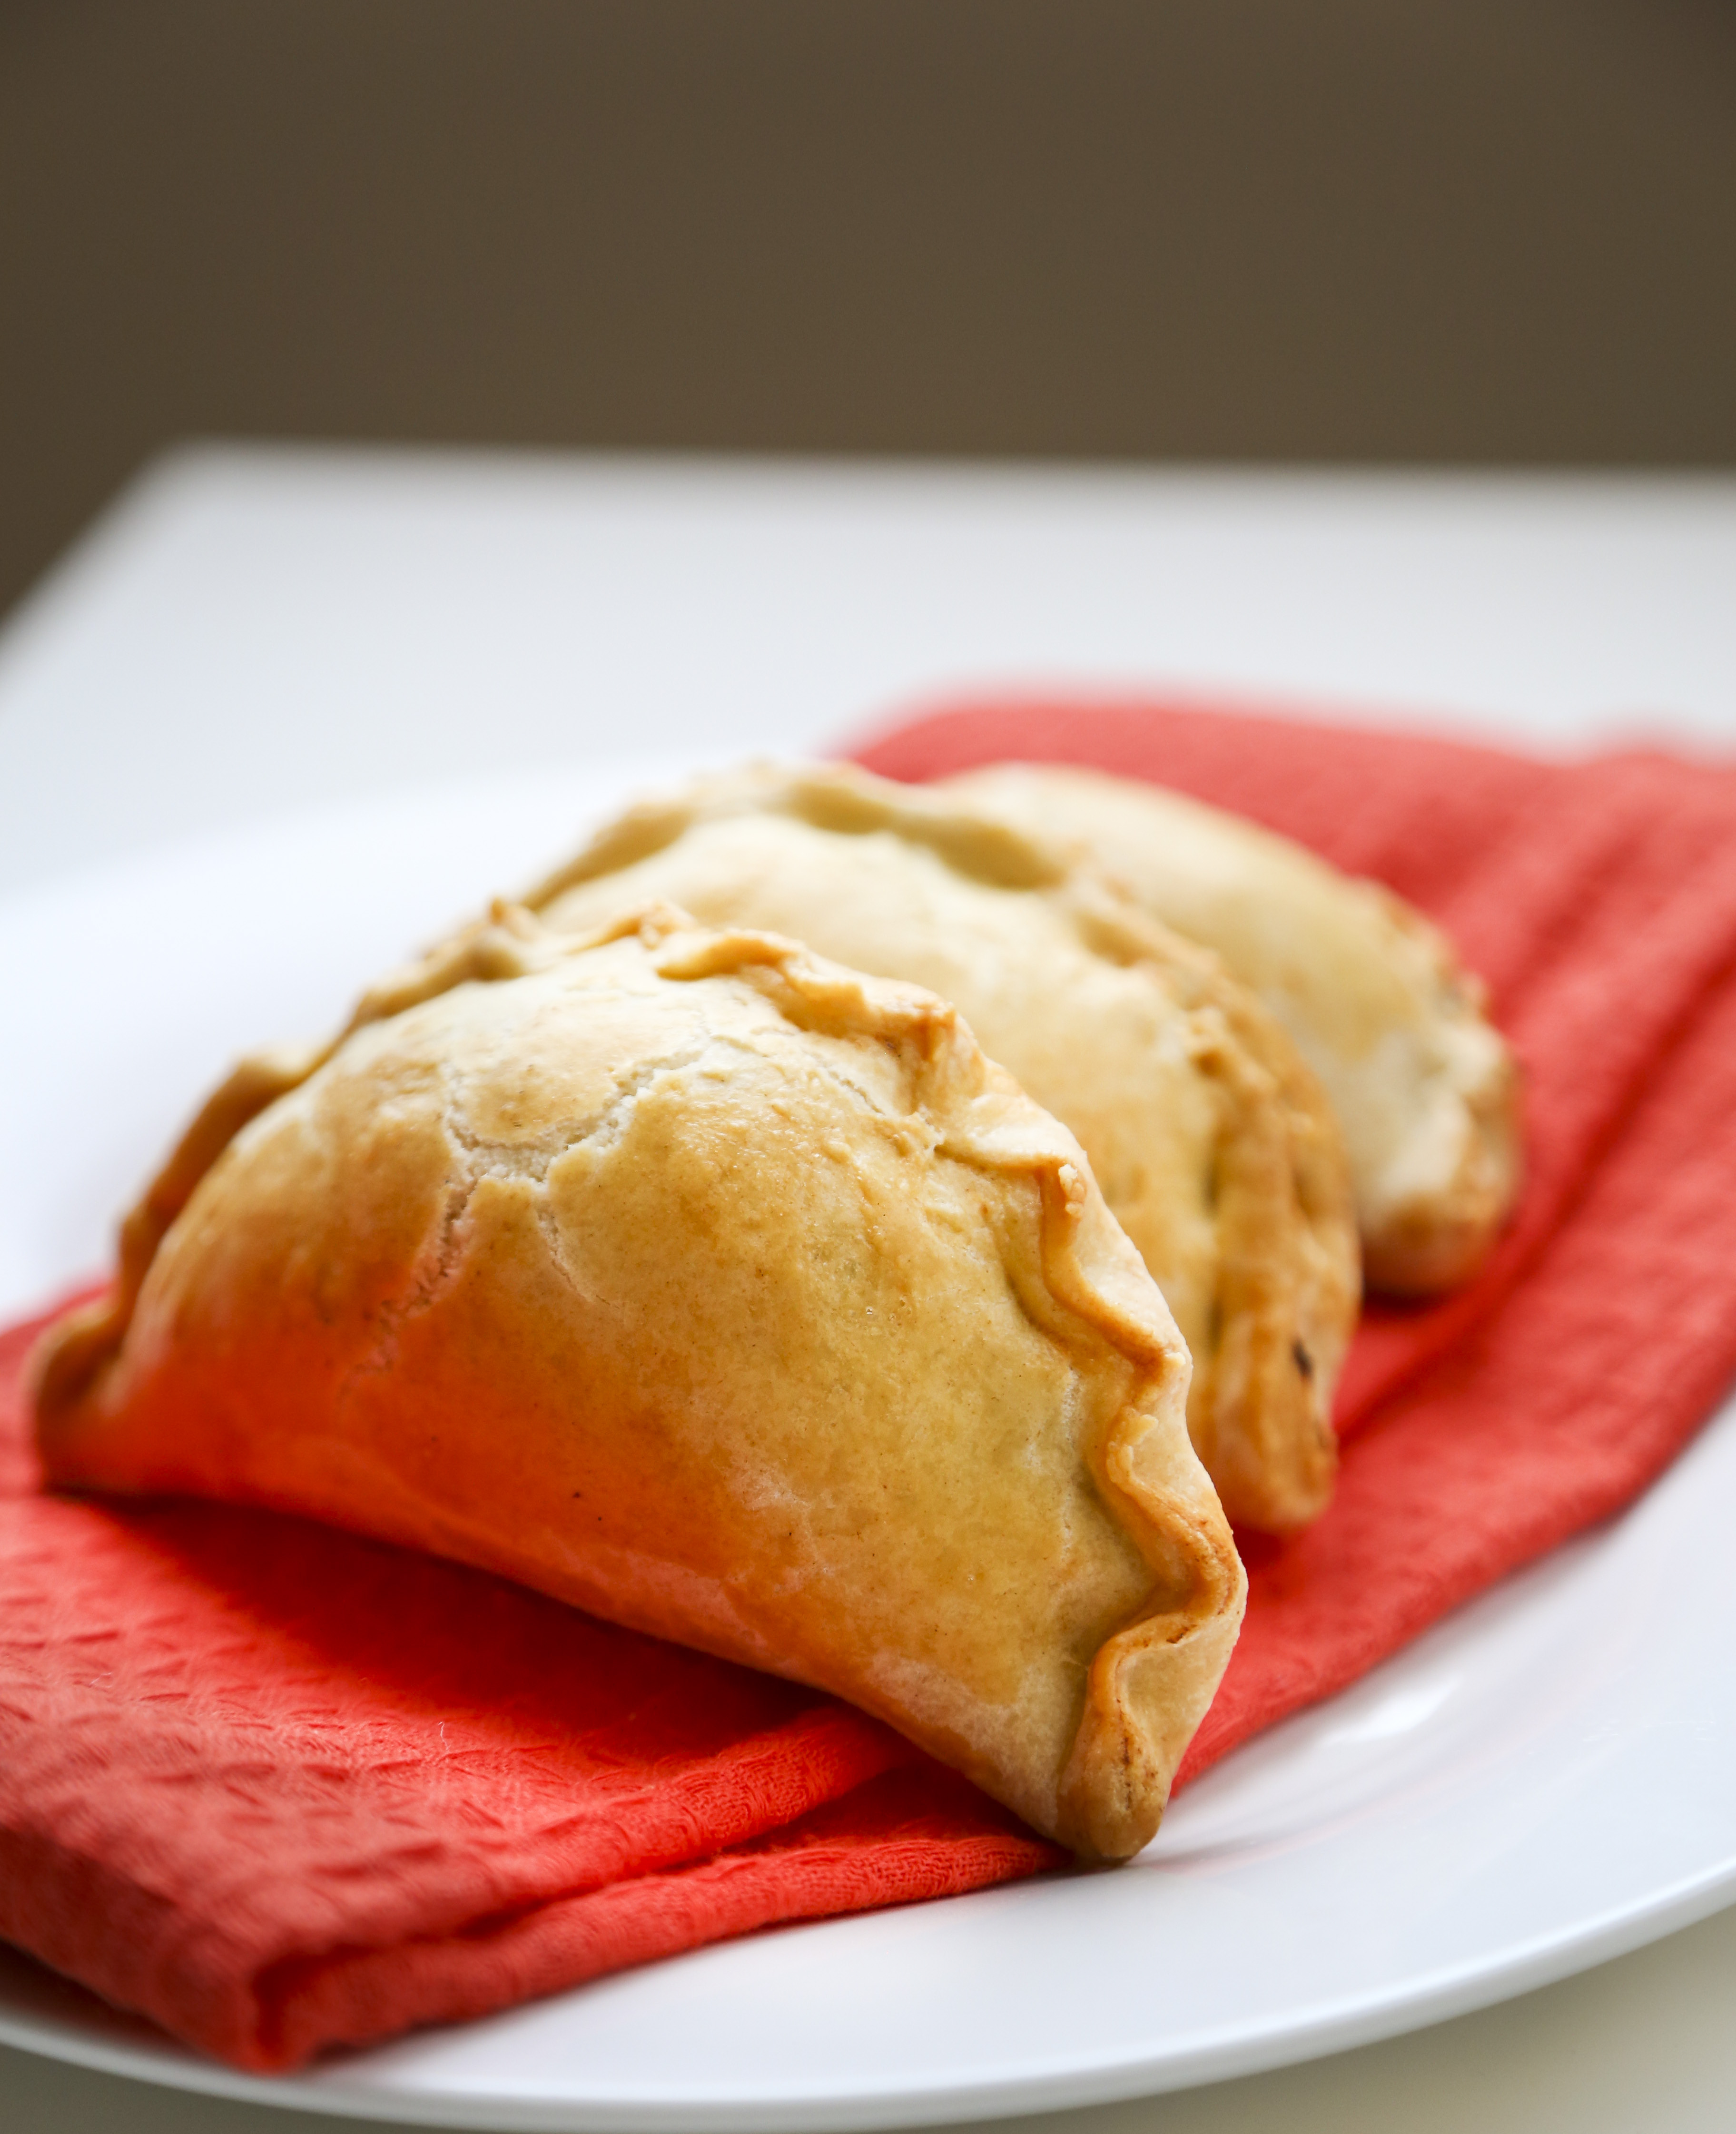
These are all sorts of awesome.  Biscuits. Eggs. Bacon. Sausage Gravy.

jesseappetizer

You’re welcome.  I’ll do a full recipe post on these soon!

After the game and some chatting and hanging around, it was time for dinner.

When it comes to dinner parties, I’m a big fan of interactive meals.  I think my friends are starting to get tired of it, but I love having make-your-own-____ meals.  It takes the pressure off of the host to have everything timed perfectly and it also lets guests pick and choose what they like (in the event your guests are picky or have food allergies).

When I was brainstorming the perfect Brinner party meal that would be tasty, fun and hearty, I couldn’t stop thinking of burritos.  So that’s what she wrote… Build Your Own Breakfast Burrito Brinner Party!

BreakfastBurrito


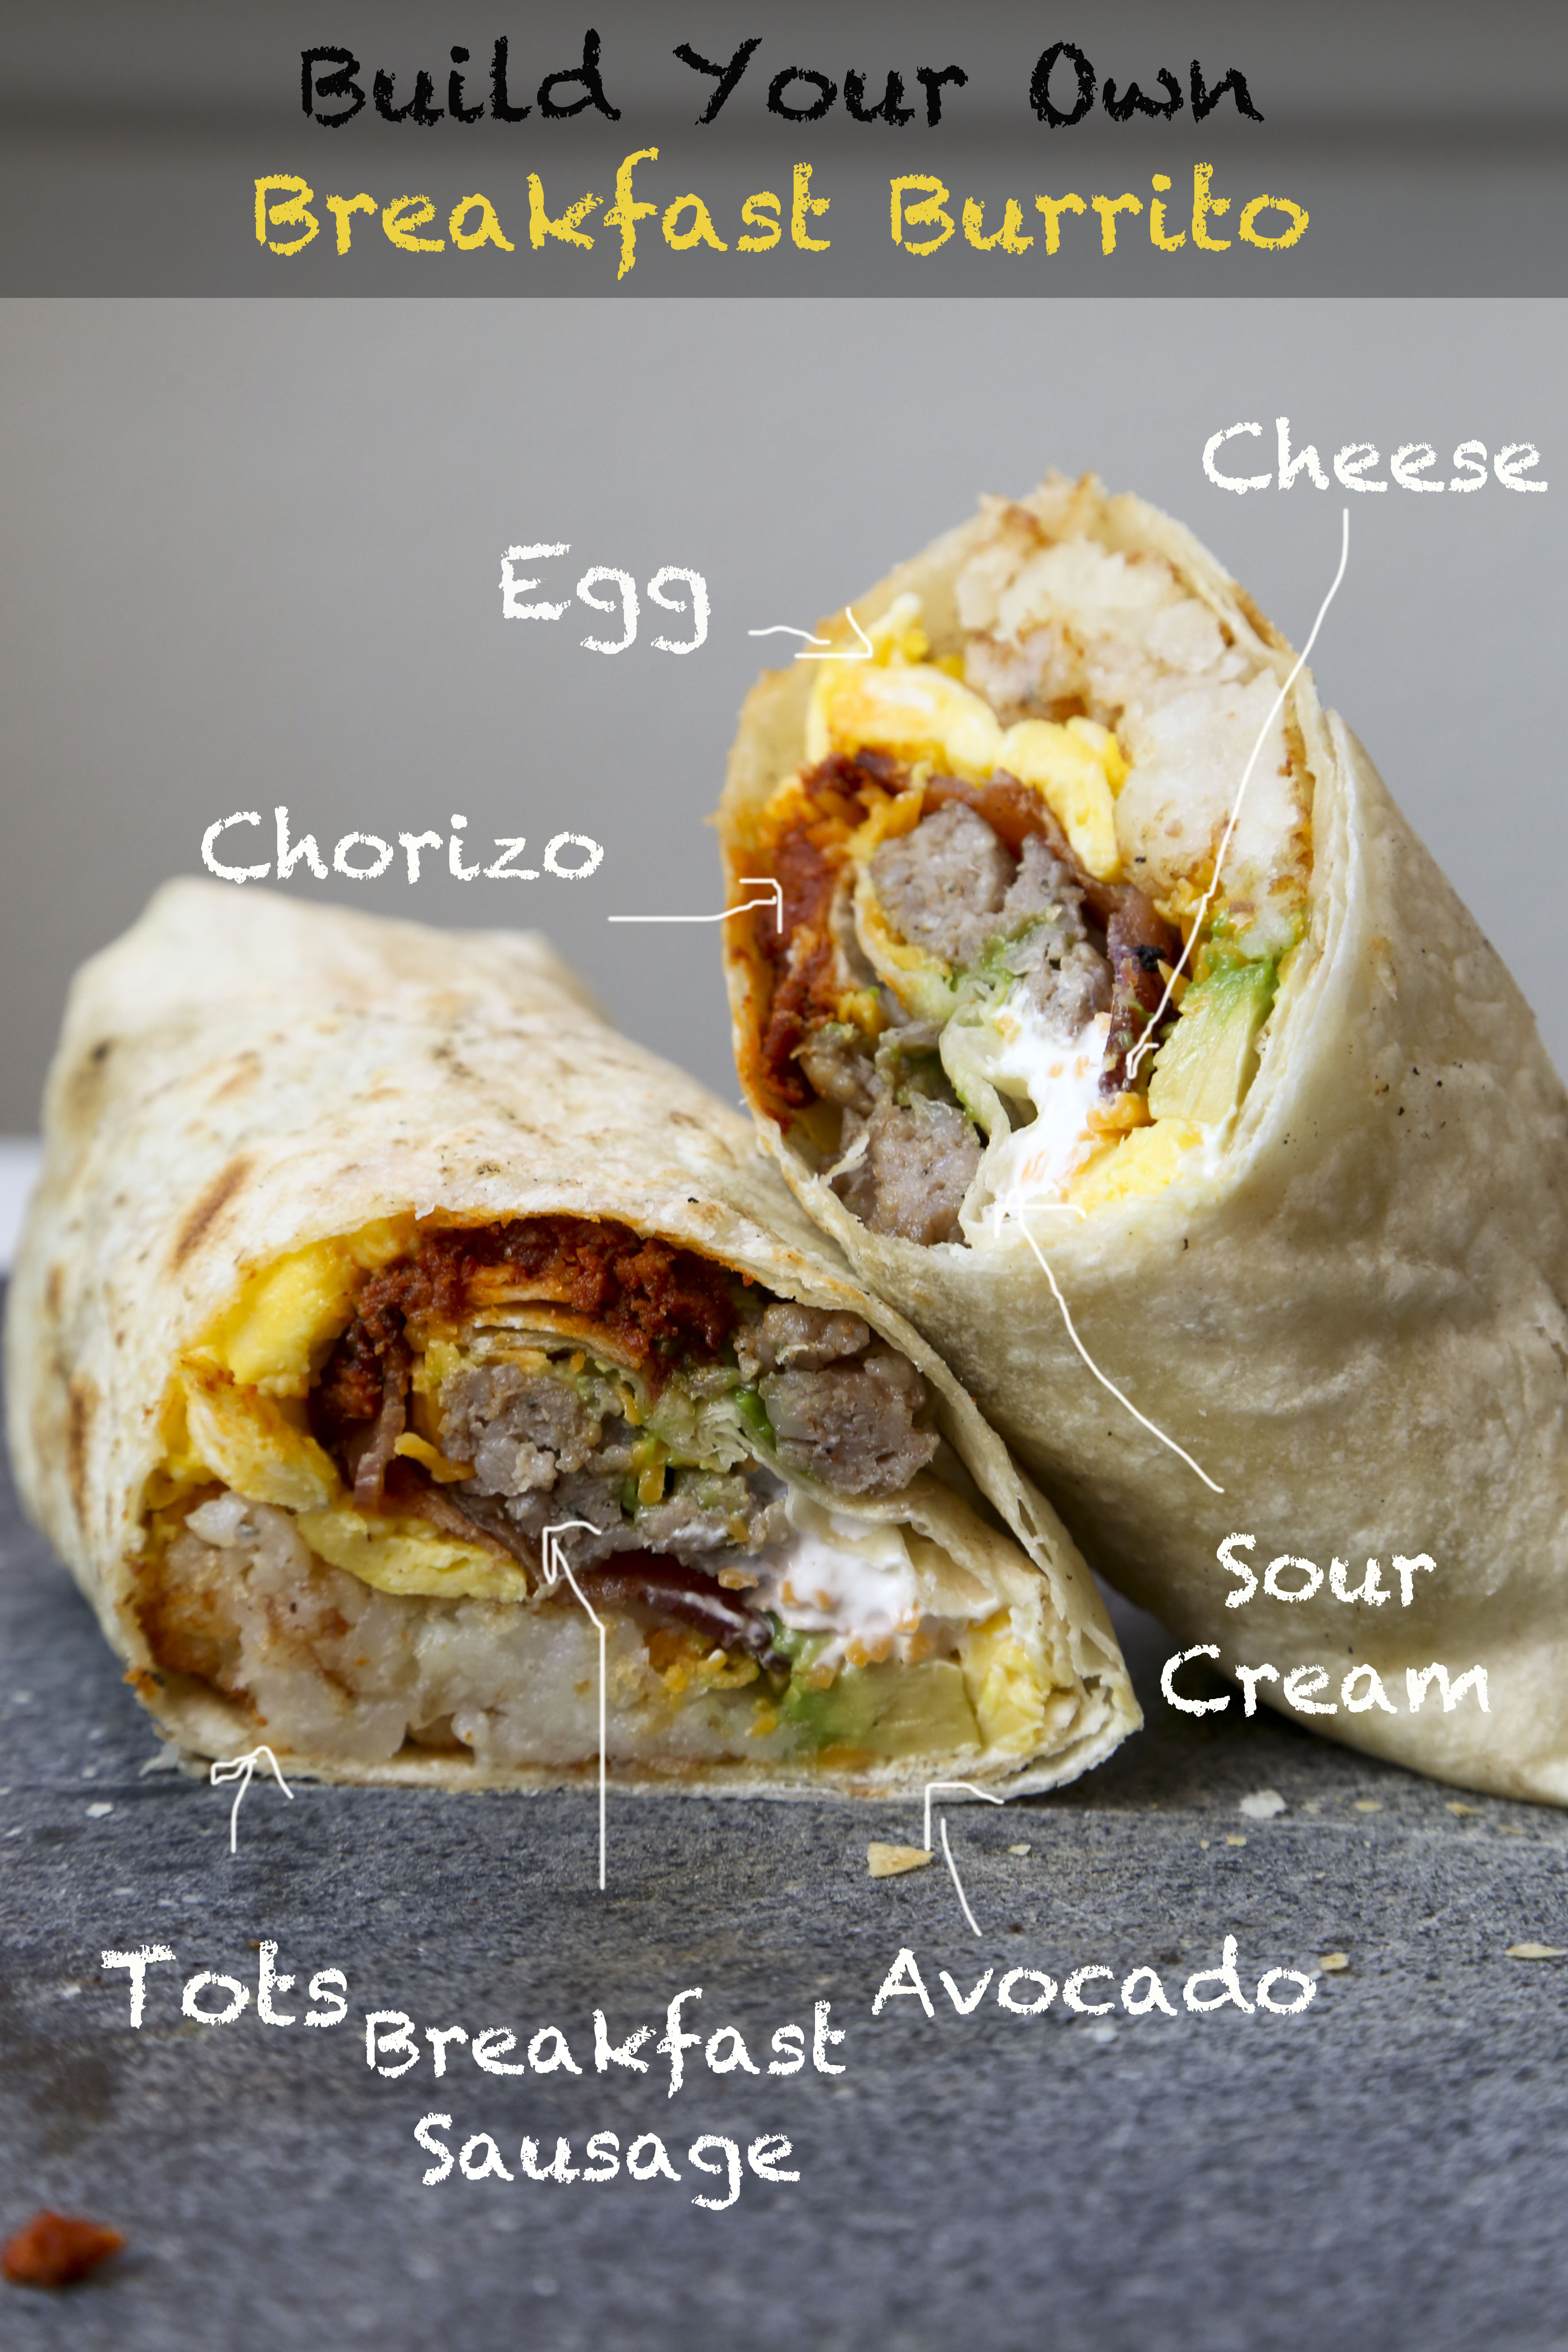
As everyone made their burritos, I snapped a few photos.  I love seeing what everyone decided to add to theirs.

Included in the breakfast burrito bar:

  • Burrito Sized Tortillas (seriously enormous)
  • Scrambled Eggs
  • Tater Tots
  • Breakfast Sausage
  • Bacon
  • Chorizo
  • Avocado
  • Sour Cream
  • Cheddar Cheese
  • Salsa
  • Cotija Cheese

I had an awesome time with this Build Your Own Breakfast Burrito Brinner Party.  I hope my guests did too!

In addition to being awesome and providing me with plenty of eggs for this Brinner party, Eggland’s Best is also giving one lucky Foodologie reader an Eggland’s Best Prize Pack!


To Enter, Head over to Facebook and Click the Giveaway tab on my page

You can get a new entry every day by tweeting about the giveaway.  You can also enter by liking me on Facebook, following me on Twitter or commenting on this post.  No matter what you do, don’t forget to go to the Giveaway Tab on Facebook and use the little module to enter there.  If you don’t use that, your entry won’t count!

So spread the word and tell the world about this Brinner Party!

The Giveaway ends July 24th at 12am and is open to US residents only (sorry, no P.O. Boxes).  Winner will be announced that day.


What’s your favorite way to have Breakfast for Dinner (BRINNER!)?

Blueberry Lemon Thyme Pie in a Bourbon Crust

Before this week, I hadn’t made a pie in a really long time.  I had almost forgotten how fun it is to make a pie.

blueberrylemonpie1

There’s something really special about making a pie.  I think it has to do with all the steps.  It’s a process, but almost always, it’s worth it.

With this pie, it’s totally worth it. I can honestly say, I thoroughly enjoy making pies.  I love making the dough and using my fingers to break up the butter.  I love rolling out the dough to fit the pie pan.   I should also tell you that I’m a little bit in love with the crust.  I decided bourbon was a good idea, so I used bourbon instead of water.  Then I decided thyme goes great with blueberries and lemon. So why not?  I won’t lie, the thyme gives the pie a really earthy flavor.  I’m not sure it will be to everyone’s liking.  If you aren’t into earthiness, omit the thyme and you will have one rockin’ pie.

The only part of pie-making that I’m not crazy about is chopping fruit.  With this pie, this is a non-issue. pieingredients

This is pretty much the pie for those who don’t like to chop things.  There’s really zero chopping involved.  Just rinse your blueberries, grate your lemon and pluck some thyme off the stem, then throw it all together with some sugar and flour.  It all is pretty simple. blueberrylemonpie2

Of course with any pie, you can always get fancy.  Lattice tops are always fancy.  I tried to get even fancier by using a spoon to crimp the edge.  Oh and the little heart adds a nice touch, right?  All sorts of cute! blueberrylemonpie3

  I’m a fan.  If you’re in the mood for a fancy pants pie that is comforting and earthy (is earthy a bad thing?), this is the jam:

Blueberry Lemon Thyme Pie in a Bourbon Crust

For Crust:

350g all purpose flour
2 tbsp sugar
1/2 tsp salt
2 sticks butter, cold
1/4 cup bourbon

For Filling:

1.5lbs fresh blueberries (5 cups)
3/4-1 cup sugar
1/4 cup flour
1/2 tsp salt zest and juice of 1 lemon
1 tbsp fresh thyme  

First make your crust.  Mix together dry ingredients.  Cut your butter into cubes, using your fingers work into your flour mixture until you get coarse crumbs.  Add bourbon and work into a ball.  Wrap in plastic and refrigerate 4 hours or overnight.  Resting is a critical part of pie dough  making.  If your pie dough is shrinking, it’s because it hasn’t rested enough. So let it chill in the fridge a few hours. Pour yourself a glass of bourbon while you wait.

When you’re ready to make your pie, make your filling.  In a bowl, combine all ingredients Roll out the crust, half for the bottom and half for the top.  Place one half in the bottom of the pan.  Fill with fruit filling.  Then make a lattice top (or just roll it out and cut a few slits in the top), crimp as desired.

 If you want some cool pie crimping ideas, check this out. Put your pie in the freezer while you preheat your oven to 350F.  Once heated, bake for about an hour or until the blueberries are bubbling all around. Allow to cool completely and serve. eatingblueberrypie

Blueberry pie always looks like a mess when served.  But that’s part of the fun of pies.  Unlike layer cakes, pie aren’t perfect.  They’re messy and chunky, but overall pretty great.


I’m really interested to try more herbs in pies.  I’m thinking maybe strawberry basil might be a good combo.

Any other ideas?  How do you feel about pies? Fan? Not so much?

Roasted Cauliflower and Lentil Salad

I’m currently having a bout of I-don’t-want-to-cook.

It’s a chronic syndrome.  I haven’t quite found the cure, but I have a remedy.

The situation is this:  I want to eat healthy meals, but I’m just not in the mood to prepare them.

An unfortunate result of I-don’t-want-to-cook is a desire to eat bad things.  And thus, I also want to eat fatty sandwiches and burgers (because those are cheap and easy to pick up… but really I should mention Del Taco Bean and Cheese burritos because they’re my weakness).  Today, I almost gave in to a fatty sandwich for lunch, because I was too lazy to pack a lunch.  I got a salad at a local spot.  And while it was healthier than the fatty Reuben I also wanted, nothing beats the healthiness of a home-cooked meal.

So the solution to the chronic I-don’t-want-to-cook (or really I-don’t-want-to-do-dishes) is to get a boyfriend who cooks having lots of healthy leftovers.  I’m a fan of cooking in bulk for the week because I always know there will be a day when I don’t feel like cooking so I might as well be prepared.  My most recent creation is perfect for these days.  You can make it on Sunday and it’ll still be good for Thursday, since there’s no meat involved.

RoastedCauliflowerLentilSalad2

Don’t worry, I didn’t go crazy with photoshop.  I used yellow cauliflower.  That’s why it’s so bright.  I’m currently making this again with purple cauliflower.  I’m going to bet that will look awesome as well.

RoastedCauliflowerLentilSalad3


So if you’re like me and you’re having an I-don’t-want-to-cook (or do dishes) moment, this is your solution.  Very little work and lots of deliciousness and nutrients.  So get your cauliflower/lentil on…


Roasted Cauliflower and Lentil Salad

3/4 cup lentils, dry
1 head cauliflower, chopped
2 tbsp olive oil, divided
1 tsp cumin
1 tsp paprika
1/4 tsp cayenne
garlic salt, to taste (I used about 1/2 tsp)

1/2 tbsp dijon mustard
2 tbsp red wine vinegar
salt and pepper to taste
1/4 cup chopped cilantro
3 oz goat cheese (optional)

Cook lentils for 20 minutes (or until tender) in boiling water.  While the lentils cook, pre-heat your oven to 400F.  Chop cauliflower, toss with 1 tbsp olive oil, cumin, paprika, cayenne, garlic salt and pepper.  Roast for about 20 minutes, turning occasionally, or until golden and crispy.

Next make dressing.  Whisk together 1 tbsp olive oil, mustard, vinegar and some salt and pepper.  Now combine all ingredients.  Toss together lentils, cauliflower, cilantro, and dressing.  Top with goat cheese and serve!  This recipe will serve 4.

RoastedCauliflowerLentilSalad1

  Like I said, this recipe is super easy.  It only takes about 5 minutes of prep work.  The rest is pretty much just the oven and stove doing the work.  That means you can watch Orange is the New Black while you wait for it all to be ready, then take 2 minutes and throw it all together. RoastedCauliflowerLentilSalad4

Sounds like a great idea to me.  I have some cauliflower in the oven, now all I need is Netflix.


What’s your quick and easy, to-go healthy meal?

Zucchini Noodles with Peanut Sauce and Leek-y Meatballs

I’m going to be honest.  I’m a terrible meatball maker.  I’m also a terrible meatball namer.  They taste great, but generally look horrible and leek-y? I couldn’t come up with something better?

I don’t know how people get their meatballs to be round and beautiful.  Mine end up a little bit like patties, but they taste awesome.

Because they taste awesome, I really can’t complain.  So let me tell you about these (slightly ugly but delicious) meatballs.

ZucchiniPeanutNoodles3

What I love about these meatballs is that the vegetables are still a little bit crunchy, so they have a great texture.  But what I REALLY love is the peanut sauce that went with it.  I intended to make Italian flavored meatballs with added leeks, but then I tried them and they reminded me of potsticker filling, so I decided to go for an Asian twist.  And thus peanut sauce was necessary.  Peanut Sauce is the perfect addition.  I’m totally into it.    


The other magical part of this meal is that it’s almost paleo and 100% healthy.  The paleo part doesn’t really matter to me, but the healthy part does.  I’m always looking for great-tasting healthy recipes, that’s why I’m such a big fan of this.  That said, if the paleo part matters to you, use almond butter or sunflower butter in place of peanut butter and it’s 100% paleo! ZucchiniPeanutNoodles4

Zucchini Noodles with Peanut Sauce and Leek-y Meatballs

6 zucchinis, spiralized or julienned
1 lb lean ground turkey
1/2 onion, finely chopped
1 carrot, finely chopped
1 celery stalk, finely chopped
1 leek (white part only), finely chopped
1 garlic clove, finely chopped
1 egg
salt and pepper to taste
1-2 tbsp olive oil

For Peanut Sauce:

1/4 cup coconut aminos (or low sodium soy sauce, if paleo doesn’t matter to you)
1-4 tbsp water*
1/4 cup natural peanut butter (or sunflower seed butter or almond butter if you want to make it paleo)
juice of 1 lime
2 tbsp rice vinegar
1 tbsp fish sauce
1 small knob of fresh ginger (about 1 inch, about 1 tbsp)
1 tsp sriracha, or more to taste (optional)


Make meat balls.  Combine turkey, onion, carrot, celery, garlic, leeks, egg, salt and pepper using your hands.  Roll into 25-30 small balls (a little larger than a walnut).  Heat olive oil in a pan.  Cook meat balls about 10 minutes, turning occasionally until cooked through.  Alternatively, you can bake them at 450F on a parchment paper lined sheet for about 25-30 minutes.  (Note: I made these another time but I caramelized the onions and leeks first and it was awesome.  Just saying… in case you want to try that)


Next make peanut sauce.  Combine all ingredients in a blender or food processor.  Blend until well combined. *I’ve made the sauce with 4 tbsp of water, it’s a bit runny, which I like, but if you want it thicker, use less.  You might need to adjust the coconut aminos to make sure it’s not too salty.


Toss zucchini noodles with sauce (reserve some extra peanut sauce for drizzling), plate noodles, top with meat balls and drizzle with extra peanut sauce.   Garnish with cilantro and chopped peanuts if you’d like.  If not, just serve and devour.   I’m having a really hard time deciding the serving size for this recipe because I eat massive amounts of vegetables.  This recipe will serve about 4 people, but I got 3 meals out of it with left over meatballs (because I tend to eat more vegetables than meat).

ZucchiniPeanutNoodles2

I’ve made this twice now and loved it both times.  It’s pretty quick and easy, but seriously tasty.  I recommend it, if you’re looking for a tasty meal to add to your healthy dinner rotation.


Do you have any awesome meatball-making tips?

Ceviche de Jaiba

I’ve been agonizing over this post for about two weeks now.  I’ve had a million ideas about what to write and none of them seemed to work out.  Instead of agonizing any further, let’s talk about what led up to the amazing recipe I’m going to share with you… It all started with a hike… a 10 mile hike to a bridge where people were bungee jumping.  If you’re in the LA area and have never been to the Bridge to Nowhere, I recommend it.

10330272_10103153063966343_3890541291378493148_n

Given how NOT graceful I am when it comes to balance, I’m really impressed that I could cross streams on rocks and logs.  I think the hike is medium difficulty, and overall really fun.  It took us about five and a half hours.  On the way back, we were all ready to be done, because it was hot and we ran out of water.  Clearly a bad combo.  Next time, I’m bringing a water filter and a swim suit.  There were tons of little pools in the stream for swimming.  It would have been great to swim given the heat.

That particular day, my legs were sore.  The previous week, I had hurt my arm at crossfit.  While I let it heal, I modified all my workouts to involve only lower body movements.  Basically I just squatted and ran for a week.  Then on Saturday, Allison and I ran.  So by Sunday, my legs were toast.  This hike did them in.  By the end of the hike, all I wanted to do was drink a gallon of water and sit for a bit.  Being the dream boat that he is, Jesse made this:

Ceviche1

I’m going to go ahead and say that this is really his recipe, but I’m sharing it with you because it’s damn delicious.  Gentlemen, make this for your lady.  She will appreciate it.

Ceviche de Jaiba

1lbs imitation crab meat, shredded (or Real Crab meat)
2 tomatoes, diced
1/2 large onion, diced
1/2 cup cilantro, chopped
juice of 4 limes
salt to taste
Avocado and Chips/Tostadas, for serving  

Combine all ingredients in a bowl.  Serve with sliced avocado on a tostada or with chips and cover in hot sauce.  Jesse likes to put ketchup on his too.  That was tasty enough but I was a big fan of the hot sauce.  You can also add fresh sliced jalapeños or habanero peppers for some extra heat.

Ceviche2

This ceviche with a nice cold beer was the BEST post-hike meal.  It’s light and citrus-y, and if made by a nice fella… it’s pretty much everything a girl could ask for.  I can’t wait to go on another hike and eat this again.

What’s your favorite place to hike? How about post-hike meal?

Honey Peanut Butter Ice Cream with Peanut Butter & Co.’s Bee’s Knees

Desserts are my weakness in life.  I wish I knew how to stop eating dessert on a daily basis.  But I don’t.

For the most part, I live on the moderation train.  I’ll eat anything but in moderation.  Sometimes when I overdo it (as I have been recently), I impose the “homemade” rule on myself.  I hate food rules but this one has worked for me.

The homemade rule is: I won’t eat a dessert (or other high calorie food) unless I make it myself.

If I want a cookie, I don’t need to go buy a pack of Chips Ahoy.  I can pull out all the ingredients and make it myself.

If I want mac and cheese, I’m buying pasta, milk, cheese and making my own cheese sauce.  None of that powder stuff.

If I want ice cream, I’m going to buy some milk and cream and pull out the ice cream maker.

It’s a good rule to have, because it makes me wait.  We’re used to instant gratification, having things exactly when we want them.  But with a lot of high calorie treats, that’s not really how it should be.  So my “homemade” rule is one of the better food rules, in my opinion.  It makes me slow down.

It’s time for me to impose my “homemade” rule, because yesterday I ate Costco frozen yogurt and I just finished a store-bought Oatmeal Raisin Cookie.  While homemade foods still have calories and fat, I feel better knowing that I’m not adding chemicals to my foods.  Not to mention, I can control the amount of fat, sugar and salt.  It’s not perfect, but it’s a step in the right direction.

I pretty much always want ice cream, so when Peanut Butter & Co. sent me their The Bee’s Knees Peanut Butter to try out, I decided ice cream was the perfect creation.

HoneyPBIceCream1

Honey Peanut Butter Ice Cream

1/2 cup honey
2 egg yolks
1 cup heavy cream
1 1/2 cup milk (I used non-fat)
1 cup The Bee’s Knees Peanut Butter

Beat together honey and egg yolks until slightly fluffy.  Beat in heavy cream and milk.  Pour into a medium sauce pan.  Turn on heat to medium.  Stirring occasionally until it starts to thicken slightly (about 10 minutes).  Once the mixture starts to get a bit thick, mix in peanut butter.

Remove from heat and allow to cool completely, then chill.  Pour into ice cream maker according to manufacturer’s ingredients.

Freeze for a few hours to set.  Serve and enjoy! HoneyPBIceCream2

I melted some extra Bee’s Knee’s Peanut Butter and drizzled it on top.  It was pretty much amazing.

Next time I want to try to make this without the added honey.  I think The Bee’s Knees can hold the honey-peanut butter flavor on its own without the extra sweetener.

HoneyPBIceCream3

Want to try making this ice cream on your own?  How about winning two free jars of The Bee’s Knees?  Peanut Butter and Co. is being awesome and giving away two jars of The Bee’s Knees to one Foodologie reader!


To enter the giveaway, head over to my Facebook Page.  Click the “Giveaway” tab and follow the module to enter.


You can enter by:

Leaving a comment on this blog post telling me what your favorite ice cream flavor is

Liking Foodologie on Facebook

Following me on Twitter

Tweeting about the giveaway.


The giveaway ends May 28th at midnight. Winner we be announced May 28th. Entry open to US residents only.

Disclaimer: As a member of Peanut Butter & Co.’s Yum Squad food blogger club, I received product in exchange for this post. All opinions expressed are my own.


What’s your favorite ice cream flavor?  I am a little bit in love with pistachio.

Tomato and Ricotta Salad

I’m currently having a love affair with full fat ricotta cheese.

It has to be a full fat thing, because I’ve had ricotta before, but none as delicious as this.  It’s just the regular whole milk ricotta from Trader Joe’s. Nothing fancy.  Usually, I buy part-skim, but this time all I could find was full fat.

That was the best thing that could have happened.

Now I’m obsessed with ricotta.  I want to put it on everything.  In fact, I have been putting it on everything lately, but this is my favorite combination:

TomatoRicottaSaladtext

  It makes for the perfect appetizer or light meal.  It goes great with wine and doesn’t weigh you down.  You can probably go dancing after eating this and feel great. TomatoRicottaSalad1

Tomato and Ricotta Salad

2 tomatoes, sliced
2 tbsp (or more) ricotta cheese
2 tsp Chipotle Olive Oil*
1 wedge lemon
salt/pepper to taste

Slice tomatoes, top with ricotta, then sprinkle with salt and pepper.  Drizzle with chipotle olive oil and finish with a squirt of lemon juice.

Serve and enjoy!

*I got my olive oil from Antica Olive Oil.  If you don’t have Chipotle Olive oil on hand, I would recommend extra virgin olive oil with some crushed red pepper flakes or chipotle powder.  If you’re not a fan of heat, your favorite olive oil will work.

I loved everything about this.  I had it for dinner this past Friday (before a fun flamenco show), then again on Saturday night and then for lunch on Sunday.  What can I say? I know what I like!

TomatoRicottaSalad3

I’m definitely making this for my next gathering.  It’s easy, fresh, delicious and super easy to scale up or down depending on how many guests you have. It also goes great on bread if you’re looking for finger foods!


What’s your favorite way to eat ricotta?  After this Lemon Ricotta Cake, this tomato/ricotta combo might my favorite!

Beef Empanadas

I’m starting to worry that I’m going to be on an empanada kick.  I had never made empanadas but I’ve eaten my fair share of empanadas in my day.  In Guatemala, there aren’t too many empanadas.  They exist, but I’m not sure I’ve eaten them.  We’re more tortilla folks, but Argentina… that’s the land of empanadas.  After my freshman year of college, I went to Argentina for 2 months and volunteered at a school and wandered around Buenos Aires.

300x300(5)

Oh hey, I drink mate from a gourd sometimes…

It was an experience I’d never trade.  I learned how to be on my own. I learned to love red wine.  I learned to love cities.  And I ate a ton of empanadas.

My favorite are the spinach and cheese kind, but the traditional kind are beef ones.  Because on top of being the land of empanadas, Argentina is also the land of beef.  So I decided to give it a try.

beefempanadas

The pastry part of these tastes different that the traditional Argentinean kind, but it was still pretty darn tasty.  I think they traditionally use lard, which is why mine taste different.  Also I added bouillion to try to mask some of the butteriness.  Next time, I’ll definitely try lard.  But I’m definitely happy with these creations. beefempanadas3

Beef Empanadas

For Dough:

3 cups flour
1 1/2 sticks butter (12 tbsp), cold
1/2 tsp chicken bouillion
1 egg
4-5 tbsp water


For Filling:

1 tbsp olive oil
1/2 medium onion, diced
1 clove of garlic, minced
1/2 lb ground beef
1/2 tbsp paprika
1/2 tbsp cumin
1/4 cup sliced green olives
2 hard boiled eggs, chopped
1 egg (for brushing)


In a bowl, combine flour and butter.  Using your fingers, break up the butter until it turns to coarse crumbs.  Add egg and incorporate.  Add water and form into a ball.  Knead a few times til it all comes together.  Wrap in plastic and refrigerate while you make the filling or until ready to use.

Heat a skillet with olive oil.  Add onion and cook for a few minutes until onions are tender.  Add garlic and cook for 1 minute.  Add beef and cook until browned.  Add paprika, cumin, olives and hard boiled eggs.  Stir to combine.  Set aside.

Now it’s time to assemble the empanadas. Pre-heat oven to 400F.

Roll out dough as thin as you can (1/4 cm if you can).  Using a circle cutter or a bowl, cut out circles.  The size of the circles will determine the size of your empanadas.  I used a bowl about 3 inches in diameter.

Place some of the meat filling in the center of each circle.  Fold in half and pinch edges together.  Flute edges (folded over) and place on a parchment paper lined baking sheet.  Repeat until all dough is used up.

beefempanadas2

Mix one egg with a tbsp of water. Brush empanadas with egg mixture and bake for about 20 minutes or until golden.  The bake time will vary depending on the size of your empanadas.  Start checking them after 15 minutes. Serve warm and enjoy with a glass of wine. beefempanadas5

I have so many ideas for empanadas.  Like I said, I fear this might be the start of a new trend for me.  I already bought some ricotta to make some ricotta, kale and leek empanadas.  Doesn’t that sound amazing?

beefempanadas4

In the meantime, I’m going to enjoy these leftovers (because they stay good for a few days in the fridge) and brainstorm future empanada-making.


Are you a fan of empanadas?  What kind do you like? 

The Best Chocolate Peanut Butter Cake

I pretty much always wish I had a reason to make a cake.  The more I think about it, it’s one of the reasons I love weddings, because I think wedding cakes are amazing.  Tonight I had a conversation with some ladies about wedding media.  Wedding sites, blogs, shows magazines are all geared at woman.  The wedding is portrayed as entirely about the woman, which to me seems a little unfair, given that the woman is only one half of the equation.

But in the conversation, one of the things I pointed out is that part of my fascination with wedding media is the aesthetic.  I think weddings are beautiful.  I think cakes are beautiful.  That’s probably why I love food blogs too, because I think the photography is pretty.

Most of the time when I see a beautiful cake my first thought is I want to make that, then second, I want to eat that.  For me, making cakes is fun.  I love making them look beautiful, but I also love making them taste good.

ChocolatePBCake1

Because really, isn’t a layer cake just one of the prettiest things out there?

While I always want to make cakes, there isn’t always an occasion to make a cake.  I originally made this cake for a birthday/going away party for friends.  But it was so popular and pretty that I wanted to make it again and photograph it.  

I don’t think there’s anything wrong with that.  I think it just means I appreciate aesthetics. So if you want to make a cake for a special ocassion or no reason at all other than to please yourself… please do! ChocolatePBCake3

And as a bonus, it’s amazingly delicious and the perfect 6-inch cake.

Chocolate Peanut Butter Cake

For Cake (adapted from Hershey’s Chocolate Cake):

1 cup sugar
3/4 cup + 2 tbsp flour
1/4 cup + 2 tbsp unsweetened cocoa powder
3/4 tsp baking soda
3/4 tsp baking powder
1/2 tsp salt
1 egg
1/2 cup milk (I used almond milk)
1/4 cup vegetable oil
1 tsp vanilla extract
1/2 cup boiling water

For Filling:

2 oz cream cheese, softened
1/2 cup peanut butter
7 oz sweetened condensed milk
1/2 cup whipping cream

For Frosting:

2 egg whites
1/4 cup sugar
1/4 tsp vanilla extract
1 big pinch of cream of tartar*
1 pinch of salt

For Chocolate Ganache:

3 oz bitter sweet chocolate chips
1/4 heavy cream
1/4 tsp vanilla extract

Make Cake.

Preheat oven to 350F.  Grease and line with parchment paper 2 (6-inch) cake pans, set aside.  In a stand mixer bowl, combine all dry ingredients.  Add eggs, oil, milk and vanilla.  Beat together.   Add boiling water and beat until combined.  Pour batter evenly between both 6-inch cake pans.  Bake 25-30 minutes (this might vary based on your oven so start checking for readiness after 20 minutes, especially if using a convection oven) or until cooked through (i.e. do the toothpick test: insert toothpick, once it comes out clean, it’s ready).

Allow to cool completely.

In the meantime, make the filling.  Beat together cream cheese, condensed milk and peanut butter.  In a separate bowl, whip heavy cream into firm peaks.  Fold whipped cream into peanut butter mixture, refrigerate until ready to use.

Next make your frosting.

Place a glass bowl over a sauce pan that has about 1 inch of water in it, make sure the water is not touching the bottom of the bowl (aka build a double boiler).  Add egg whites, sugar, vanilla extract, cream of tartar and salt.  Mix together.  Heat, stirring constantly until the sugar dissolves and the egg whites are warm when you touch them.

Transfer egg white mixture to a stand mixer and attach whisk attachment.  Stir on low and turn up the speed every 15 seconds or so until it’s on high speed.  Beat 5-7 minutes or until glossy, stiff peaks form.

Now assemble the cake.  Level your layers and slice in half, so you have 4 layers (you’ll notice in my photo I only had 3 layers, you can accidentally drop one on the floor and have 3 layers as well… that’s allowed, but not advised).  Place your first layer on your cake circle or cake dish of choice. Lay some filling on top of the first layer and spread evenly, press on second layer, it’s ok if it overflows a bit.  Repeat until all layers are complete.

Next, frost with a generous layer of frosting.

Place in the fridge while you make your ganache.  Place chocolate chips in a bowl and set aside.  In a small sauce pan, heat heavy cream and vanilla stirring constantly until it comes to a light boil.  Pour cream over chocolate chips.  Let sit for a minute, then stir until smooth.  Pour over cake and smooth the top with an offset spatula.  Allow to cool completely, then slice and serve.

ChocolatePBCake2

I had hopes and dreams of making a beautiful vide to go along with this blog post, but I’m still working on perfect my video making skills… but in case you’re curious… here’s my first attempt:


Not the prettiest video, but I’ll take it for a first try!  We can’t expect to make gorgeous creations the first time around, and I’m cool with that.


So tell me, are you a fan of layer cakes, weddings and pretty things?  Are you overloaded with wedding stuff? Don’t even see it?  Is a cake just a cake for you?  


Vegan Fusion Tacos

I don’t know about you, but I love fusion food.  My favorite is some sort of Asian cuisine combined with Latin. Food trucks are particularly good at this.   Kogi is the perfect example.  Their short rib taco is nothing short of amazing.  There’s another food truck around Orange County that has a banh mi taco.  Amazing.

I’m also a big fan of Taco Tuesday.  I wish I took advantage of it more often.  I really wanted to hit up my favorite taco spot today, but then I remembered I should probably save money (and calories).  Instead I made tacos at home with ingredients I already had, and thus this italian-mexican fusion vegan creation was born:

VeganFusionTacos1

Vegan Fusion Tacos

1 corn or flour tortilla
2 tbsp avocado pesto hummus
2 artichoke hearts, halved
a few sliced thinly sliced zucchini
1 tsp nutritional yeast (optional)

Heat tortilla.  Spread tortilla with Avocado Pesto Hummus.  Top with artichoke hearts, zucchini slices, then sprinkle with nutritional yeast.  If you want to go crazy, squeeze some extra lemon on top.  You won’t be sorry.  Then devour.

VeganFusionTacos2

Note: If you make a full avocado pesto hummus recipe, you should be able to make about 6-8 tacos.

Do you see the fusion in here?  Italian ingredients: Garbanzo beans, Artichoke Hearts, Zucchini, Basil.  Latin/Mexican: Lemon, Avocado, Tortilla.

I think that’s pretty good.

So there you have it.  Tasty vegan dinner, ready in about 10 minutes.  Get your Taco Tuesday on.