I have a hard time with this whole gluten-free movement that’s been happening the past few years. I get that some people have genuine intolerances, but for the most part I’m a non-believer. When someone tells me they don’t eat gluten, I roll my eyes. Yes. I am that person. I am a jerk.
Karma is a thing. Let me tell you why…
You might have noticed that I fell off the face of the Earth a while (err 2 weeks). Really it’s because I’ve been having major stomach issues and the last thing I want to do is cook and eat food. Don’t worry. This isn’t a blog post to tell you that I suddenly am going gluten-free. No no. But this post is about exploring new ways of eating, because I’ve come to the realization that having stomach issues sucks. Right now, I would eat (or not eat) anything to make the discomfort go away.
Because now I understand how much it sucks, I have a little more sympathy for those with food sensitivities. I have no idea if I have food sensitivities. I’m currently trying to figure out what the heck is causing my stomach to implode on me. I’m starting by avoiding dairy for a while. Jury is still out. We’ll see.
But in the meantime, let me tell you about my first experience with a gluten-free cake.

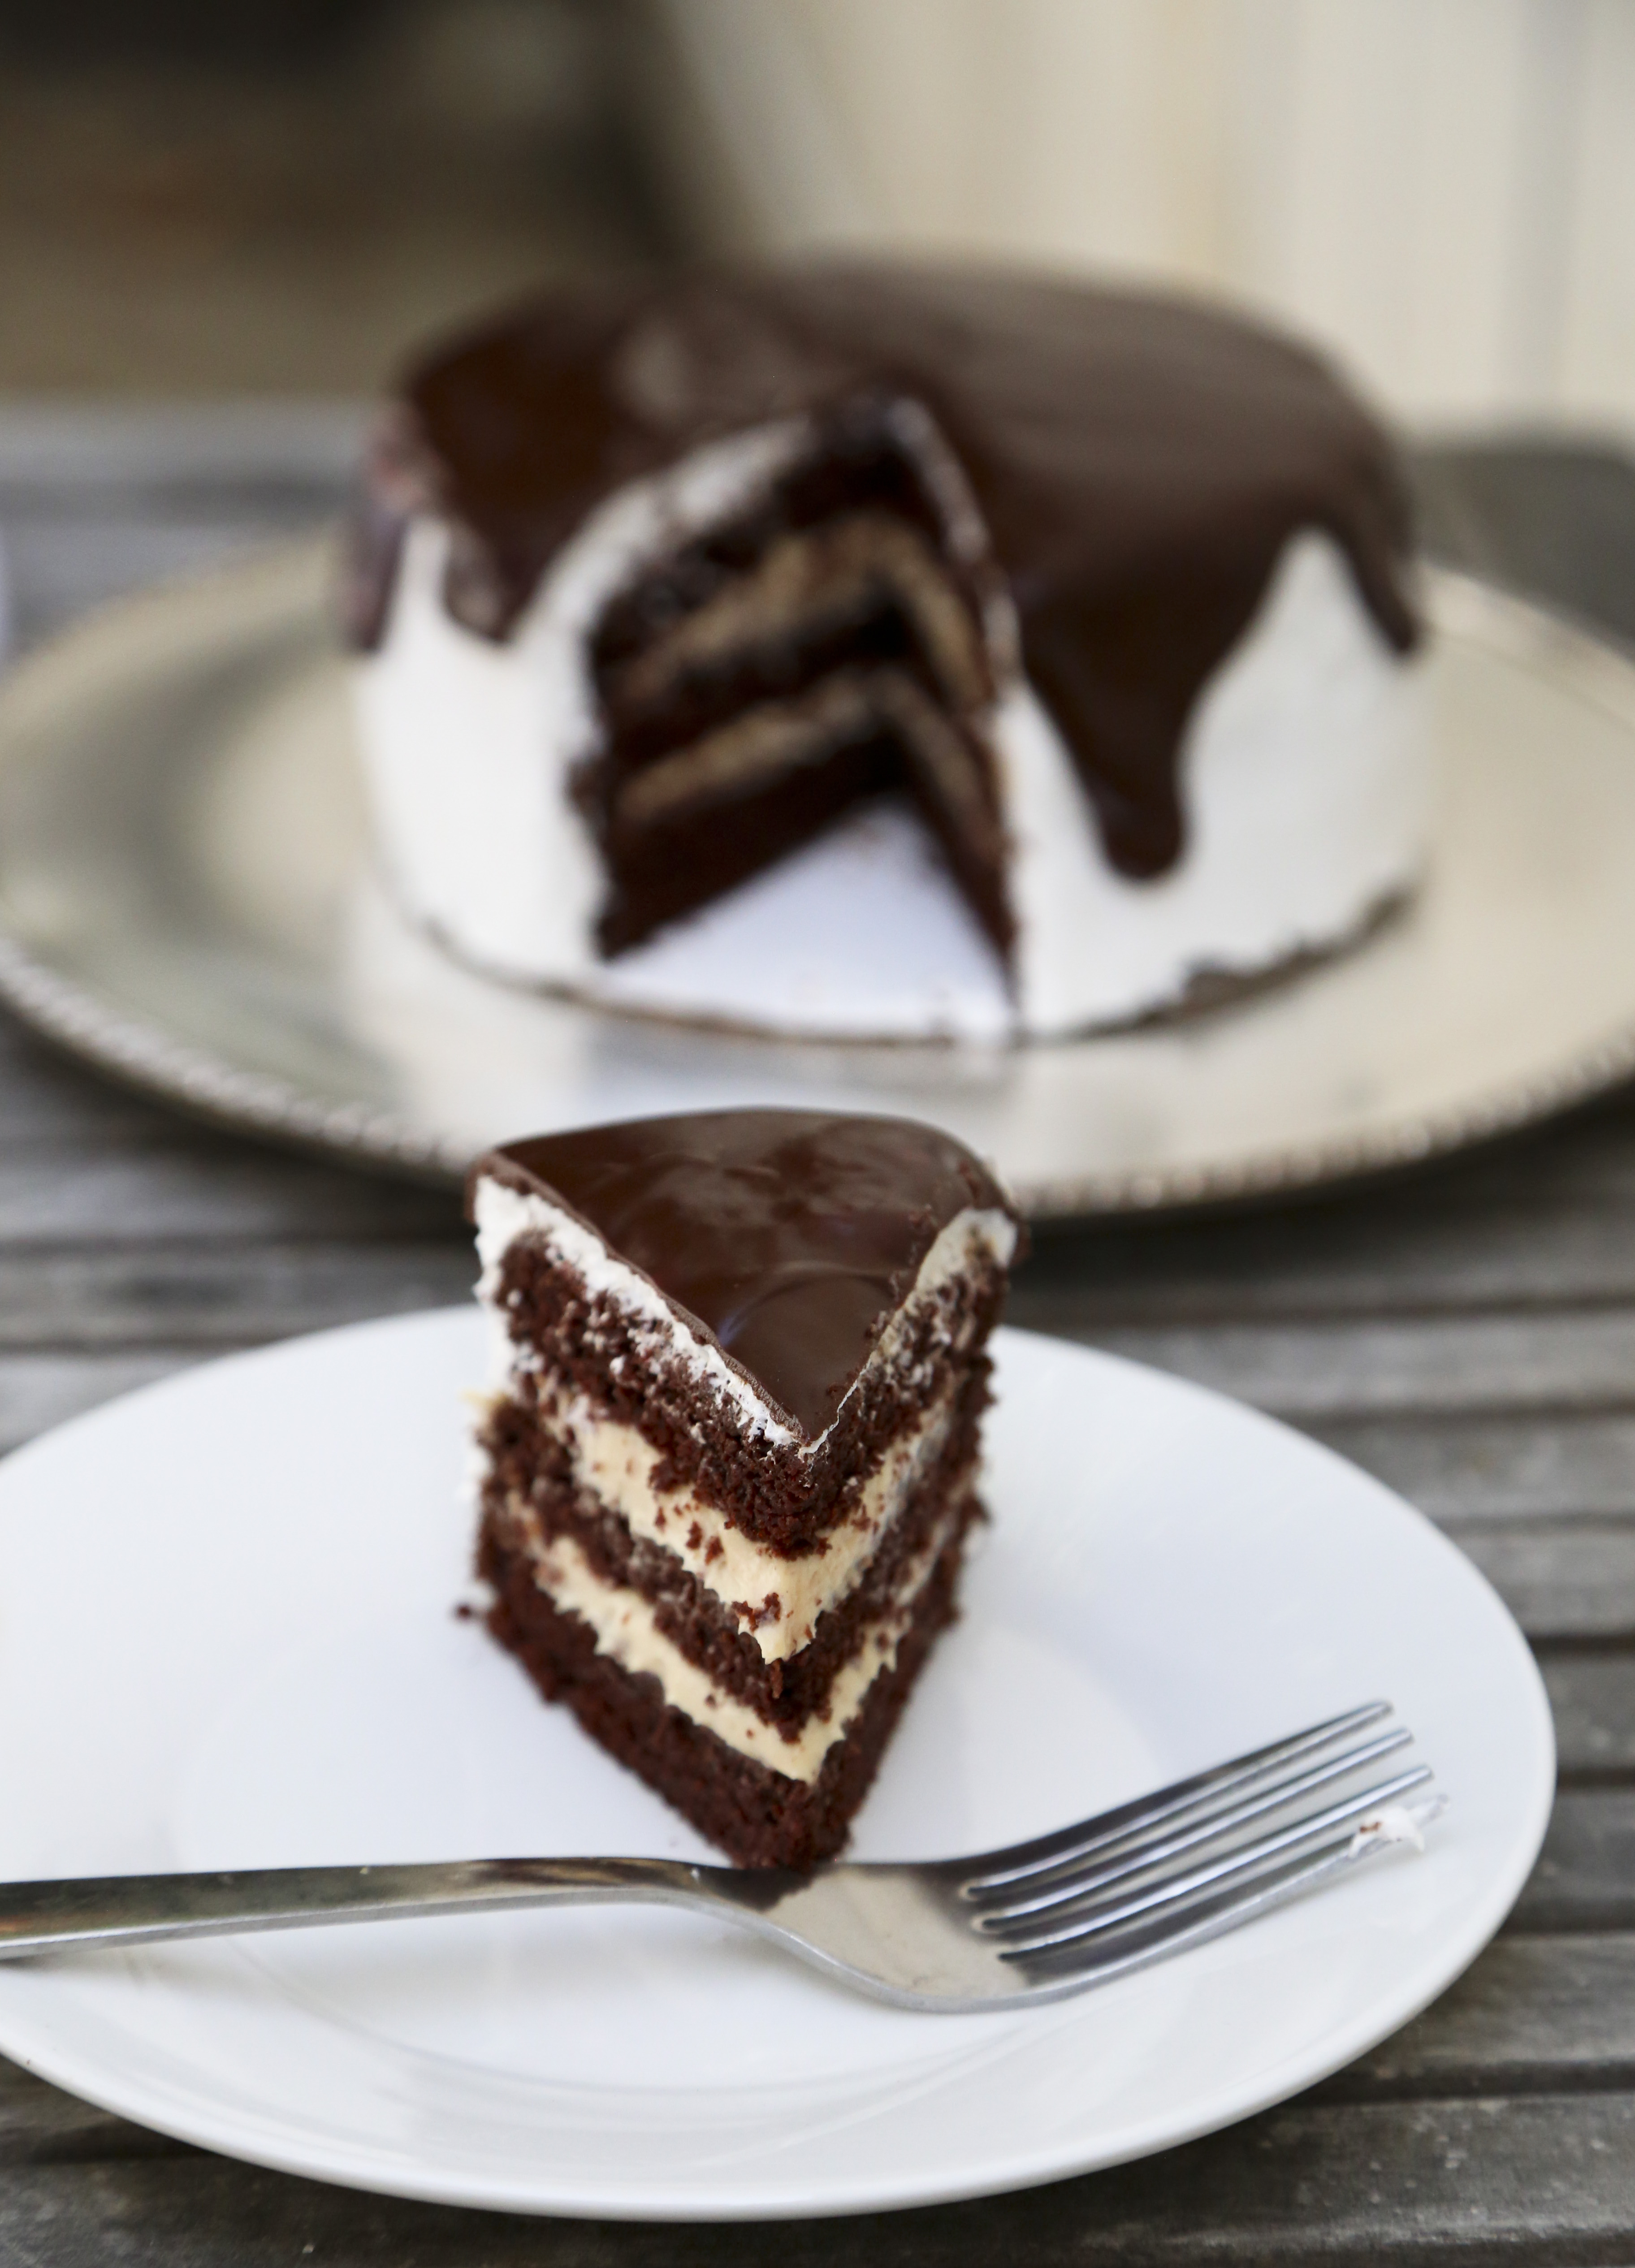
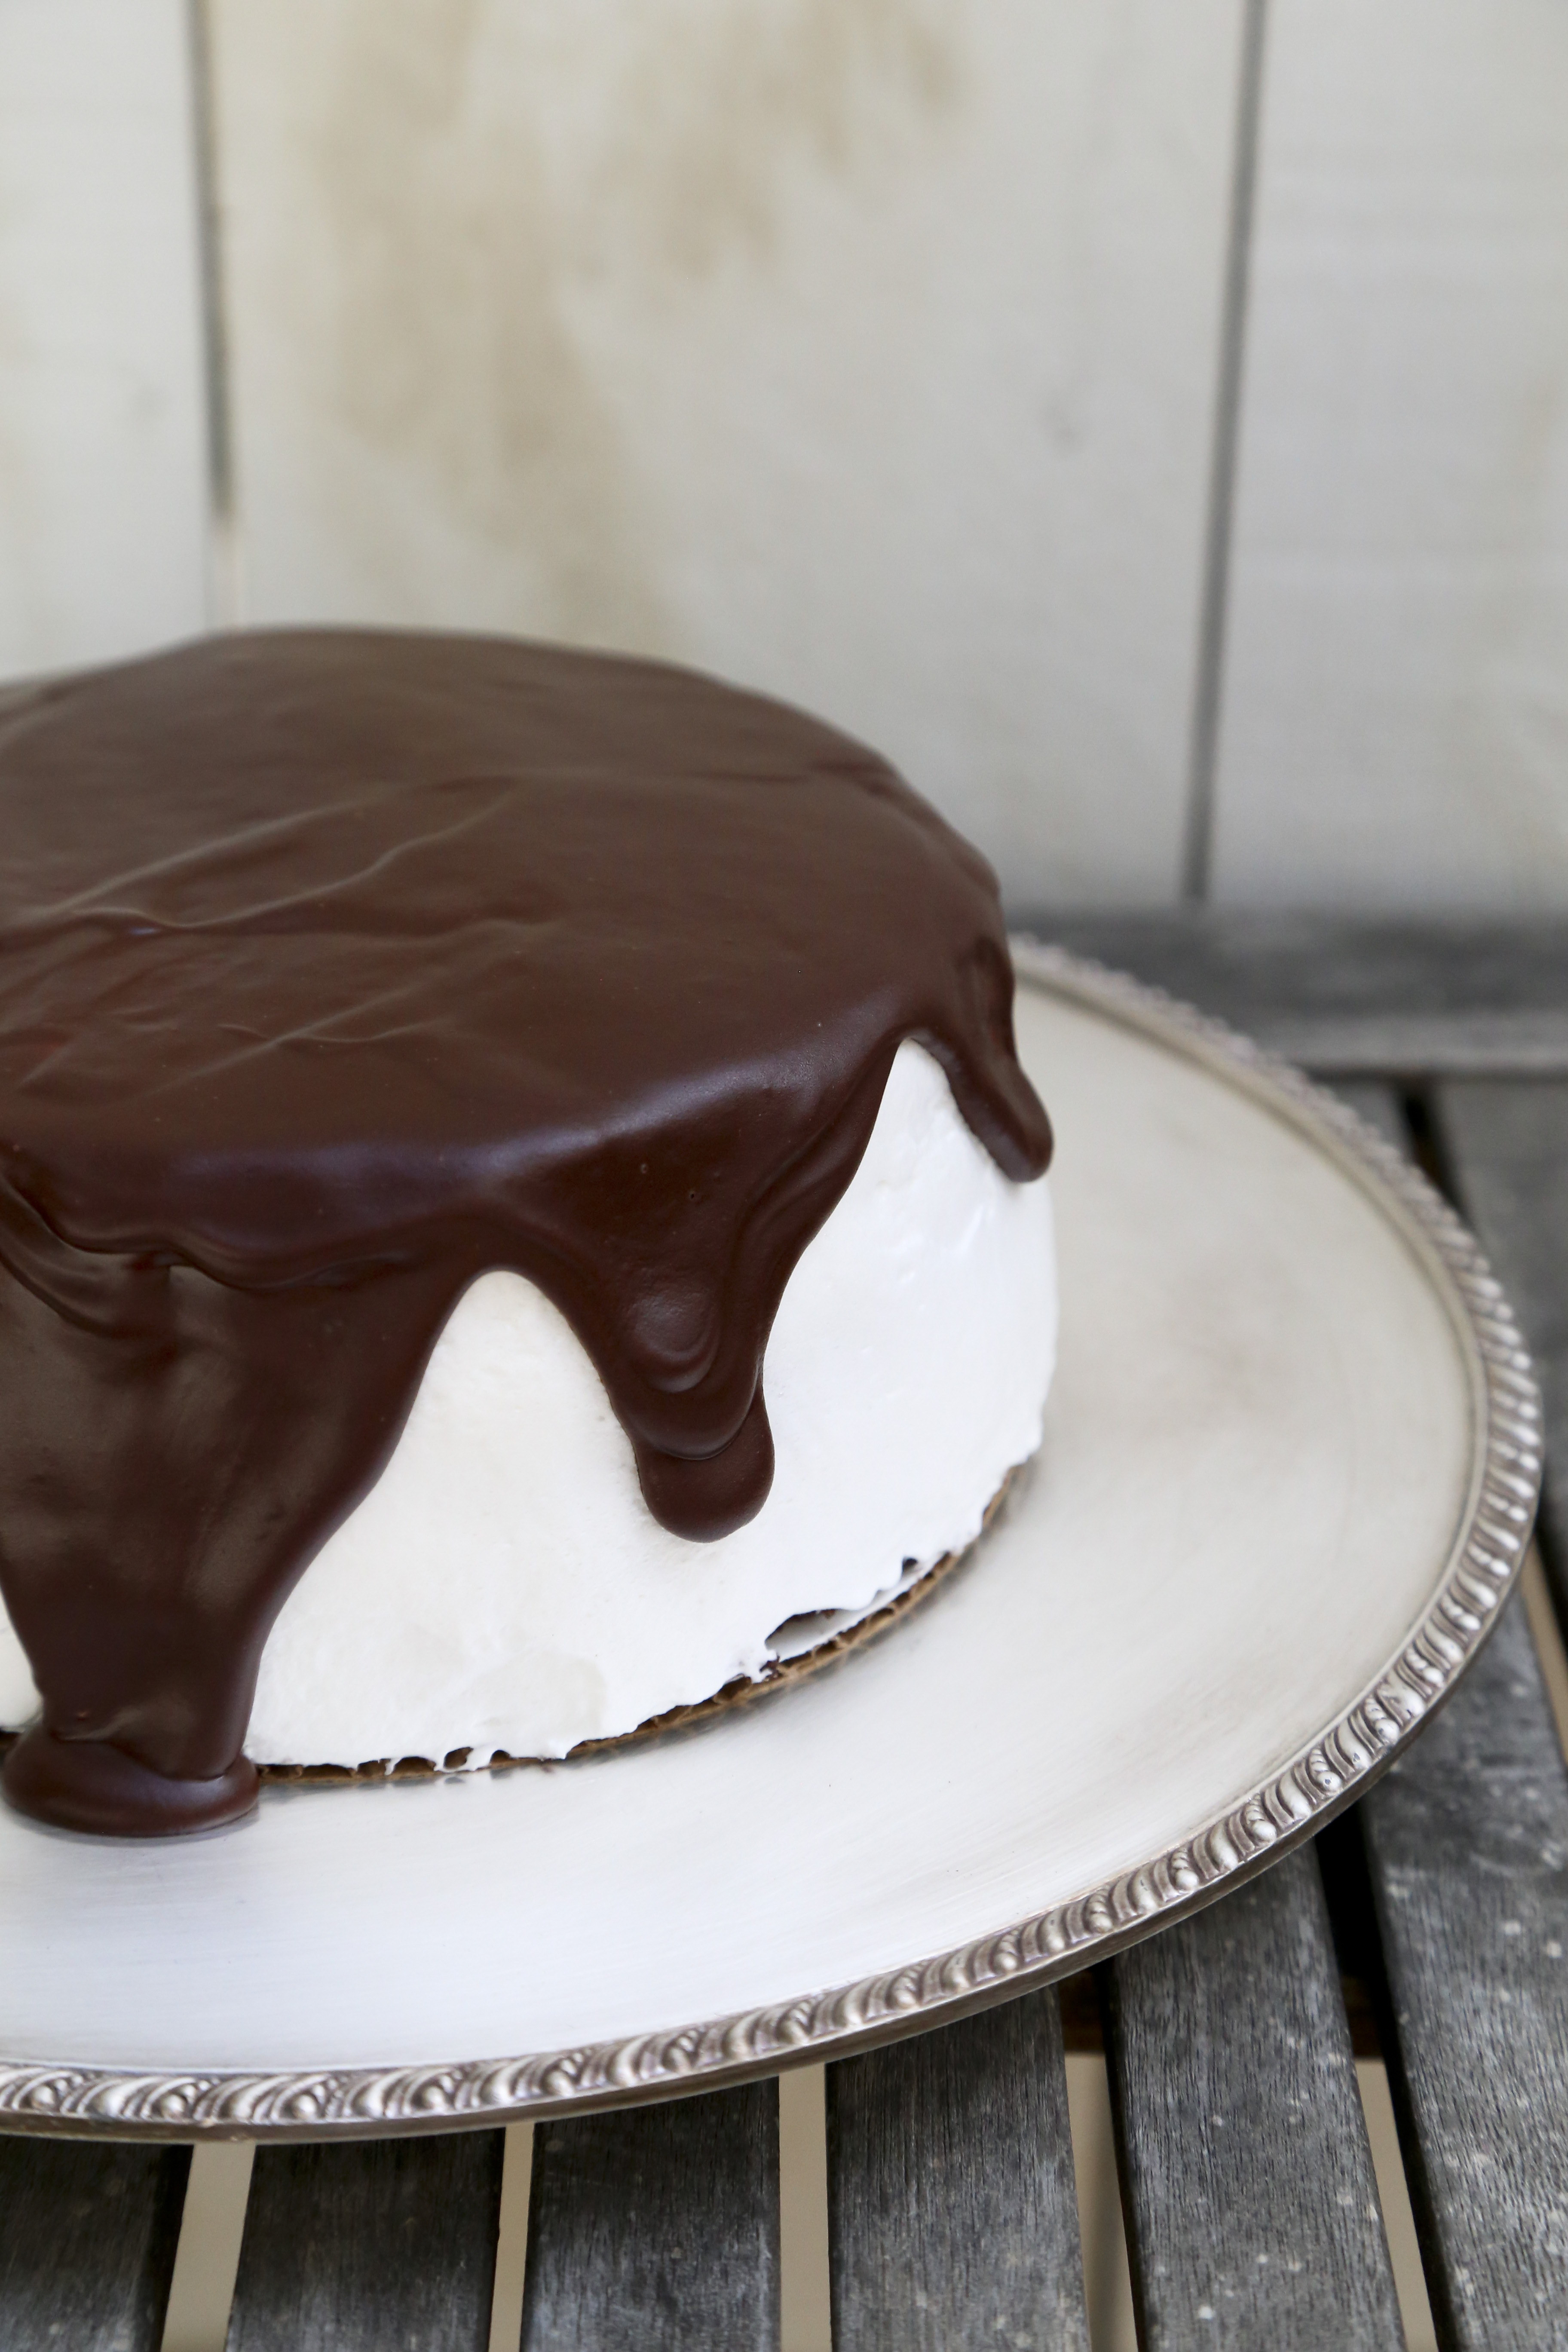
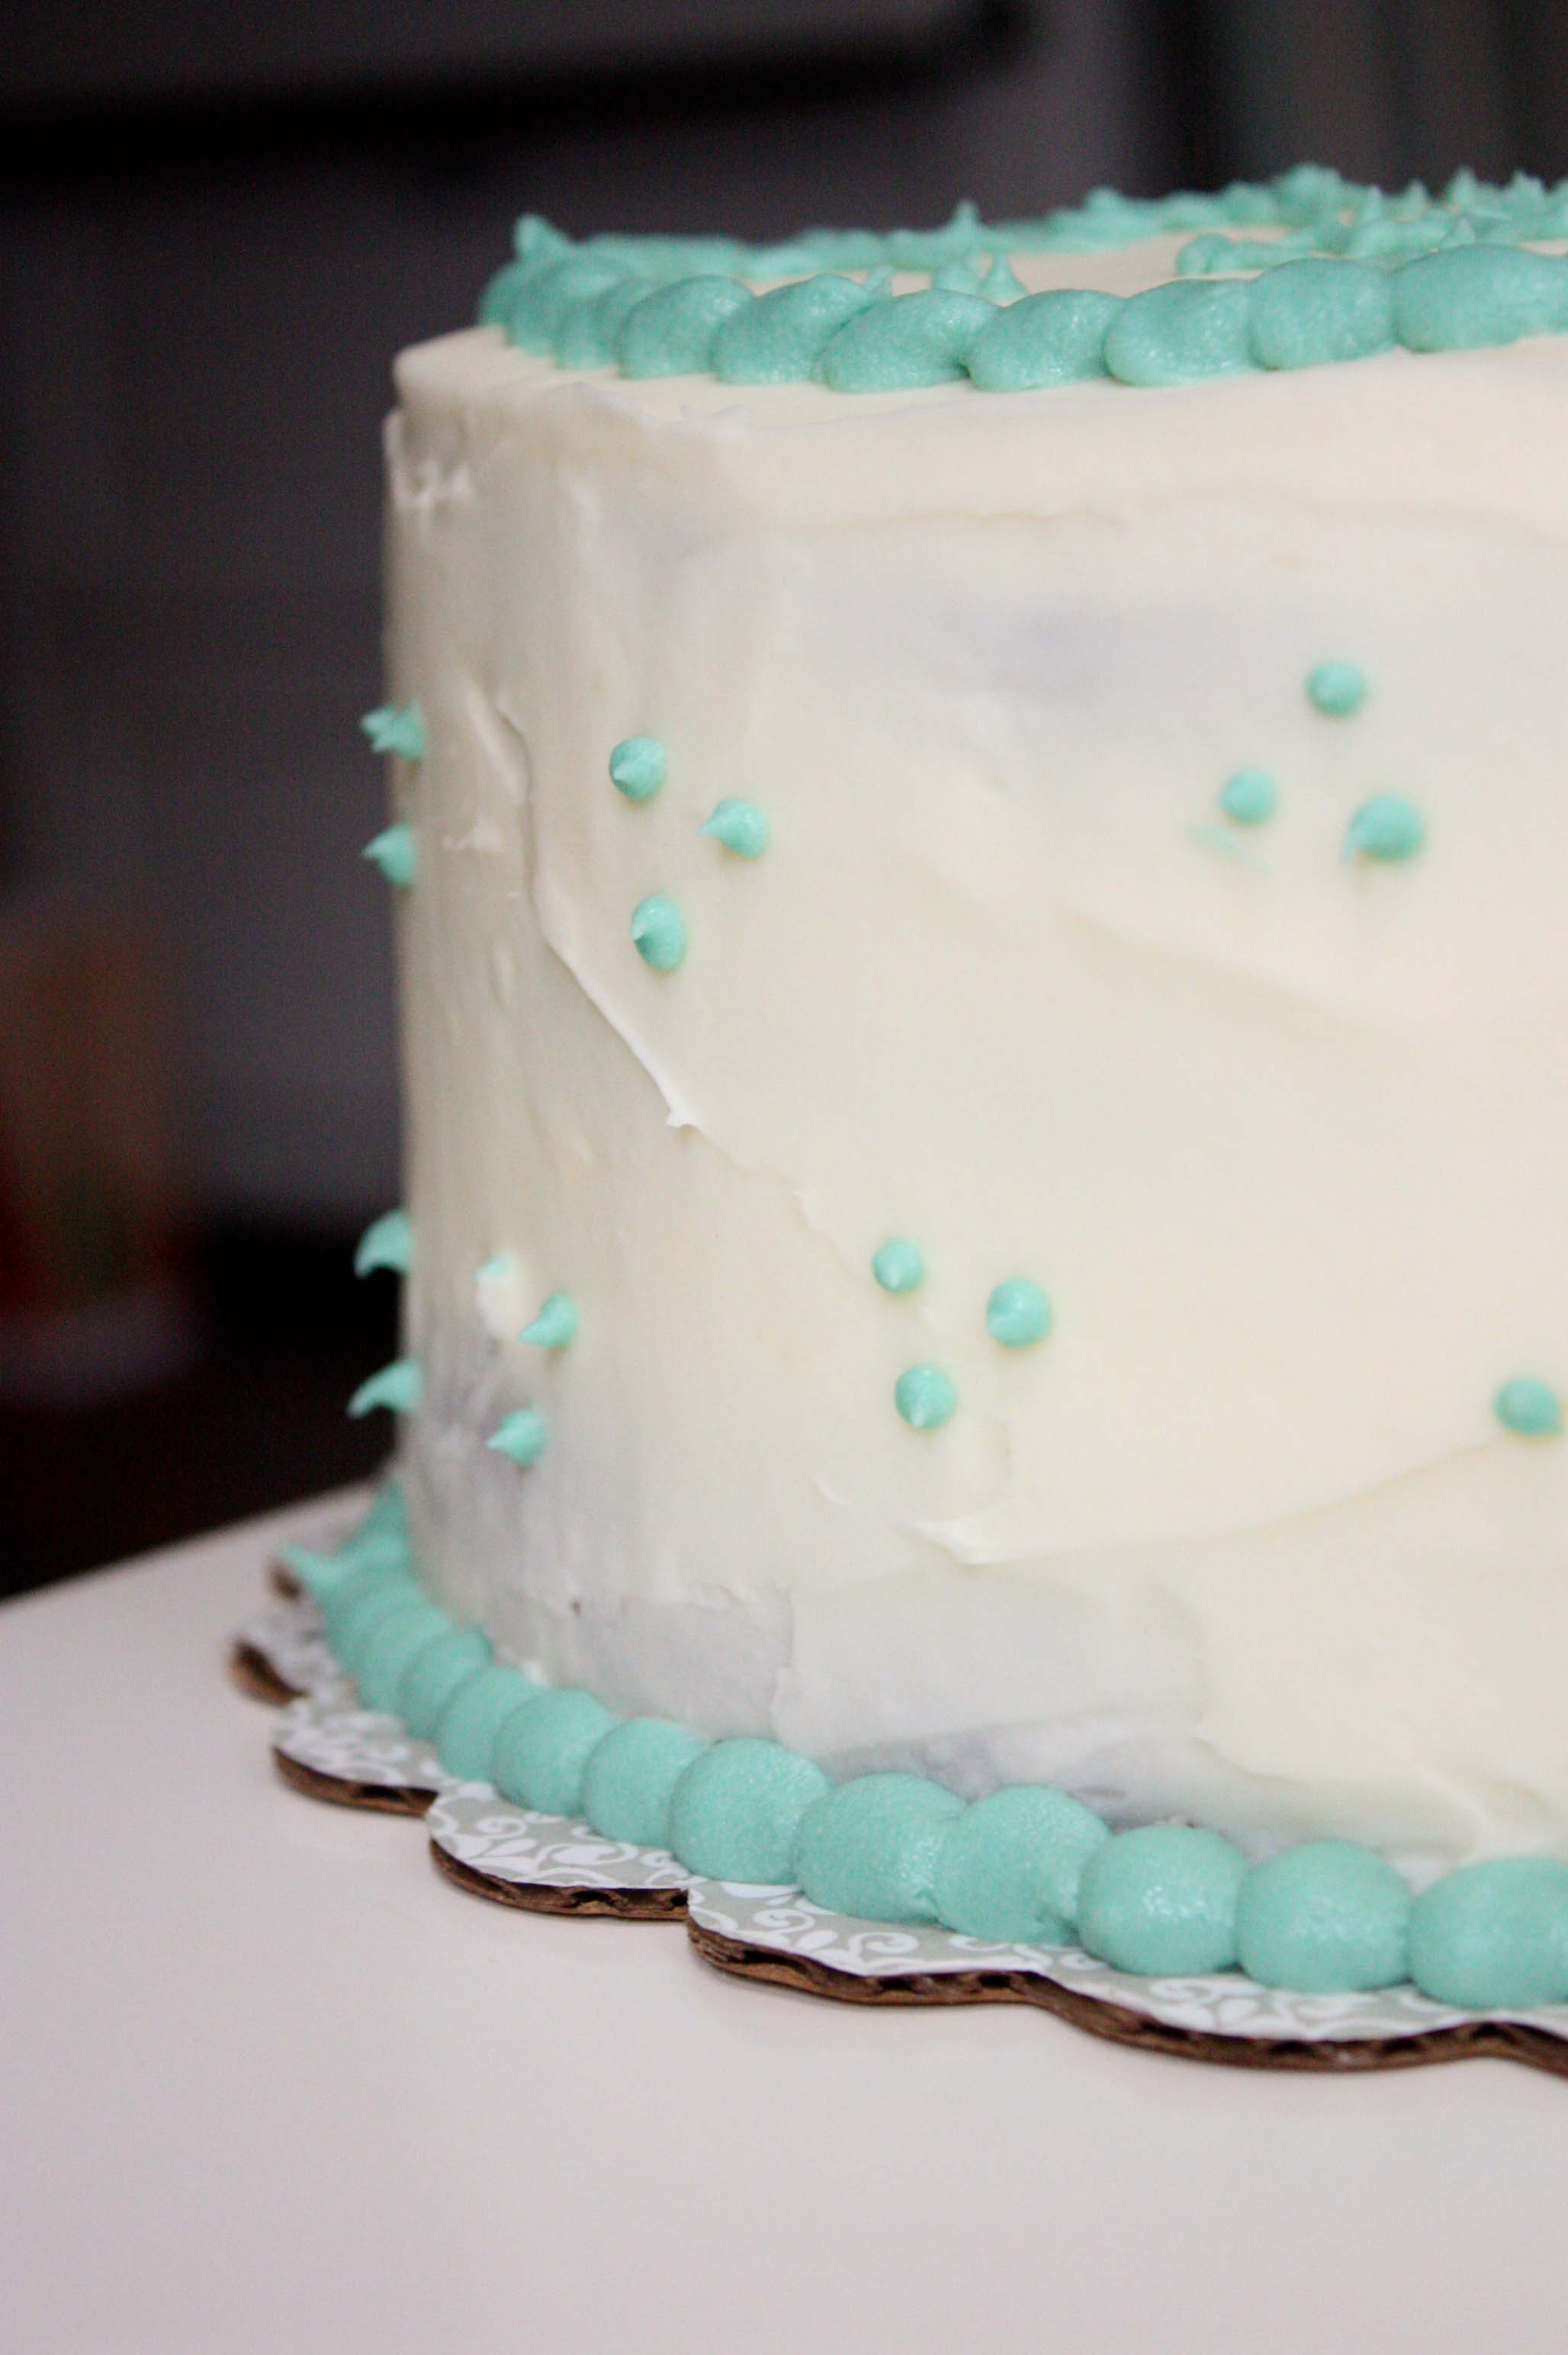
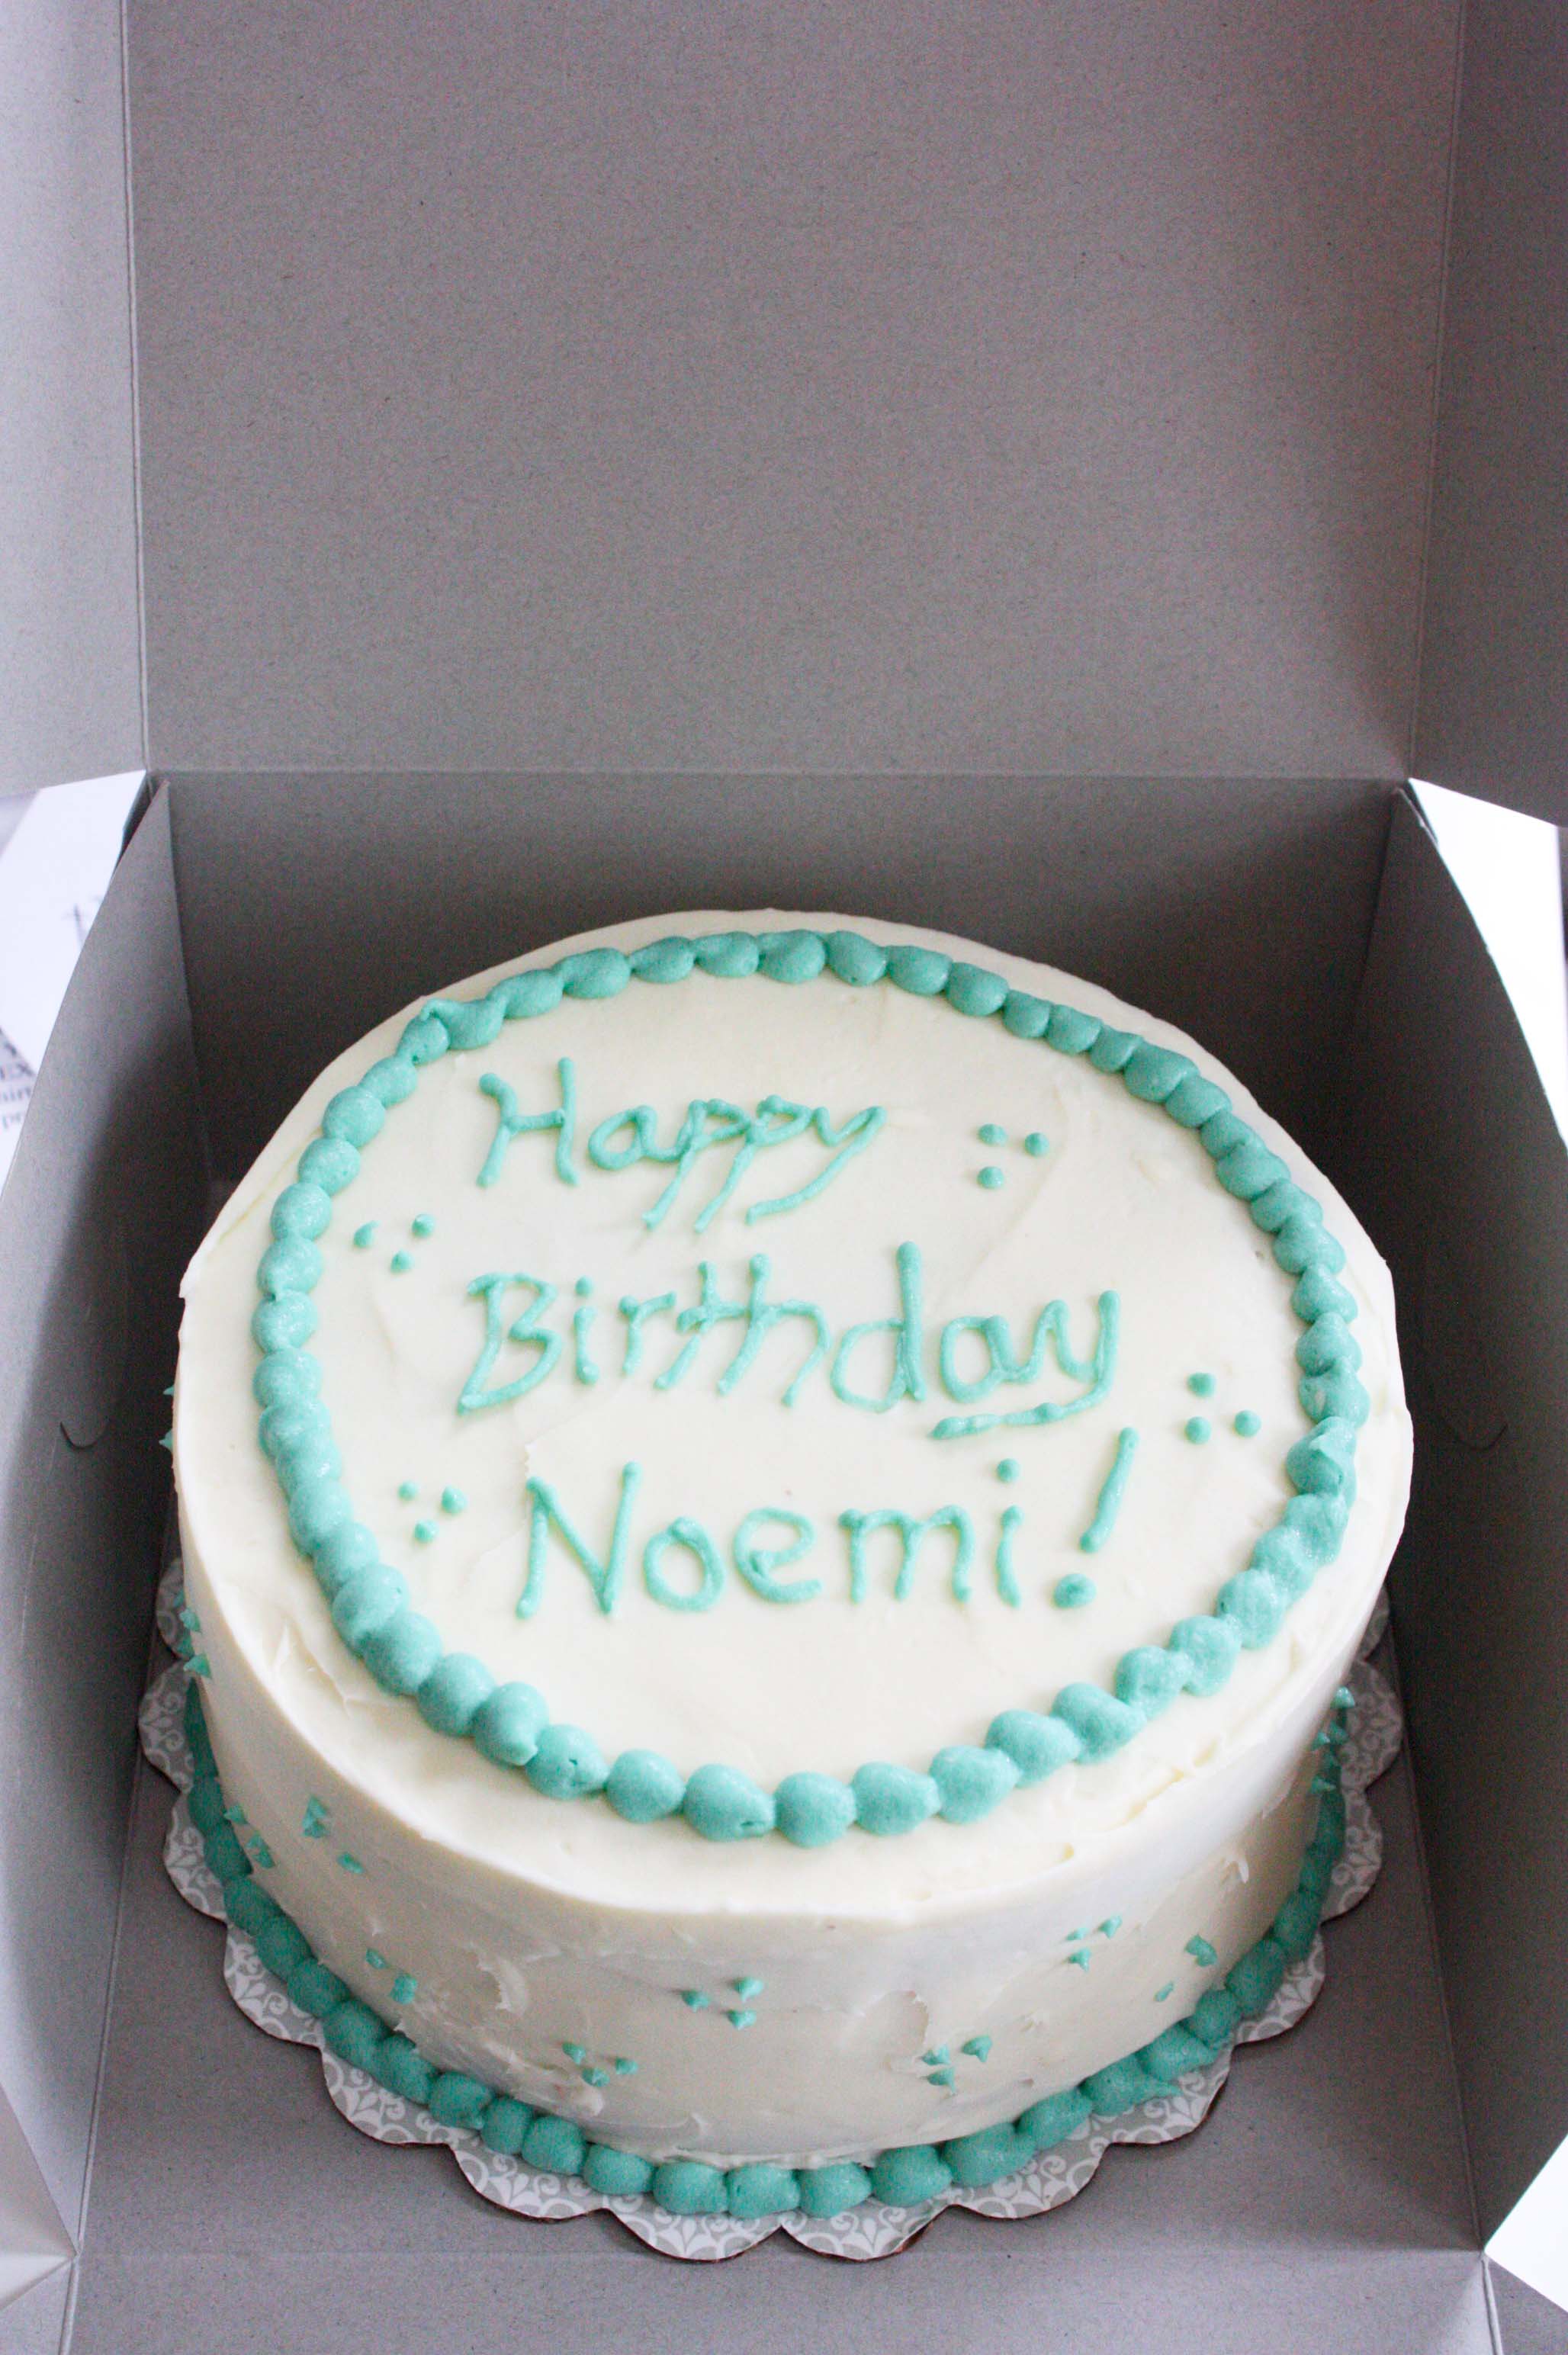
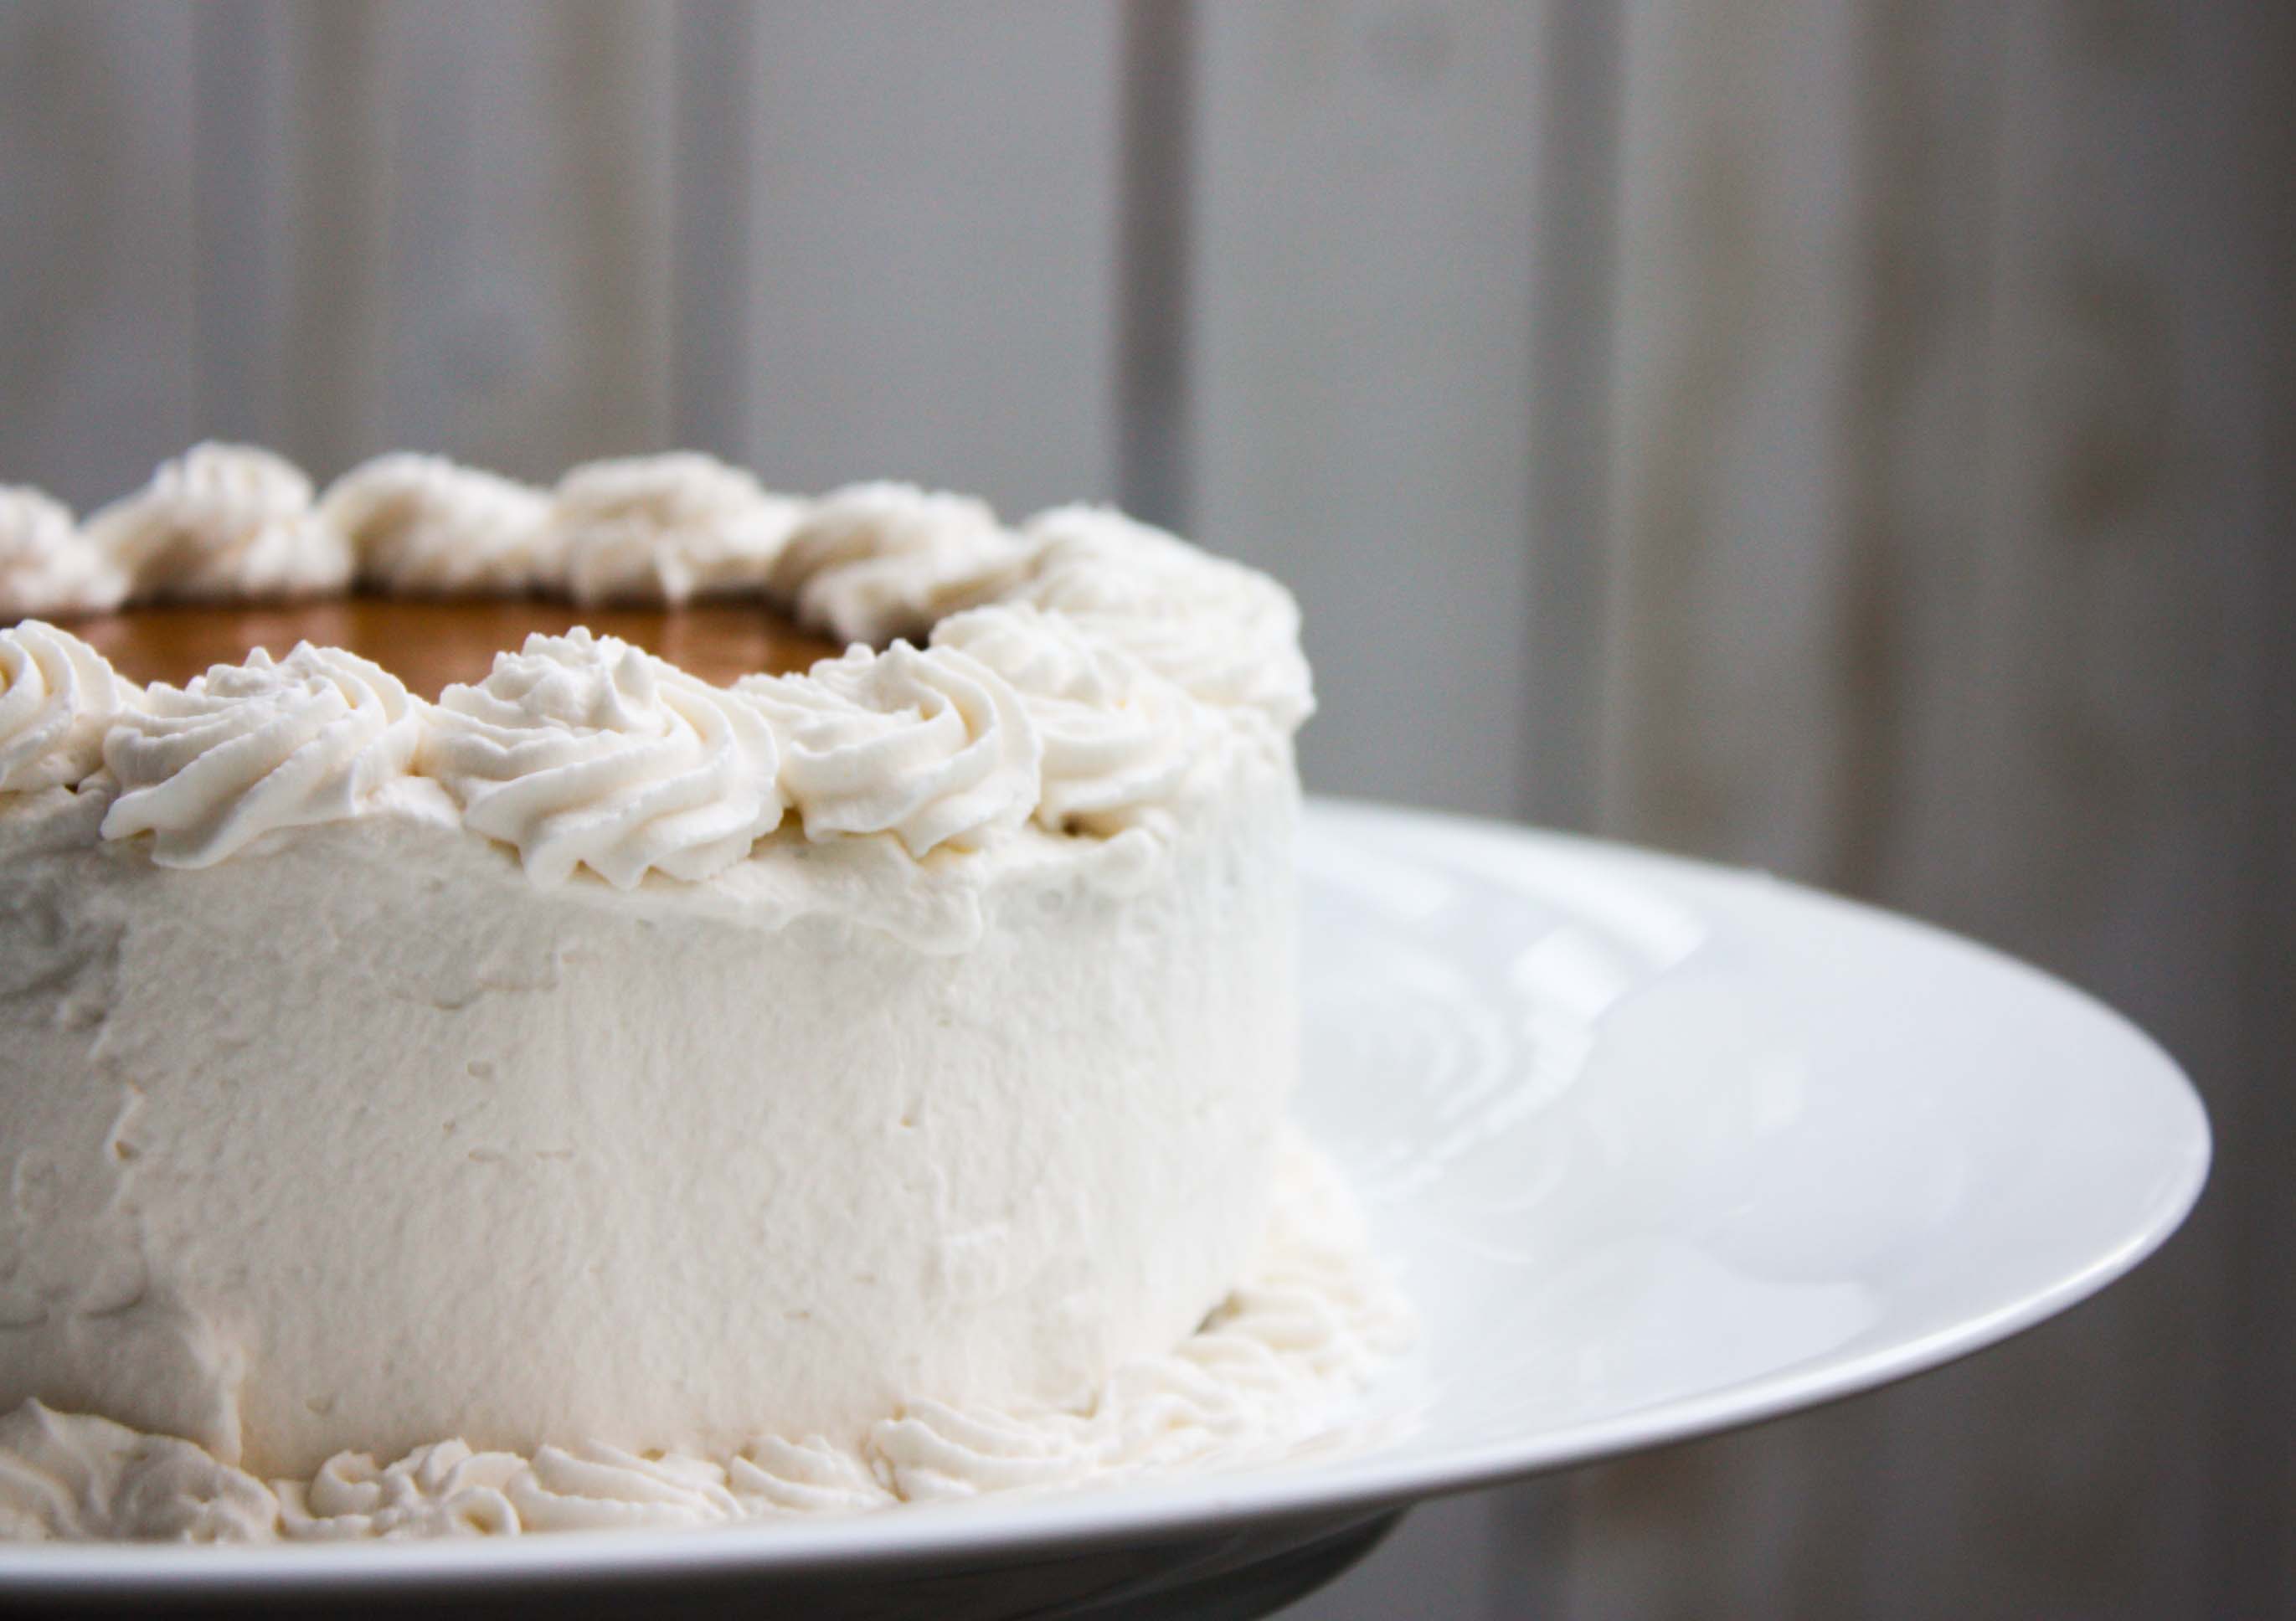
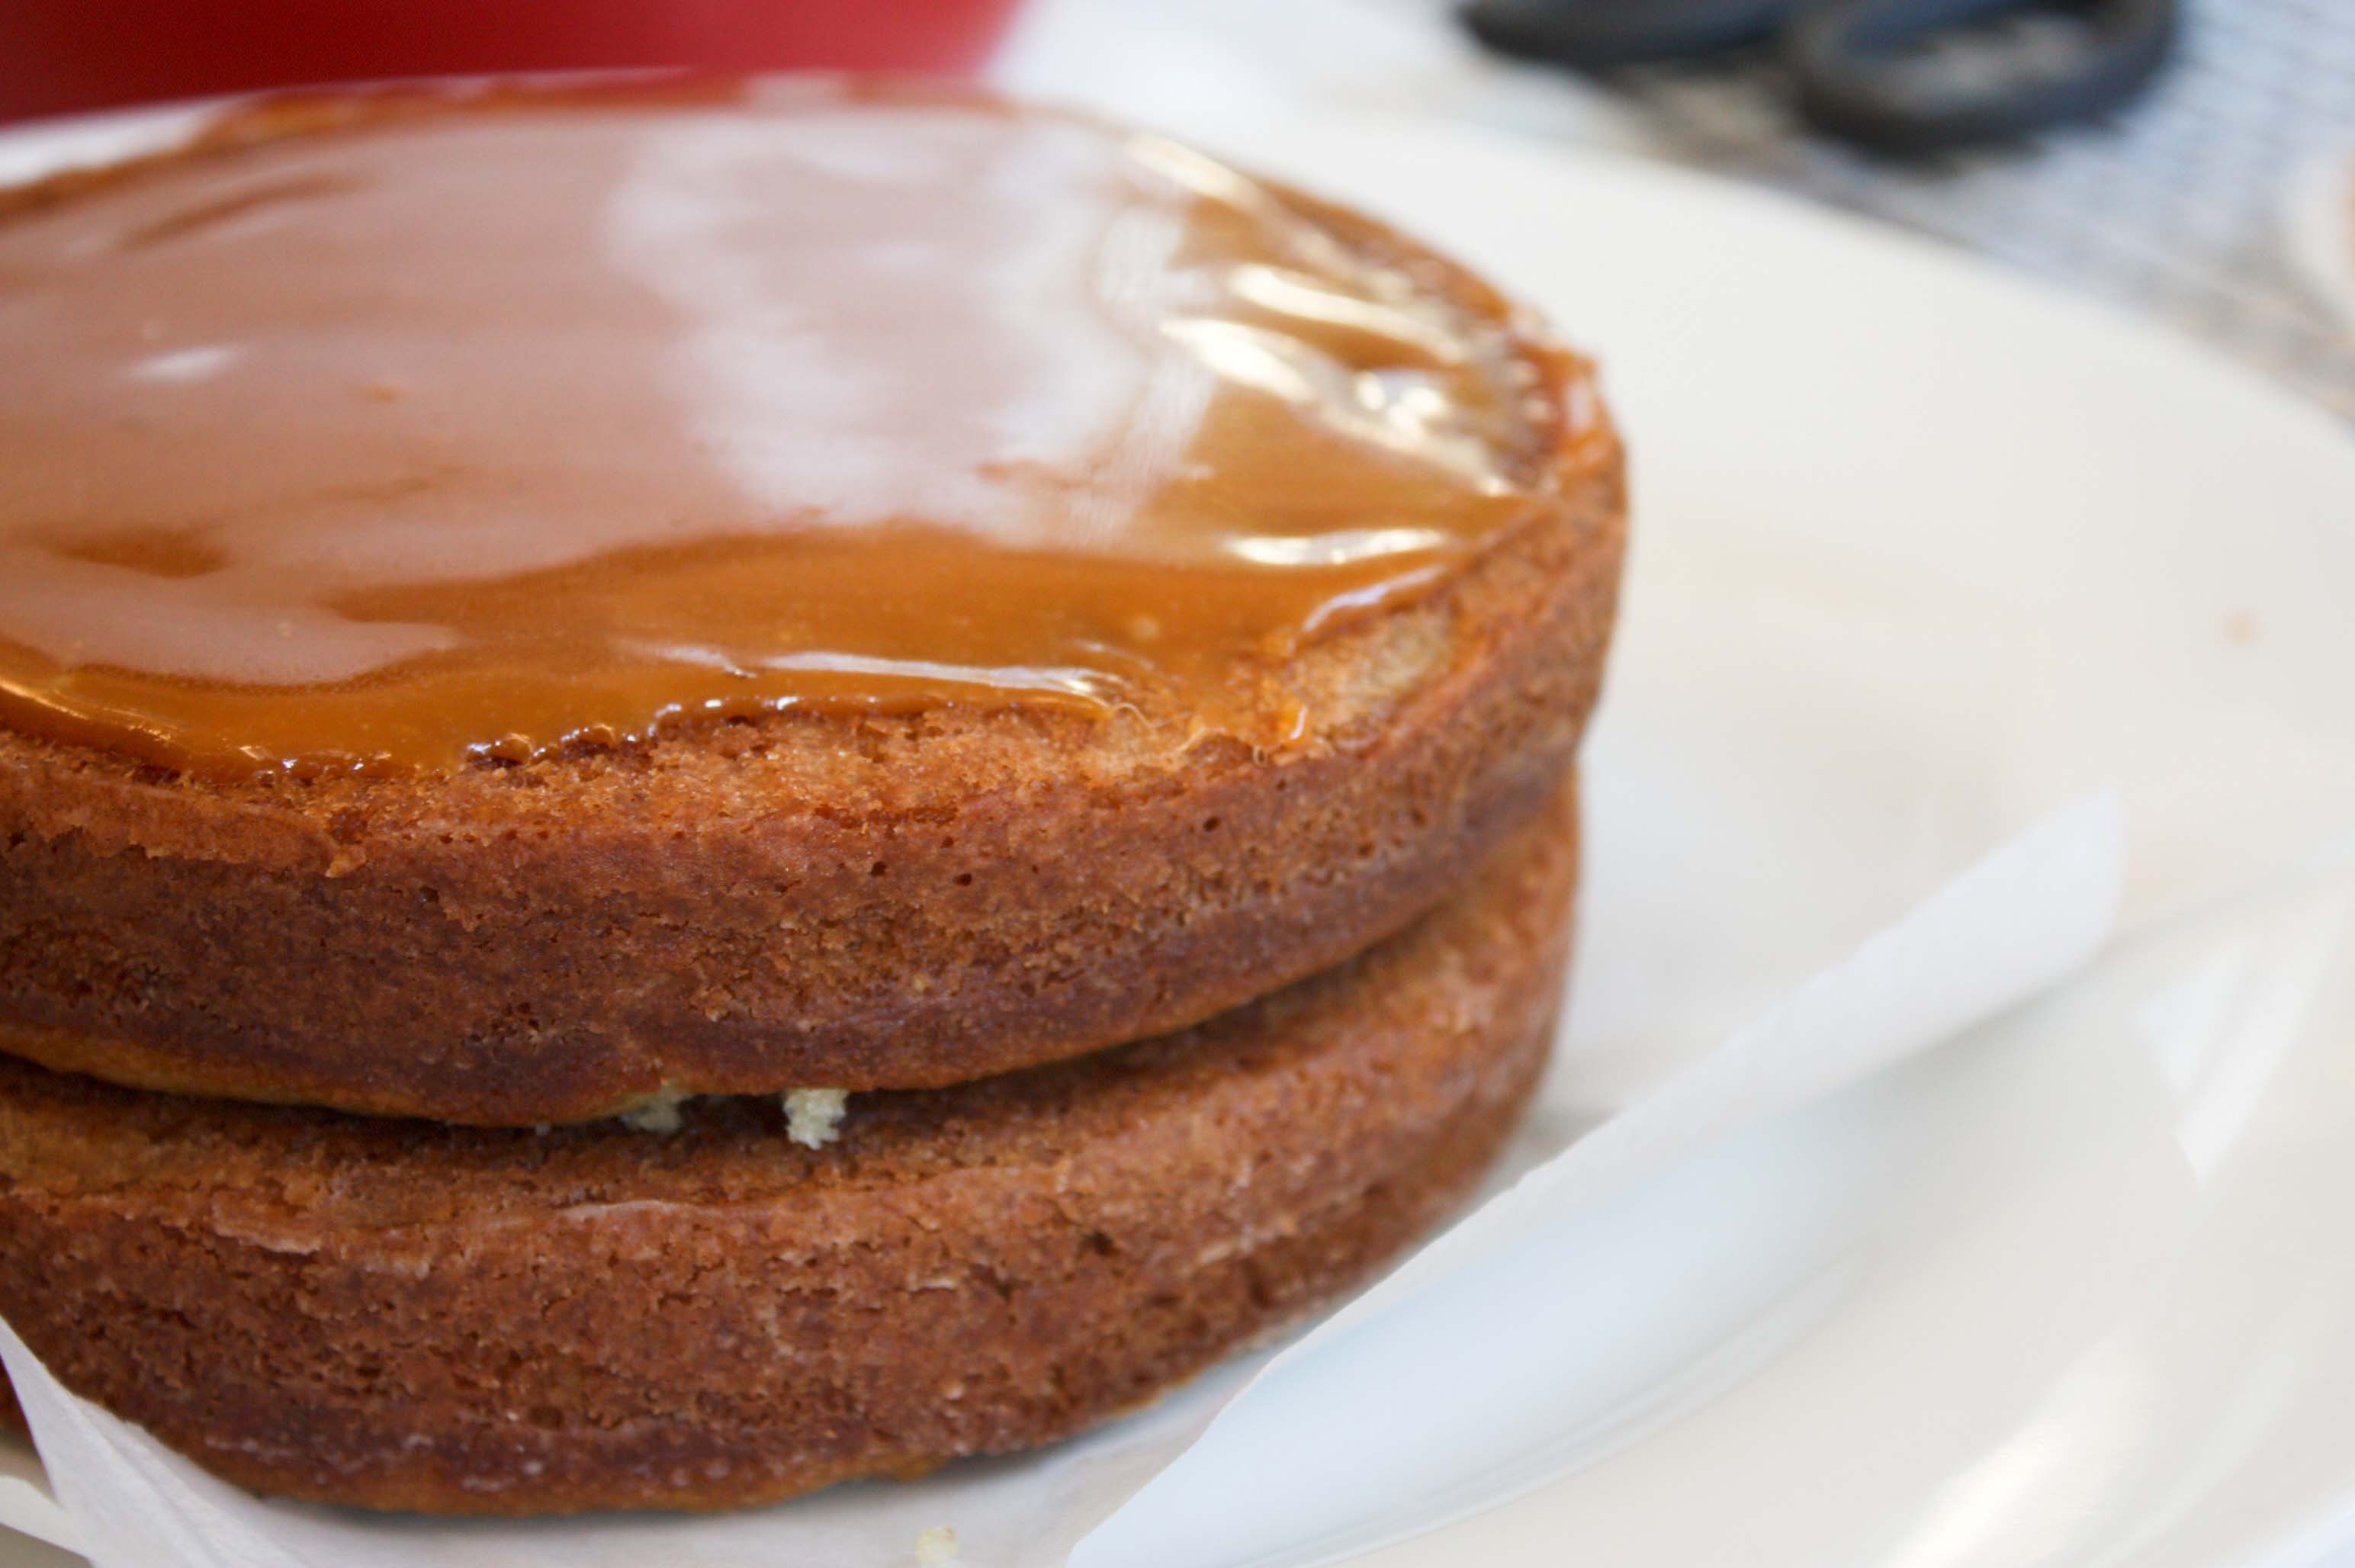
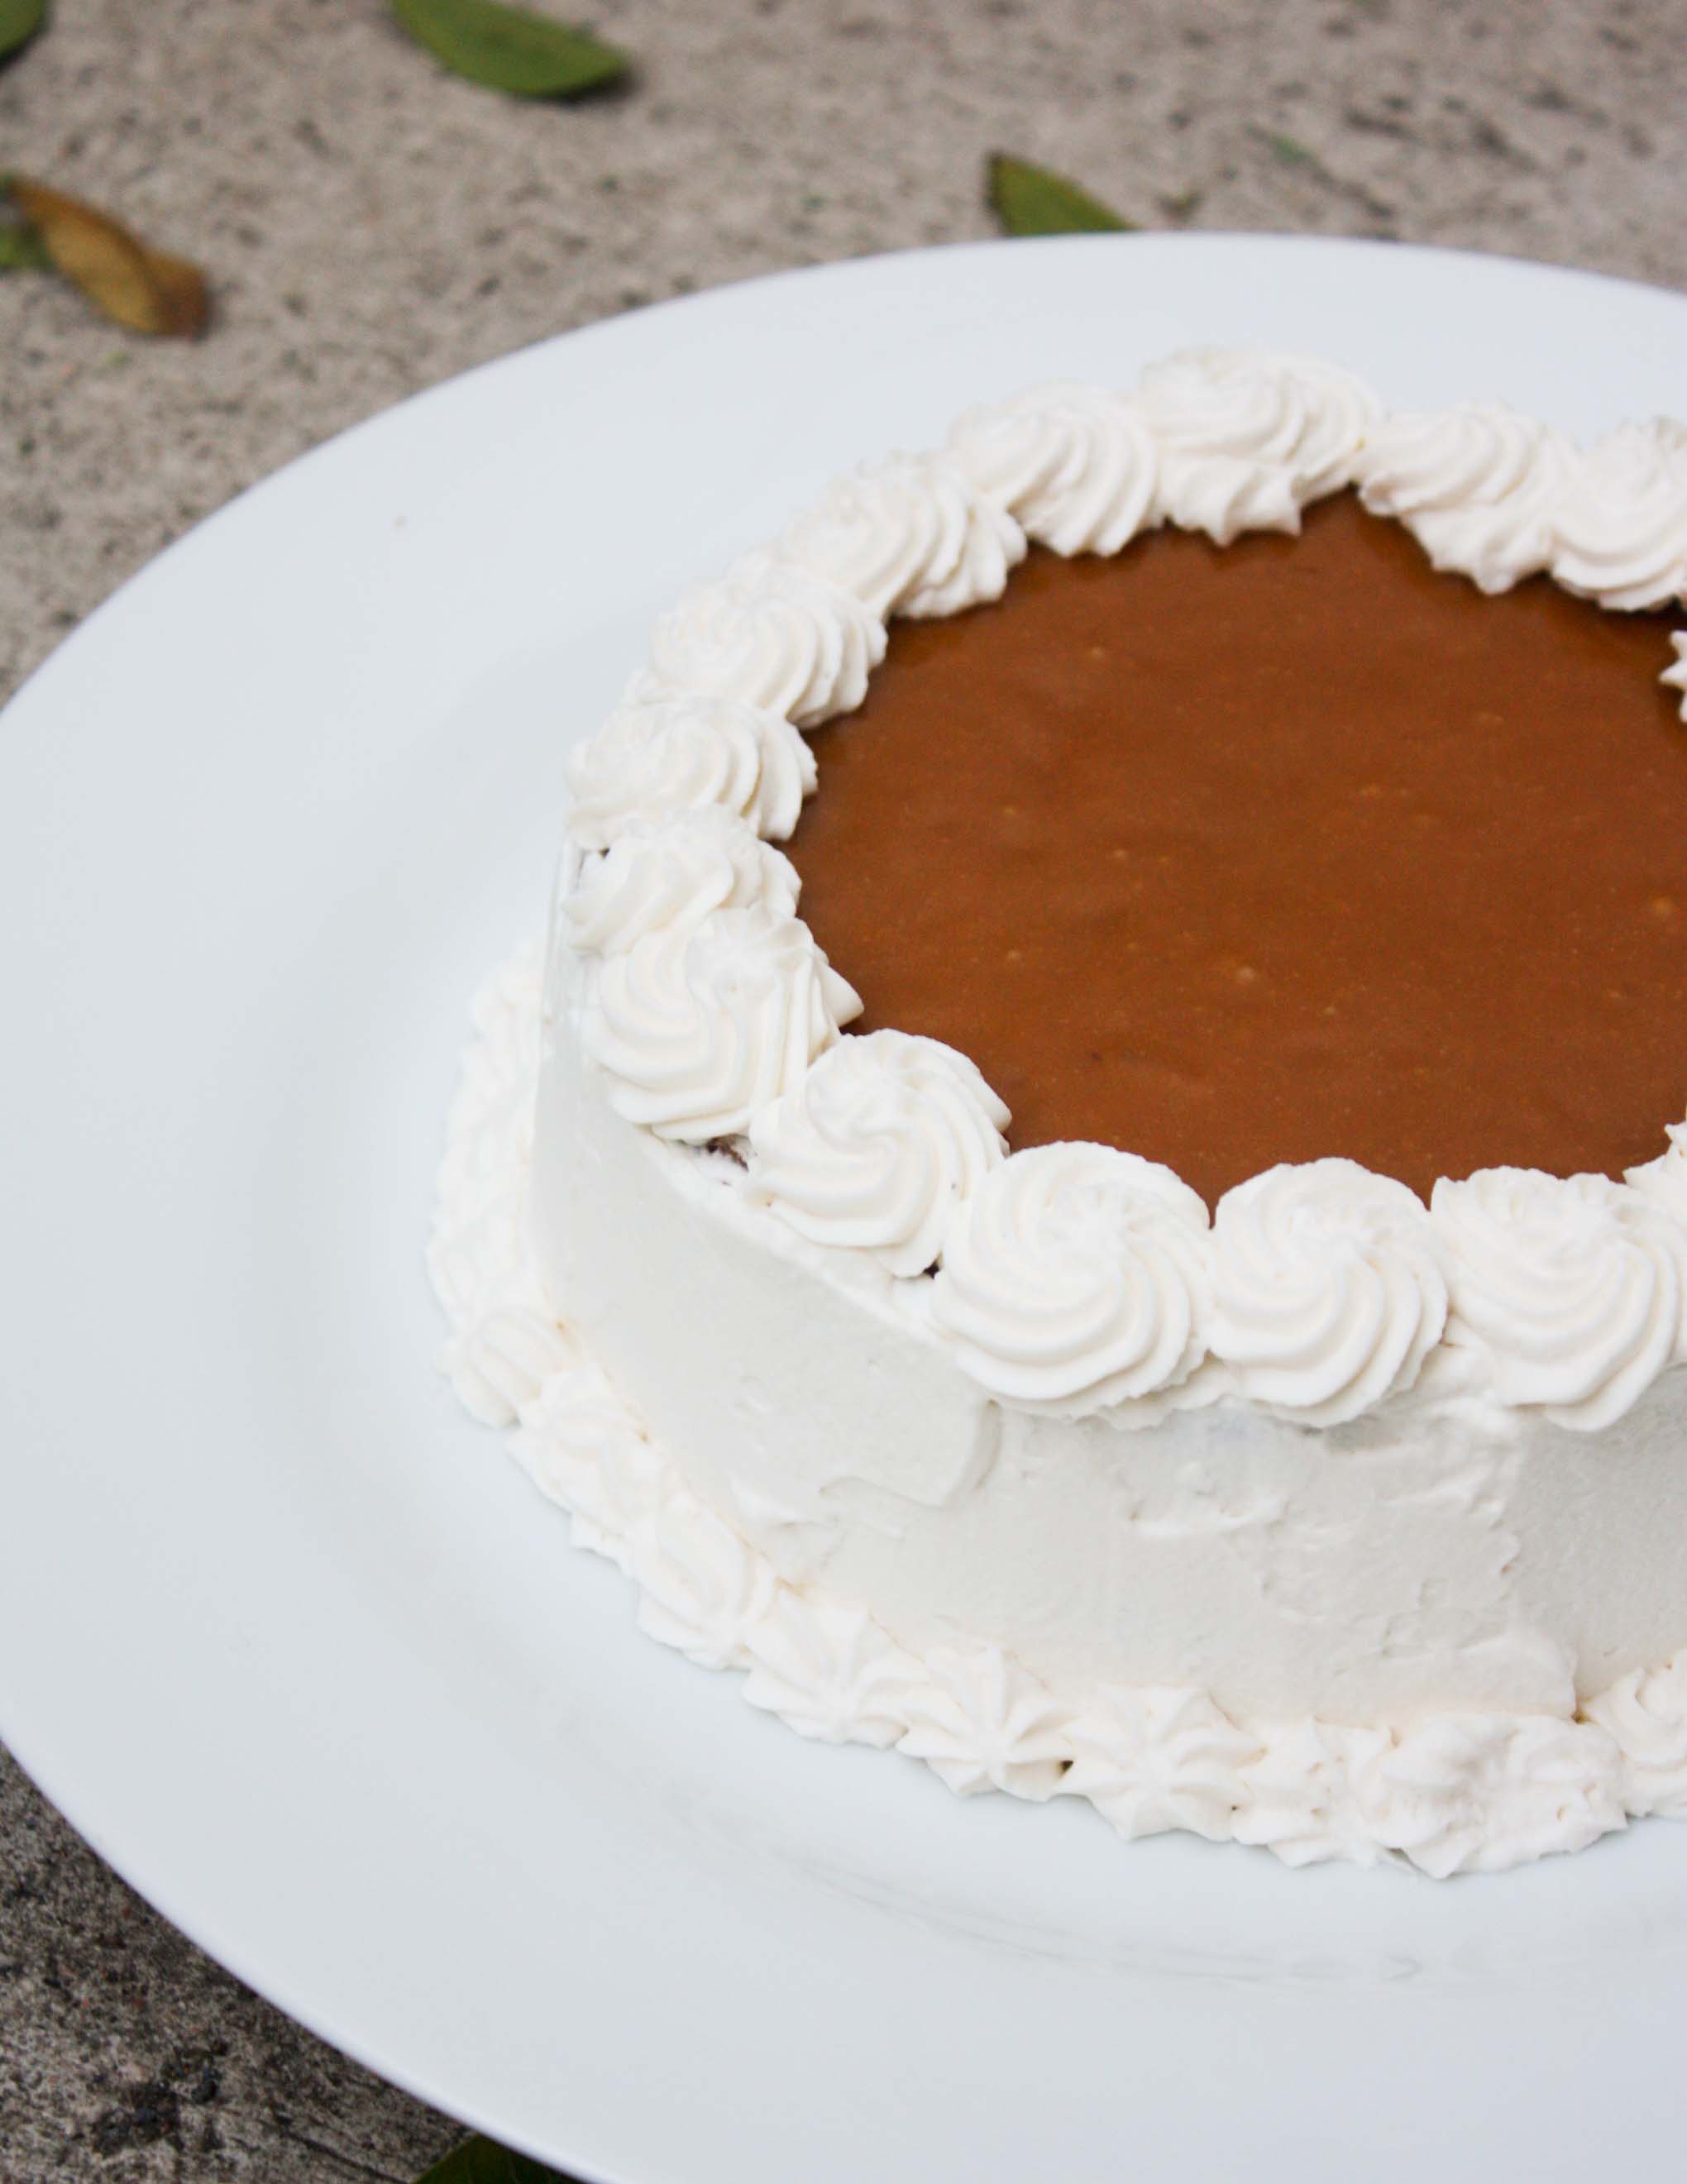
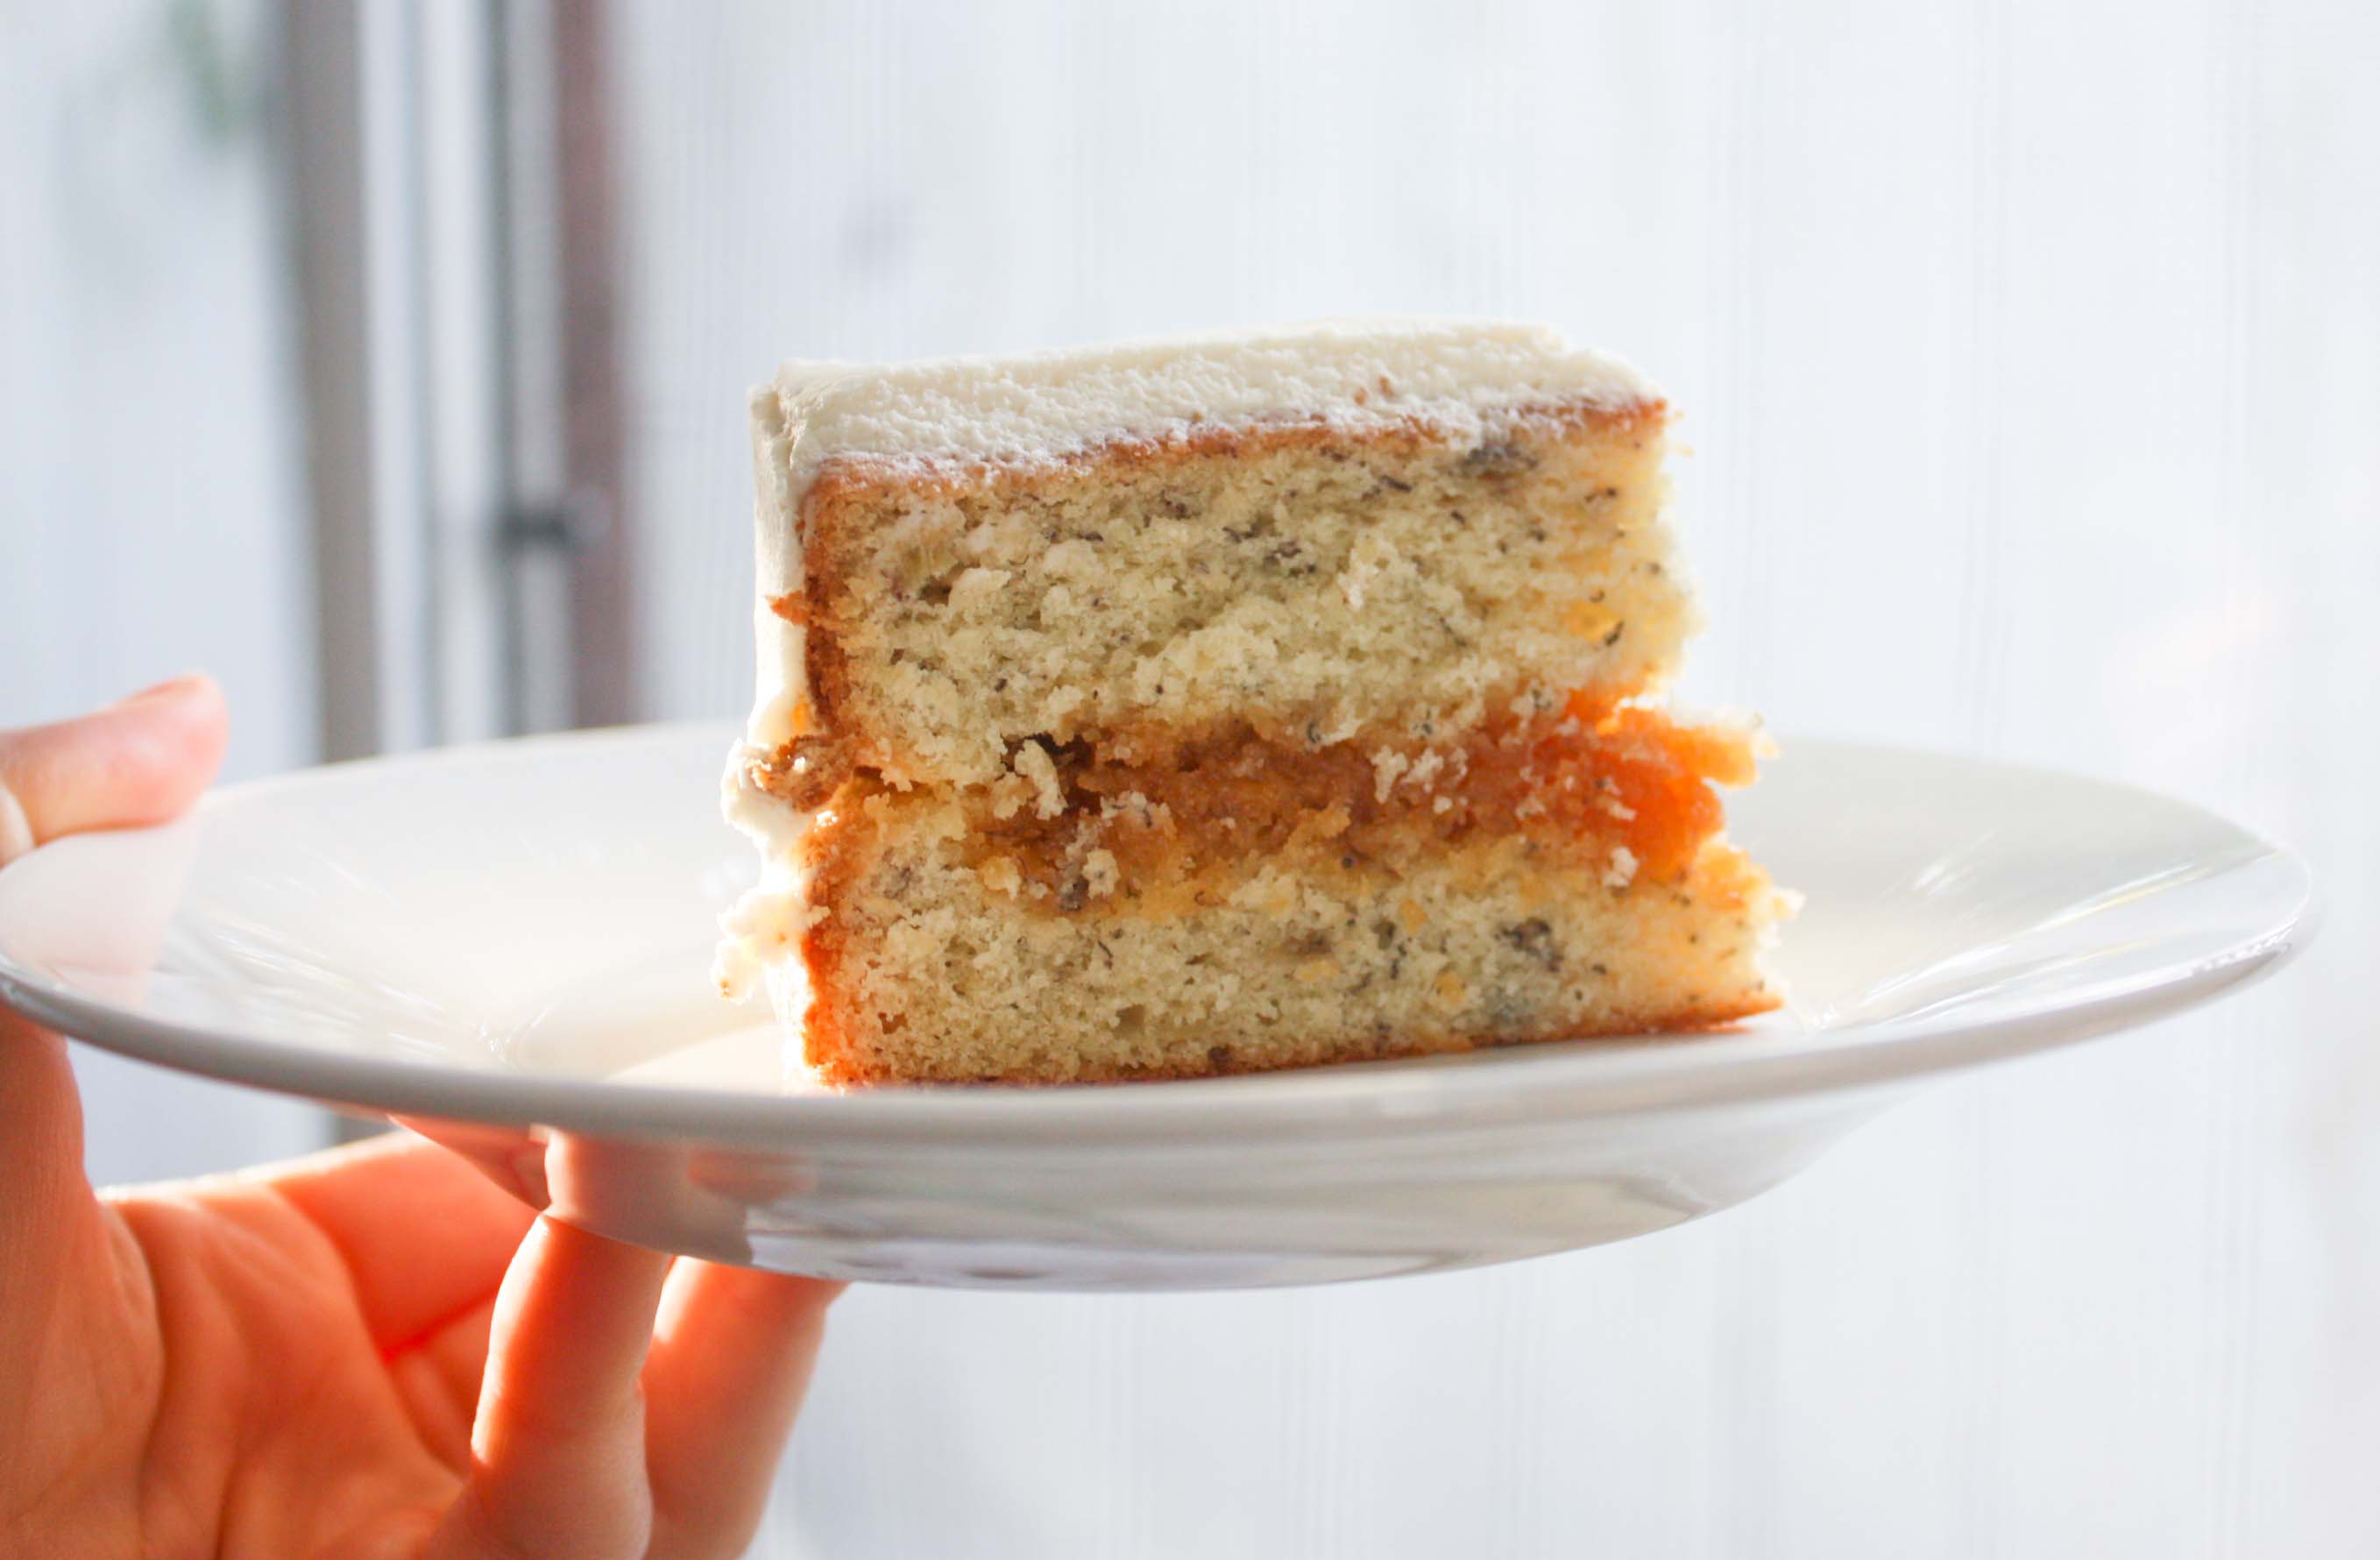
Isn’t it beautiful? By the looks of it, you wouldn’t even know it’s gluten-free, but it is. And it came about because my good friend Allison (check our her blog Sweet Potato Bites) has a lot of food allergies. I wanted to make a cake that would fit her allergy needs for a surprise birthday gathering. Her husband sent me a list of Allison-approved cake recipes. After a few days of back and forth, we decided he would make a gluten free cake and I would make a cake that everyone else could have. Nice compromise for guests not into the gluten-free thing. So I went ahead and made a chocolate cake with raspberry whipped cream filling and frosting.
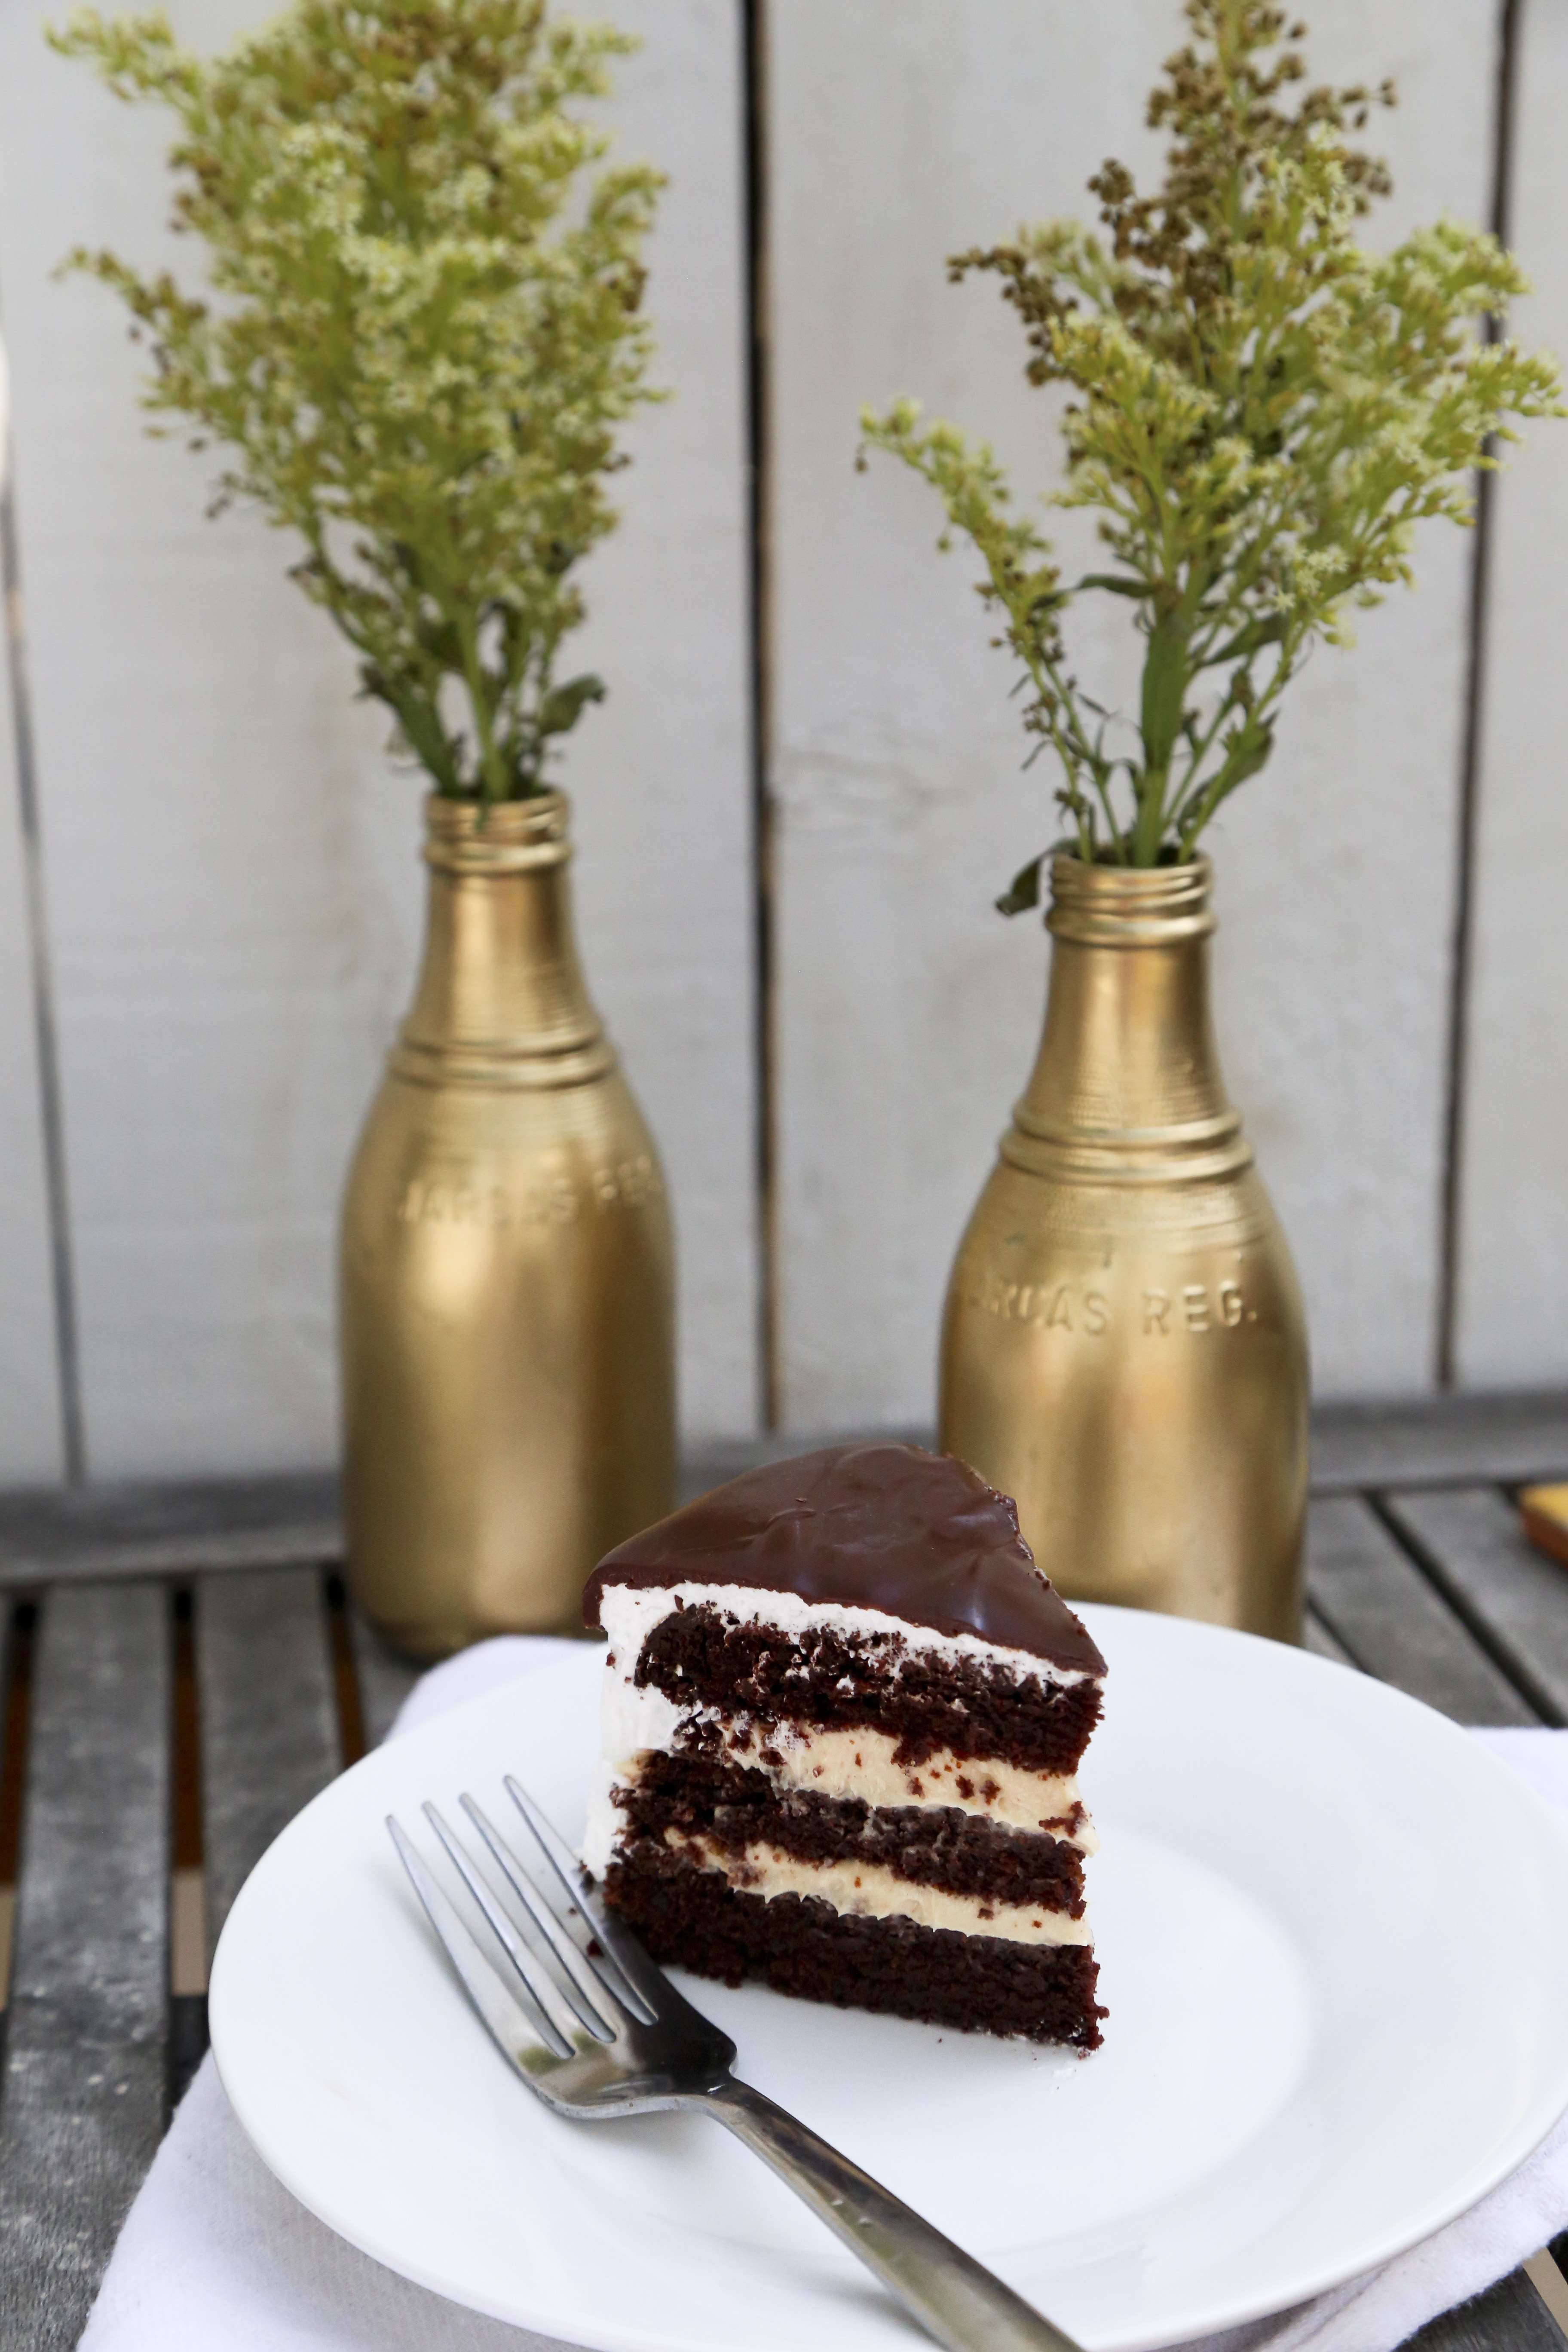
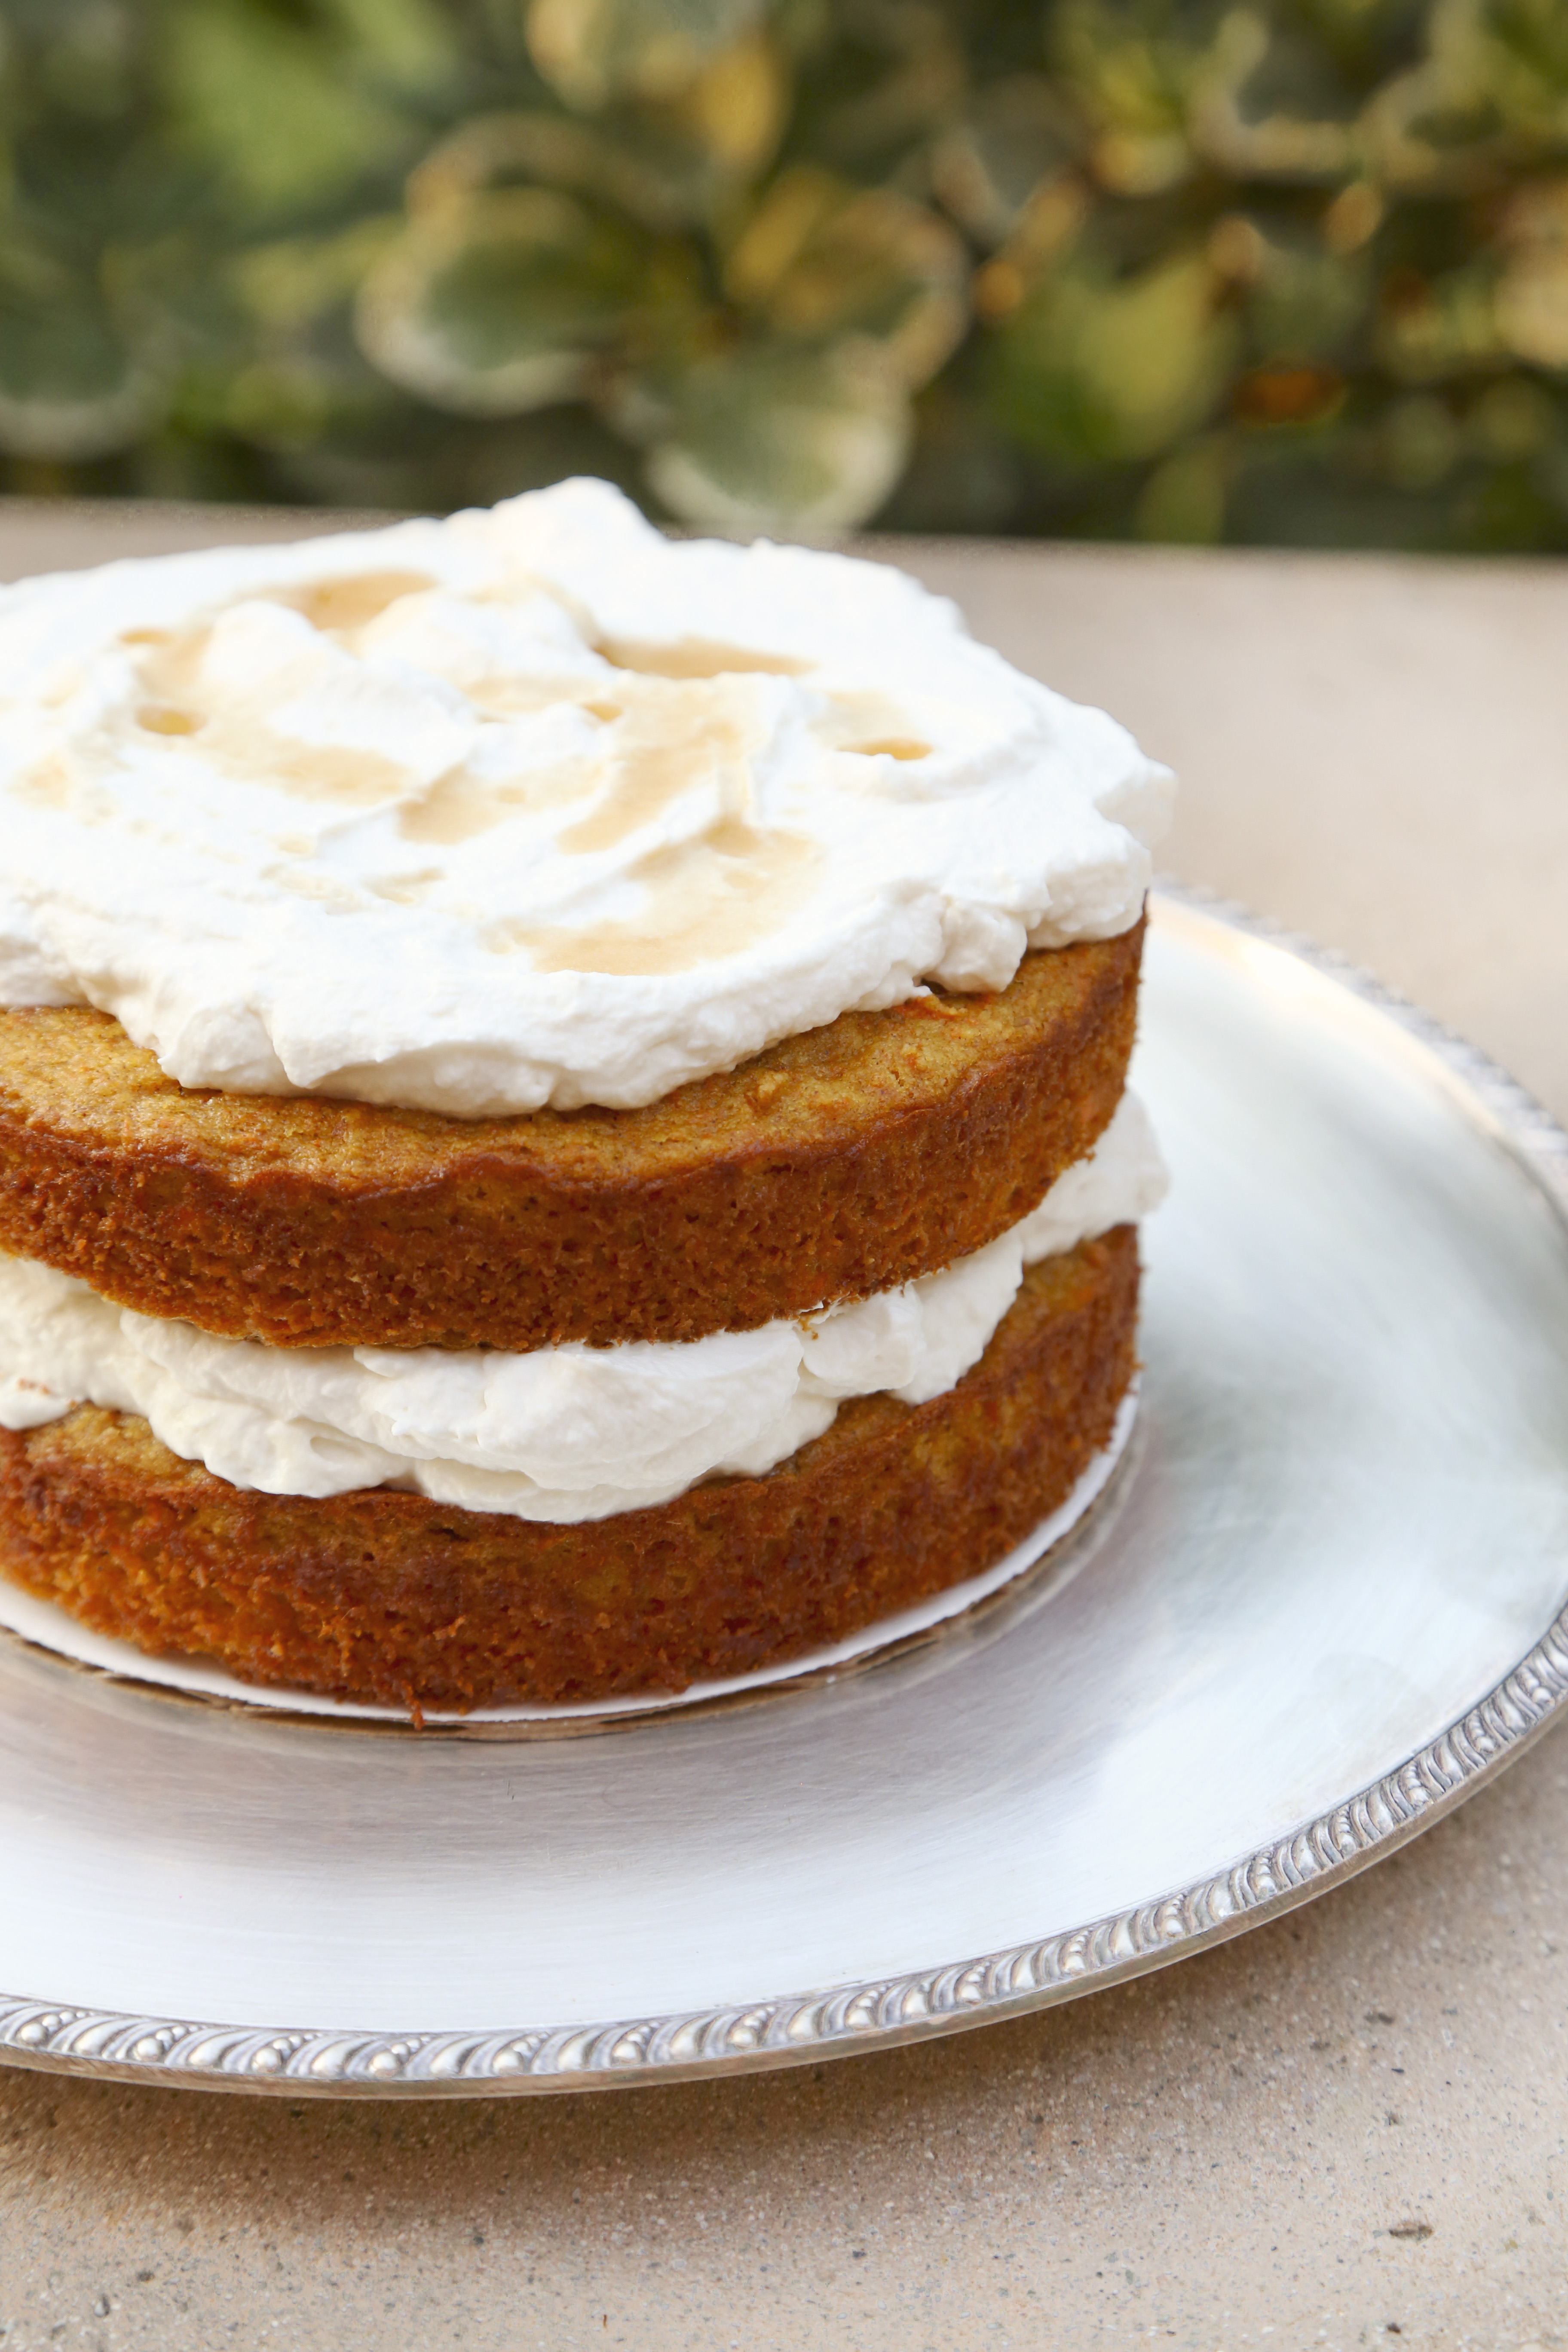
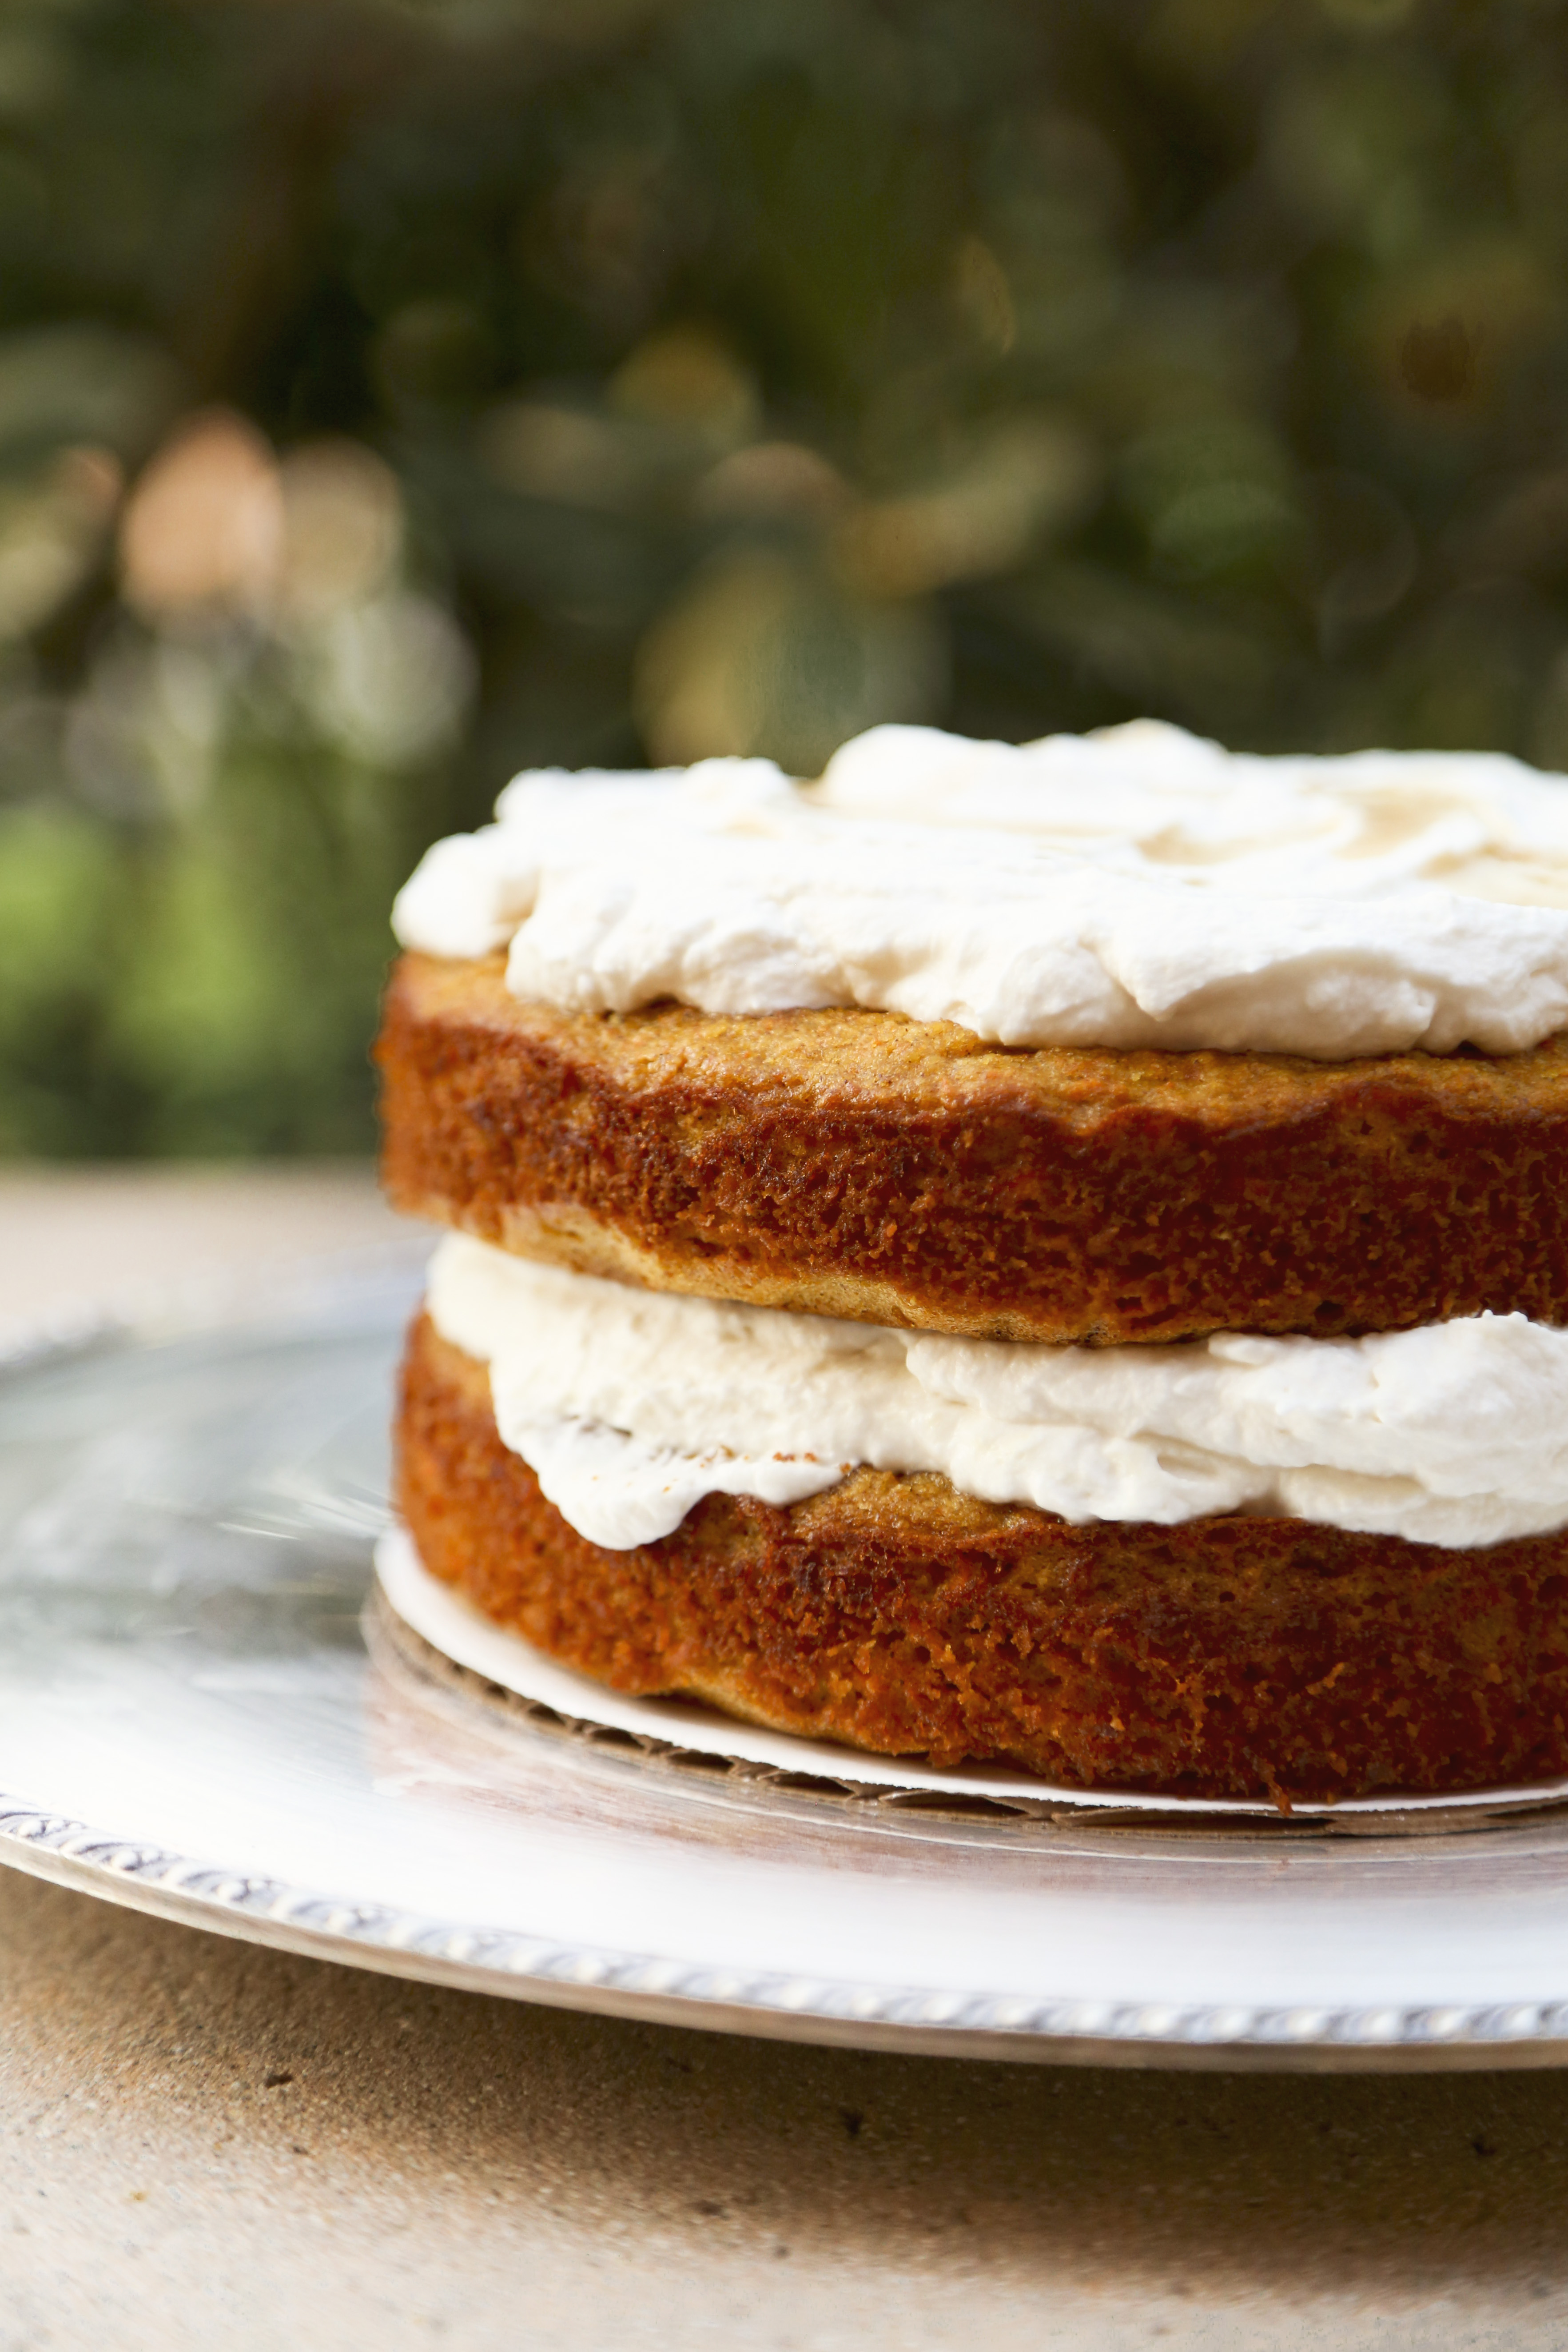
But after that night, I still had a curiosity for how a gluten-free taste would be like. I’ve never really eaten one, other than flourless chocolate cake. So I went with it and made a cake anyway, because there’s never a wrong time to make a cake. I used a recipe for Carrot Cake from Elana’s Pantry, because having never made a gluten free cake, I couldn’t really wing it on my first try.
But that said, I made a few adjustments to make 1 smaller (6-inch) cake. Here’s my attempt:

Gluten Free Carrot Cake
adapted from Elana’s Pantry
1 1/2 cups almond flour
1/2 tsp salt
1/2 tsp baking soda
2 tsp cinnamon
pinch of mace
2 eggs + 1 egg white
1/4 cup maple syrup
2 tbsp canola oil
1 1/2 cups grated carrot
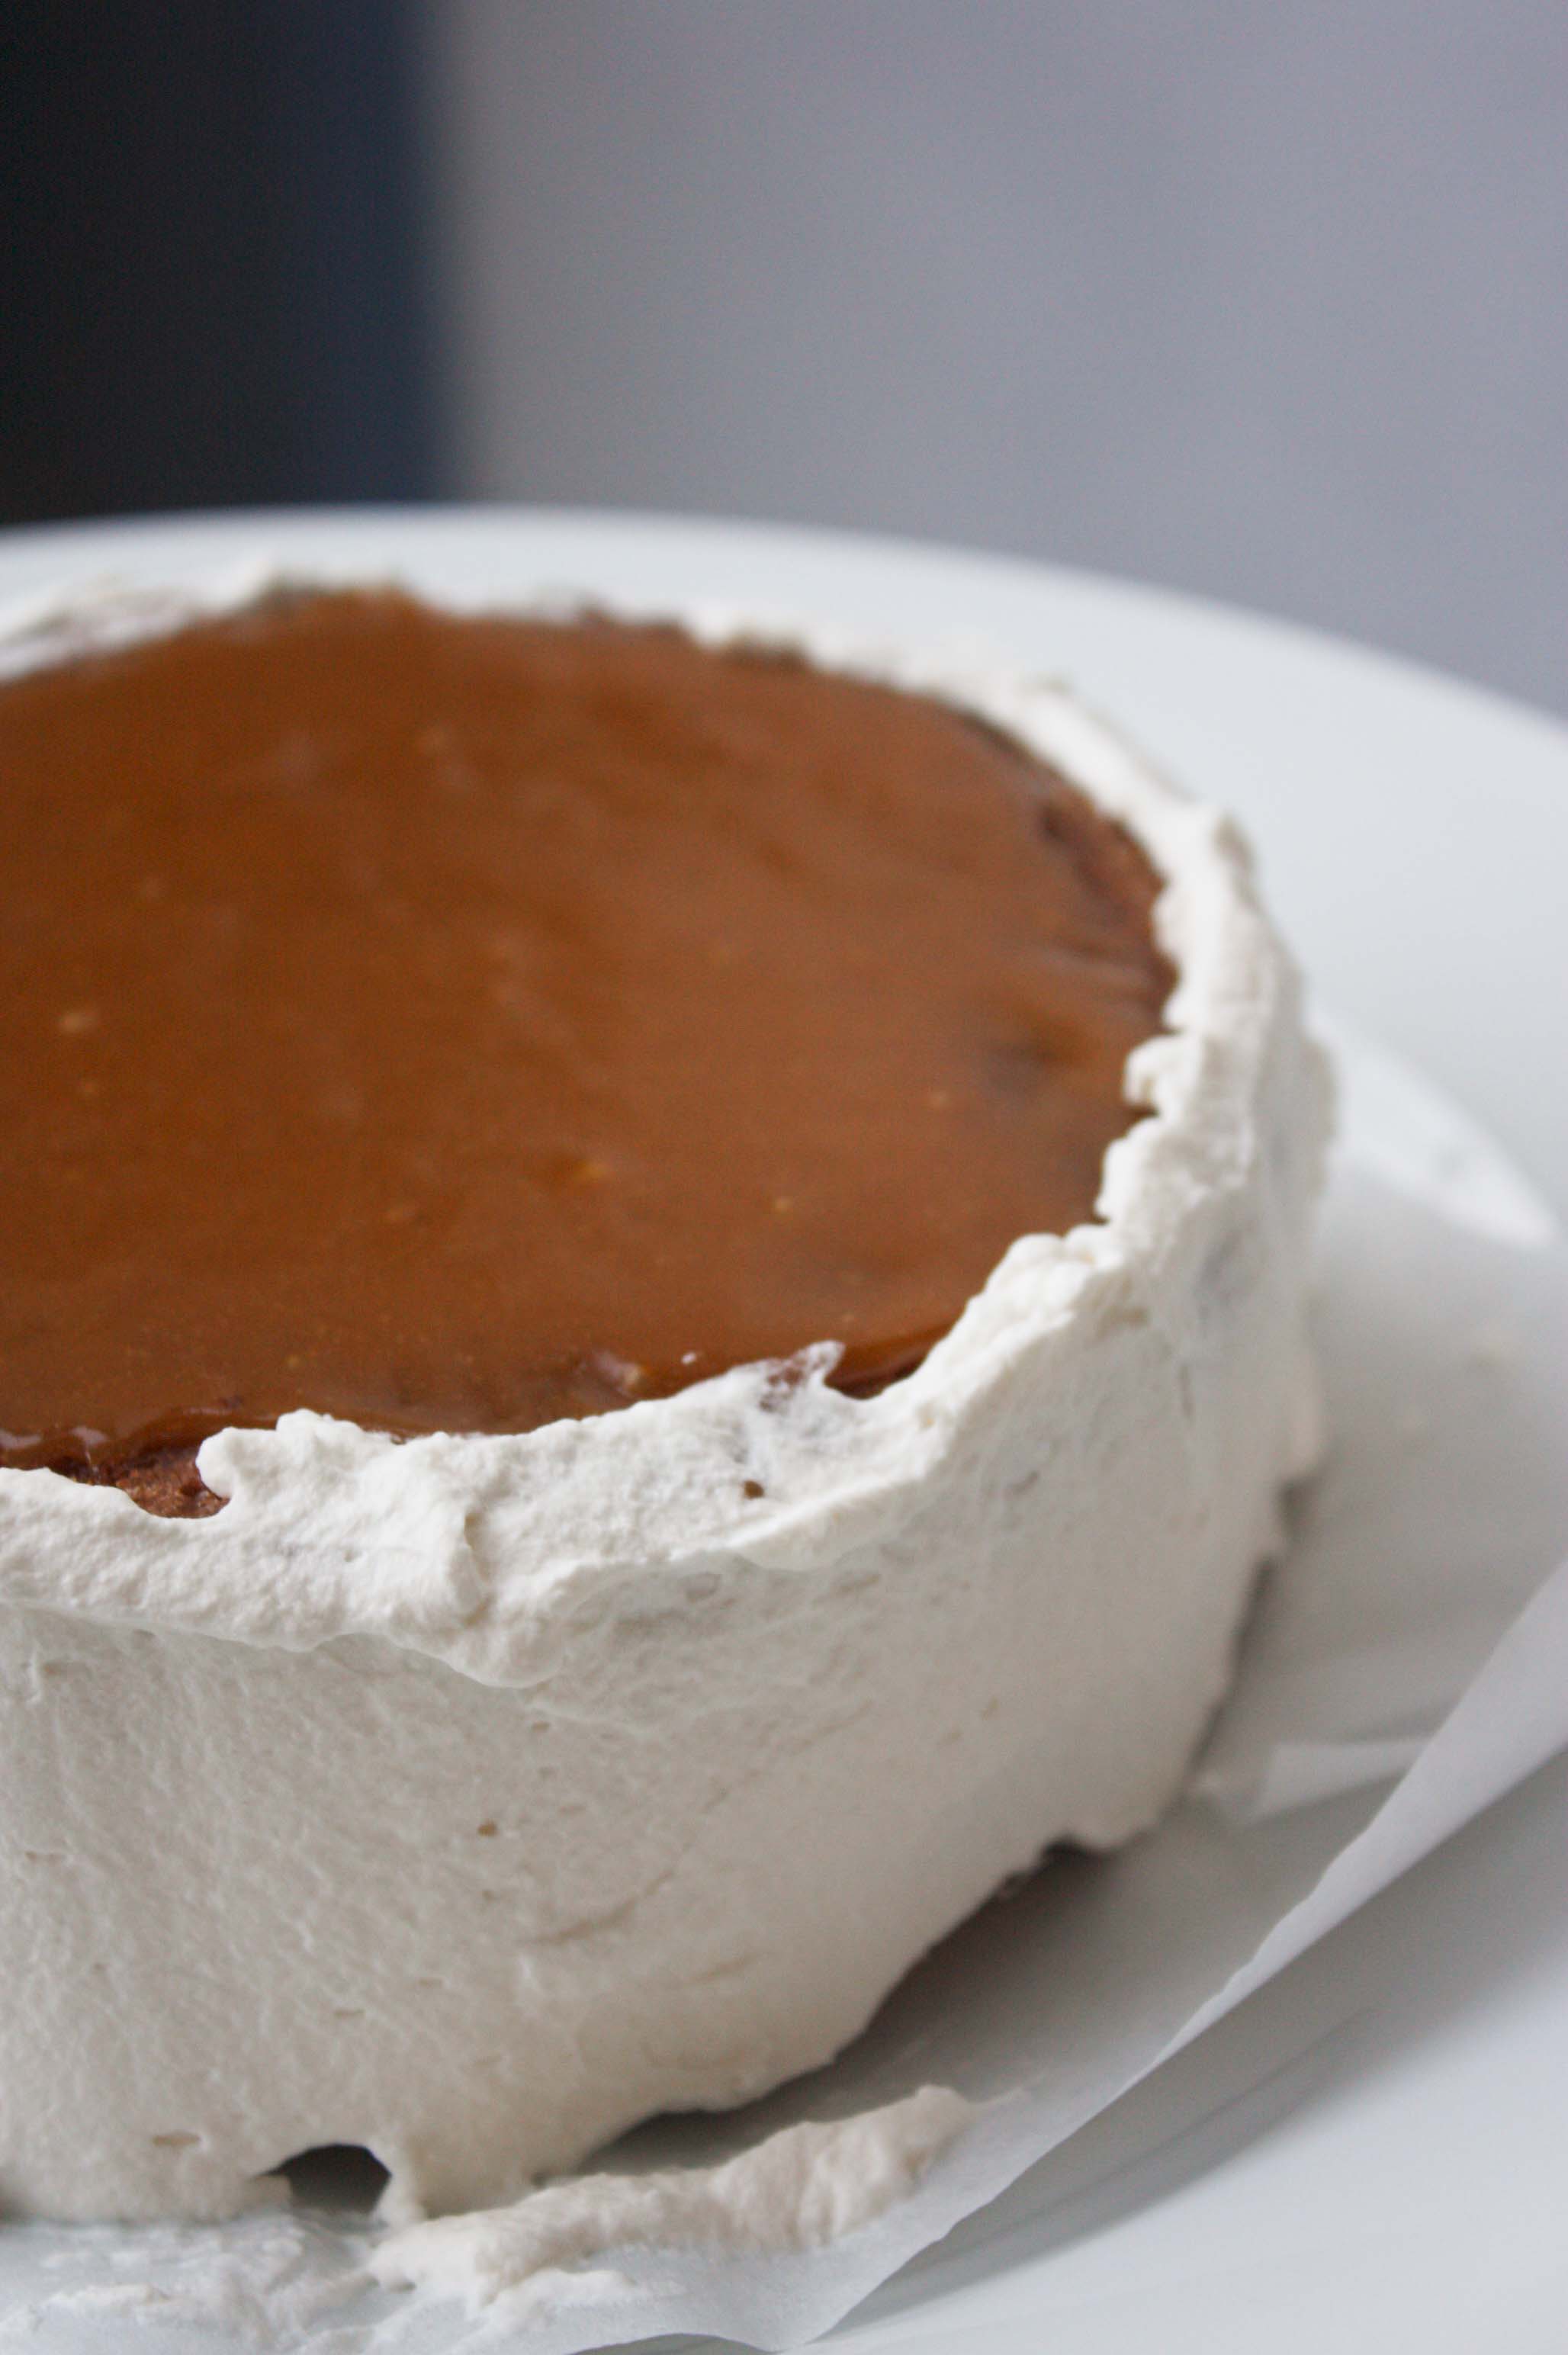
1/2 cup whipping cream
2-3 tbsp maple syrup
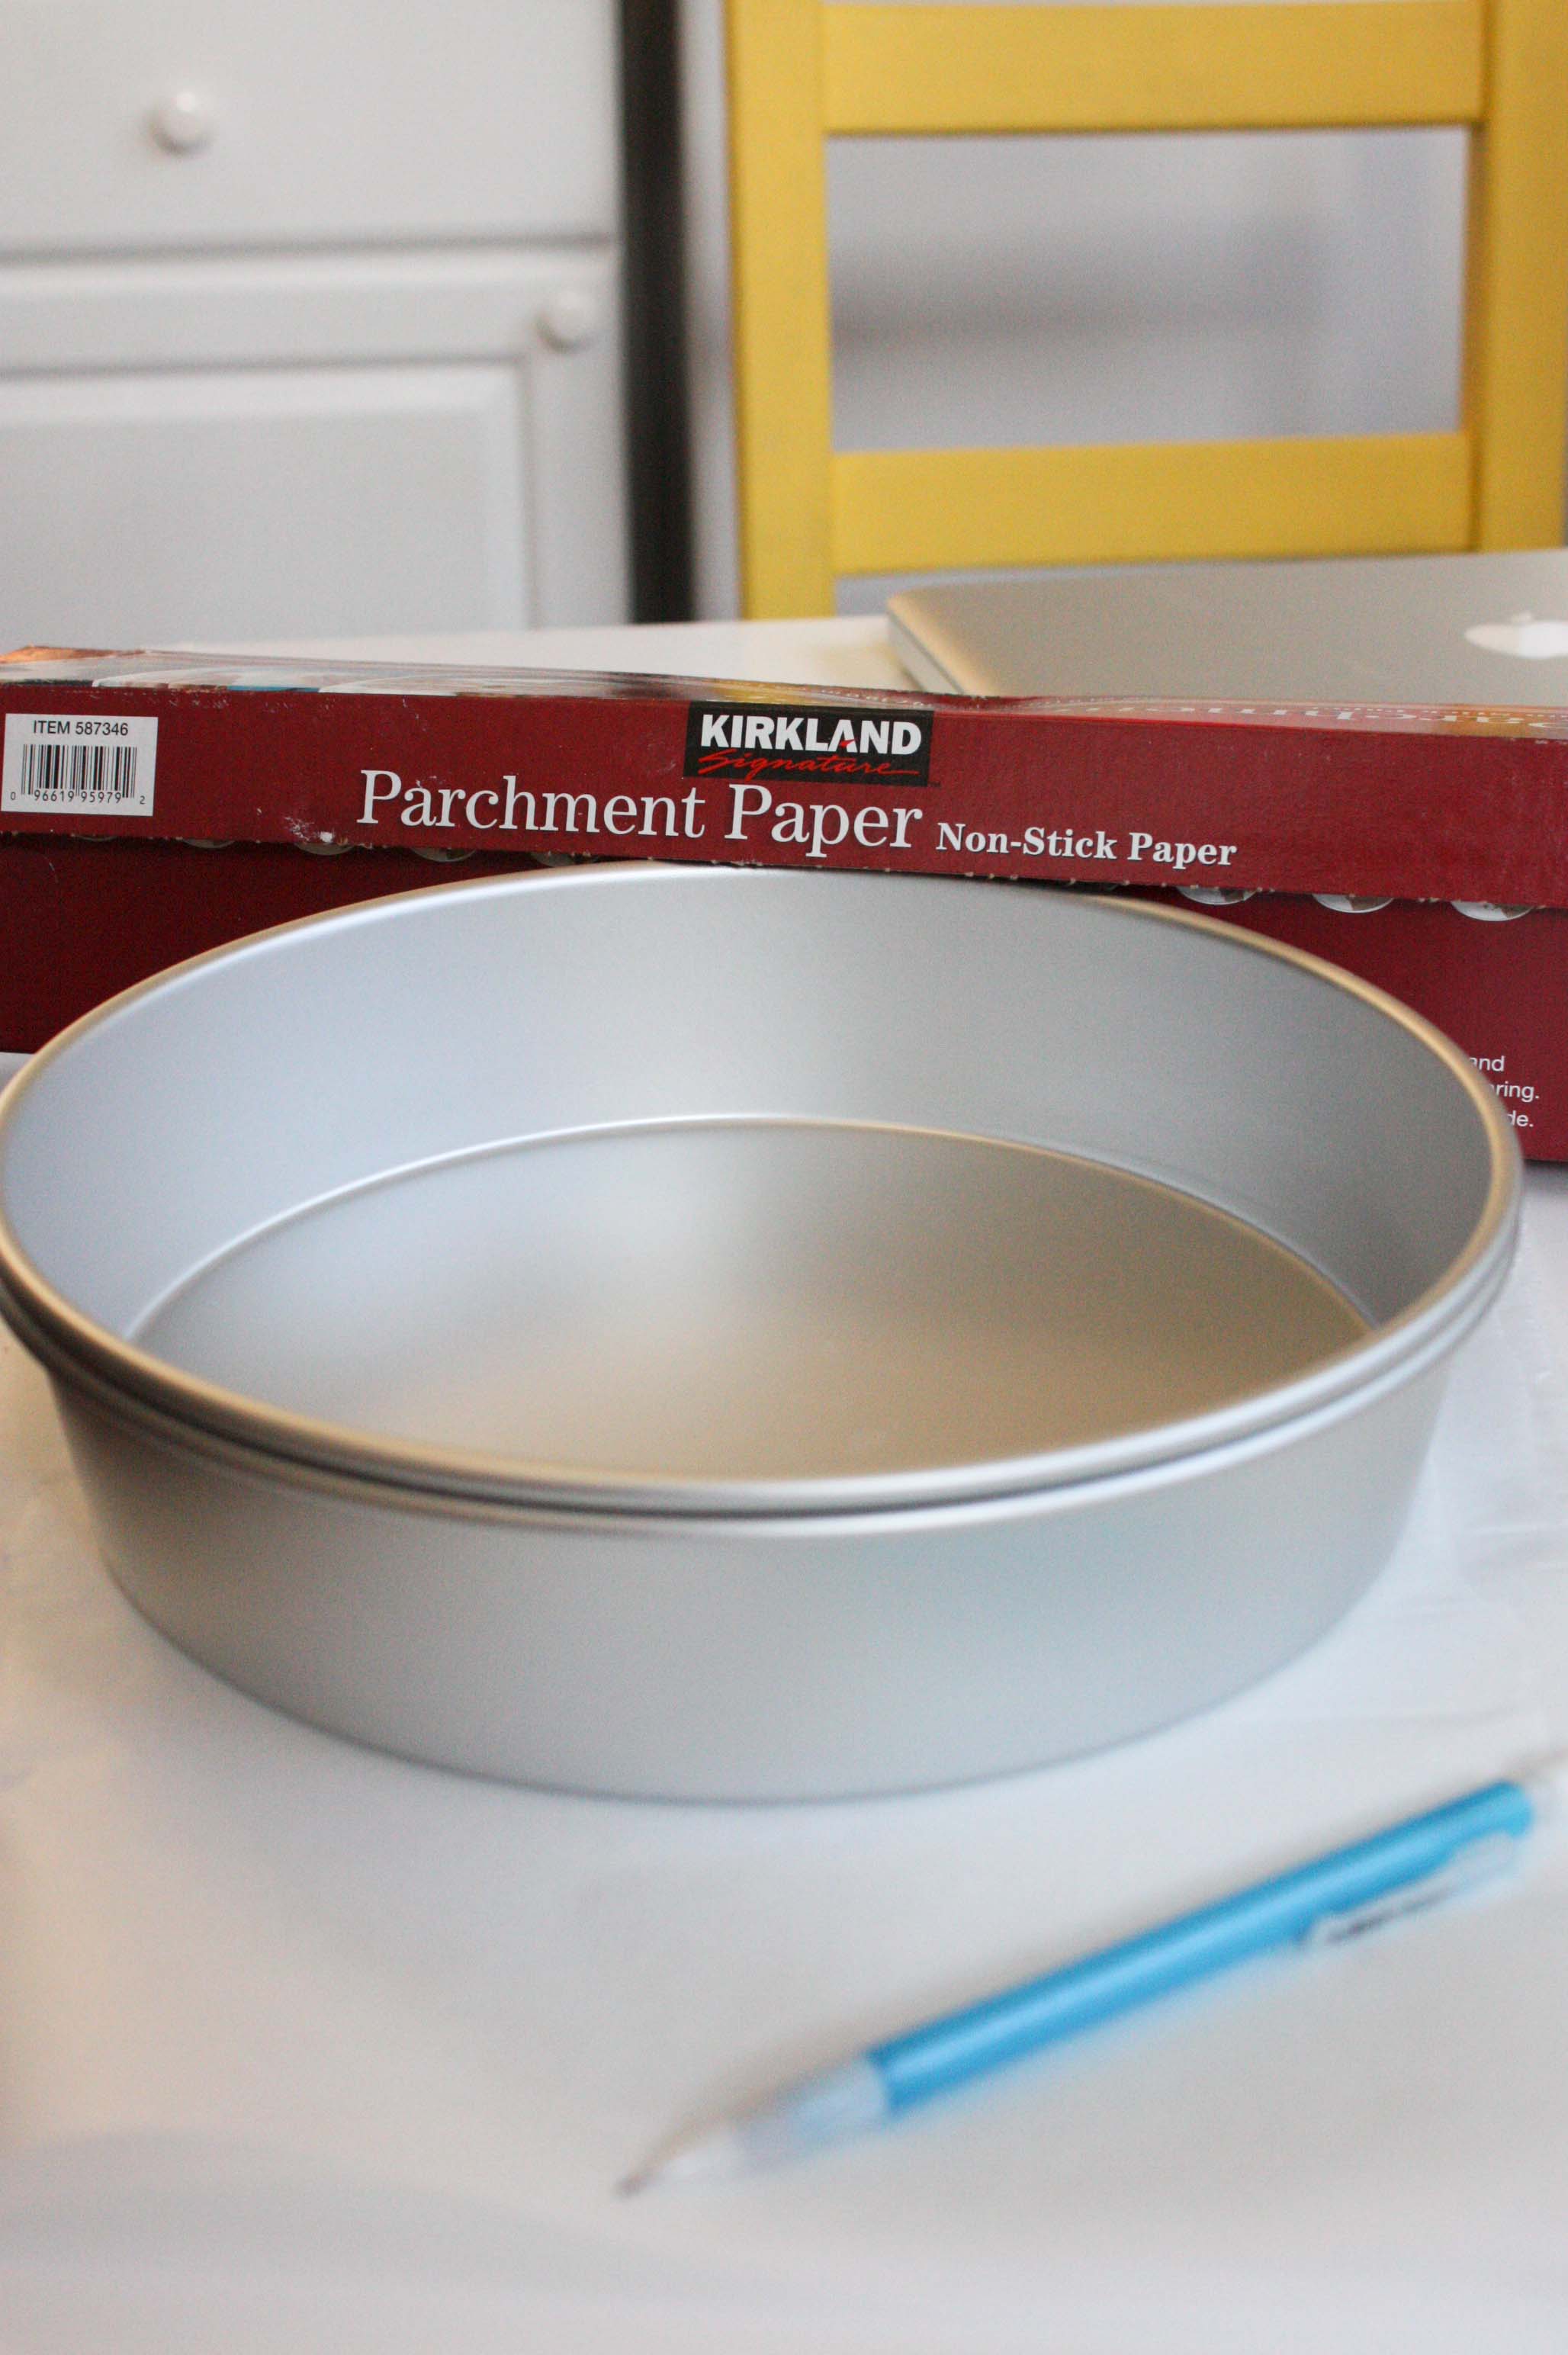
Preheat the oven to 325F. Grease and line 2 (6-inch) cake pans with parchment paper
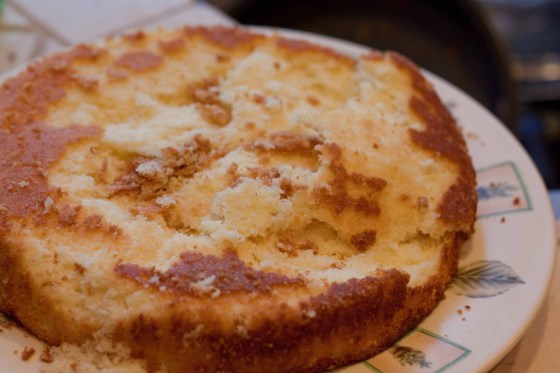
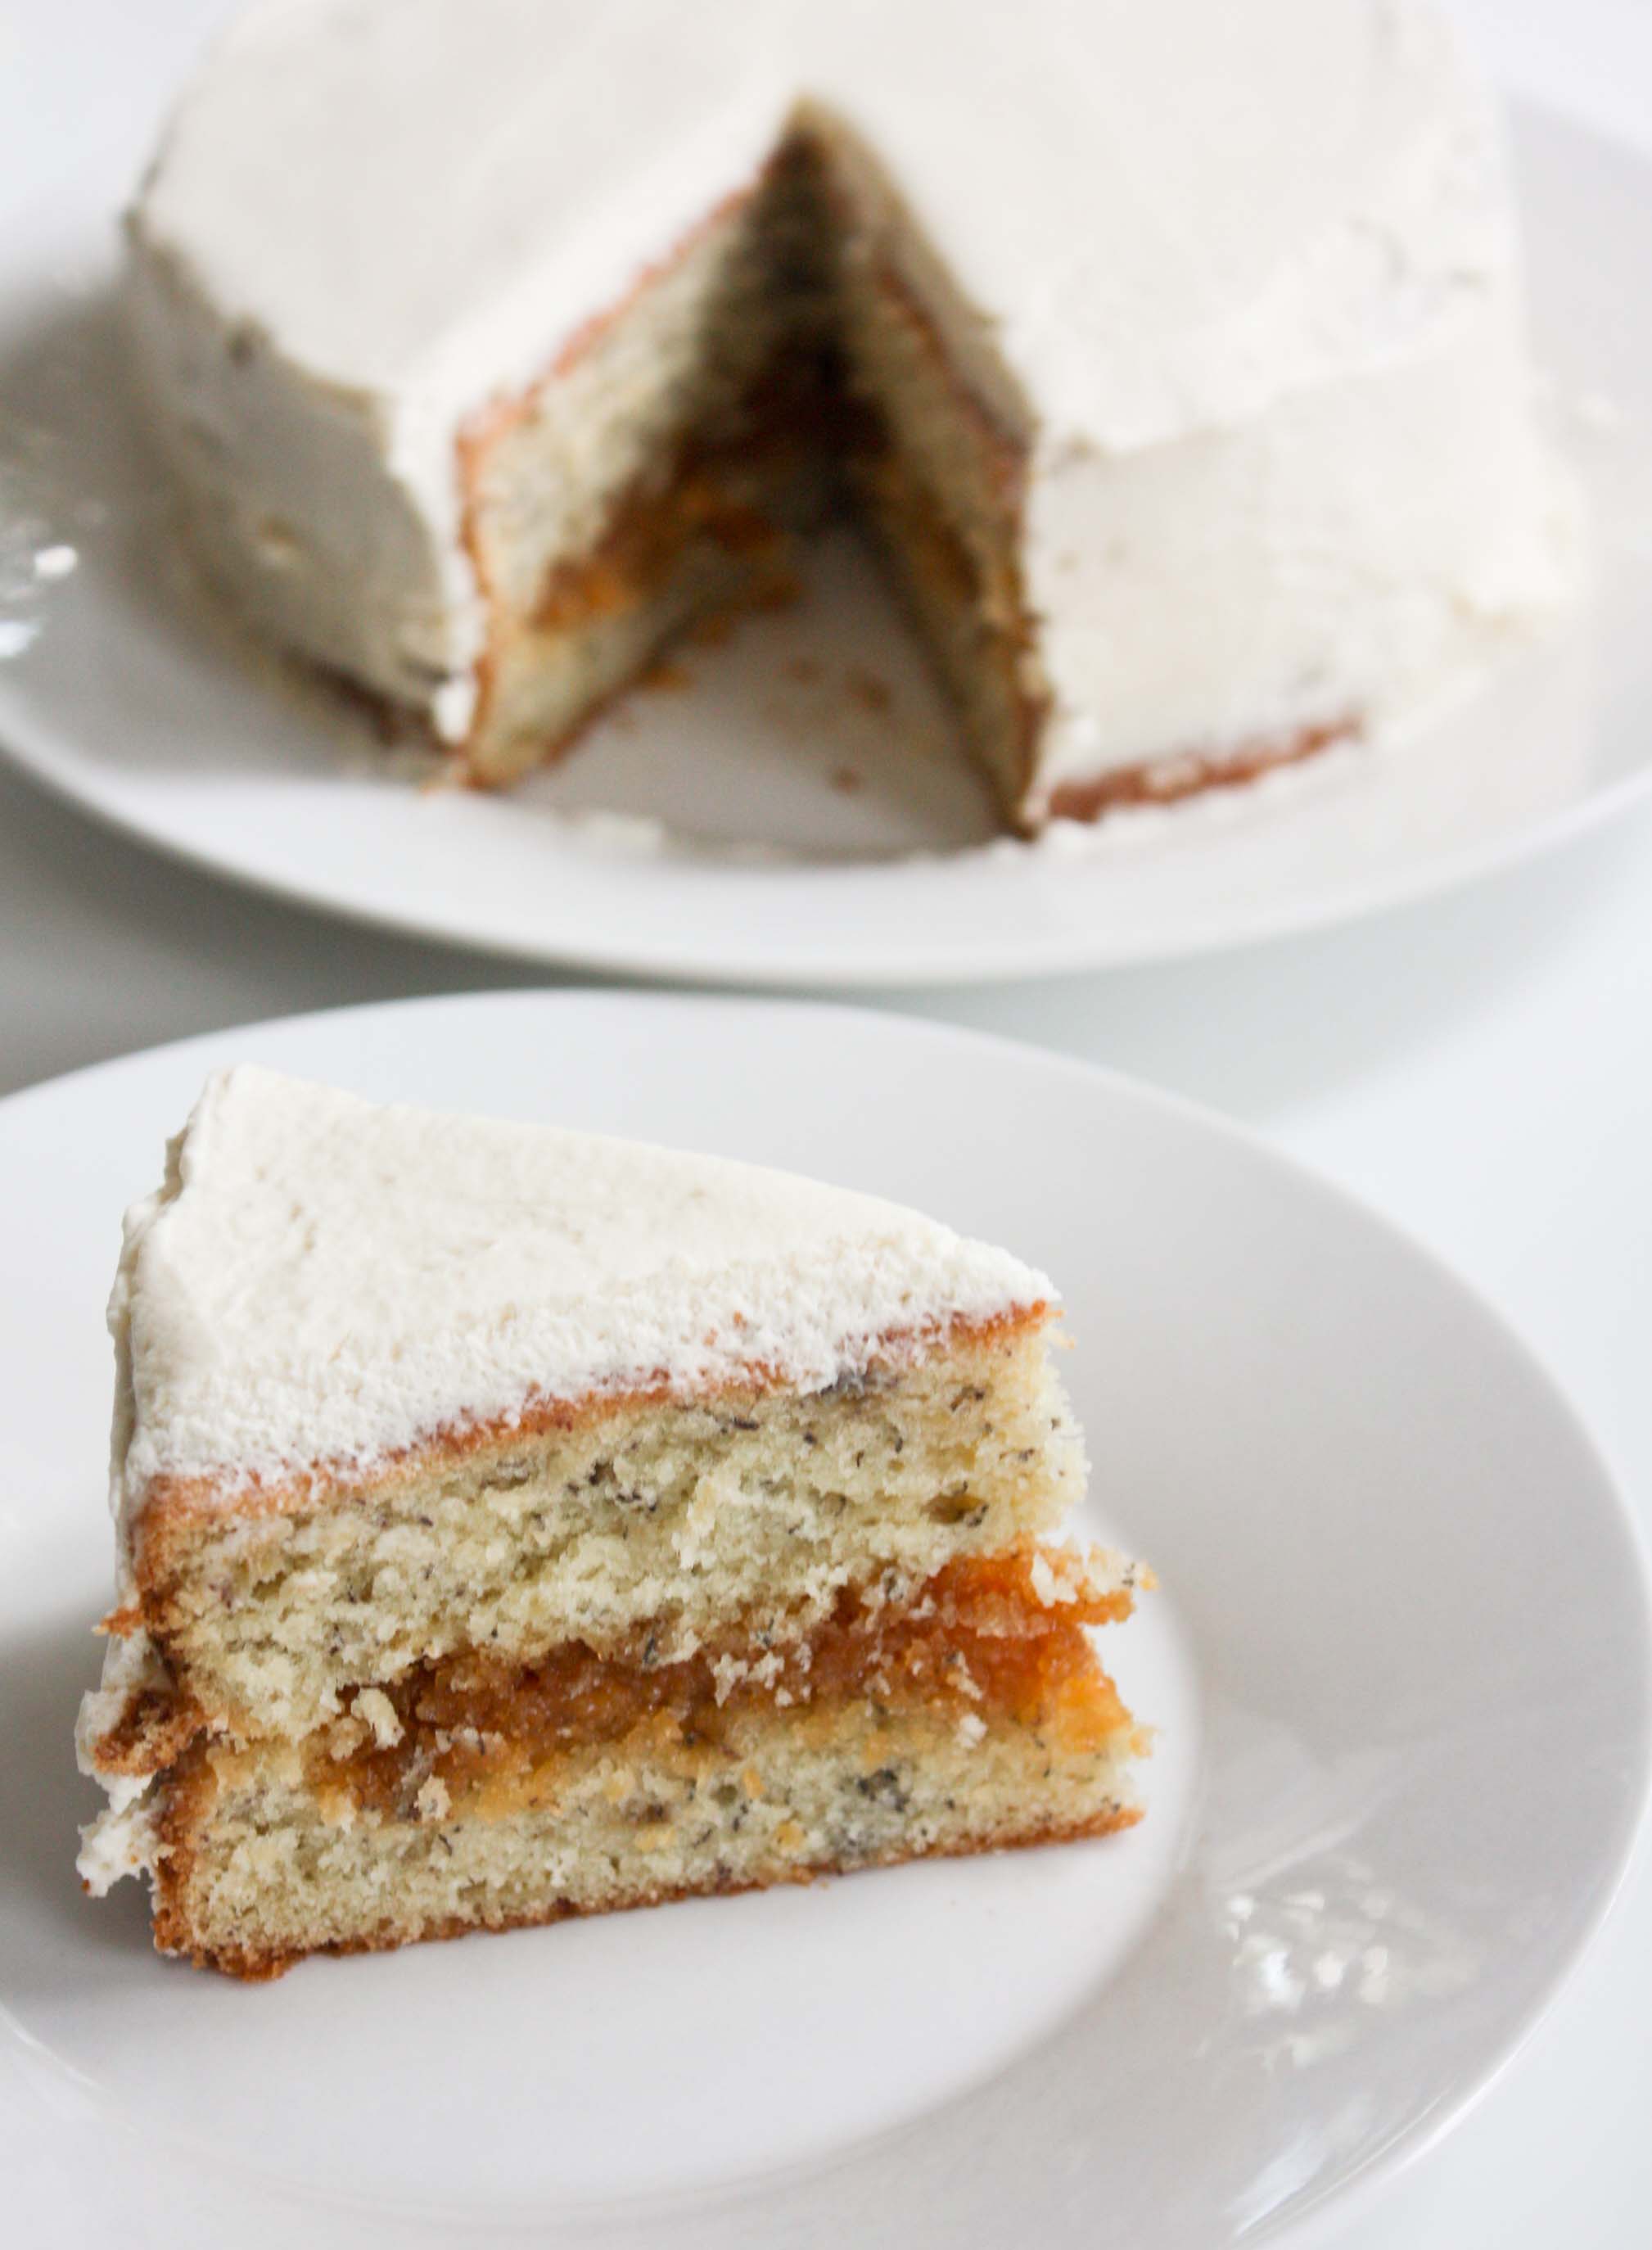
I used my vitamix to chop up the carrots instead of grating, but you can grate them if you’d like . Then I throw all the ingredients into the blender and blended until combine. It’s really that easy. Pour batter into 2 prepared cake pans.
Bake about 20 mins or until a toothpick comes out clean. While your cake is baking, make your frosting. It’s easy. Whip the cream. Once the cream starts forming peaks, stream in maple syrup. Taste it. If you want it sweeter, add more maple syrup. If it’s too sweet, oops! (JK, add a bit at a time, and try to get your desired sweetness. I didn’t want mine too sweet I only added about 2 tbsp).
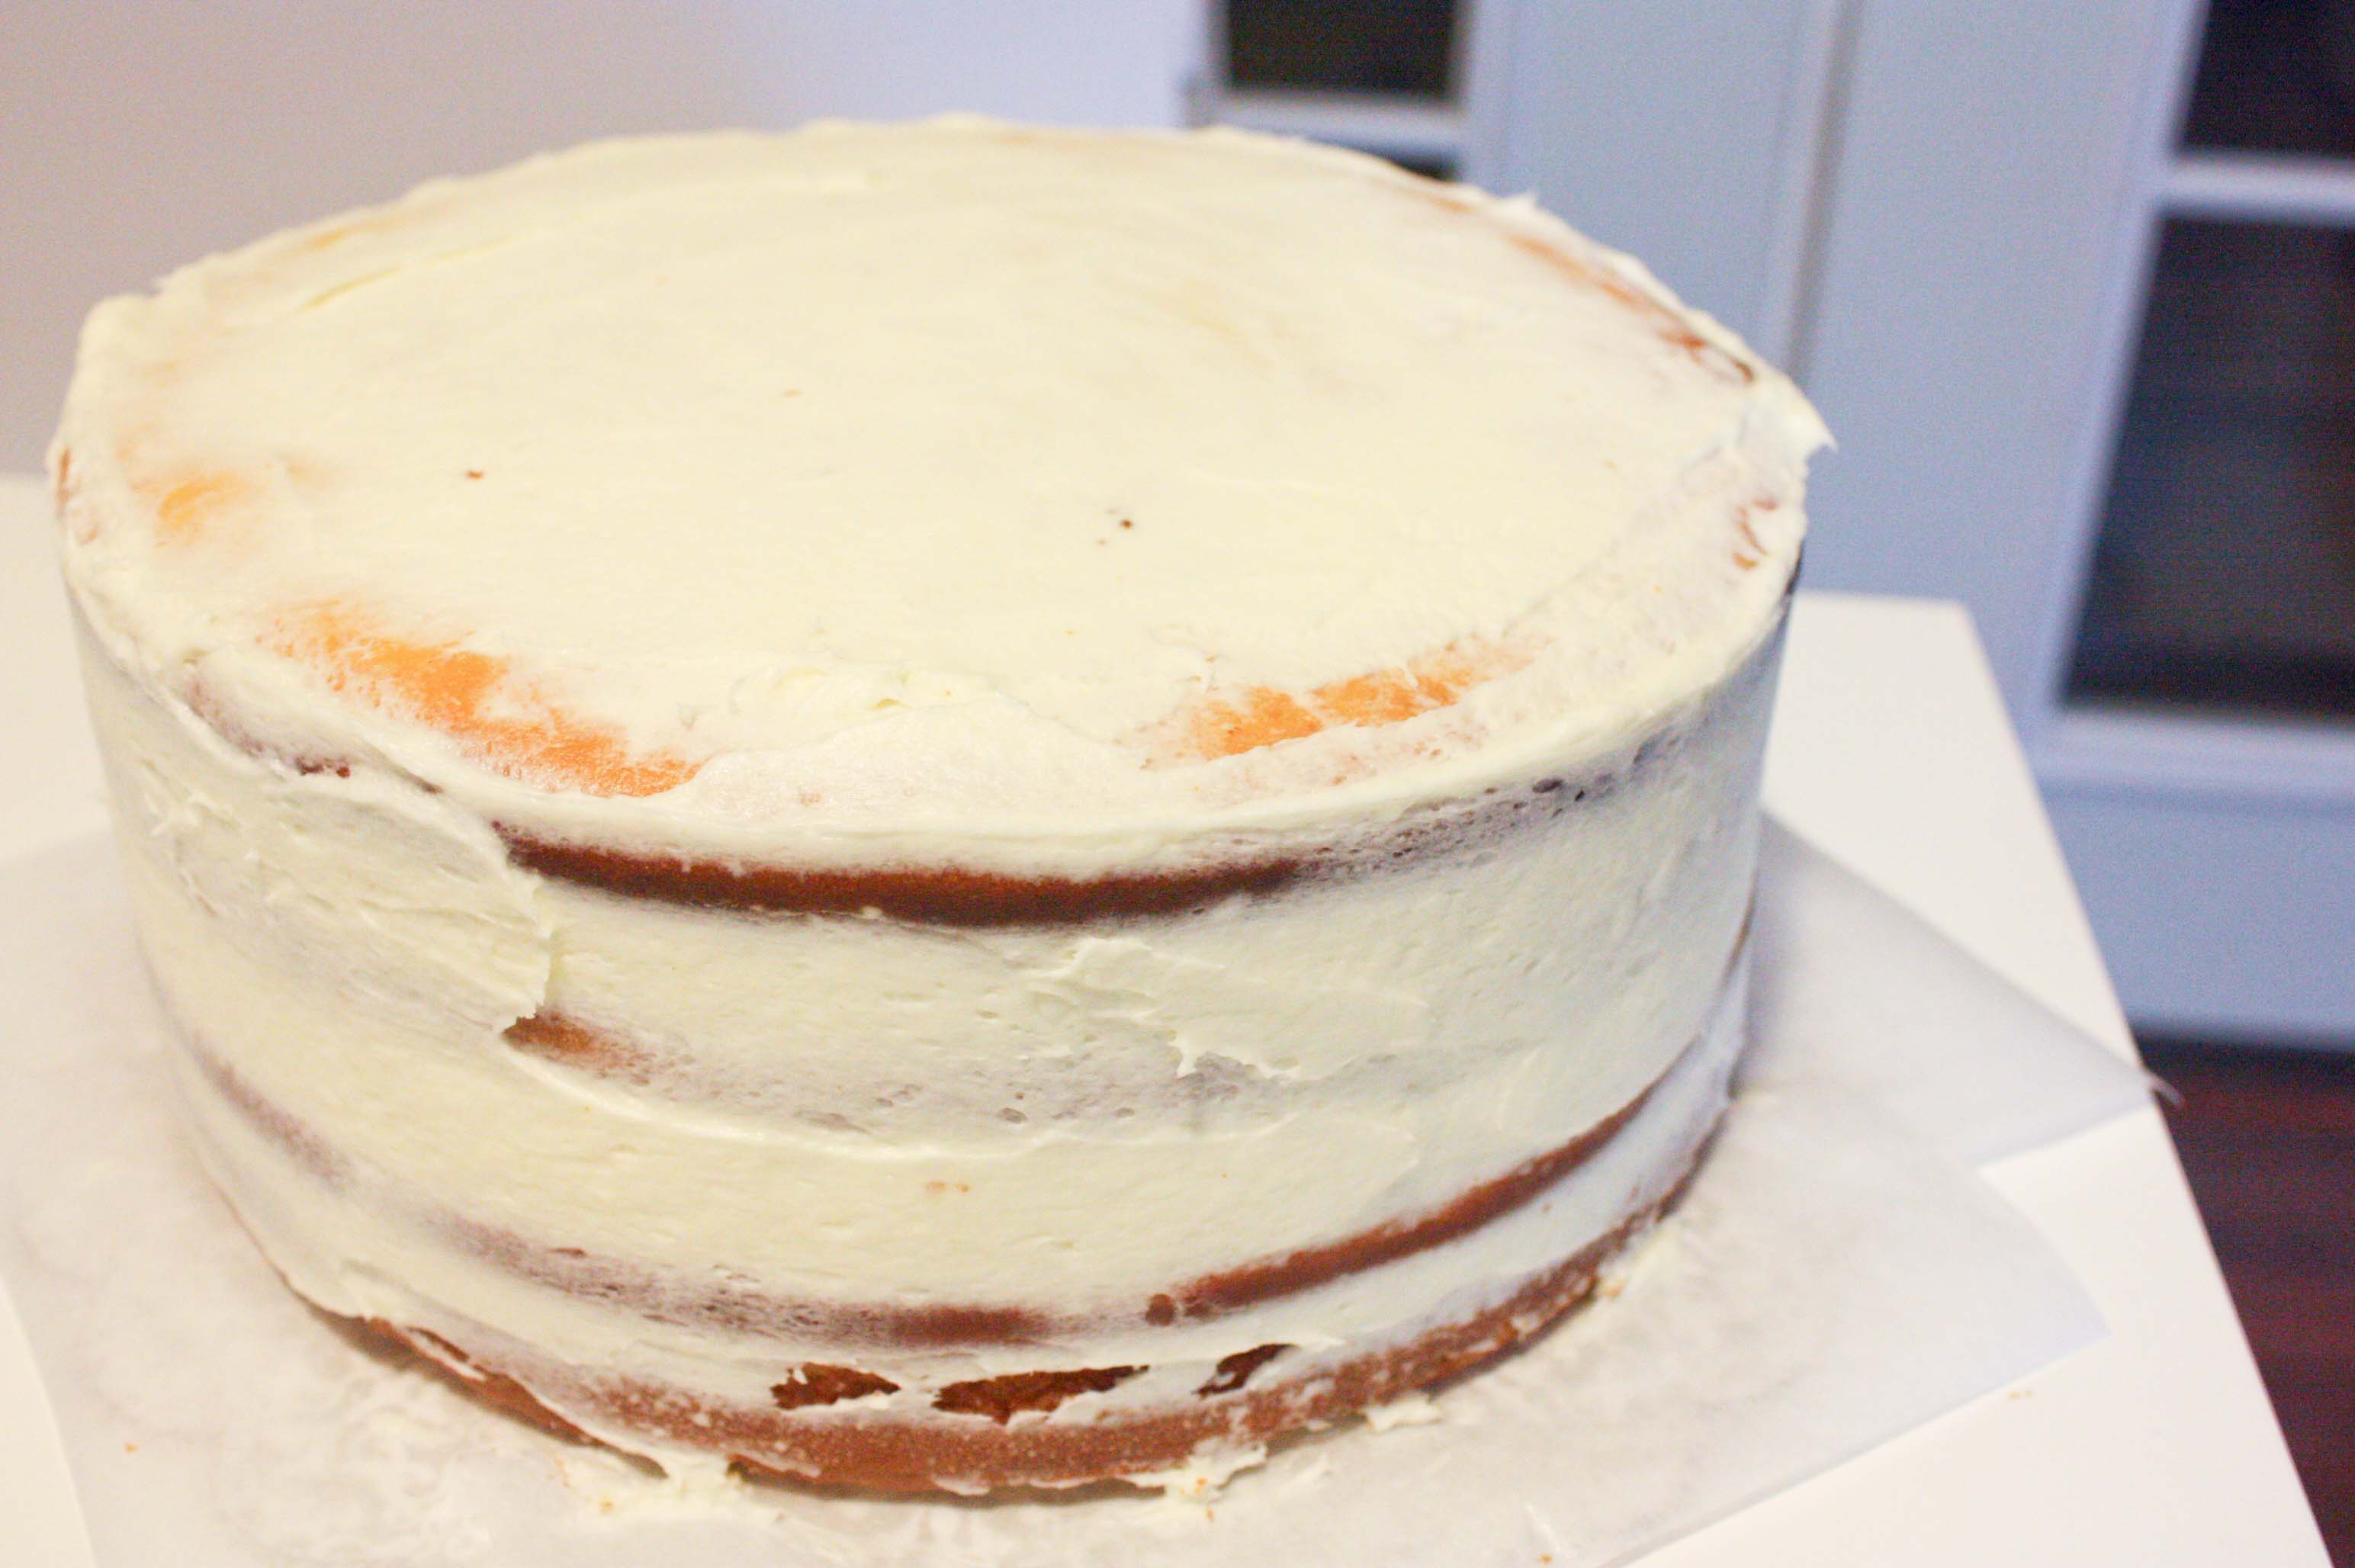
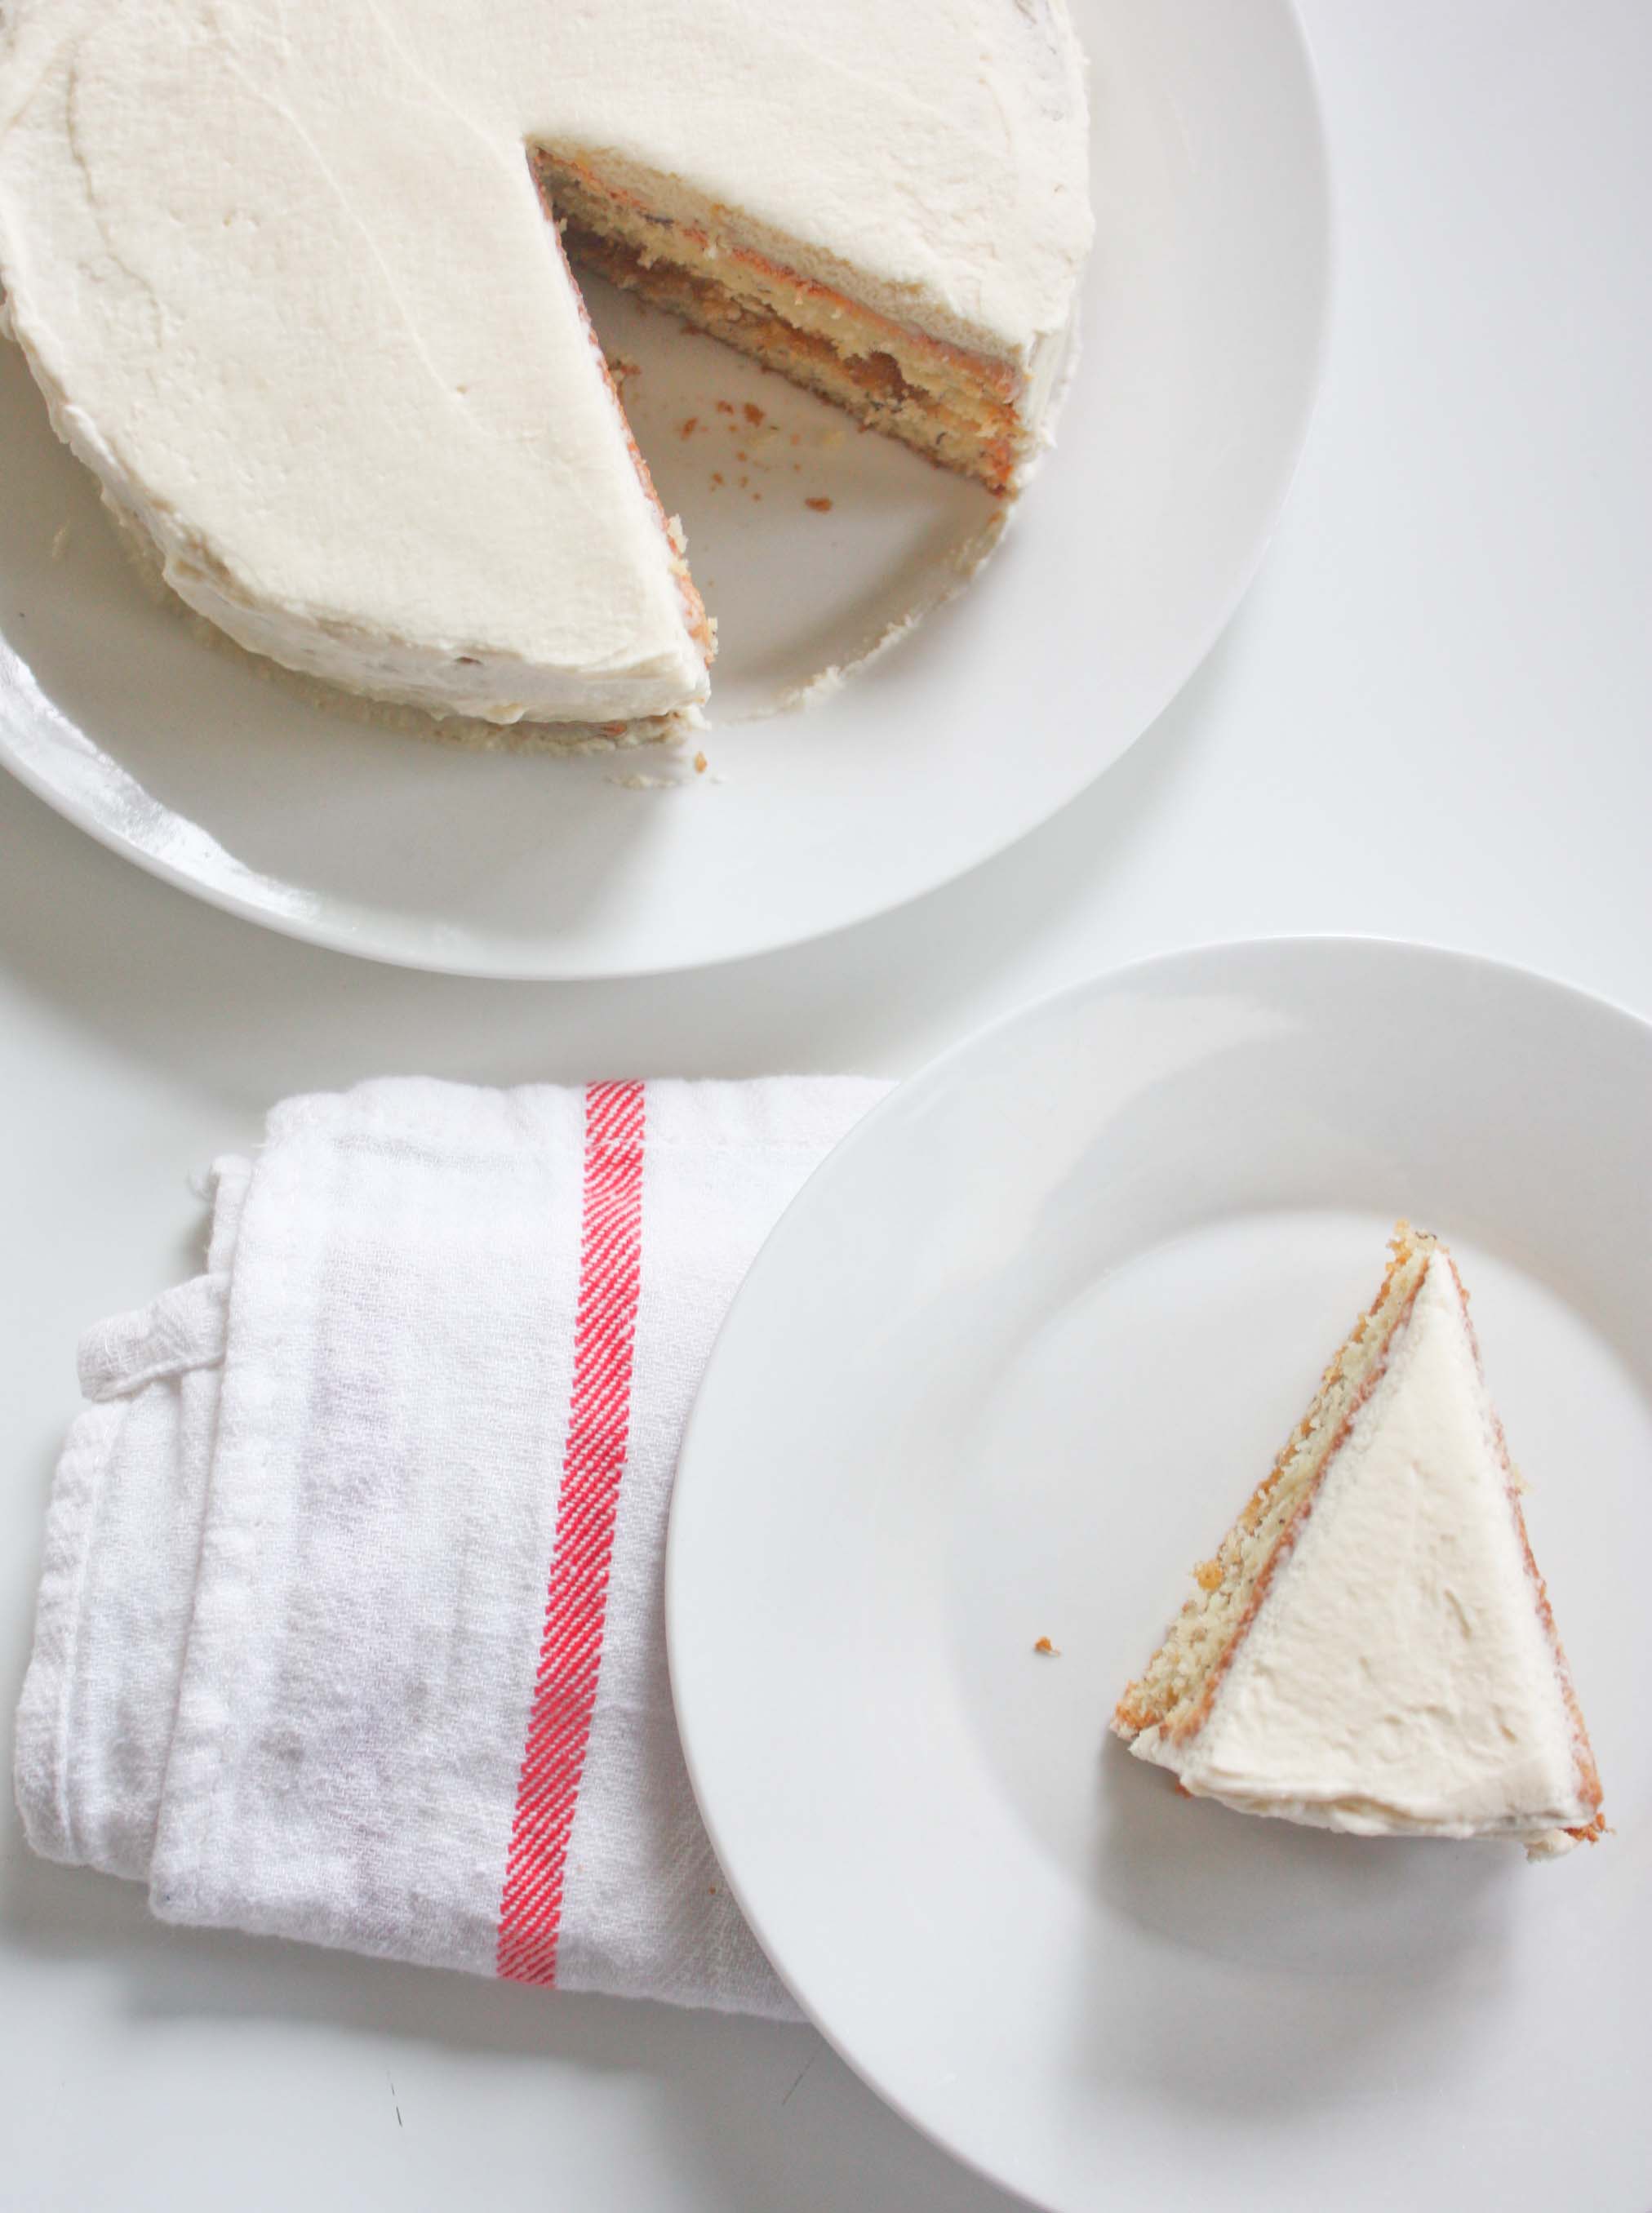
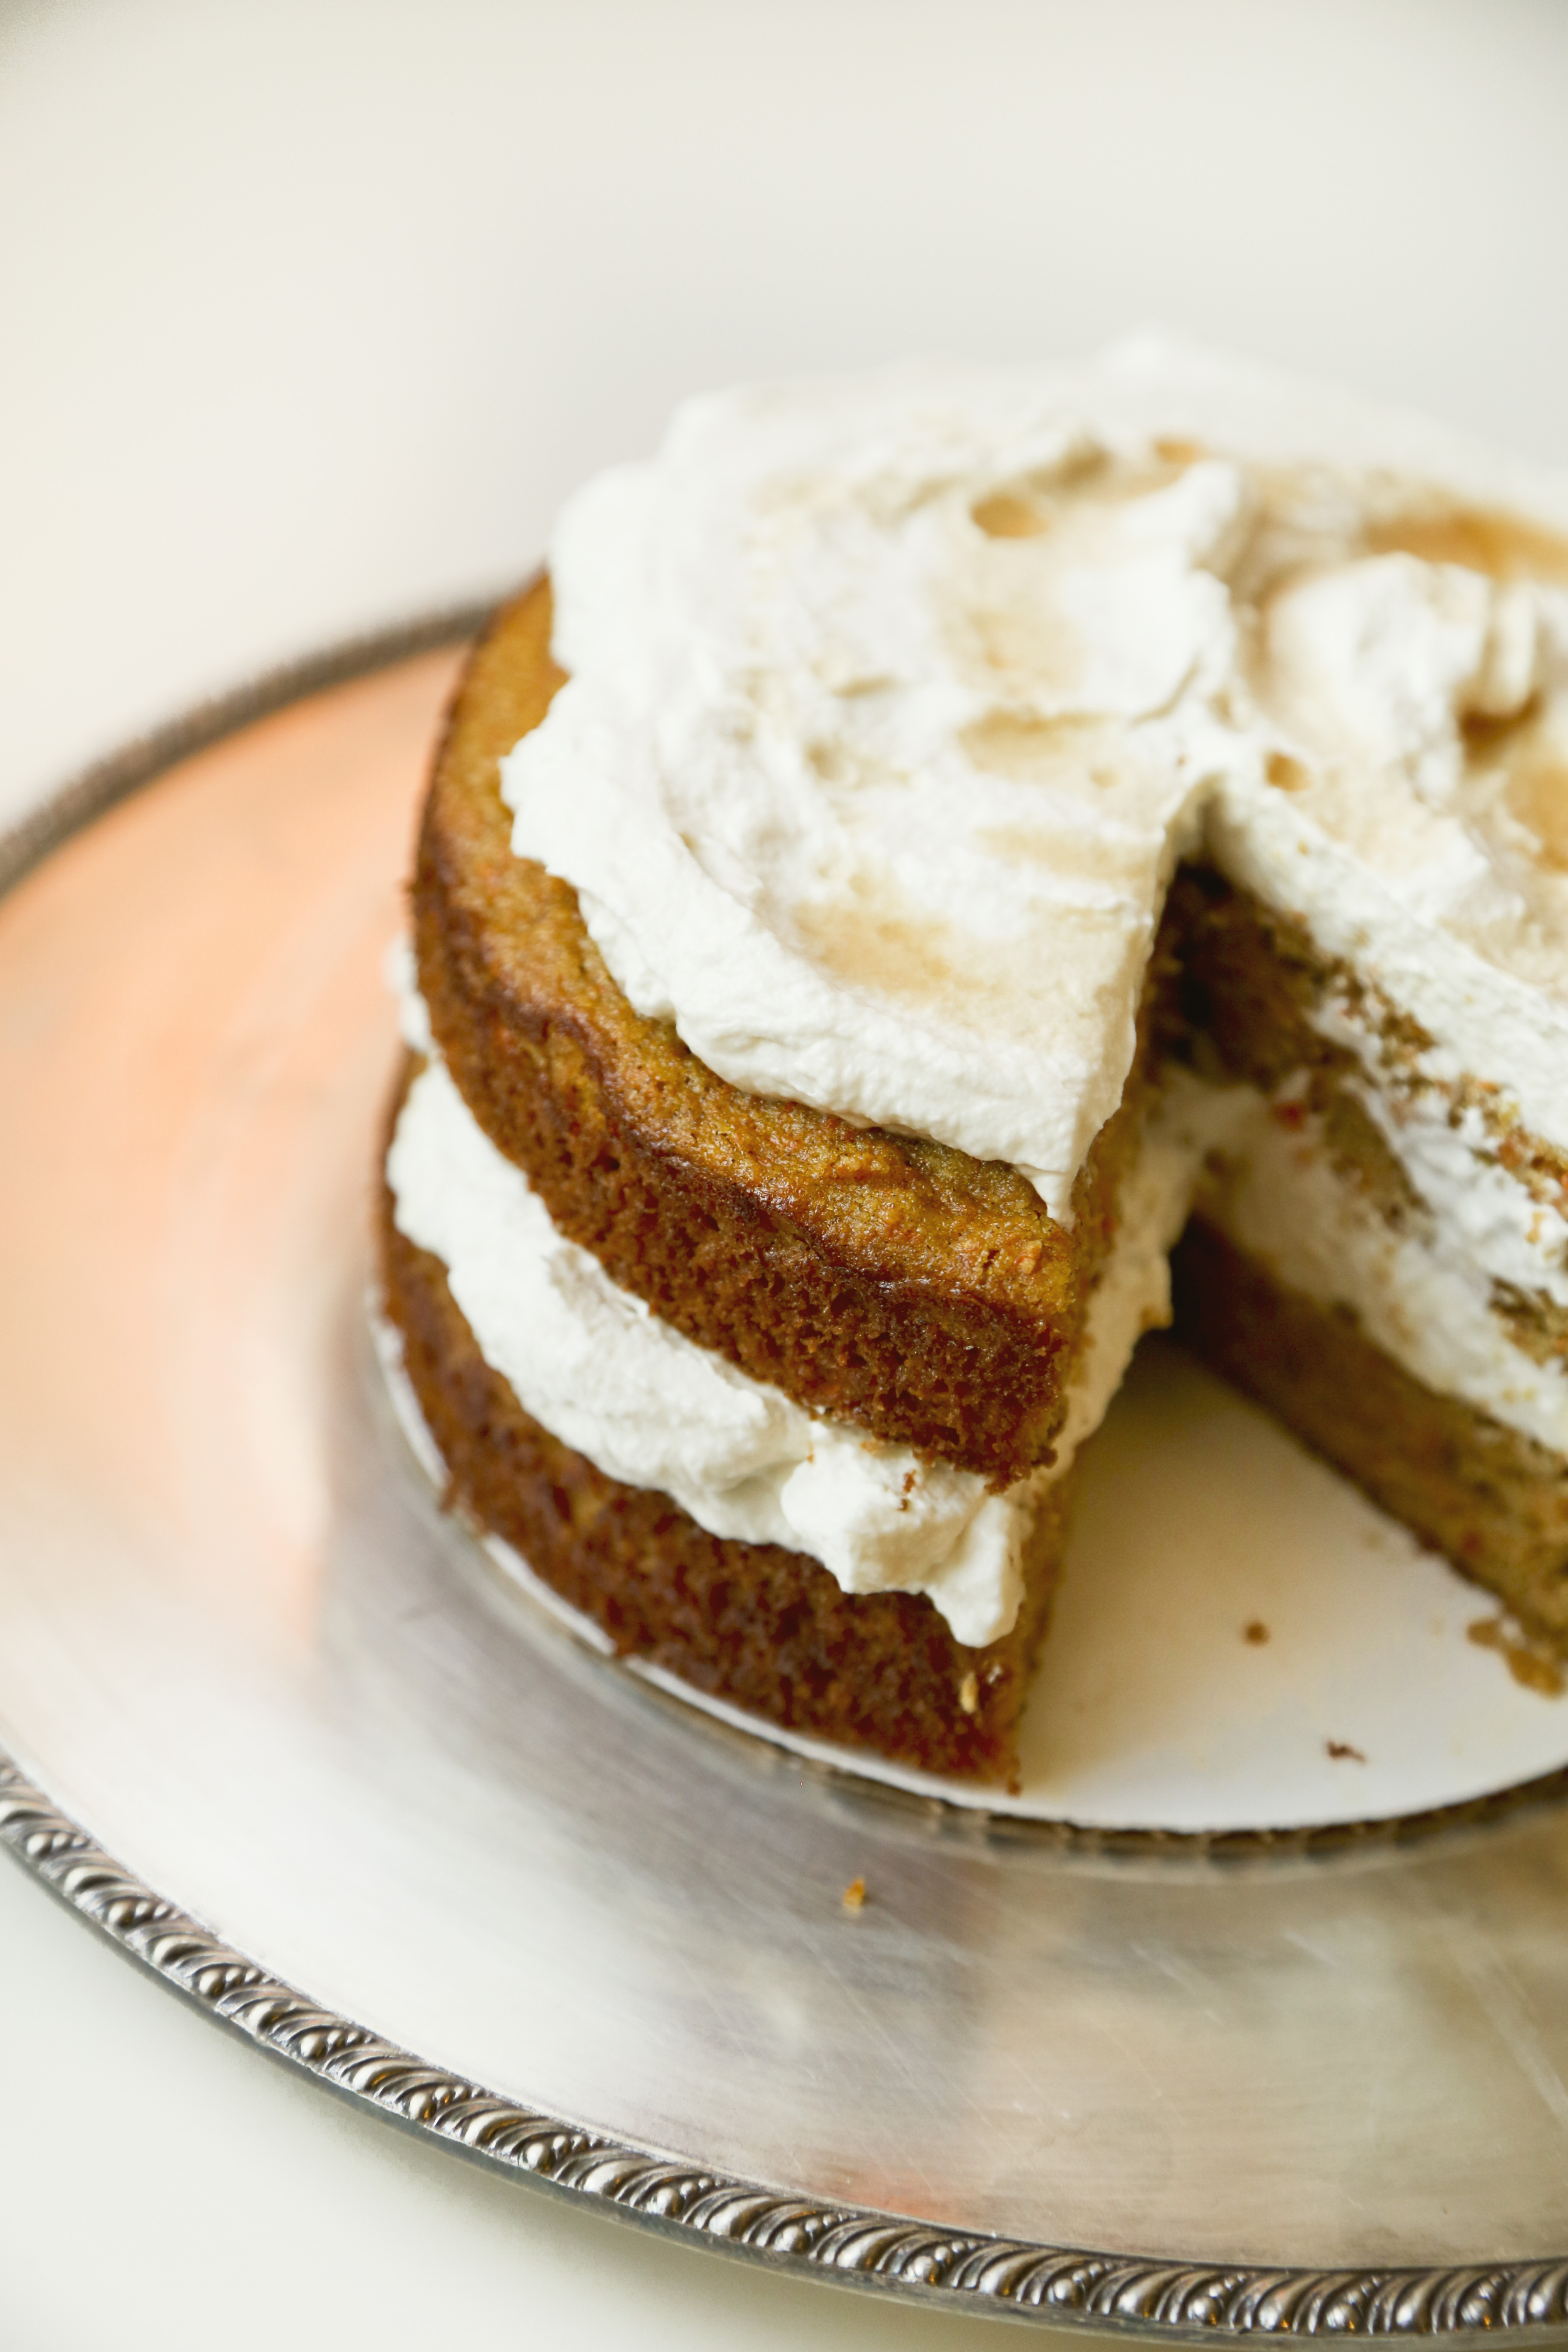
Allow to cool completely. Then lather with maple whipped cream and serve. Store leftovers in the fridge.

Confession: I actually think it tastes better cold.
2nd Confession: I meant to take Allison a piece of this cake but Jesse dug into. Fail. But really I can’t complain if he liked it. That means it was tasty.
Overall: I thought this was tasty.
Does it taste like cake? Not really.
Does it have the texture of a cake? Not really.
Is it worth trying? Absolutely.
While I don’t have any food allergies or sensitivities that I know of, the point of all this is that I will stop being a hater, because stomach issues suck.
Are you a fan of gluten-free foods?