The Perks of Living Alone and a Plum-Almond Tart in a Buckwheat Spelt Crust

Living alone can be absolutely fantastic.  Sometimes I think I’m borderline hermit, because there’s nothing I love more than crawling into my batcave and not talking to a single person.  A lot of people ask me if I get lonely living alone.  Honestly, some days… YES (especially when I hear a noise on my patio, even though I’m 99.9% sure it’s the fat black cat that likes to hang out).

But then other days, I cherish the fact that I’m independent.  So in case you’re wondering, here are some of the perks of living alone:

1. Permanent No-Pants Party.  Pants are over-rated.  When you live alone, you can walk around with no pants.  There’s no one to hide from or be judged by.  It’s just you and your thighs, hanging out.

2. The peanut butter jar is yours and only yours. 

peanutbutter

You can dip your fingers in peanut butter, eat huge bowls of ice cream, have handfuls of chocolate chips, and pretend like calories don’t matter, because if no one saw you consume it, it didn’t happen.  Ok so I’m kidding, but really you can have ridiculous eating habits and no one will judge you.  Jesse saw me devour a banana with almond butter one day and was completely horrified.  I keep it private now.  (Note: the obvious exception to this is the awesome roommate who goes to the store to get half moon cookies and coconut popswith you at midnight… looking at you Christina!)

3.  You’re the Queen of the Remote.  This is pretty much self-explanatory.  You decide what’s on TV… I’ve watched the same 2 episodes of Catfish like 5 times… When Jesse comes over and I turn it on, he comments on how we already saw that one… Oh yeah…

4.  You can fart if you want to.  Totally not lady-like, but let’s be honest, everyone farts.  It just happens.  When you live alone, you don’t have to worry about anyone else hearing you, because no one is around.  You can keep up lady-like appearances in public when you know you can let loose at home.

5.  You can hog the kitchen and bake whenever you want. 

plumalmondtart1

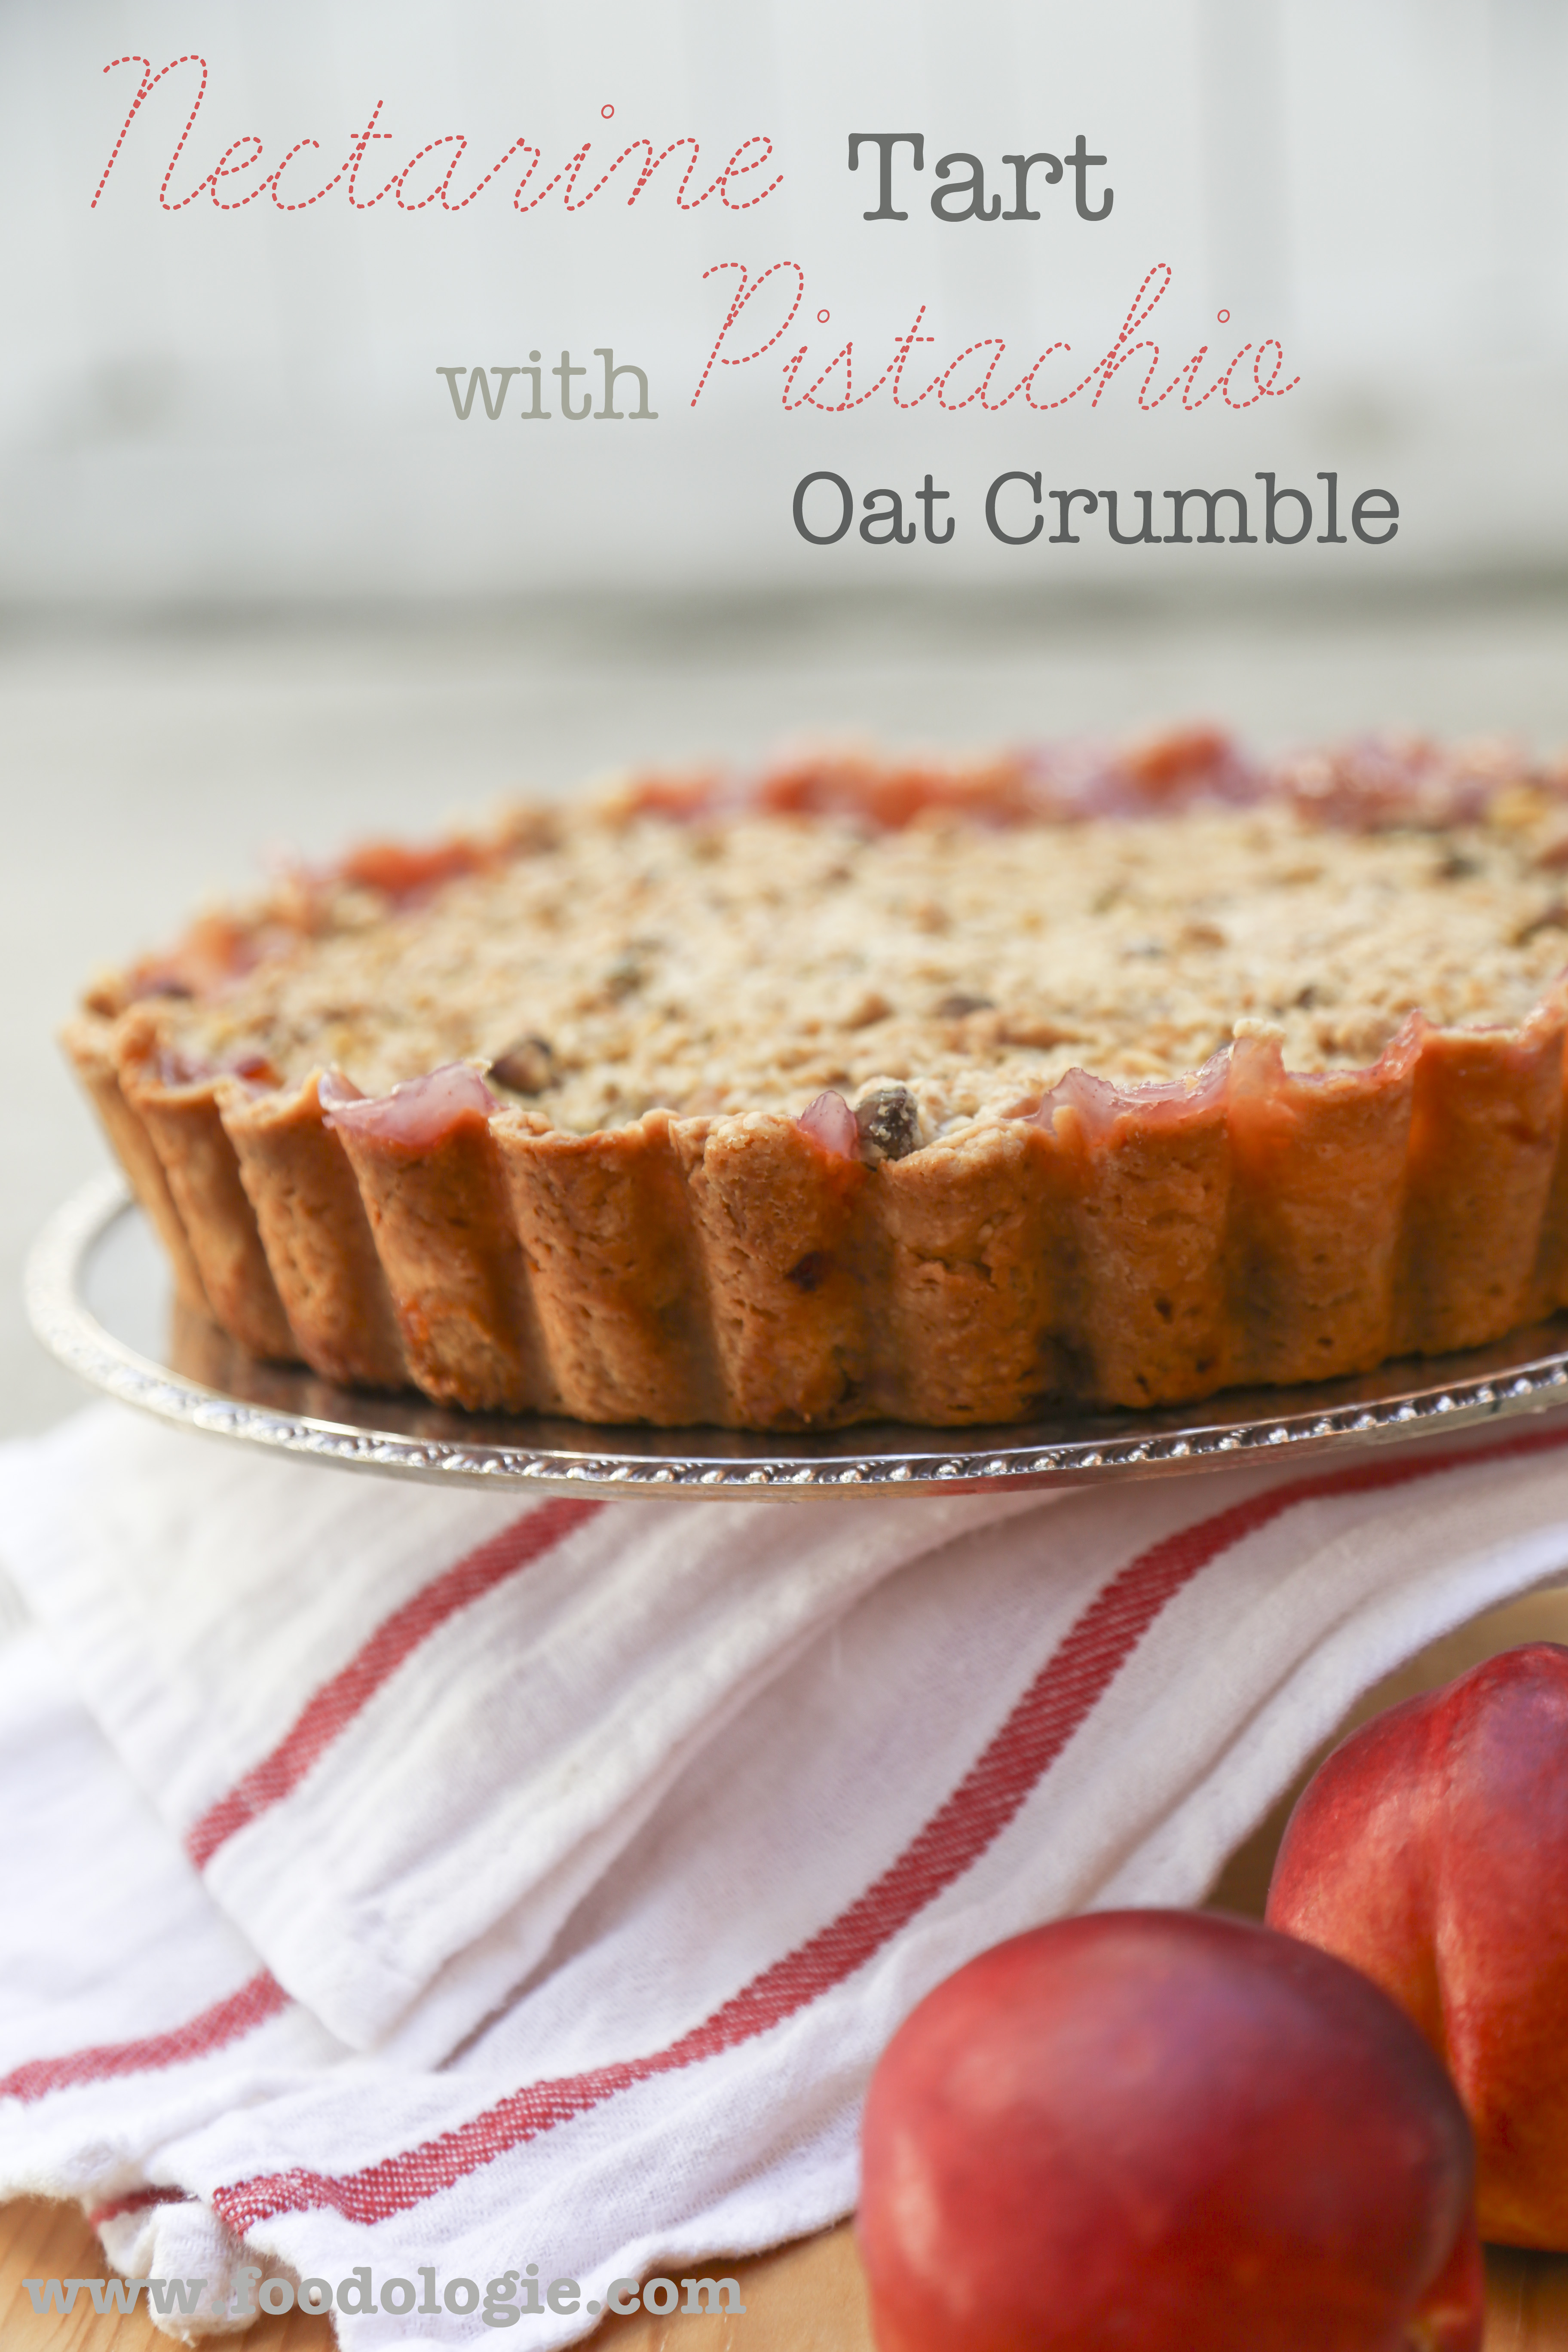
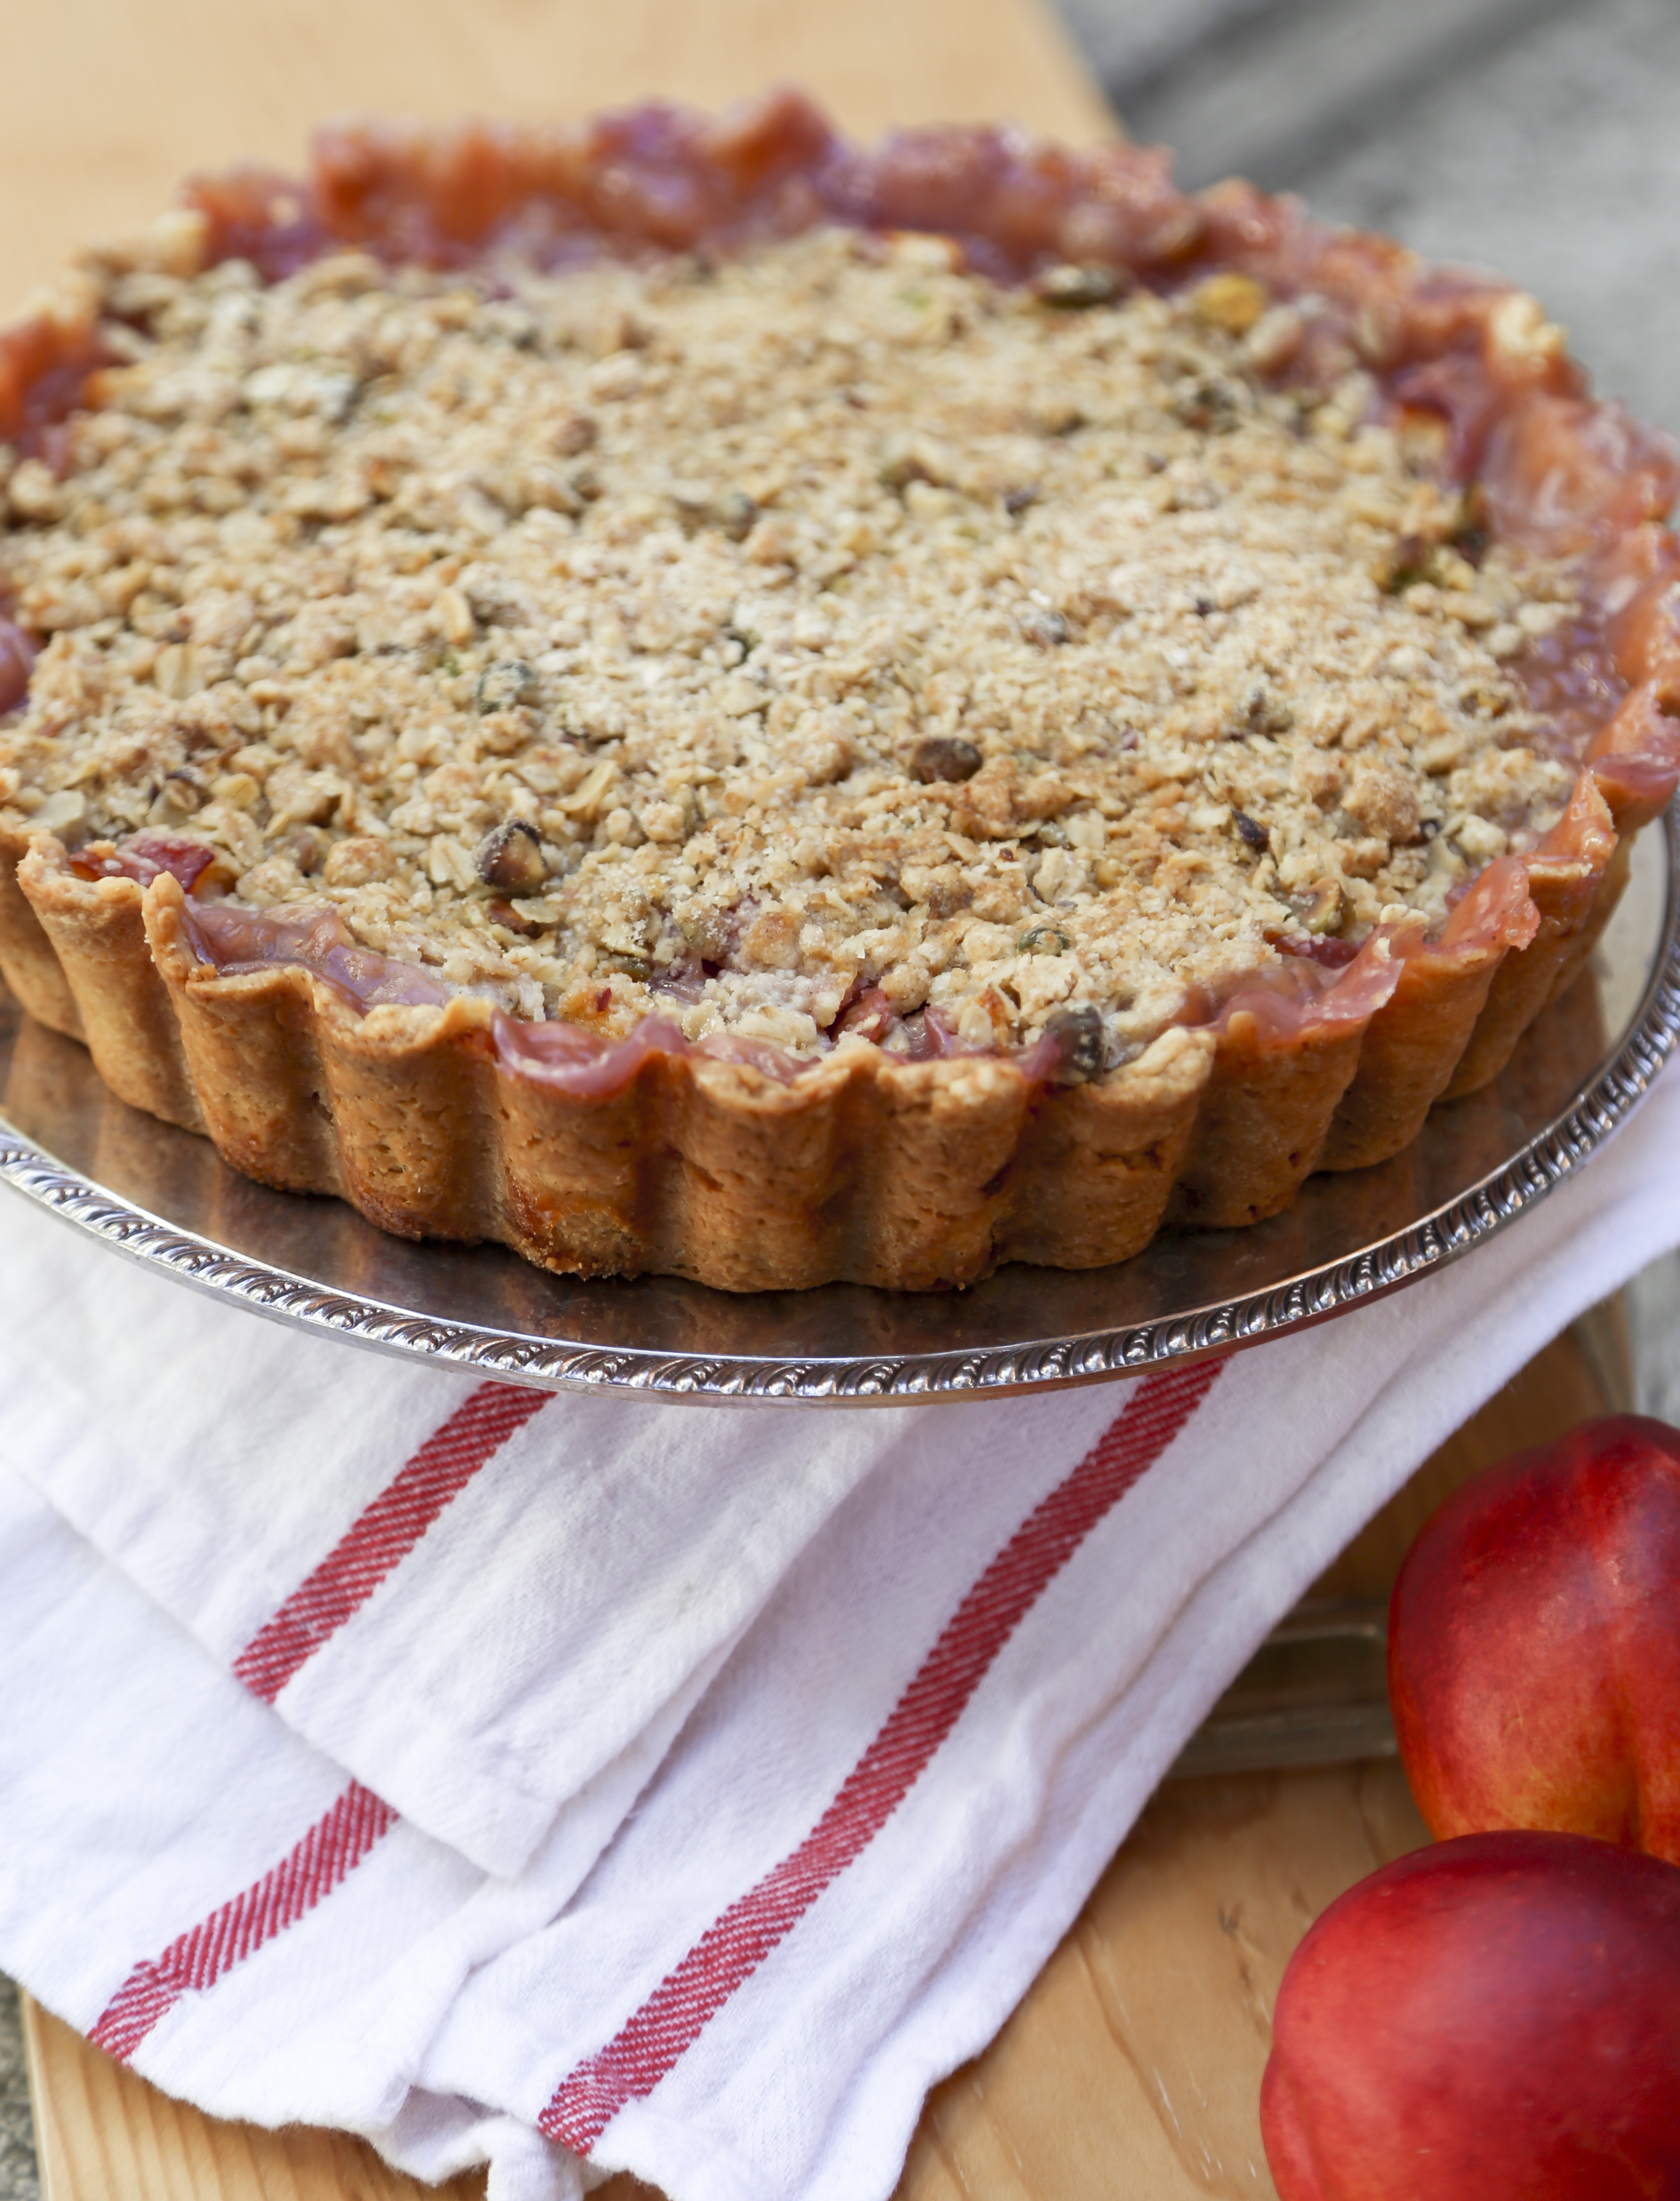
I’ve been lucky and have generally had roommates who are cool with me dominating the kitchen.  Only one roommate was not ok with it (there’s a reason I live alone now…).  But the best part of living alone, for me, is being able to spend hours with baking experiments, like this plum-almond tart.

plumalmondtart3

I’m going to be totally up front and honest with you.  I have mixed feelings with this recipe so I decided not to share my recipe.  I’m going to try again until I get it to taste awesome.   I wanted to love this tart, because it has all the makings an an awesome blog post: healthy alternatives, unique non-wheat flour, no added refined sugar (does maple syrup count? It’s still sugar).

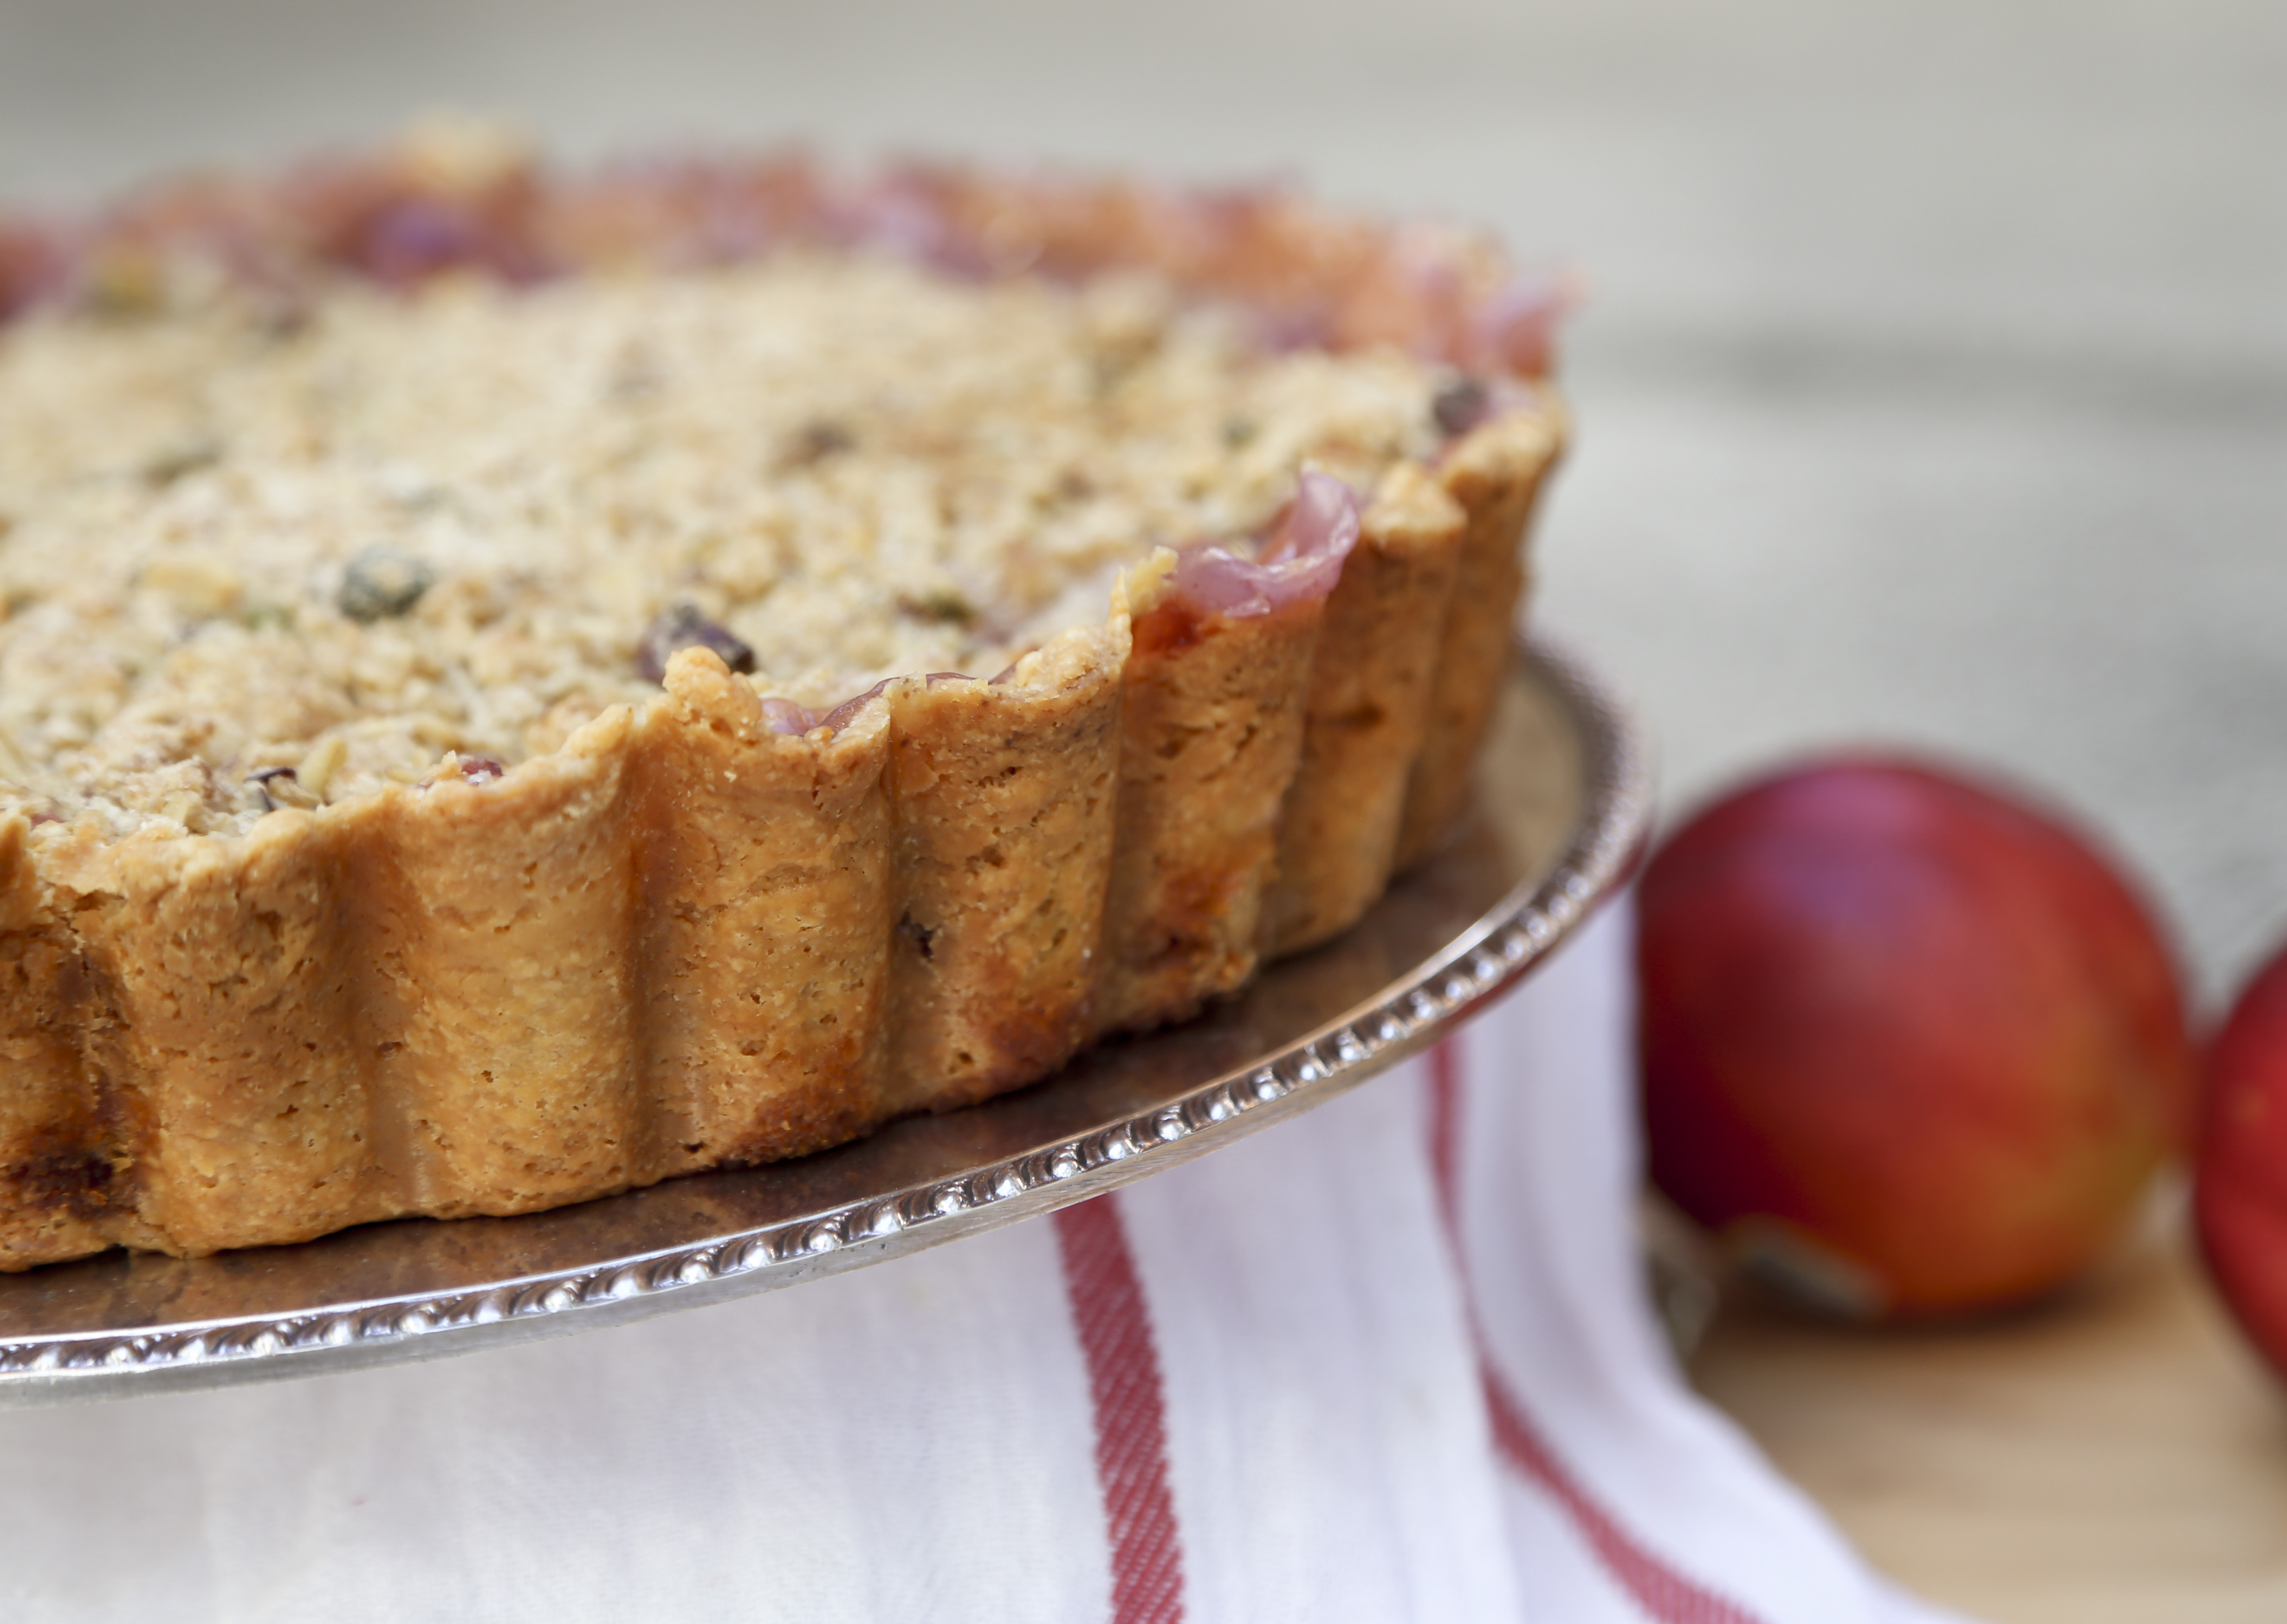
The crust is made of buckwheat and spelt flours.

buckwheatspeltcrust

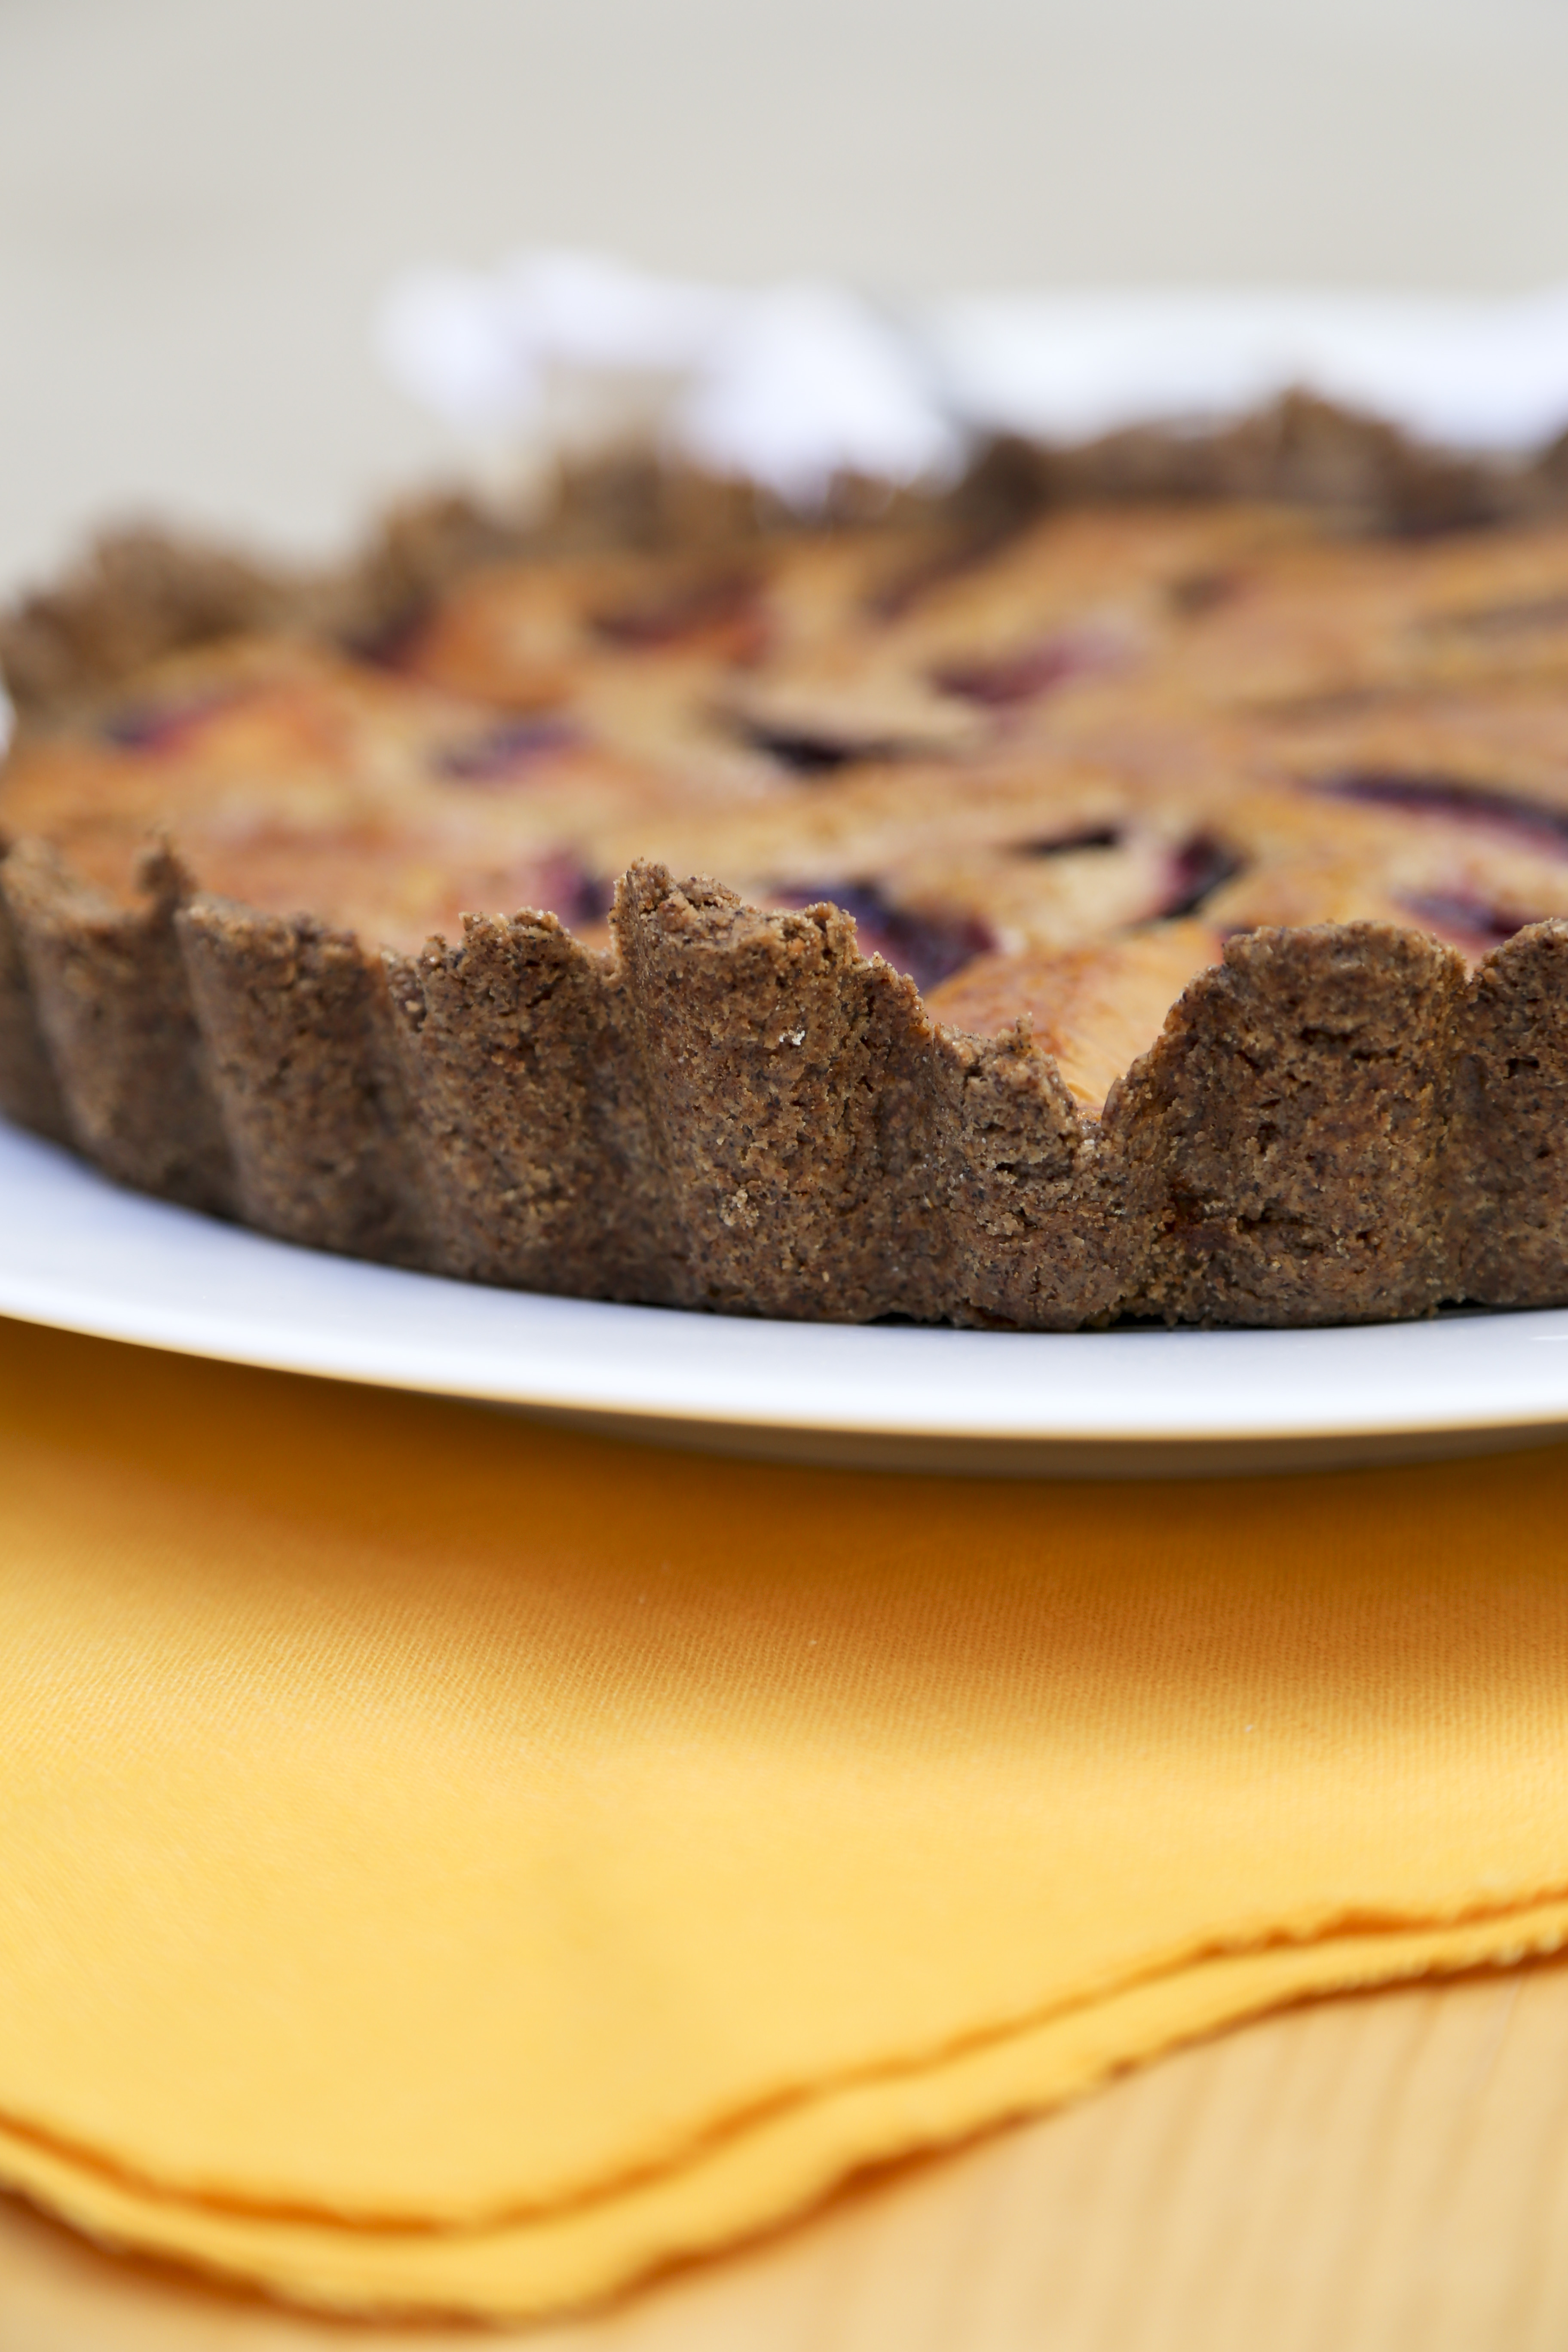
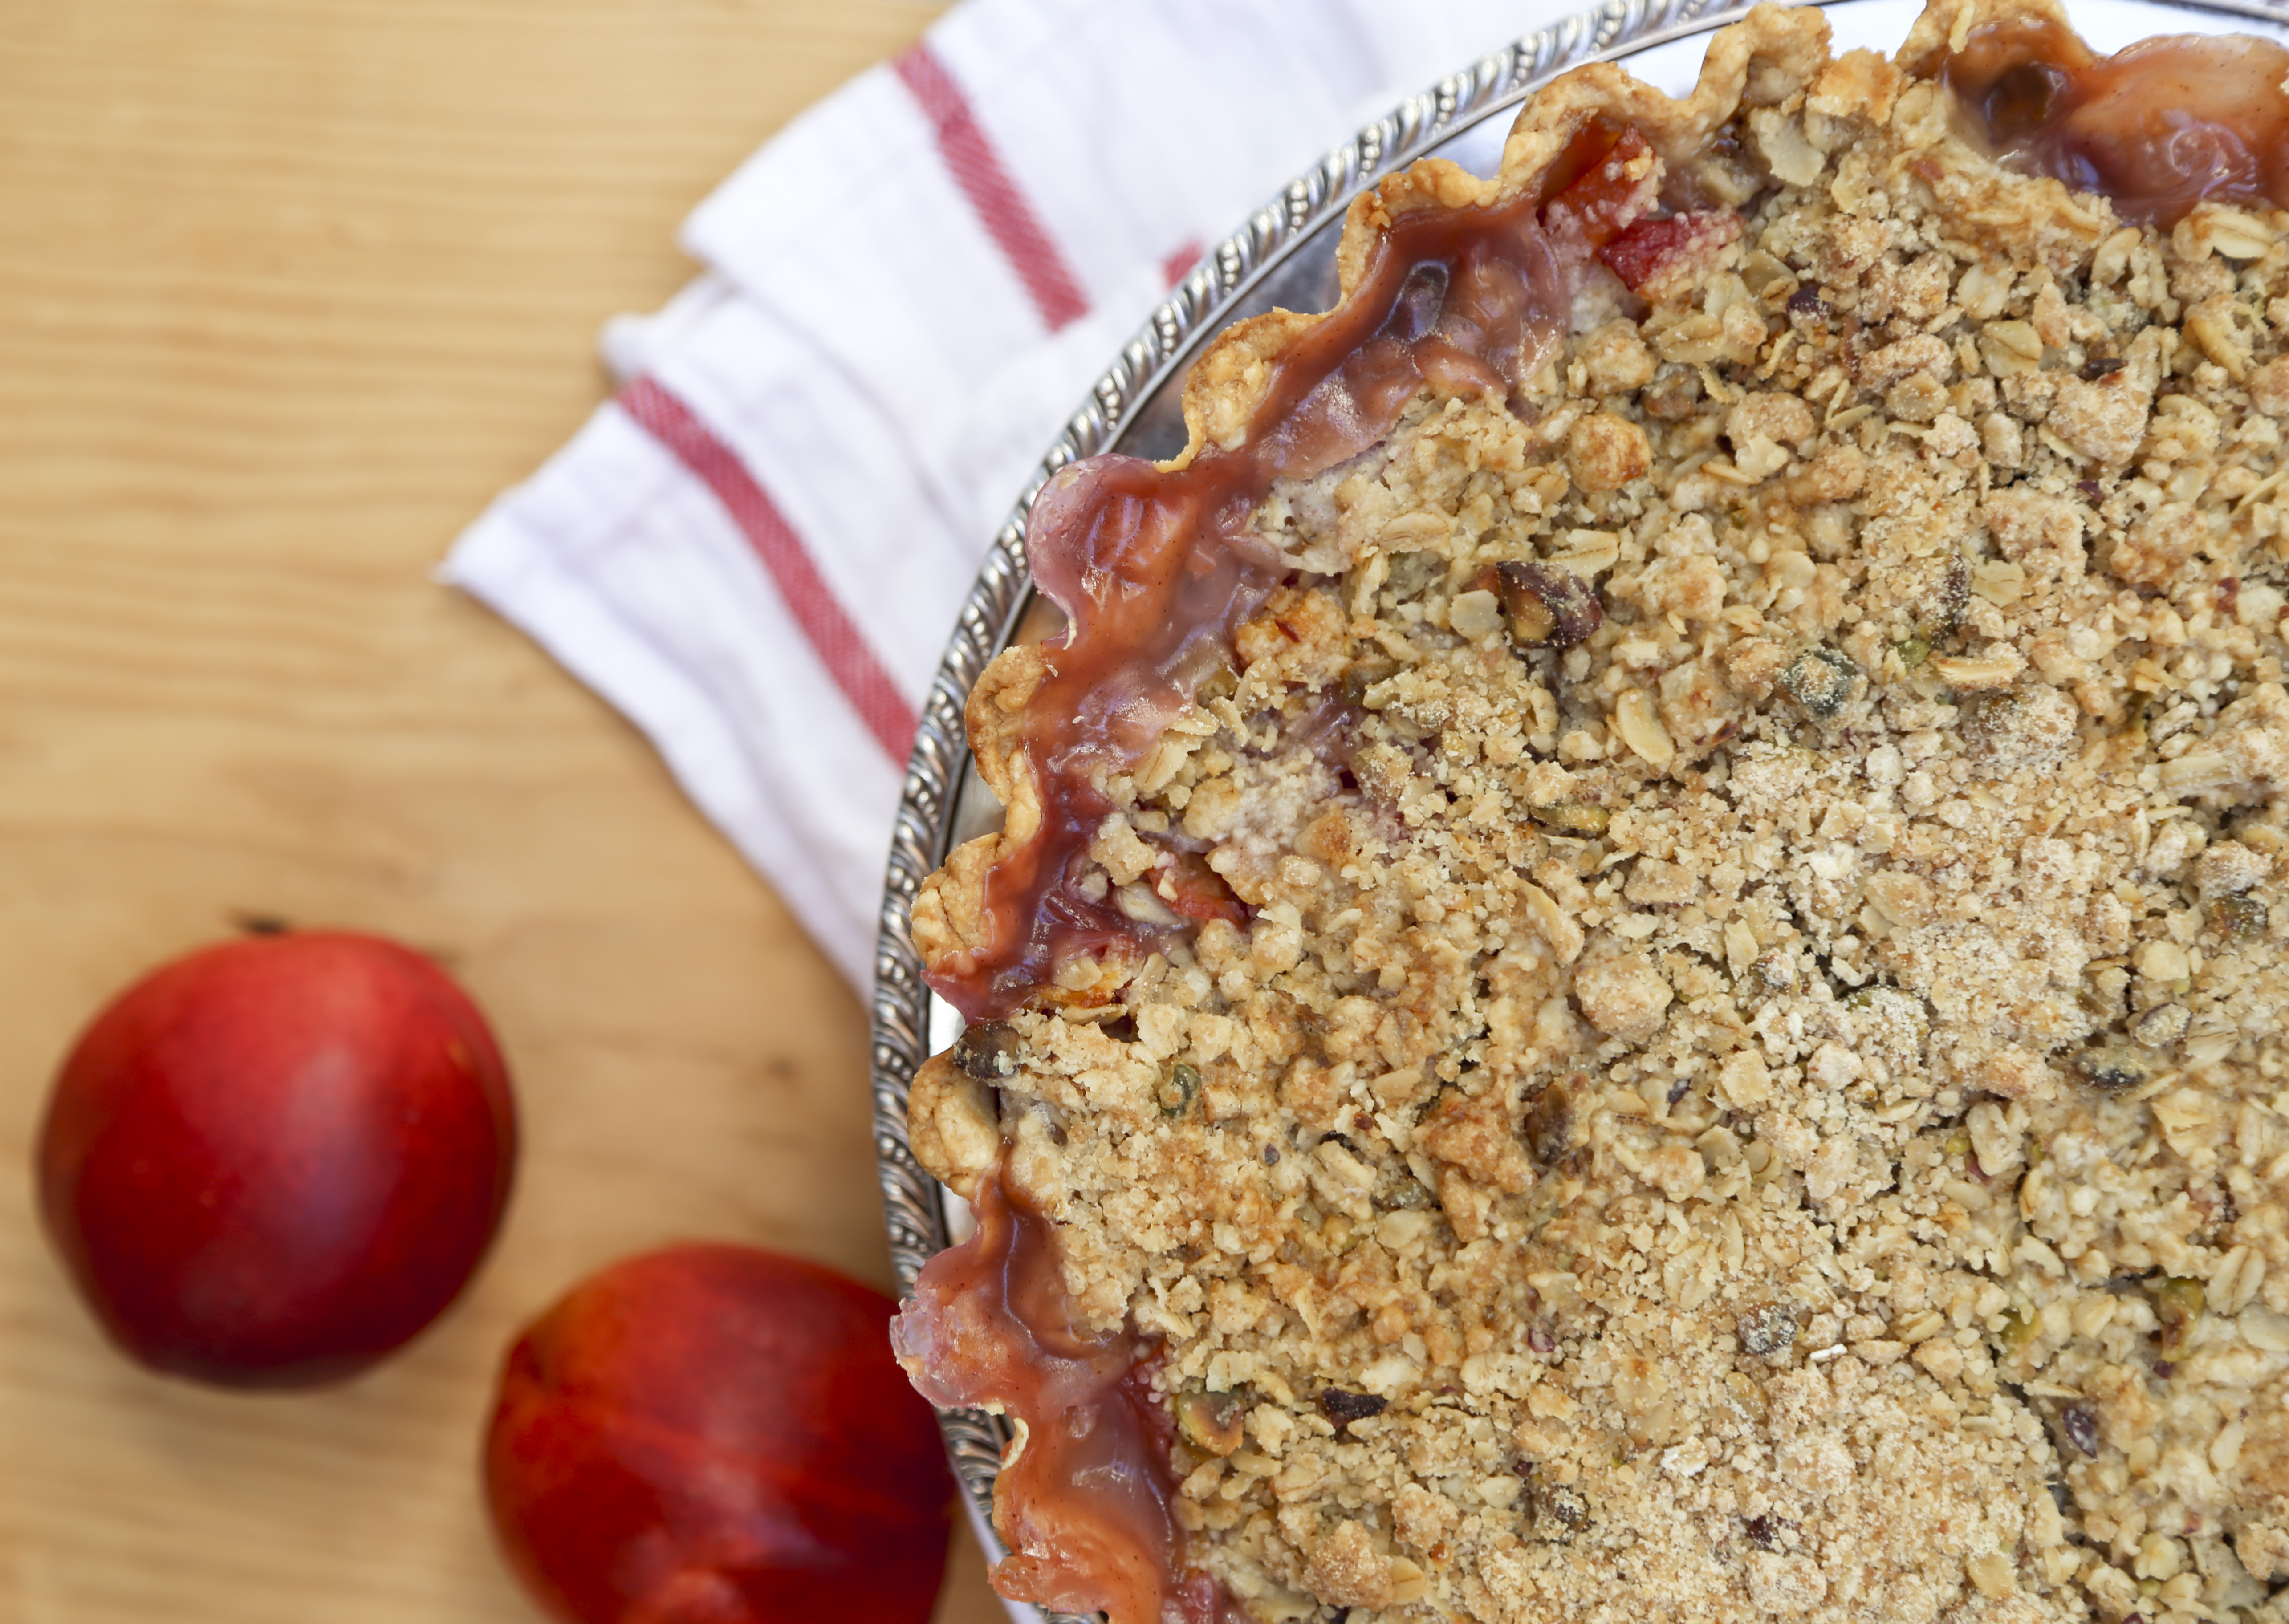
Honestly, this crust tastes a little too “healthy” for my liking, and the texture is a little too crumbly, not flakey.  The filling on the other hand, I liked.  Moist but nutty and slightly “healthy” tasting.  It involves almond meal and maple syrup.  And the plums.  Divine.

plumalmondtart2

Ok so at this point, I’ve told you why living alone is great and why it’s not so great.  I’ve also told you why this tart was awesome and also not so awesome.

Do you live alone? Do you love it? Hate it?  Do you have roommates/friends/partners you live with?  What’s best?


Advertisement

Nectarine Tart with Pistachio Oat Crumble

Pies vs Tarts?

What’s the difference?  Great question.  There’s probably an official answer but honestly to me they’re the same thing.  The only difference is the type of pan you make it in.  But honestly, you can make any tart recipe into a pie and any pie recipe in to a tart.  So whether you want to call this a pie or a tart, I’m ok with either.

I took this to a potluck and I think I called it a pie.  But now that I think about it, I made it in a tart pan so it should be called a tart.  A tart sounds fancy, doesn’t it?

nectarine tart1

Pie sounds homey.  Tart sounds regal.  I’m ok with fancy business, but let’s be honest, I’m not a fan of expensive.  My tart pan was $2.50 at the Good Will.  I wanted to keep this dessert low budget too.  I went to the store and looked for the cheapest fruit available.  That’s my strategy because generally the cheapest fruit is in season.

Nectarines were $0.50/lb.  So awesome.  It took about $1.50 worth of fruit to make this tart.   Beautiful and frugal.  I’m into it.

nectarine tart3

Nectarine Tart with Pistachio Oat Crumble

For Crust:

175g All Purpose Flour (about 1 1/4 cup)
1 tbsp Sugar
pinch of Salt
1 stick of Butter, cold
2 tbsp (maybe more) Ice Water

For Filling:

8 Nectarines, diced
1 1/4 cup Sugar
1/4 cup + 2 tbsp Flour
1/2 tsp Cinnamon (optional)
2 tbsp Rum (Optional)

For Topping:

1/2 cup Flour
1/3 cup Oats
1/4 cup Brown Sugar
2 tbsp White Sugar
1/4 Pistachios, chopped
pinch of Salt
4 tbsp Butter (plus extra for placing on top)
1 tbsp Rum (optional)

Prepare pie crust by combing flour, sugar and salt.  Using your fingers, break the butter into the flour mixture until it resembles very coarse crumbs (even pea sized is fine).  Add ice water and bring it all together into a ball using your hands.  Wrap in plastic wrap and refrigerate a few hours.  You can make this up to two days in advance (or much longer and freeze it).

Once the dough has rested enough (a few hours or days), roll out and place into a 9 inch fluted tart pan (this will also work in a pie dish).  Place in freezer while you make the filling and topping.

nectarine tart4

Pre-heat oven to 350F.

Dice nectarines (leave the skin on) and combine with sugar, flour, cinnamon and rum.  Set aside and make the topping.  In a bowl, combine ingredients for filling.  Using your fingers, work ingredients together (feel free to add more pistachios if you’d like) until the texture of coarse crumbs.

Now assemble tart.  Place nectarine filling into prepared tart pan.  Top with crumble topping.  Lay a few thin pats of butter over the top.  Bake for about an hour and a half, or until filling is bubbling and top is golden.

Allow to cool completely.  Serve and enjoy!

nectarine tart2

This was a big hit.  I was a fan.  I loved the crumble topping with pistachios in it, and let’s be honest… nectarines > peaches, but we never see nectarines in a pie/tart.  I’m not sure why, but I’m glad I changed that.  Also, everyone should leave the skin on the fruit.  Just saying…

For some reason I’m thinking plum pie needs to happen sometime soon, because I never see plums in a pie.

What’s your favorite fruit pie?  If you have an awesome recipe, share it in the comments!

Pear/Apple Almond Tart

We all have tried and true recipes.  You know, the things that you make over and over again.  You know how to do it well.

…If it ain’t broke, don’t fit it.

I know I certainly do.  Sometimes you need something you know is going to taste good.

Here are some of my tried and trues.  I’ve made each of these a handful of times, and each time they turn out well.

Peach Pie

Spicy Chocolate Cupcakes/Cake

Protein Pancakes/Waffles

Lentil Chili over Sun-dried Tomato Cornmeal Waffles

Sometimes when I make the same recipe, but change them slightly.

Take this Pear Almond Galette

I’ve made a few times, but this time…

I changed a few things:

1. I made a large Apple Almond Tart.


2. I made mini Pear Almond Tarts.

The basic differences are shape and fruit.  The taste is pretty much the same, though.  Let’s be honest though, sometimes we all need a “fancy dessert” in our arsenal.  This is mine.

Apple Almond Tart

For Crust:

350g all purpose flour
2 sticks of butter, cold and cubed
2 tbsp sugar
1 tsp salt
1/4 cup very cold water (or vodka, yep, you read correctly)

For Apple Almond Filling:
2-3 apples, peeled, carefully cored and thinly sliced (you can also use pears or peaches or pretty much any fruit)
1/2 cup sugar
6 tbsp butter, softened
2 egg
1 tsp almond extract
2 tbsp flour
1 cup almond meal (ground almonds)

Prepare the dough a day or two in advance.  Measure out flour, sugar and salt.  Combine in a large bowl.  Drop butter cubes in the flour mixture.  Using your hands break up the butter and work it into the flour until you get it to be the size of small peas.  Pour in the water, using your hand, work the dough together to form a ball.  You might need to add more water (rarely if you measured the flour correctly), but only the tiniest bit.  Wrap in plastic wrap and refrigerate.  This will help keep your crust from shrinking.

The next day, or when you’re ready to make the tart, remove the dough from the fridge.  Roll out between two pieces of parchment paper.  Not too thin.  Place in the tart pan, press into the sides and trim the edges (patch up any areas that are too thin or stretched, this will help avoid strinkage).  Poke with a fork and stick in the freezer while you make your filling.  You can do the same with mini tart pans.  This is enough dough and filling for about 8 mini tarts.

Pre-heat the oven to 375.  Using a hand mixer, beat together the sugar and butter until smooth.  Add the eggs (one at a time) and almond extract.  Beat until well combined.  Add all purpose and almond meal, beat until combined.

Pour the mixture into the tart pan, fan the thinly sliced apples on the surface and press them down lightly.  Sprinkle with extra sugar if you’d like.  Bake for about an hour and 20 mins for a large tart or until the top is golden brown all around, including the center, or about 45 mins for the mini tarts.  Check periodically as every oven is different.

Allow to cool, then sprinkle with powdered sugar.  Serve and enjoy the almond-y goodness.

Go ahead make changes, choose different fruits, but in the end, this is a tried and true.

You’re bound to like it.  If not, at least it looks fancy.  Maybe you’ll add it to your list of go-to recipes as well.


Lemon Curd Obsession

The word curd is not cute.  But it’s 50% of my obsession: lemon curd.  No one’s perfect.  When you really love something, you over look some of its flaws.  I’ll overlook the word “curd,” because I simply adore lemon curd.

If I wasn’t conscious about my health, I would probably eat a bowl of it for breakfast, then have it again as a light afternoon snack.

A few weeks ago, I used it to make Lemon-Blueberry Tartlets.  I’m sorry to report I was holding out on you.  I also used it to make lemon bluberry cupcakes filled with lemon curd and topped with lemon whipped cream.

I know, it’s all sorts of amazing.

Lemon Curd

3 eggs
3/4 cup sugar
1/3 cup lemon juice (about the juice of 2 lemons)
4 tbsp butter, softened
zest of 2 lemons

Place a glass bowl over a pot of boiling water (make sure the water isn’t touching the bottom of the bowl).  In the bowl, combine the eggs, sugar, and lemon juice.  Stir over the double boiler until thick.  This will take about 10 minutes.  Carefully remove from heat and stir in the butter and lemon zest.  Set aside and allow to cool completely.  Once it has cooled, you can store it in the fridge for a few days, but chances are it won’t last that long.

You can put it in cupcakes by scooping out some of the cupcake then filling it with lemon curd.

Spread it on pound cake.  Fill sandwich cookies with it.  Place a dollop on a scone.  Use it as tart filling.

Eat it by the spoonful.  That’s more my style.

Either way, it’s the perfect tart, sweet treat.  If that’s not cute, I don’t know what is.

Lemon Blueberry Tartlets

There are 8lbs of blueberries in the fridge.  No, I’m not kidding, nor am I exaggerating.

I love blueberries, and usually I am of the firm belief that they are so delicious that they should be eaten fresh on their own.  But I’m the only person in my household who eats blueberries and as much as I like them.  I don’t think I can eat 8lbs before they spoil.

So be prepared for some blueberry-related recipes.

This first one though should really be categorized as a lemon recipe.

If you don’t love lemon flavored desserts, we can’t be friends.

Okay, not really, I still love you.  But this recipe is so intensely lemony that it takes a true lemon fanatic (aka my sister and me) to truly appreciate its majestic qualities.

Truth be told.  It’s pretty easy.  All you do is make some lemon curd, put it in a graham cracker crust and top it with fresh blueberries.  Don’t let the simple preparation fool you.  This thing is intense, amazing and perfect for summer.

Lemon Blueberry Tartlets

1 package graham crackers
6 tbsp melted butter
3 eggs
3/4 cup sugar
1/3 cup lemon juice (about the juice of 2 lemons)
4 tbsp butter, softened
zest of 2 lemons
1-2 cups blueberries

Make your crust:

Crush the graham crackers, pour melted butter over graham cracker crumbs.  Toss to combine and press into one large tart pan or about 5 mini tartlet pans.  Refrigerate.

Make Lemon Filling:

Place a stainless steel or glass bowl over a pot of boiling water.  In the bowl, combine the eggs, sugar, and lemon juice.  Stir over the double boiler until thick.  This will take about 10 minutes.  Carefully remove from heat and stir in the butter and lemon zest.  Set aside and allow to cool completely.  You can make this a day or two in advance and just keep it refrigerated.

Assemble Tartlets:

Spoon lemon filling into prepared graham cracker crusts.  Arrange blueberries over the filling.  Sprinkle with a little powdered sugar to make it look extra special.

Serve immediately or refrigerate.  Makes 5 mini tartlets or 1 large tart.

If you love lemon and blueberries as much as I do, I can almost guarantee the end result will look like this:

Lastly, do you have any blueberry recipes or ideas to recommend?

Coconut Cream Pie but Better

I’m not completely sure what the difference is between a pie and a tart, other than the shape of the pan.  For all intents and purposes, what follows is a pie disguised as a tart.

Thus, it is a much fancier (almost French seeming, hey, it’s Bastille Day!) version of coconut cream pie.

Okay, let’s be honest.  I’ve never eaten coconut cream pie.  I don’t think I’ve ever even seen one in person.  That was until I made my version of what I think coconut cream pie should be like.

I have no idea if this is what coconut cream pie should taste like, but here’s my creation.  Karla’s new and improved version with rich chocolate whipped cream for topping.

I’m going to go ahead and call it a winner.

Coconut Cream Pie with Chocolate Whipped Cream

1 package of graham crackers
6 tbsp butter
3 cup finely shredded coconut
1 1/2 cup milk
1 (14oz) can sweetened condensed milk
4 egg yolks
1 tsp vanilla
pinch of salt
1/4 cup corn starch
1 1/2 cup heavy cream
1/4 + 2 tbsp cup powdered sugar
3 tbsp cocoa powder

For the crust:

Crush graham crackers and combine with 1 cup of coconut.  Melt butter and pour over graham cracker mixture, toss to combine.  Press into a pie or tart pan.  Refrigerate.

For Custard Filling:

In a saucepan, combine the milk, sweetened condensed milk, egg yolks, vanilla and salt.  Heat, stirring constantly, until nearly boiling.  Take some of the warm milk mixture and combine in a small bowl with the corn starch, stir until smooth.  Pour in the corn starch mixture and the 2 cups of coconut.  Continue to stir until thick (not too thick though!).  Put in a bowl, cover with plastic wrap.  Lay the plastic wrap directly on the custard.  Refrigerate until completely cooled, like so:

Once your custard is cool, fill the tart crust with the creamy filling.

Then make your whipped topping.

For the topping, sift together the powdered sugar and cocoa powder.  Using a mixer start to whip cream, gradually add in cocoa powder and sugar.  Whip until the cream holds firm peaks.

Lay it on there, or nicely use a piping bag.

Either way, it doesn’t really matter.  Even the worst spreading will be covered up with some divine toasted coconut.  Lay your coconut on a baking sheet or on a piece of foil and stick it in the oven or toaster oven for a few minutes.  Turn it every so often and watch out because it can easily burn.  Allow the toasted coconut to completely cool and sprinkle as much or as little as you’d like onto your beautiful tart!

Serve, enjoy and feel fancy while you eat it.