Nowadays, other people’s birthdays are far more exciting than my own. Does that happen to you too? I think that’s what happens when you pass the age of 21.
I love other people’s birthdays, because I love getting other people gifts and I love making them birthday cakes. Ok really, that last reason is the most important one.
Yesterday was Jesse’s birthday. In the past I’ve written an embarrassing post in his honor, but this year I’ll mostly spare him. I made him an epic cheesecake, because while I love layer cakes, I know he’s a fan of cheesecake.

On someone’s birthday, you should probably make what they like, not what you like. Remember, it’s the time to be giving.
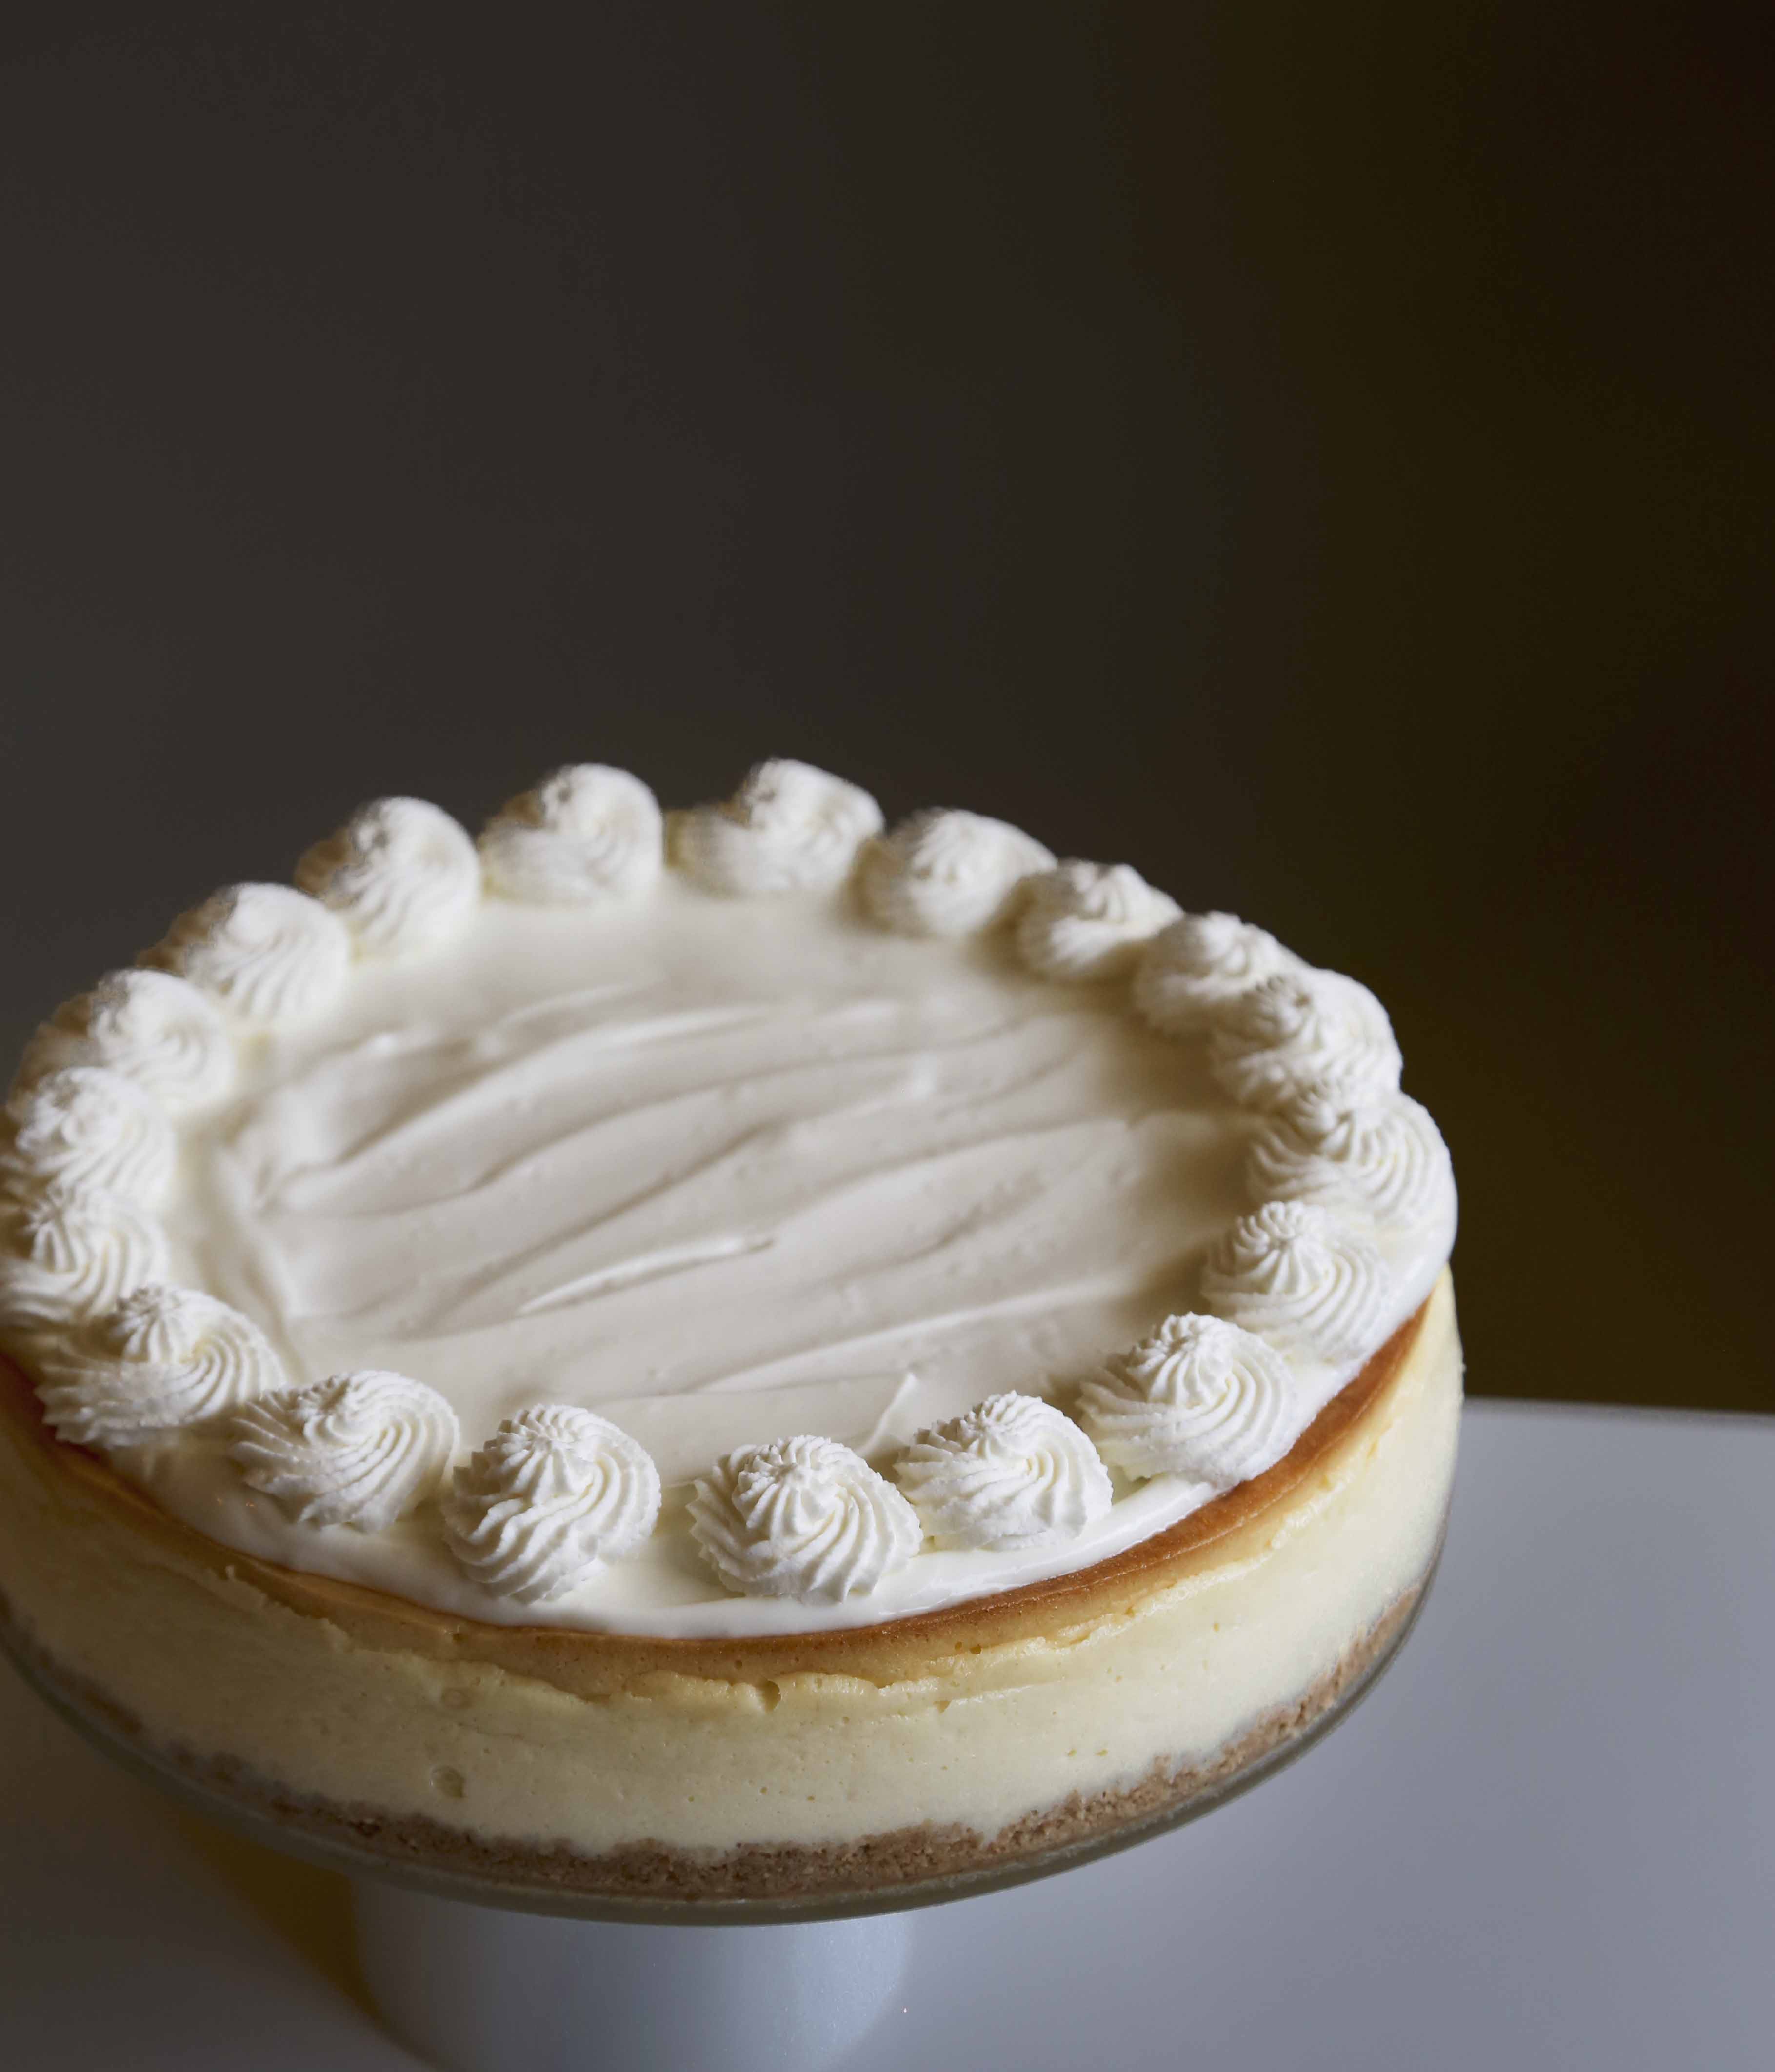

Cheesecake with Strawberry Balsamic Sauce
cake adapted from All Recipes (strawberry sauce my own)
9 graham crackers, crushed
1/4 cup butter, melted
4 (8oz) packages of cream cheese, room temperature
1 1/2 cup sugar
3/4 cup milk
4 eggs
1 cup sour cream
1 tbsp vanilla extract
1/4 cup flour
For Topping:
1 cup sour cream
1/4 cup powdered sugar
1 tsp vanilla extract
1/2 cup whipped cream (sweetened with a few tbsp sugar), optional
For Sauce:
1lb fresh strawberries
1/2-3/4 cup sugar
3 tbsp balsamic vinegar
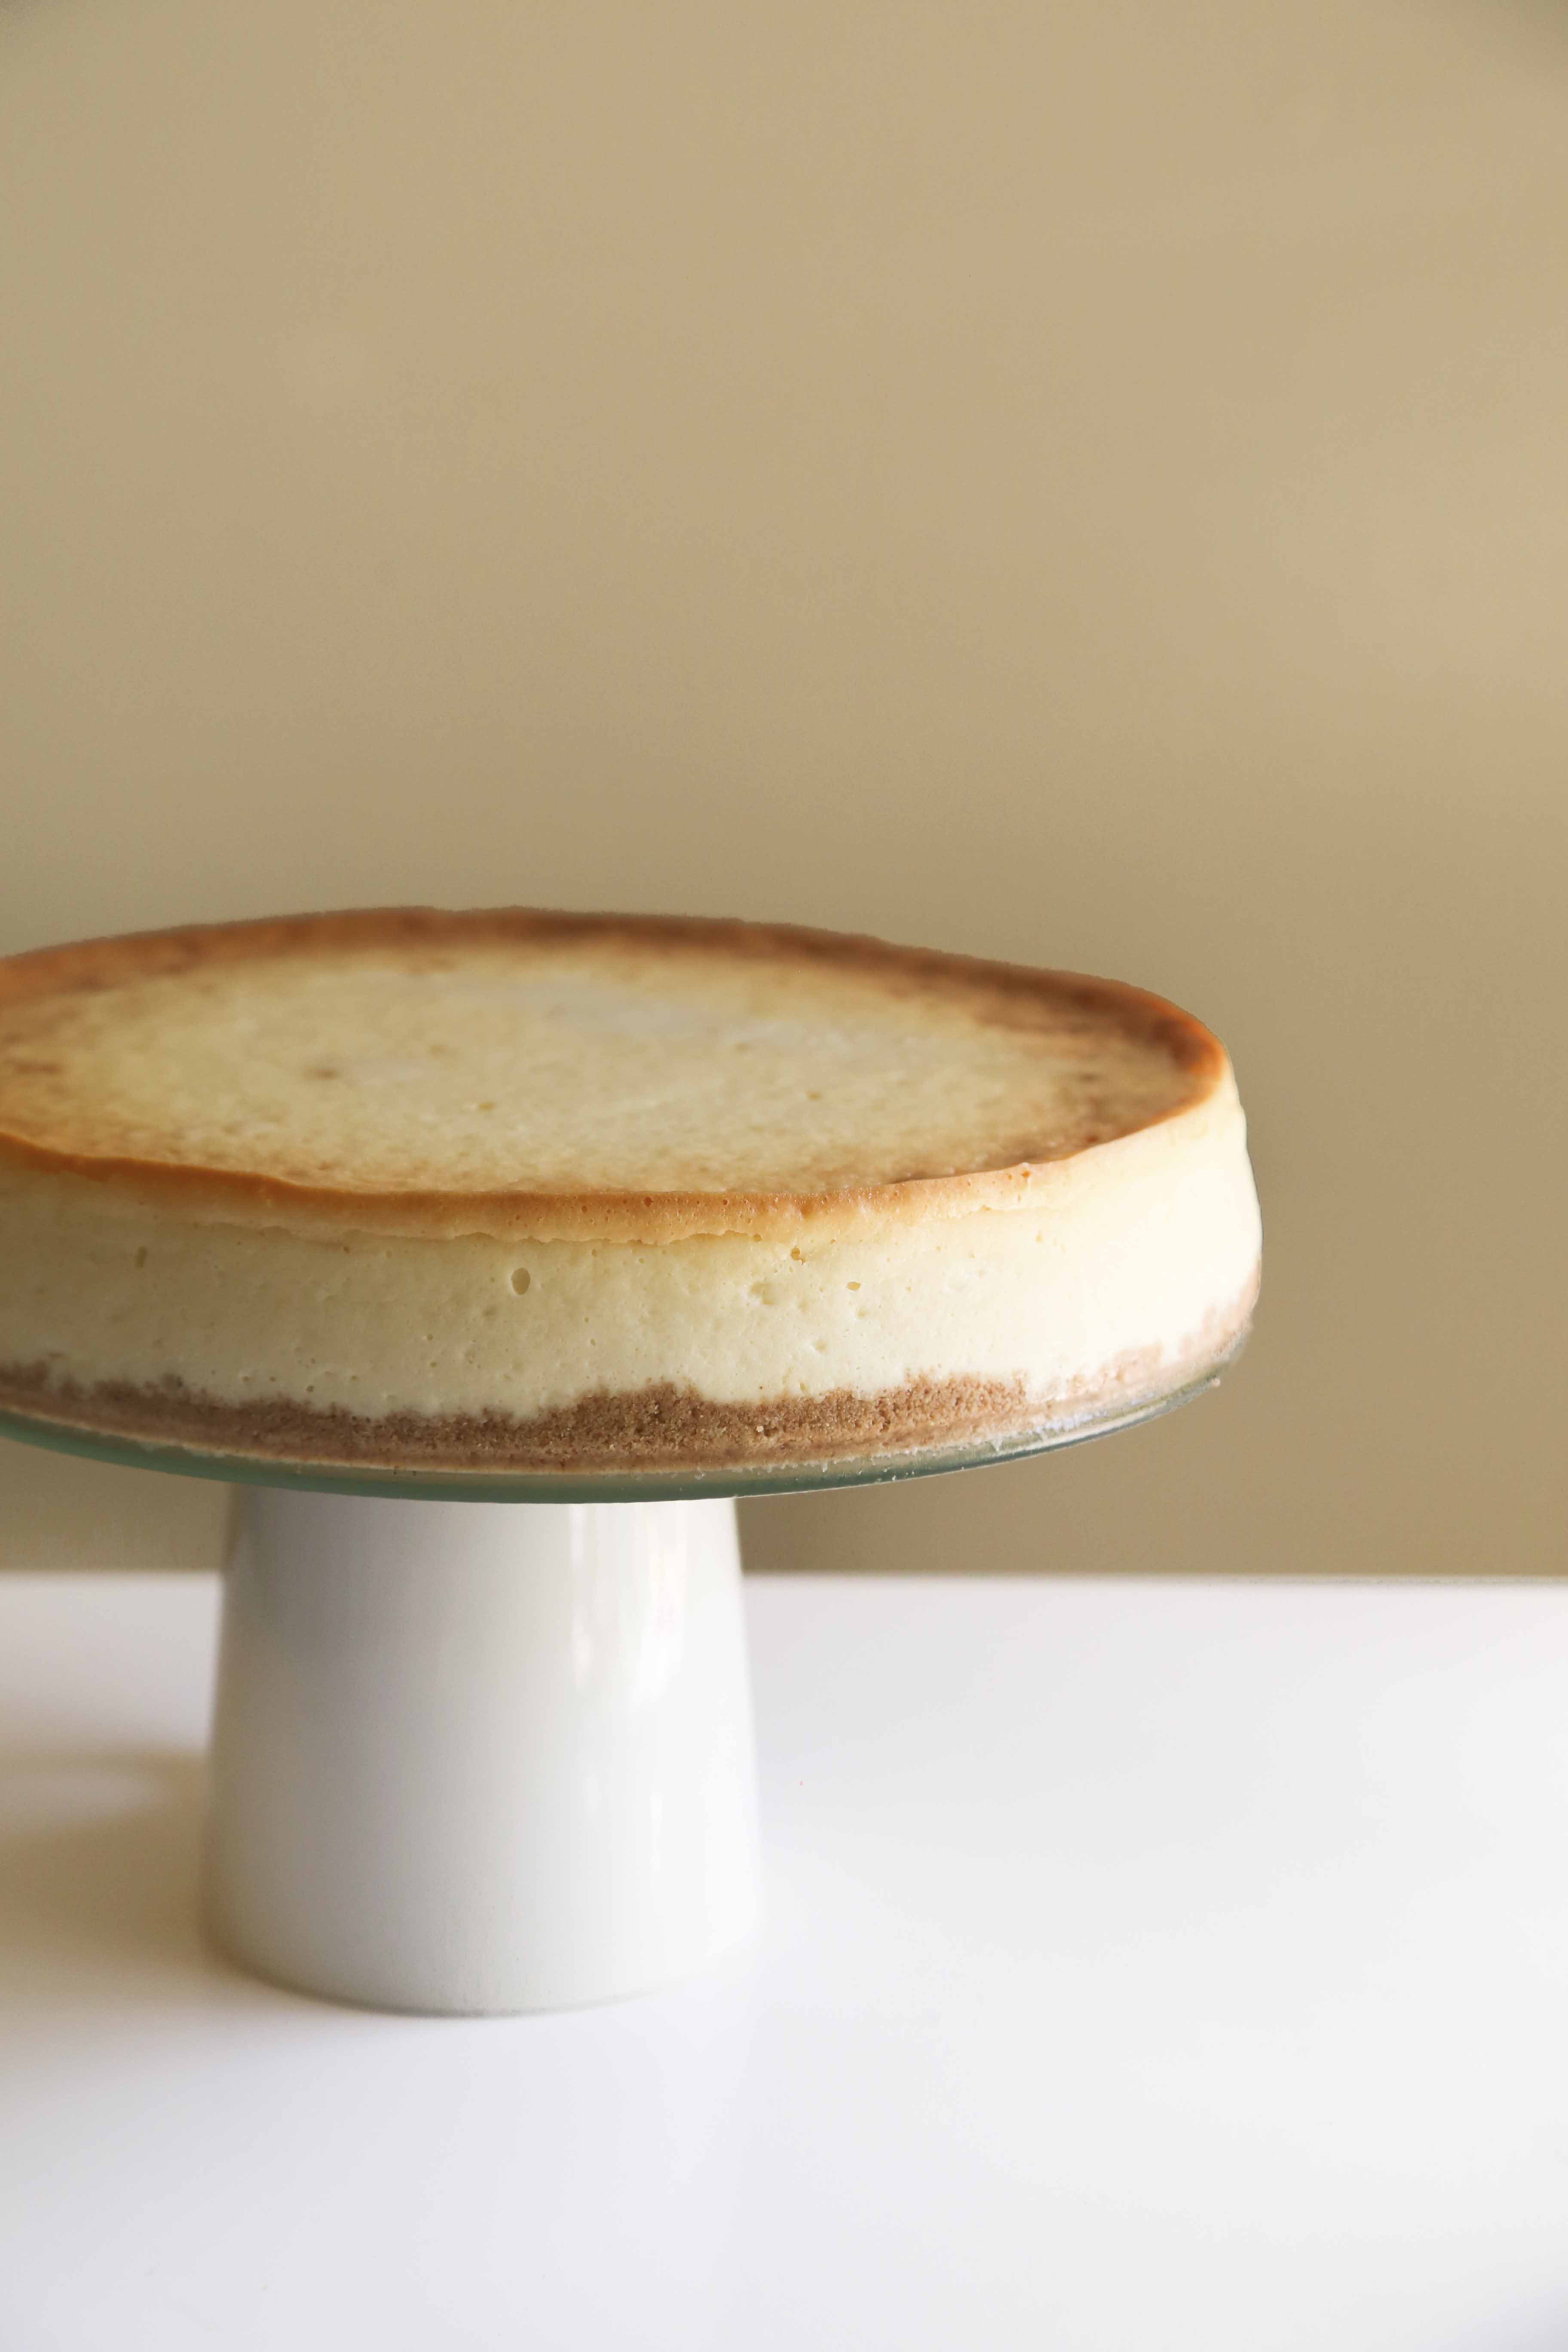
Preheat oven to 325F. Grease 9inch springform pan and wrap in aluminum foil (this is to keep water from getting in when you bake in a water bath). In a bowl, mix together graham cracker crumbs and melted butter. Press into bottom of springform pan. Refrigerate until ready to use.
Using a mixer, beat together cream cheese and sugar until smooth. Beat in milk and eggs, one at a time until just combined. Add in sour cream, vanilla and flour and beat until just combined. Pour batter into prepared pan.
Place pan in a larger baking dish, a roasting pan if you have one (I used a jelly roll pan because that’s all I had), and fill baking dish with hot water. Bake for 1 hour and 15 minutes. After that time, turn the oven off and leave the cheesecake in the oven for another hour, then crack the oven door and let it sit for another hour or two. The goal is to make sure the temperature doesn’t drop too quickly. That way you’ll get a smooth cheesecake with no cracks.
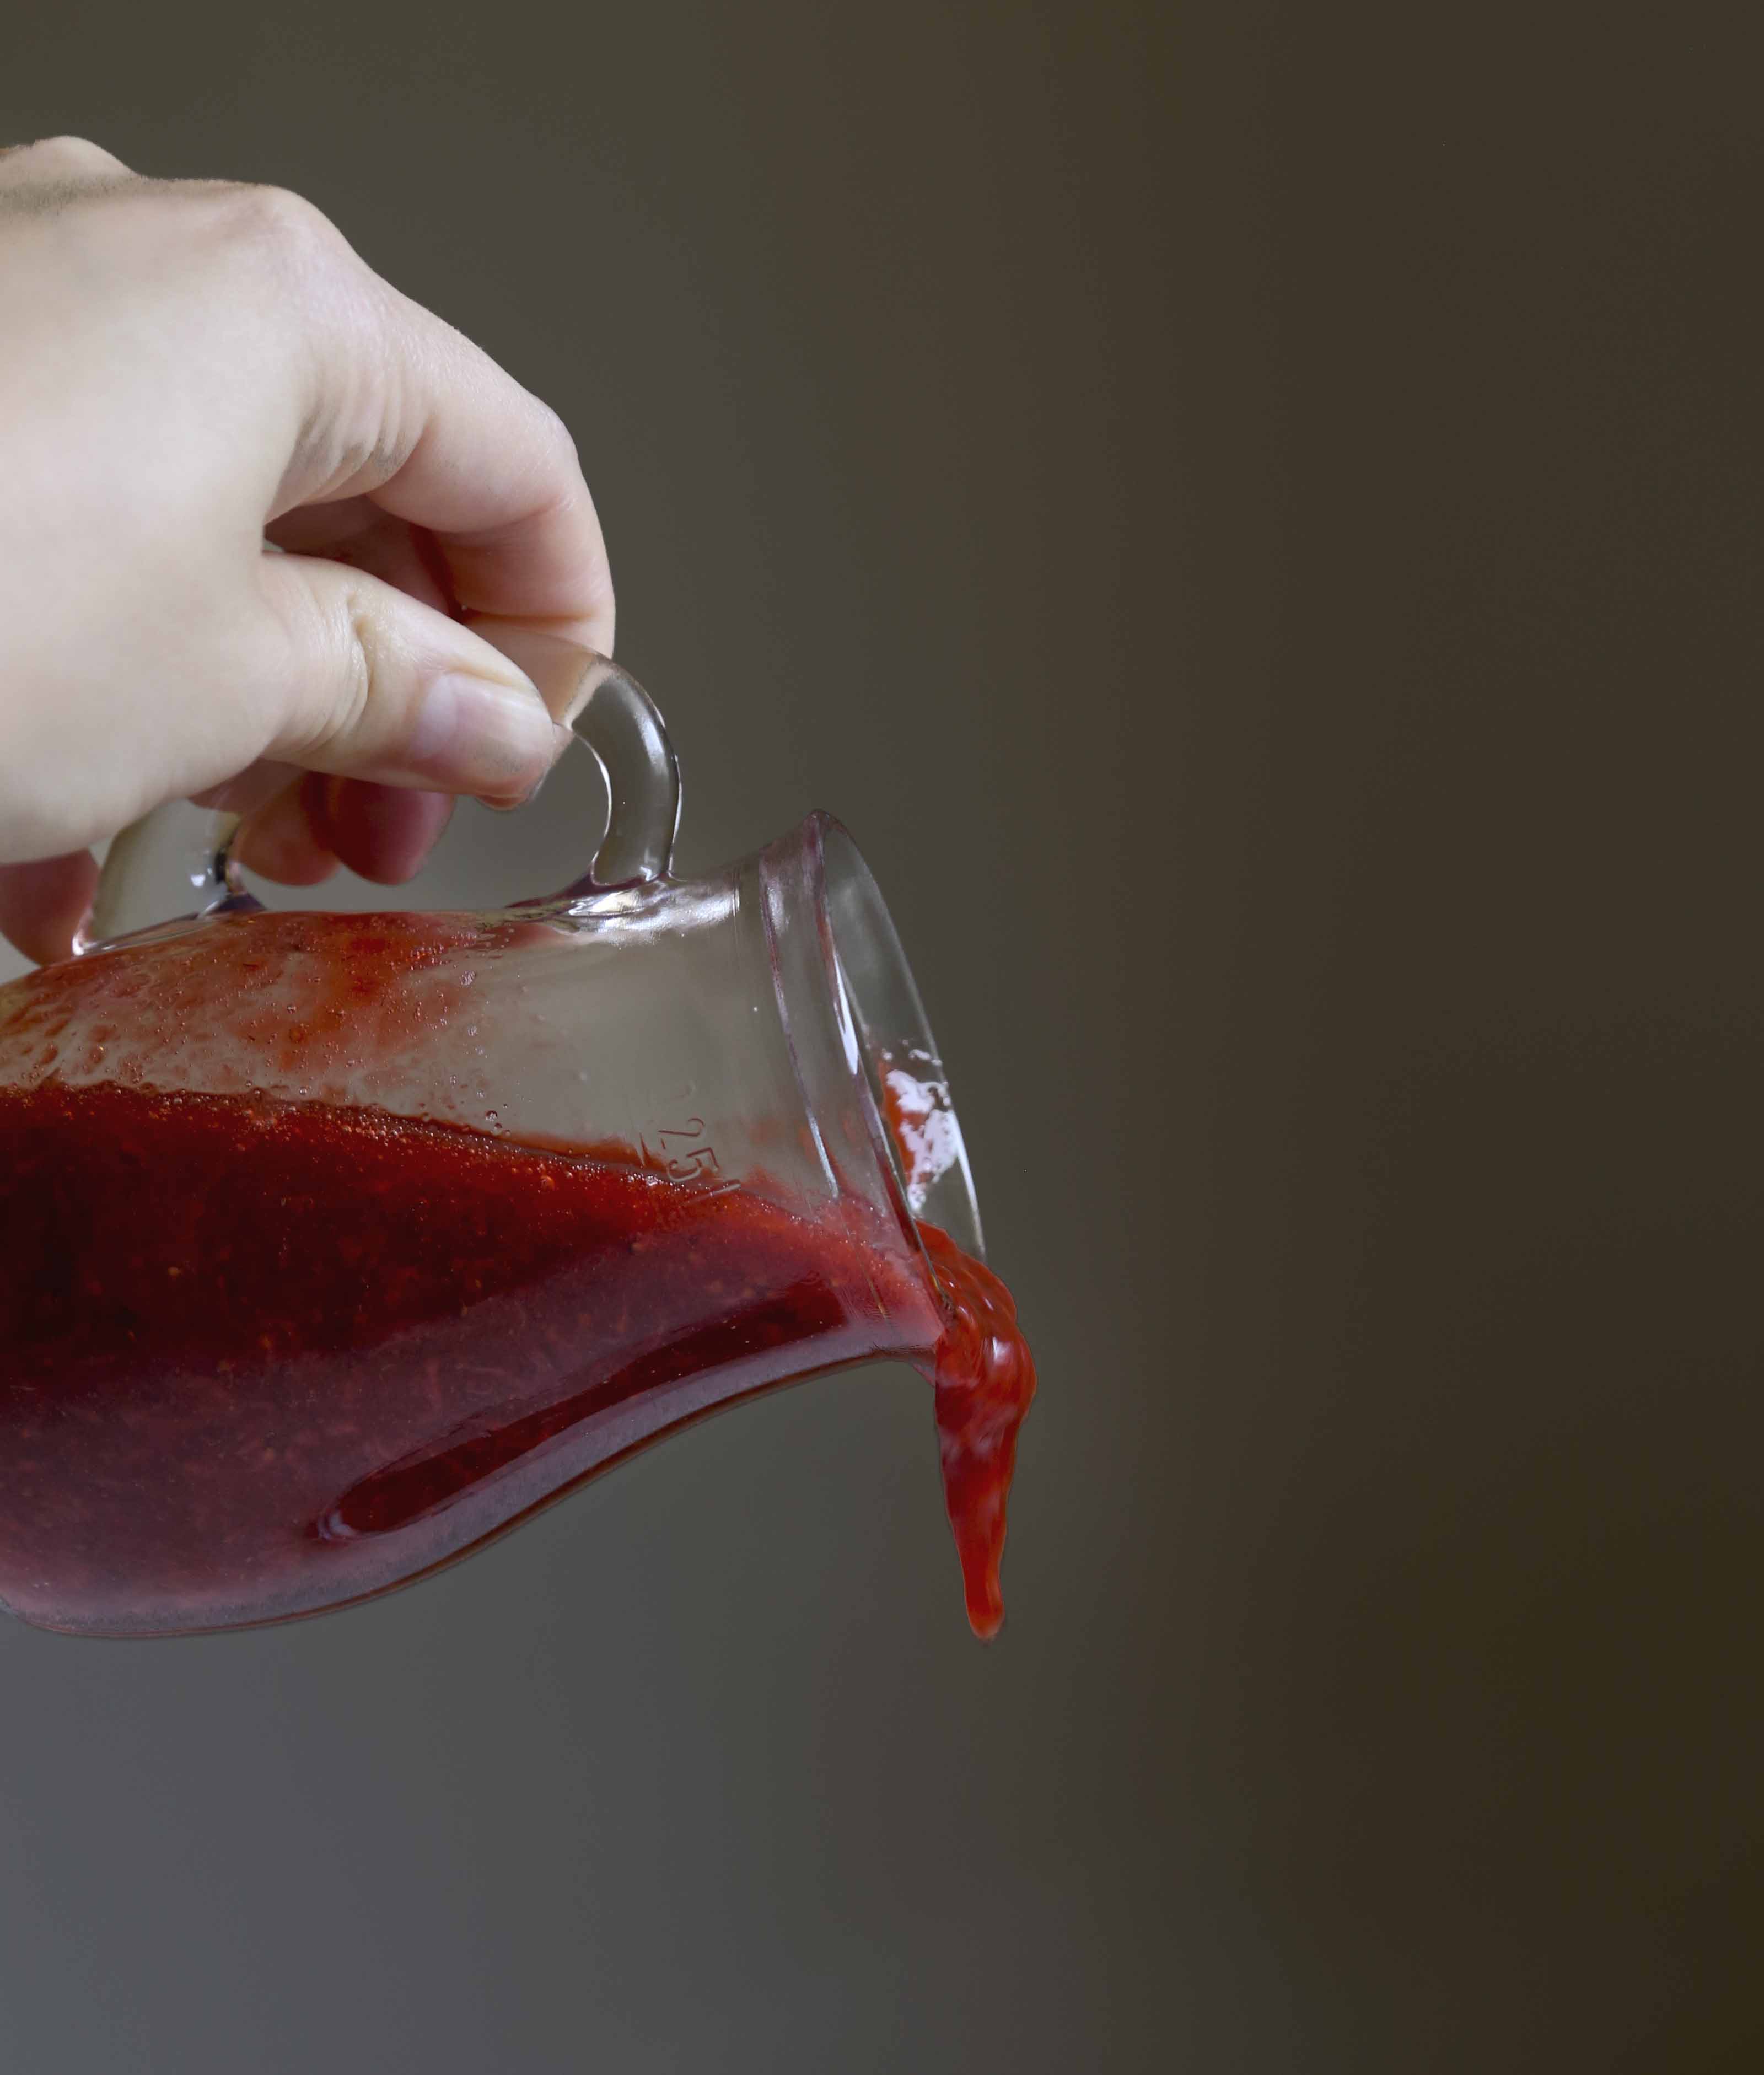
While you’re waiting for the cake to cool, is the perfect time to make the topping. Dice strawberries and place in a sauce pan with sugar and balsamic vinegar. With regards to the amount of sugar, start with half a cup, after it’s been cooking for a while, taste the sauce and add more if you’d like. I didn’t, but I could see where some would want it sweeter. Cook on medium heat about 10 minutes. Allow to cool. At this point, you can leave it with chunks of fruit or you can blend to get a smooth sauce. I blended it, but whole chunks of fruit could also be delicious and beautiful.
The topping can be made in advance and refrigerated. Feel free to serve it warm or cold.
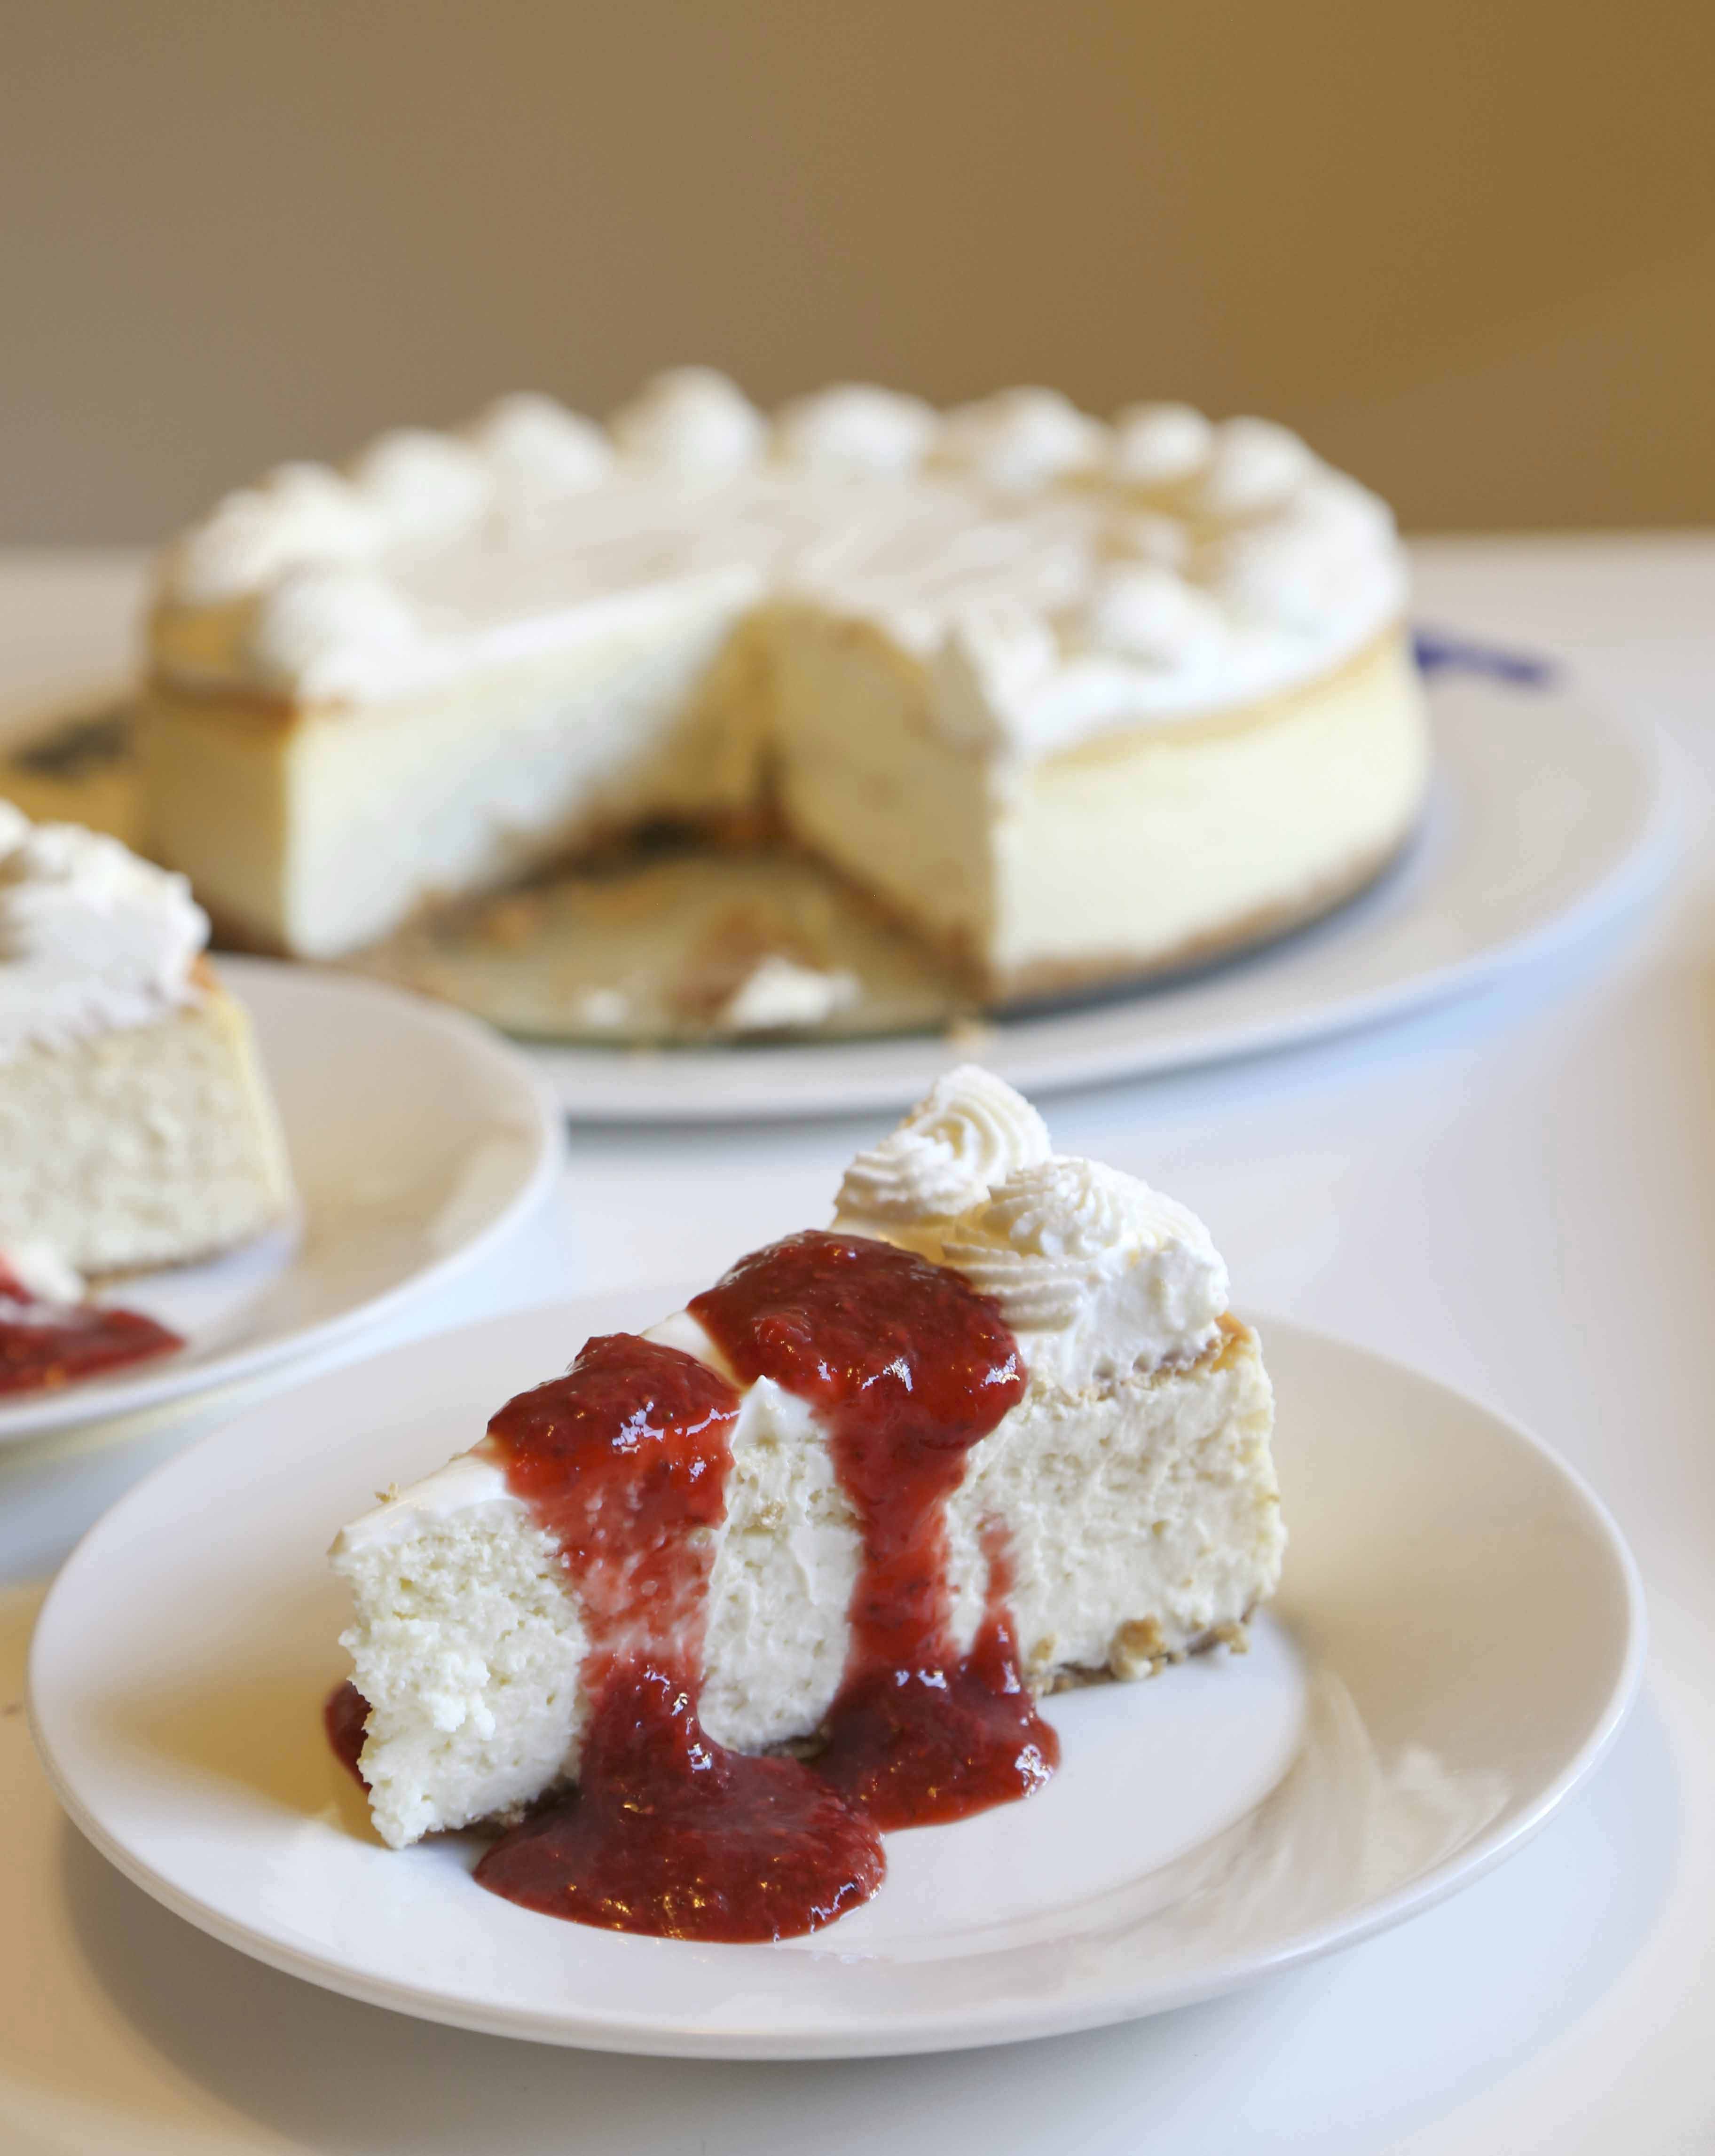
Now back to the cake… Once the cake has cooled, refrigerate a few hours or overnight. A few hours before you’re ready to serve, prepare topping. Mix together sour cream, sugar and vanilla. Spread over top of cake. Pipe whipped cream around edges (this is optional, just for decoration). Refrigerate until ready to serve.
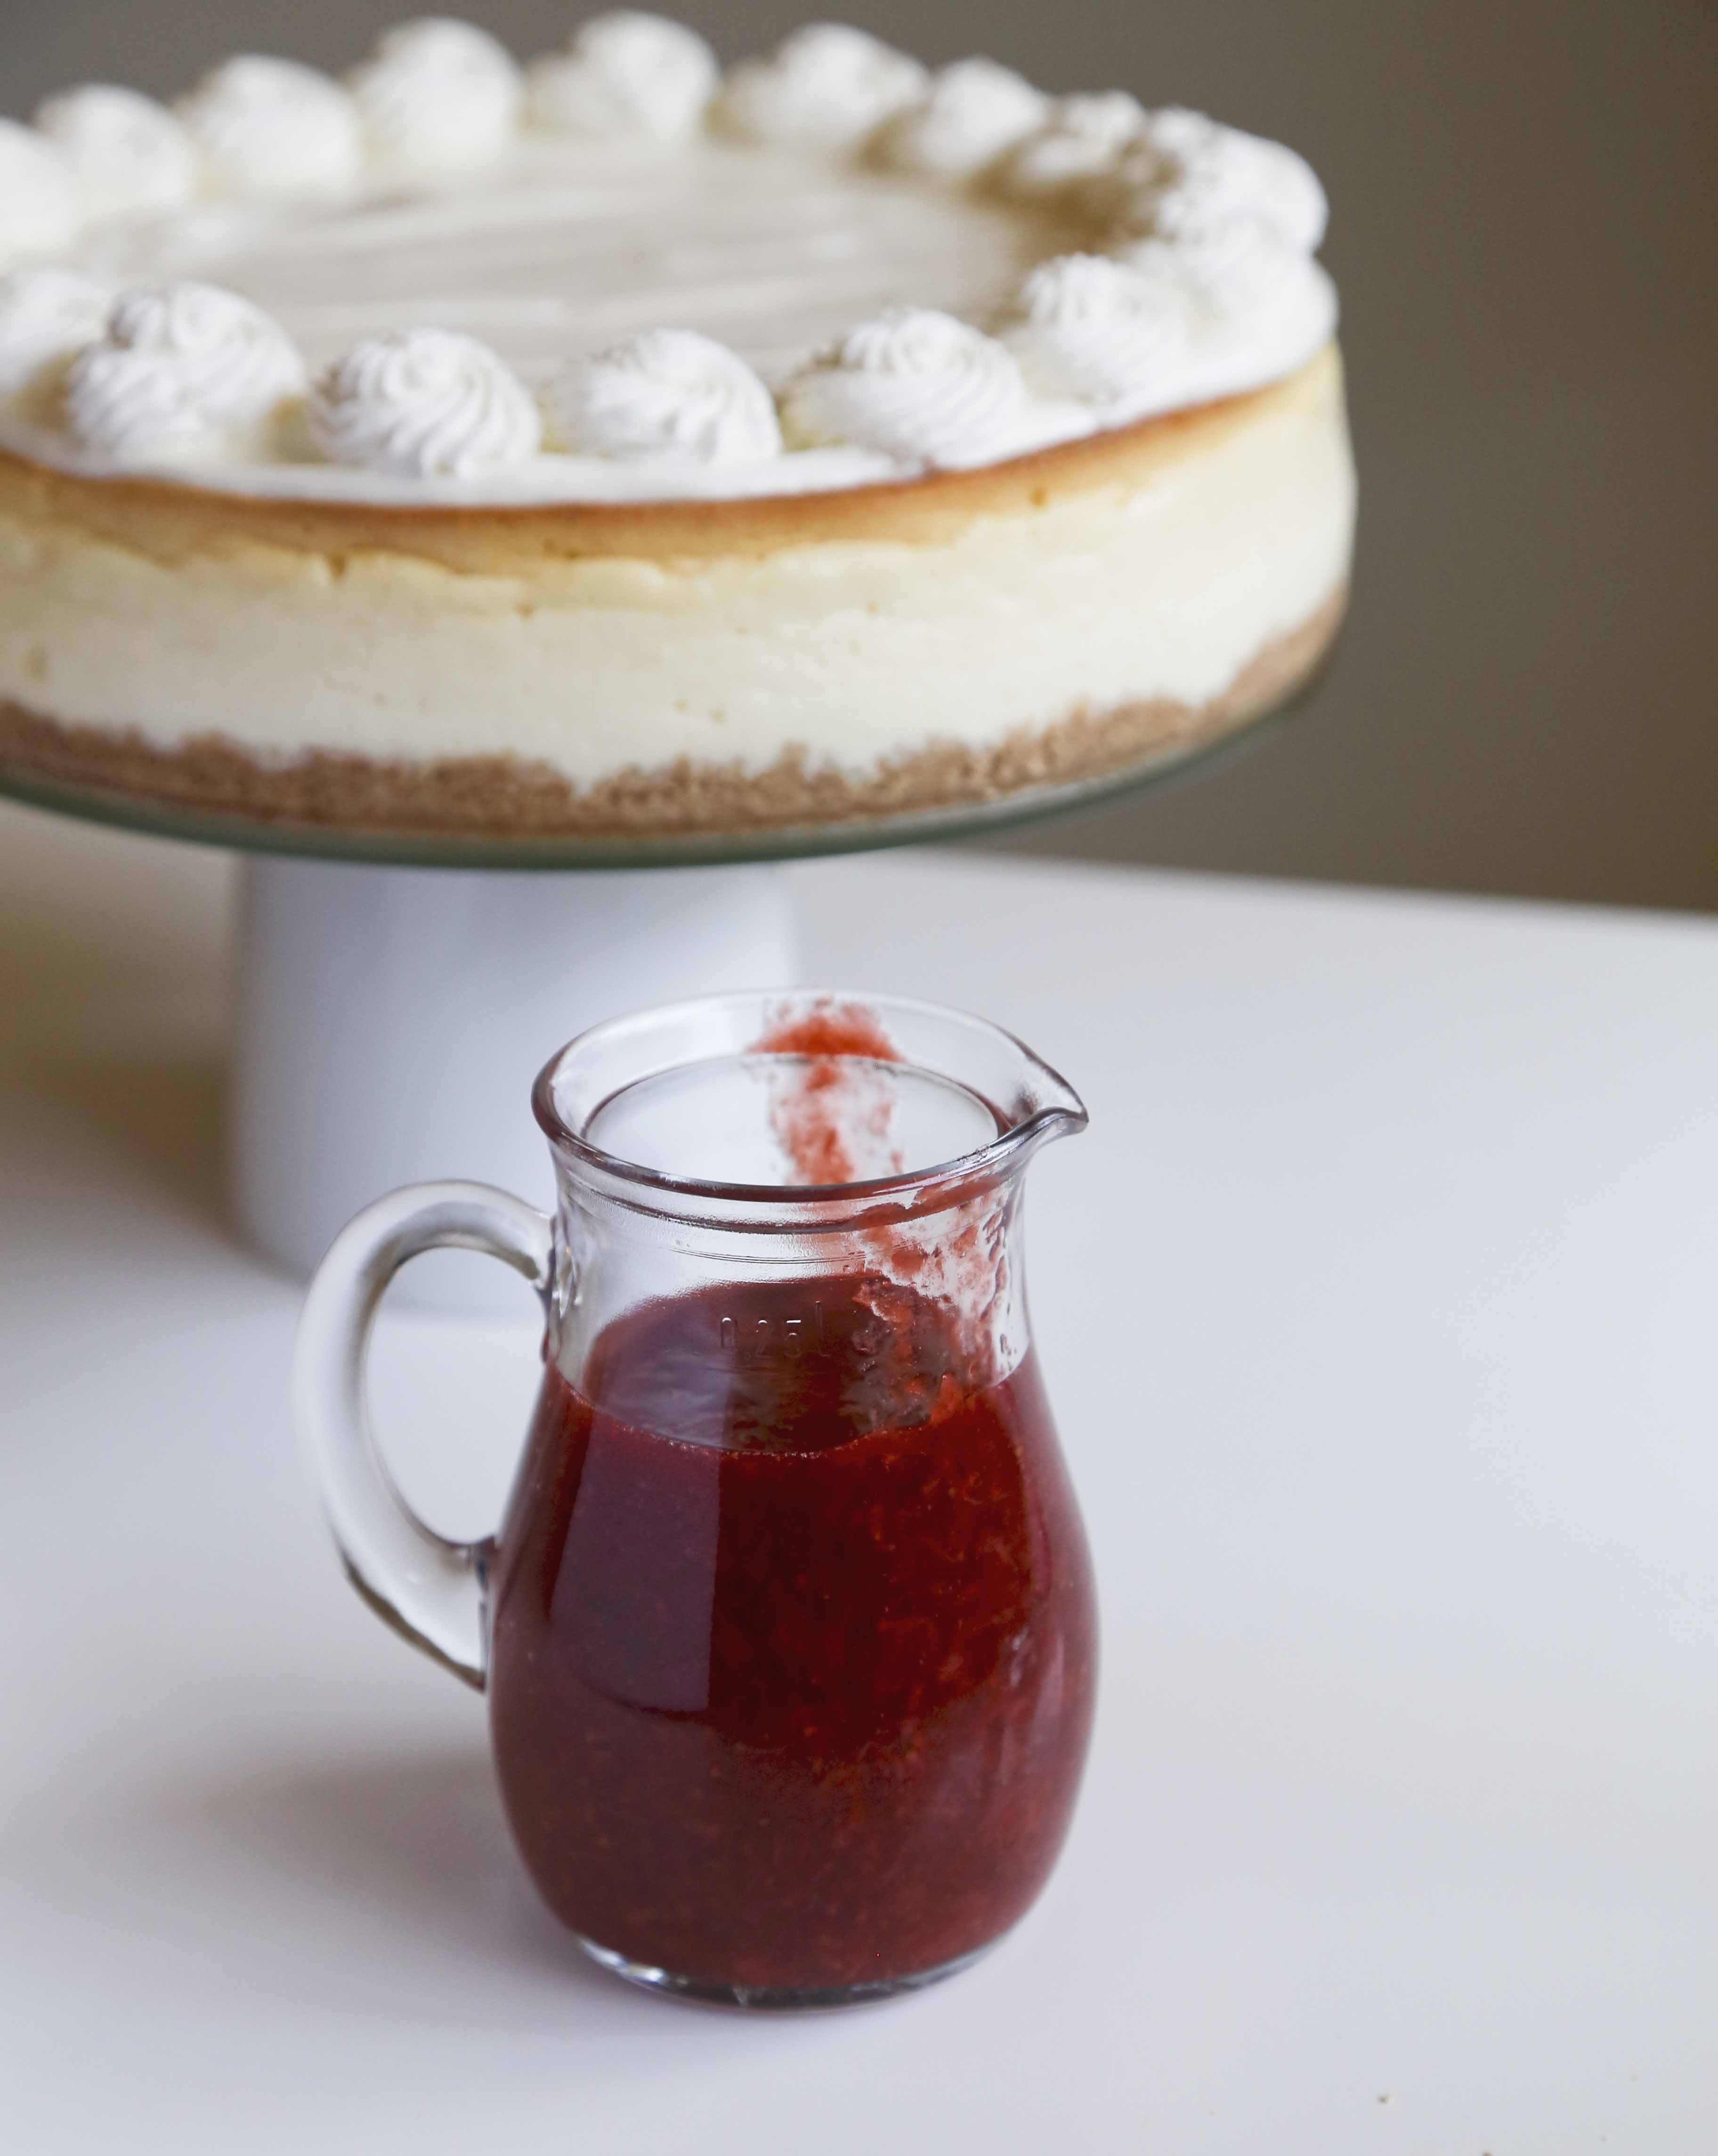

Serve with strawberry balsamic sauce and enjoy!
I hope Jesse enjoyed it! His birthday was pretty low key. We had sushi, ate cheesecake and then proceeded to spend the rest of the night in a food coma.

That might be one of the most awesome ways to spend a birthday.
Happy Birthday, Jesse!
I know I said my other people’s birthdays are more exciting than my own, but next week is my birthday and let’s be honest, making a birthday cake for yourself is always exciting.
I have many ideas in mind and it involves lots of fresh fruit.