Curried Kale with Lentils and Mango

Not a whole lot to report over here.  So I’ll just shut up and give you a recipe for tonight’s dinner creation.

Curried Kale with Lentils and Mango

1/2 cup of lentils, dry
1 tbsp olive oil
1 shallot, thinly sliced
1 onion thinly sliced
1 bunch of kale, stemmed and chopped
1 tsp minced garlic
1 tsp curry powder
salt and pepper to taste
juice of one lemon
1/2 cup chopped mango chunks

Boil lentils for about 20-25 minutes, until tender.

Heat oil in a big pot (since the kale is so voluminous, it’ll be easier to prevent a mess if you use a pot).  Add onions and shallots and cook until translucent, about 5 minutes.  Add garlic, kale, salt, pepper  and curry powder.  Cook for 2 minutes stirring occasionally.  Add lentils and lemon juice, continue to cook until kale is wilted (don’t over cook the kale.  It should still be bright green).  Lastly stir in mango chunks.  Serves 2 as a main dish, 4 as a side.

Fast, healthy and delicious.  My kind of meal (especially when I’m starving).

I have a ton of lentils (among many other things… more on that later…) my friend, Rhoda, left me since she’s moving to Africa!  Good thing they’re delicious!

Any recipe suggestions for lentils, garbanzo beans, rice, or split peas?

Beans and Greens Burgers

Not gonna lie.  Not a lot of cooking has been happening over here the past few days for a few reason:

1. No one will eat my baked goods. Boo.
2. I’ve been eating salads like it’s nobody’s business.  Fresh things are just fun in the summer.
3.  I’ve been spending the better parts of my day watching soccer.

Basically I made one big pot of lentil/rice/greens and ate that for about 4 days.

I also ended most meals with strawberries that were in my CSA bag this week.  Pretty tasty.  Sad they’re gone.

Finally, today I decided it was time to make something.  Why not a burger?

Beans and Greens Burgers

1-2 big handfuls of greens (I used turnip greens and kale)
1 tsp minced garlic
1/2 an onion, roughly chopped
1 lemon, zested and juiced
1 handful of fresh basil (I bet mint or cilantro would work great too)
1/4 cup sun-dried tomatoes (rehydrated or packed in oil)
1 tbsp olive oil
2 cups cooked garbanzo beans
1 tsp salt
2 “flax” eggs (2 tbsp milled flax + 6 tbsp water)
2 tbsp flour
1/2 tsp paprika

Preheat oven to 400 F.  Put greens,  garlic, onion, basil, sun-dried tomatoes, olive oil, lemon juice and zest in the processor and pulse until it resembles a coarse pesto. Add remaining ingredients and continue to pulse until you get a consistency you like (I left mine kind of chunky).

Form into patties and place on a greased baking sheet.  Bake for 15 minutes, turn and bake for 15 more minutes.  Serve as patties or on a bun.

In other news, I’ve been watching Glee. While a lot of the times I get embarrassed for the characters who are singing and have to fast forward (does this happen to anyone else!??!),  I’m enjoying it.  But let’s be realistic, it’s no secret I watch TV shows/movies for the eye candy…

Anyone else love Puck?

World Cup Waffles

This morning I packed up some stuff to have some waffles with my world cup

+

I ran across the street to watch the first game, Mexico vs South Africa, with this fella

That’s Daniele.  He’s pretty.

He also made a bet that South Africa wouldn’t win a single game…reason enough for me to betray the latinos and root for South Africa.  They tied.  I can be happy with that.

So while I watched in rather agitated fashion, I enjoyed this:

Rhubarb Waffles

adapted from Eating Well’s Rhubarb Waffles

5 stalks of rhubarb (cut into 1/4 inch pieces)
1 cup sugar
1 1/4 cup milk
1 1/2 tbsp oil
1 tsp vanilla
3 egg whites
1 1/2 cup all purpose flour
1/4 cup whole wheat flour
1 tbsp baking powder
3 tbsp sugar
1/4 tsp salt

In a pot, combine rhubarb and sugar.  Cook for about 10 minutes or until rhubarb is tender.  Remove 1 cup of rhubarb and set aside.  Continue to cook the rest of the rhubarb for another 5-10 minutes, until rhubarb breaks down and thickens.

Combine remaining ingredients and reserved rhubarb to make the batter.  Cook in a heated waffle iron for about 10 minutes.   Serve with rhubarb sauce.

This made 4 fat waffles and wayyyy more sauce than necessary.

Thanks Liz for letting us borrow your waffle iron!!

Okay I’m off to burn off some of these waffle calories.  Have a great day!

Quinoa and Mango with Curried Yogurt

Apparently Ithaca (or this coast?) is all about barbecues!  I’ve never been to this many in my life!  Oh my goodness I need to stop going to barbecues and eating a ton.

Who am I kidding? It’s delicious!

Last night, I received a menu for today’s barbecue from a friend:

Beverages
Ginger sweet tea punch.
Bombay tea-government punch.

Starters
Feta-stuffed nectarines marinated in a balsamic, sunflower red pepper dressing.
Molasses-guava skewers, both shrimp and vegetable.
Chili-lime Asian noodles in a peanut carrot chutney.

Main
Goat cheese-stuffed local bison sliders; naked, blacked or coffee-rubbed. Topped with fresh greens.
Braised local pork shoulder (Boston butt), served with a Carolina-style coleslaw on wheat buns.

Doesn’t that sound intense?  I’m kicking myself for remembering to take my camera and FORGETTING to take pictures!  I didn’t try the meat things but let me tell you, the grilled feta-stuffed nectarines marinated in a balsamic, sunflower red pepper dressing, were simply amazing! I’m making those the next time I acquire a grill.

Here was my contribution to the barbecue:

Quinoa with Mango and Curried Yogurt

adapted from Epicurious

1/3 cup yogurt
juice of 1 lemon
2 tsp curry powder
1 tsp salt
1/4 tsp pepper
1 tsp finely chopped ginger
1 1/3 cup quinoa (uncooked)
3 cups mango chunks (I thawed the frozen kind)
1 jalapeno pepper, seeded and finely chopped
1/3 cup fresh mint
1/3 cup fresh cilantro
1/2 cup peanuts

Combine the yogurt, curry, ginger, salt and pepper for the dressing, set aside.

Boil the quinoa in water for 10 minutes, then place in a sieve and cover with a towel then lid (make sure your towel doesn’t catch on fire, mine did a bit so I repositioned it) and steam over 2 inches of boiling water (make sure sieve doesn’t touch water) for another 10 minutes.

Once quinoa is steamed, in a large bowl, add mango, jalapeno, cilantro, mint, peanuts and dressing.  Gently toss to combine.  That’s it!  You’re ready to enjoy!

I think it turned out well.  It was gone pretty quickly.

Oh boy, I’m exhausted! I need to wake up bright and early to hit them gym tomorrow morning.  I also think I need to do a sugar detox.  I’m starting to feel a little sugared out. I’m not sure how many more barbecues I can take…

Have you been to a lot of barbecues this summer?

Apple-Rhubarb Crisp

This morning I woke up to a cute e-mail from my friend and future apartment mate, Anna.  She read yesterday’s post on rhubarb and gave me some cooking tips.  The end of her e-mail made me laugh:

It’s high in fiber, and is a good GI tract cleanser – I forget what its’ called but it is good for your colon etc. 🙂

Okay enough / TMI on rhubarb, hope you’re doing well!

Good to know since we’re all into health! Too cute Anna!

Anyway, little did she know I had made my first rhubarb creation ever the night before!

Apple-Rhubarb Crisp

adapted from Epicurious Apple-Rhubarb Crisp

For Filling:
3 cups peeled and chopped apples (about 3 or 4 apples)
3 cups chopped rhubarb (4 stalks)
1/3 cup brown sugar
1 tsp vanilla
2 tsp flour

For Topping:

3/4 cup flour
3/4 cup brown sugar
1/2 cup oats
6 tablespoons of butter

Preheat oven to 400 degrees (open doors and windows if it’s summer or (if you’re lucky unlike me) turn on the AC).  Combine all ingredients for filling and place in a 9 x 13 baking dish.

Next make the topping.  Get your fingers nice and dirty by breaking up the butter with your fingers.

Top apple rhubarb mixture with sugar/oat/flour topping.

Bake for 45 minutes.  Once it’s golden and delicious, let it sit for about half an hour.

While you wait for it to bake and cool, hang out with a friend/fellow cook and paint your toes (or something).

Then serve and enjoy the tart, sweet treat!

I’m going to go ahead and say I’m a rhubarb fan!  I love the tartness!  I can’t wait to make new things with the rest of my rhubarb!

Hope you’re enjoying your weekend!!

Trapped on a DESSERT island

I can say with almost 90% certainty that yesterday and today have been the most boring days of my life.  They are result of either poor planning or wealth gone wrong.  Long story short: I’m stranded.

I wish I could say I was stranded on a tropical, mysterious (ahem still know NOTHING about) island surrounded by sexy men.  Read:

Instead, I’m stuck in  my parents house on 2 acres (in the middle of nowhere) with no connection to civilization.  Read: No vehicle/transit in a place like this…

Beautiful place to live, great for parties, but sadly no where to go within walking distance.

As a result of the fact that I feel a little bit like this:

Desmond in the hatch

I’ve been trying to entertain myself in a few ways:

1.  Snacking pretty much all day, to the point where I literally feel ill.

2.  Watching many episodes of (as in 13 episodes in 1.5 days) of

Vampire Diaries.  Woah PRETTY men!  Definitely beat Edward Cullen in the hot factor.

Case in point:

Just plain pretty.  Show’s not bad either…

3.Taking long naps. Enough said.

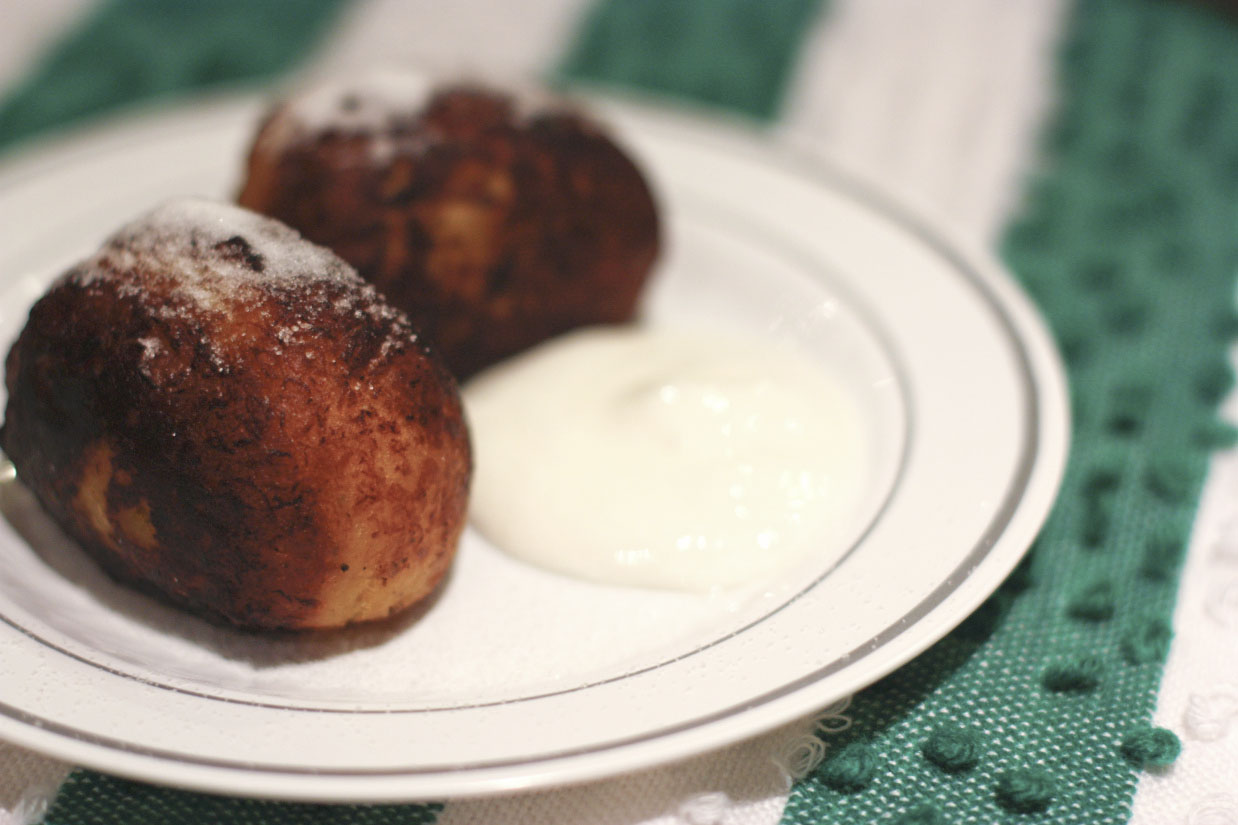
4.  Taking random pictures of food:

Because that’s how I roll…

5.  Making things:  Creme Brulee

Sounds fancy and difficult… it’s really not.

When I walked into the house upon arriving, the first thing my dad did was show me the new ramekins only to ask “can you make creme brulee?”  Don’t have to ask me twice.  I’m a sucker for feeding people.

Creme Brulee

2 cups heavy cream
1/2 cup sugar
1 tbsp vanilla extract
5 egg yolks
sugar for the top


Preheat oven to 275.  Combine the cream, sugar, vanilla and egg yolks in a bowl.

Place ramekins into a deep pan (I used a roasting pan) so you can create a water bath.  Pour cream mixture into 4-6 ramekins.

Fill roasting pan with warm water to cover the ramekins about half way with water.

Bake for 45-60 mins or until cream doesn’t jiggle anymore.

Refrigerate for at least 4 hours but recommend overnight.

Once it’s ready to serve, sprinkle with sugar (about a teaspoon or so) and using a small kitchen torch, burn the sugar.  If you don’t have a torch, you can also use your broiler!

Crack the top and enjoy like she does:

Basically, I feel like I’m trapped on a dessert, not a desert island.  I’m not sure how much more my tummy can handle.  Thankfully, this weekend I will make my way to the DESERT for some fun times in

Las Vegas

Only to make my way back to Ithaca next week.

Never thought I’d say this but I actually am ready (and maybe a bit anxious/excited) to go back to upstate NY.  Who am I?!?!

Peruvian Ceviche

Ready for a super simple, super delicious fish recipe?

Here’s another recipe from my sister and her multi-cultural friends: Peruvian Ceviche. Apparently in Peru (according to my sister’s Peruvian friends), this is commonly eaten for breakfast!

If you make this, please make sure you use fresh fish!  But really you should do that anytime you eat fish.

Some of you might question the safety of this for a few reasons, but we made this for my parent’s birthday party, many people ate it and no one got sick.

Instead, everyone was so pleased, the ceviche was gone in less than 10 minutes!

Peruvian Ceviche

3 lbs raw tilapia, cut into small cubes
4 lbs of key limes (or enough juice to cover all the fish)
2 celery ribs, finely chopped
2 tsp yellow hot pepper paste (aji amarillo o chile guero)
1/2 tsp sazon (this is really just MSG, if it’s a huge issue for you, you can probably just use salt)
1 red onion, thinly sliced

Cut the tilapia into small bite sized pieces and place in a serving bowl with chopped celery.

This recipe requires a ton of key limes

A lemon/lime squeezer makes this a whole lot easier.  Press your key limes, you want enough juice to cover your fish completely.

Pour over fish, then mix in your yellow hot pepper paste (use more if you want it spicier) and sazon.

Lastly, top with thinly sliced red onions.  Refrigerate for half an hour and serve!

The citric acid in the limes cooks the fish!  Then you have a super quick and easy light dish!   I definitely recommend giving it a try.  My mom was apprehensive because she thought it was raw (even though it’s not) but ended up loving it!

Any foods scare you?

Tofu used to freak me out… still not a huge fan.

Guatemalan Rellenitos

One of the best parts of being home is the food. I’ll be honest, my mom is a lovely woman, but she’s not much of a cooker. She most definitely can; she simply chooses not to. My aunt on the other hand loves to cook. Lucky me, she’s visiting!

So I’ve been following her around the kitchen the past few days trying to get some Guatemalan recipes to share with you all.

I guess the first warning is that a lot of these things are cooked to taste, so the measurements may vary but I’ll give estimates of what she used.

The first thing we made was rellenitos.

rellenitosedited

Rellenitos are mashed plantains stuffed with sweet black beans then fried to create tasty little dumpling type things.  They’re usually eaten as an afternoon snack or dessert.  They’re a little labor intensive but totally worth it.

Rellenitos

1/2 lb cooked black beans (cooked like the Guatemalan Black Bean recipe I posted before)
1/2 tbsp cinnamon
1 cup sugar
1/4 cup canola oil
10 ripe plantains
1 cinnamon stick
oil for trying

This recipe will make a few dozen rellenitos, so adjust accordingly.  I know it sounds sort of weird but you start with salty beans cooked in garlic and onion.  Put them in the blender with cinnamon and sugar (you might have to do it in batches). Taste to make sure they’re sweet and not too cinnamony.

Then put the blended beans in a deep skillet with oil and bring to a boil.  Simmer for a few minutes then transfer to another container to cool (they’ll thicken as they cool).

You want your plantains to be ripe.  The riper they are, the sweeter they are but also harder to work with.

Cut your plantains into 2 inch pieces, leaving the skin on.  Put them in a large pot with cinnamon stick and fill about half way with water (plantains won’t be completely submerged).  Bring to a boil and simmer for a few minutes until plantains are starting to soften but not so soft that they fall apart.

Peel and put in a container to mash.  If you have a potato ricer or food mill this will be a whole lot easier, we had neither so we used a mug, some forks and a masher to get out all the clumps.

Now comes the shaping part.  Once the plantains have cooled.  Take a palm sized amount and shape it into a thick pancake/tortilla shape.

Place about a 1/2 tbsp to 1 tbsp sized amount of beans in the middle and close the pancake/tortilla shape.

Pinch the edges together and smooth with your fingers into a roundish egg shape.  Repeat until you run out of beans or plantains.

Heat oil in a skillet.  Place rellenitos in hot oil and fry all around.

Once they are golden brown all around (okay if a little burnt), place them on a paper towel to absorb the excess oil.

Serve with sour cream and sprinkle with sugar.

Delish!  Definitely not the healthiest way to eat a plantain but probably one of the best.

If you made a ton don’t worry about finishing them all at once.  While chances are they will get eaten, if not you can wrap them in aluminum foil and freeze them and when you’re ready for a treat just unwrap them and microwave for a minute or two and ta-da! Ready to go!  My family actually brings them frozen from Guatemala since my mom isn’t big on cooking 🙂

Anyway, tonight we’re having a birthday party for my dad since he was in Guatemala on his actual birthday!  More fun recipes and hopefully pictures to come!

Hope you’re having a great weekend!

Tostones

Since I last posted… I’ve finished finals, packed some stuffed, said some sad goodbyes and flown across the country.  But before that, I went to a small potluck.  As I was trying to use up everything in my kitchen, I made tostones from 2 green plantains I had sitting in my kitchen.

Tostones are fried green plantains eaten throughout the Caribbean.  This recipe is courtesy of my sister who lived in the Dominican Republic for 3 years.

Tostones

2 green plantains
oil for frying
salt

Peel and slice your plantains into 3/4 inch-1 inch rounds.

Heat oil in a pan.  Fry rounds until golden

Transfer to a paper towel lined cutting board (or on the counter is fine, it’ll just get oily).

Cover with another paper towel or two and using your hand mash into a thin circle.  You can make them as thin or thick as you’d like.  I like them pretty thin.

Fry again.  Once they are golden transfer them to a paper towel lined plate and salt.

Serve on their own or with ketchup (or really any dipping sauce).

Fun, easy treat for a small gathering.

Coming up soon… another unhealthy way to eat a plantain!

Have a great night!

Baking Break

It feels like Saturday in November.

It’s 43 degrees out, and I went to a bar last night.  That does not scream May in the middle of study week.  But don’t go thinking I’m some sort of hoodlum.  I managed to write a full draft of a 15 page paper on urban gardens and get through a poster session.  A gin and tonic or two was earned.

This morning, while I edited my paper and waited for the gym to open (1pm, seriously?), I decided baking was in order.  After all, what makes a cold study day better than a warm muffin?

Apple Muffins

1/2 cup almond butter
1 cup brown sugar
1 egg
1 tsp vanilla
1 cup sour milk (or probably regular milk, juice, water, etc)
1 cup whole wheat flour
1 cup all purpose flour
1 tsp baking soda
1 tsp baking powder
1/2 tsp salt (unless your AB is salted)
3 small apples, peeled, cored and diced

Preheat oven to 375 degrees.

Combine wet ingredients, add dry ingredients (minus apples) and combine.  Fold in apples.  Fill lined or greased muffin tin (almost full) and bake 20-22 minutes. Allow to cool and then give them away to all your studying (or hung over) friends!

Anyhoo… hope you’re all having a fantastic week.  Back to paper editing and studying!