Soft Pretzels

I’m more sore than I can possibly explain.  Like so sore I can’t sleep.

Don’t worry, I’m not going crazy with resolutions.  I’ve been going to crossfit 3-4 times per week for the past few months.  This week I’ve gone twice, and my shoulders and back are killing me.  But enough about soreness, because aside from my aching shoulders something else is bothering me this time of year: diet-palooza.

I love all the salad recipes floating around, and I’m all for people getting healthy.  I wish it would happen year round, not just the first 3 weeks of January.

But can we call agree to stop calling lighter versions of fatty foods “skinny”?  You know what I’m talking about.

Skinny Vanilla Latte=  Latte with Low-Fat Milk and Sugar Free Syrup
Skinny Nacho Dip= Some sort of cheesy dip probably made with non-fat greek yogurt
Skinny Onion Rings= No, they’re not just cut thin. They’re probably FAT pieces of onion rolled in whole wheat bread crumbs and baked.

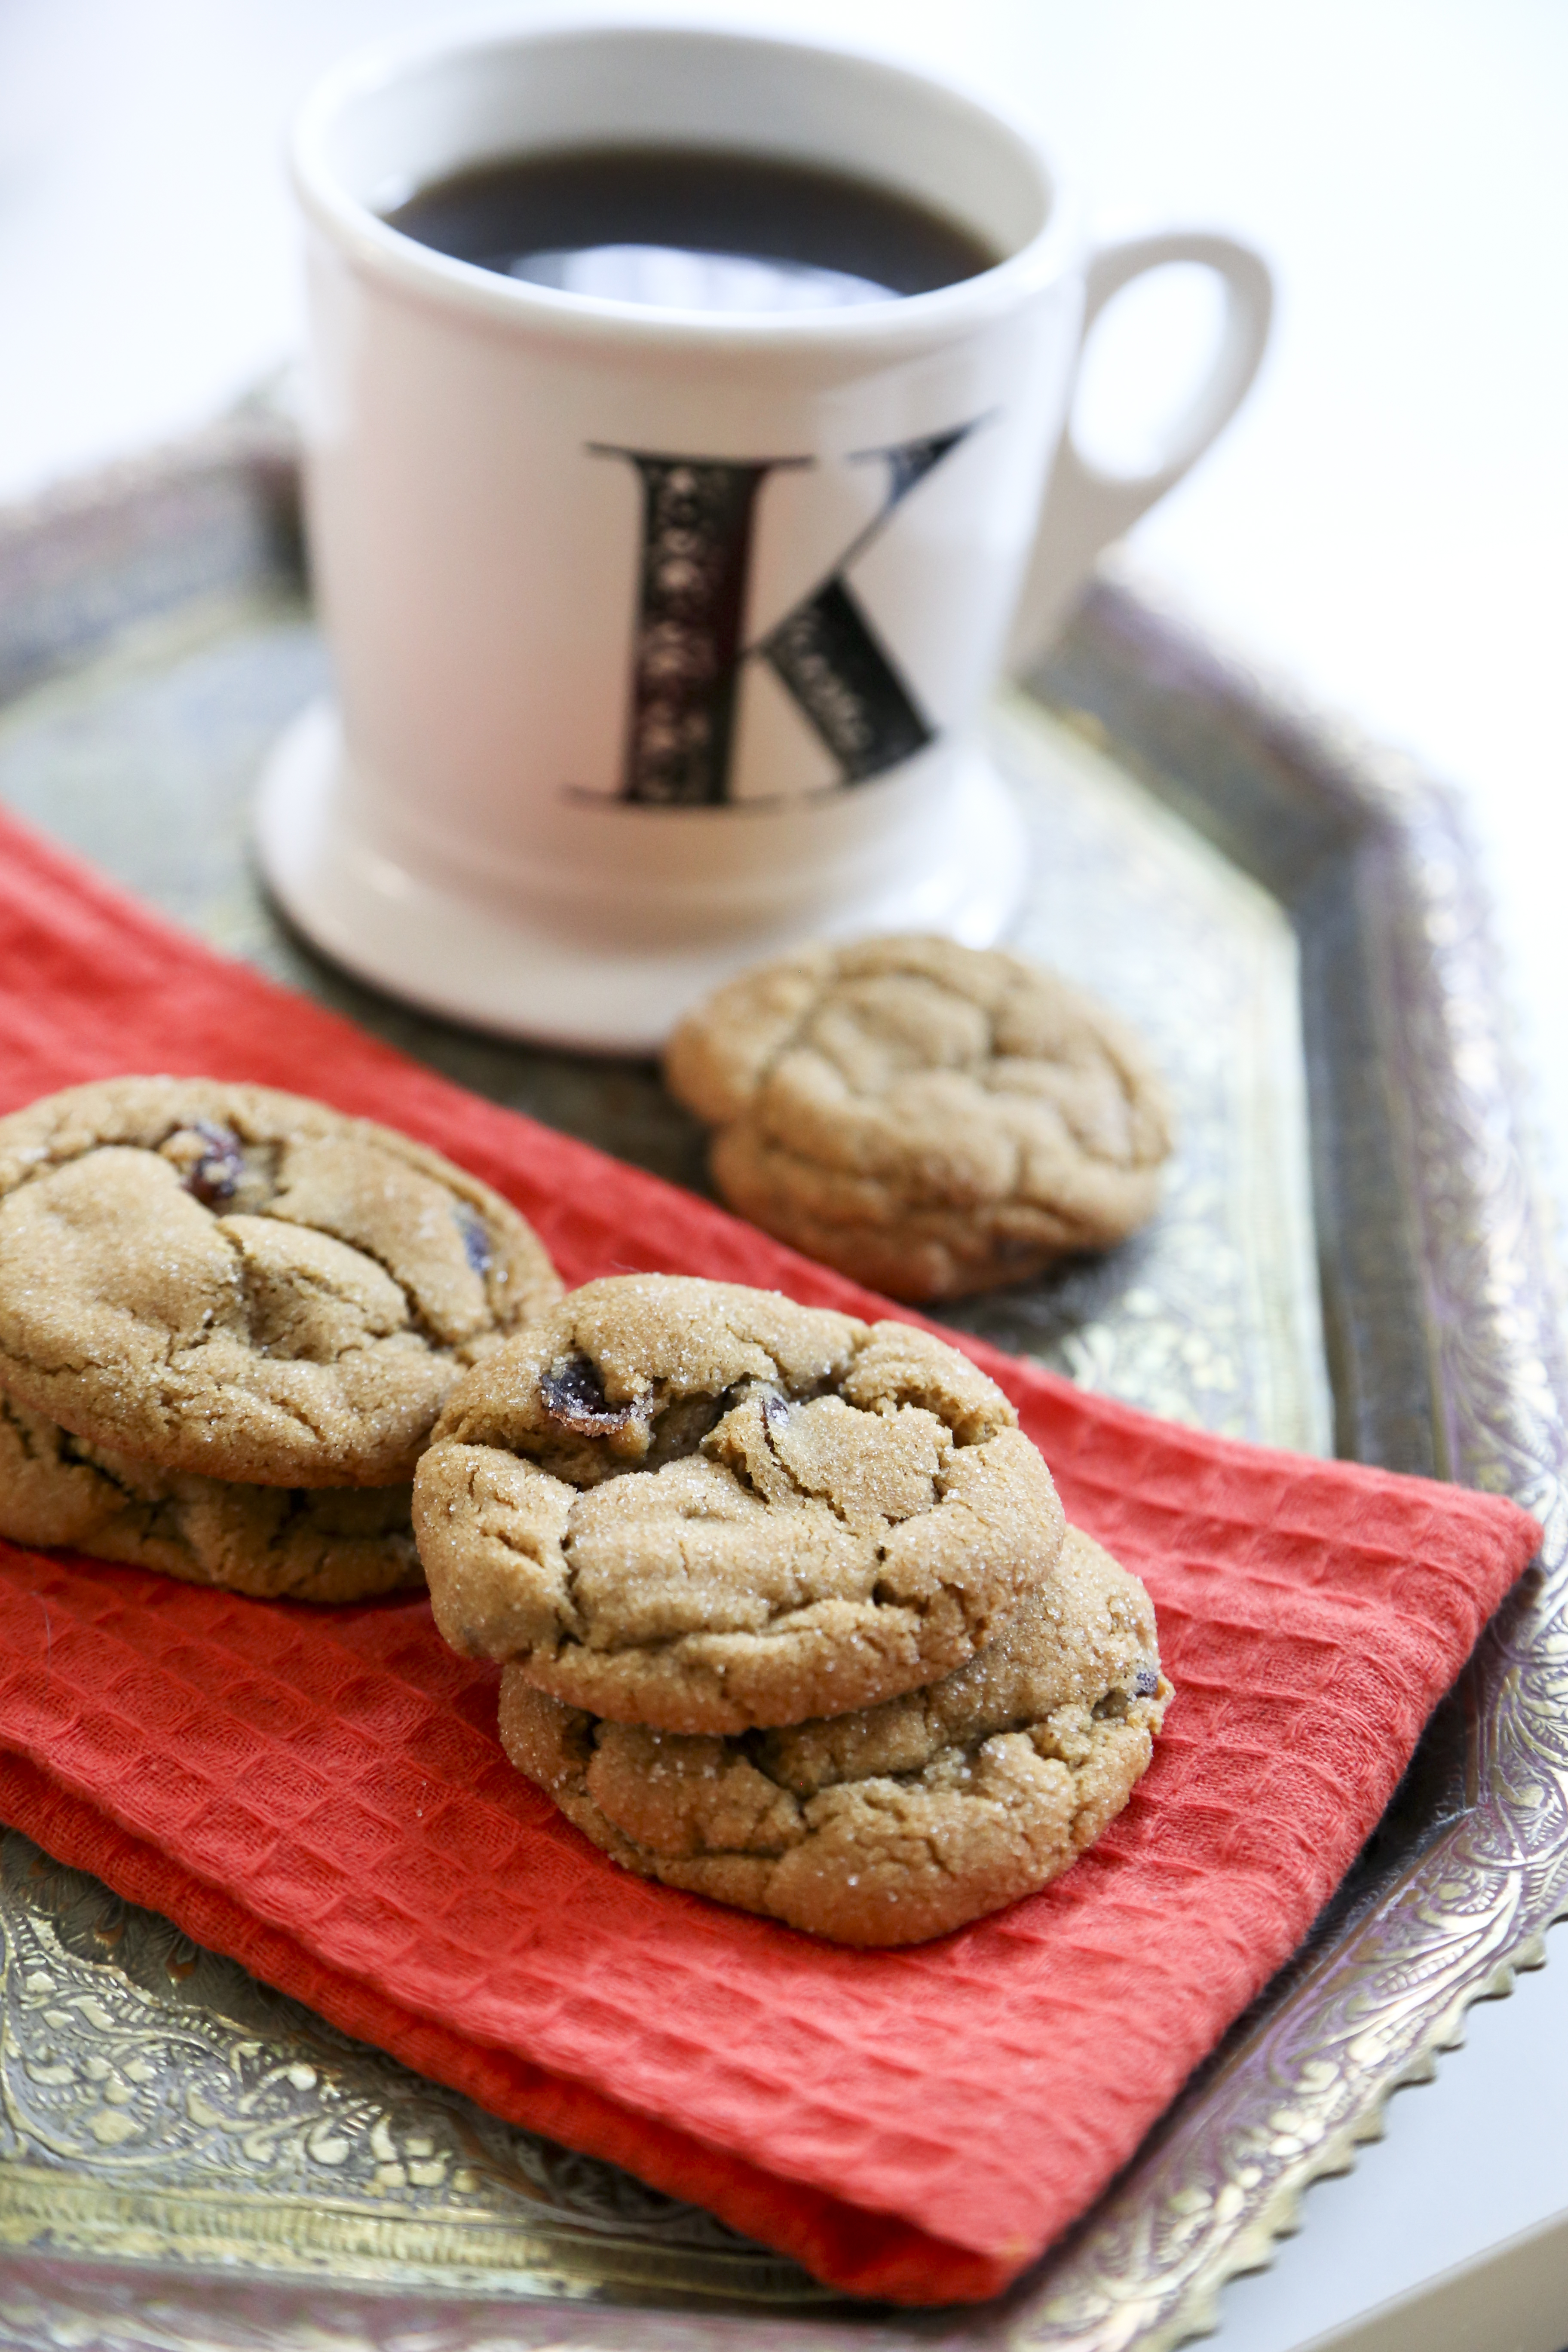
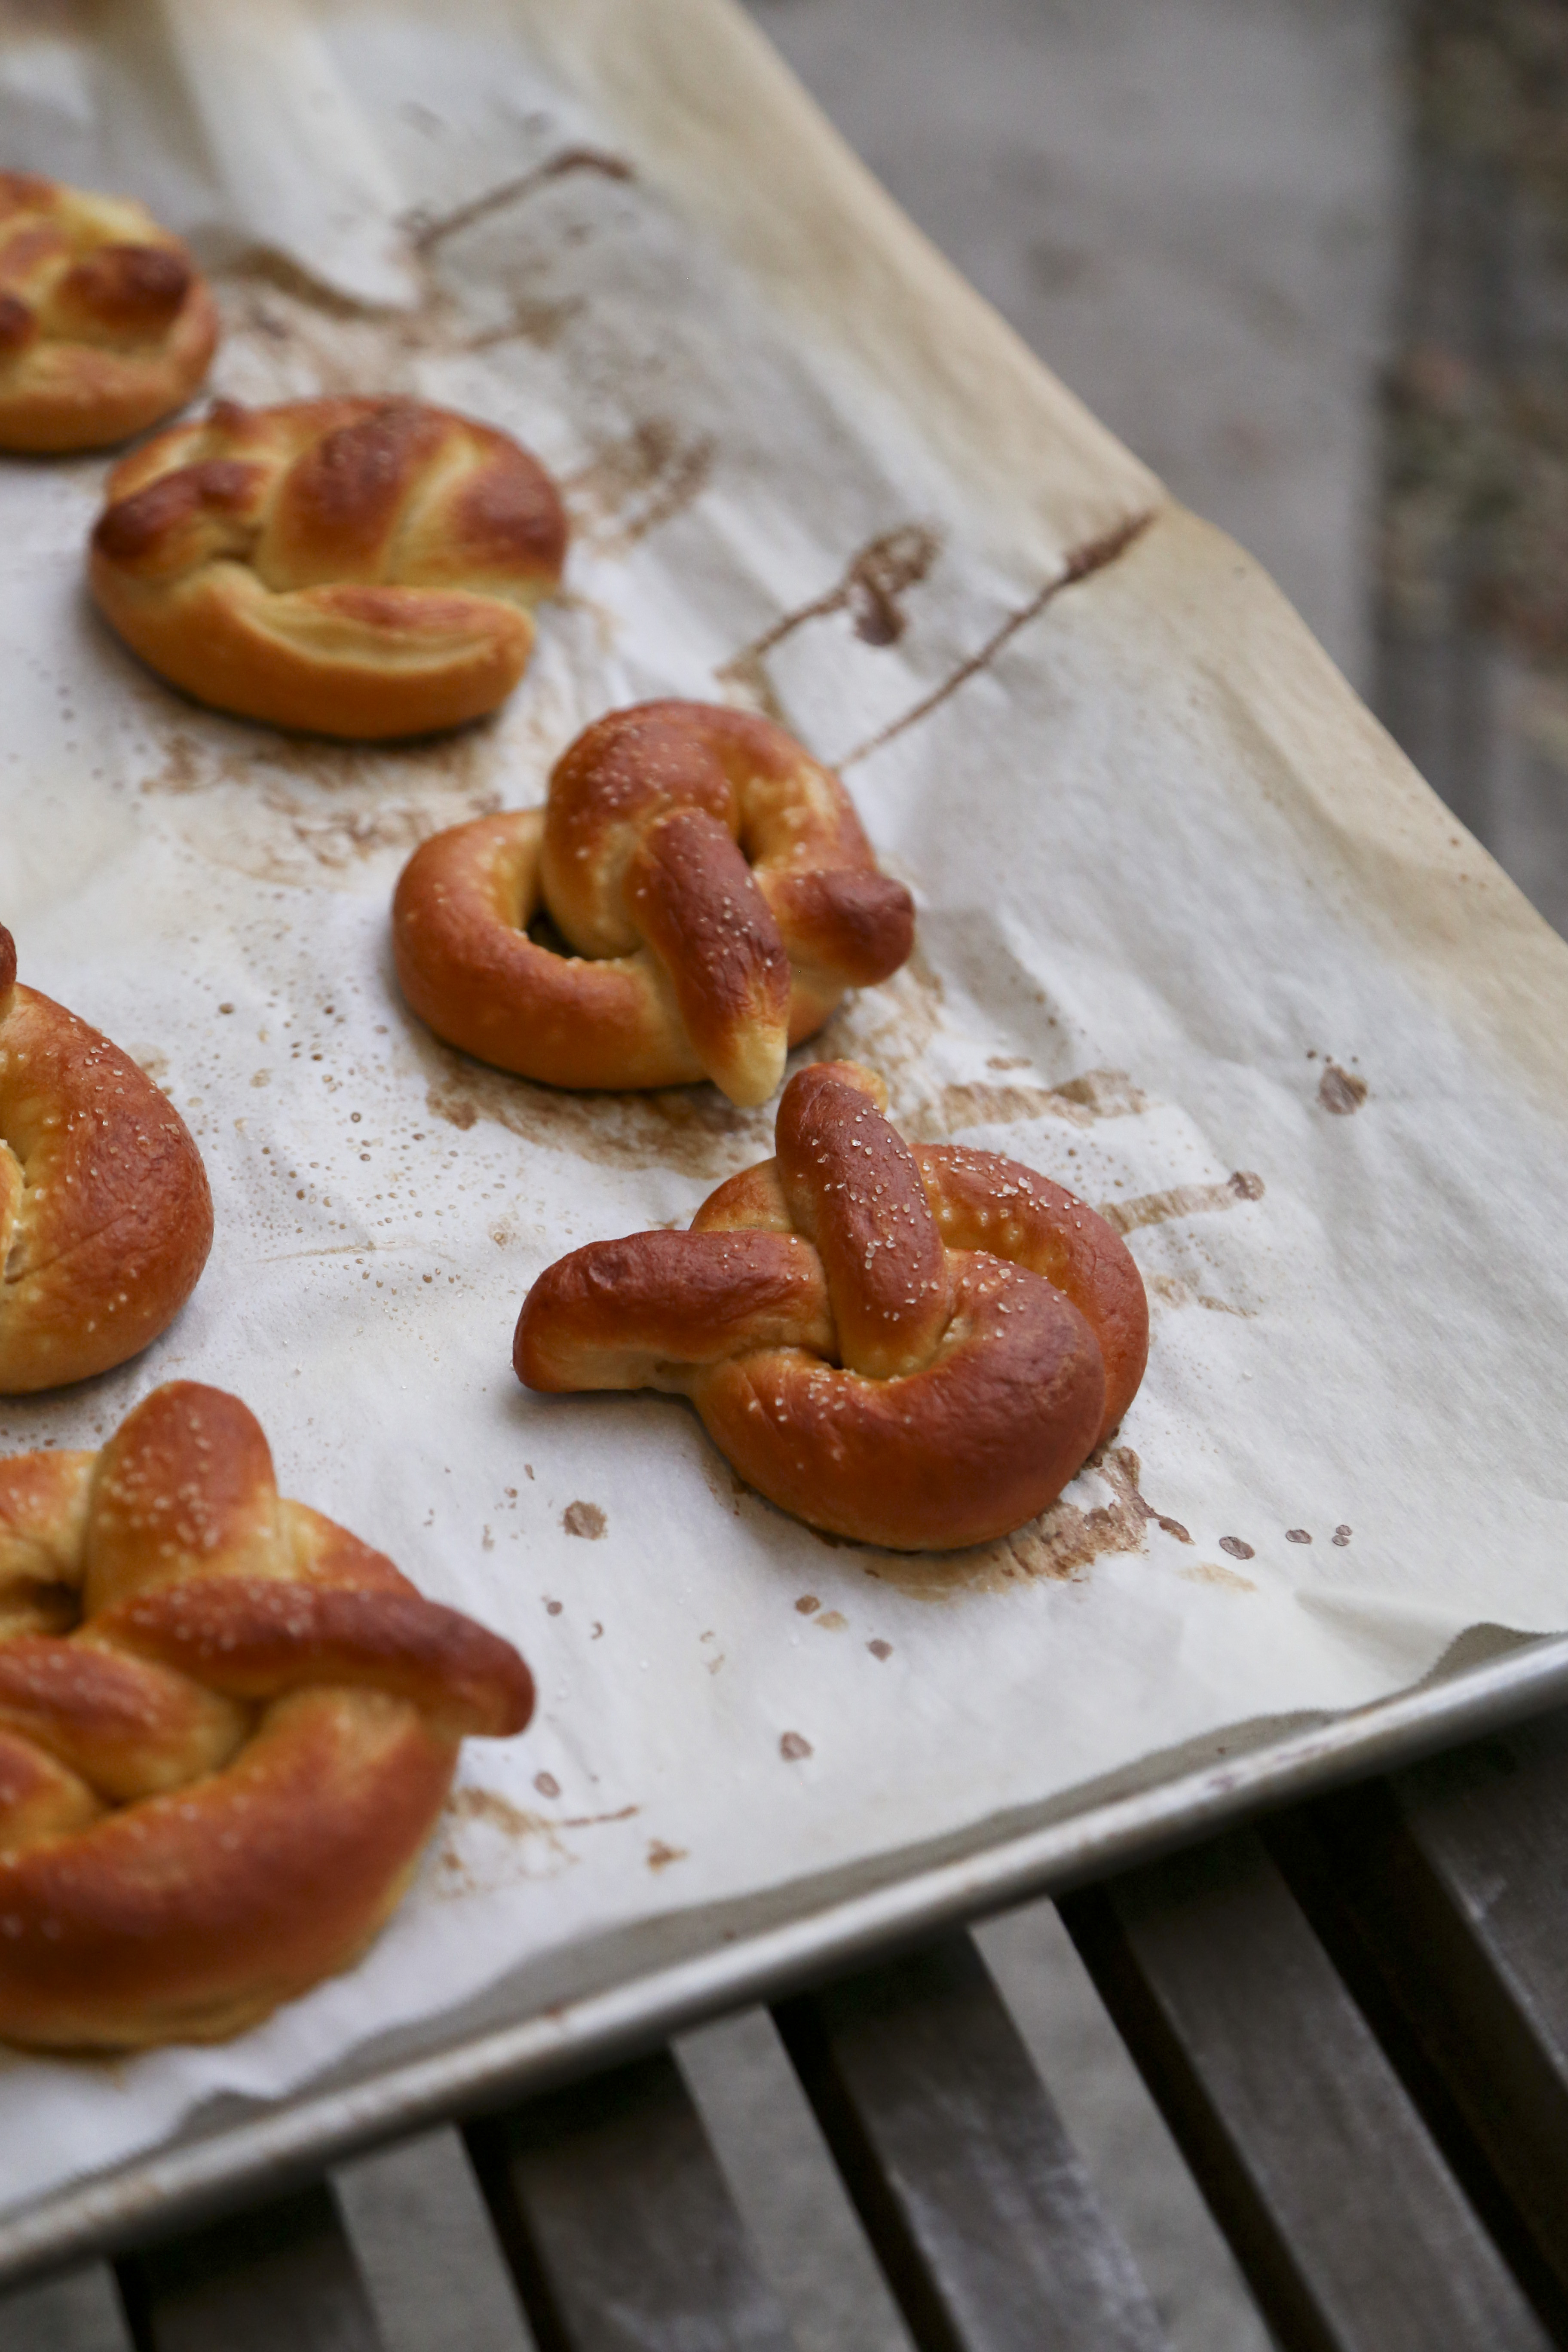
I absolutely hate the word “skinny” when it comes to people and food.  I’m going to avoid “skinny” and talk about something that will get you nowhere toward achieving the goal of “skinny”… Soft Pretzels

Carb-y. Delicious.  Thigh-gap’s worst nightmare.
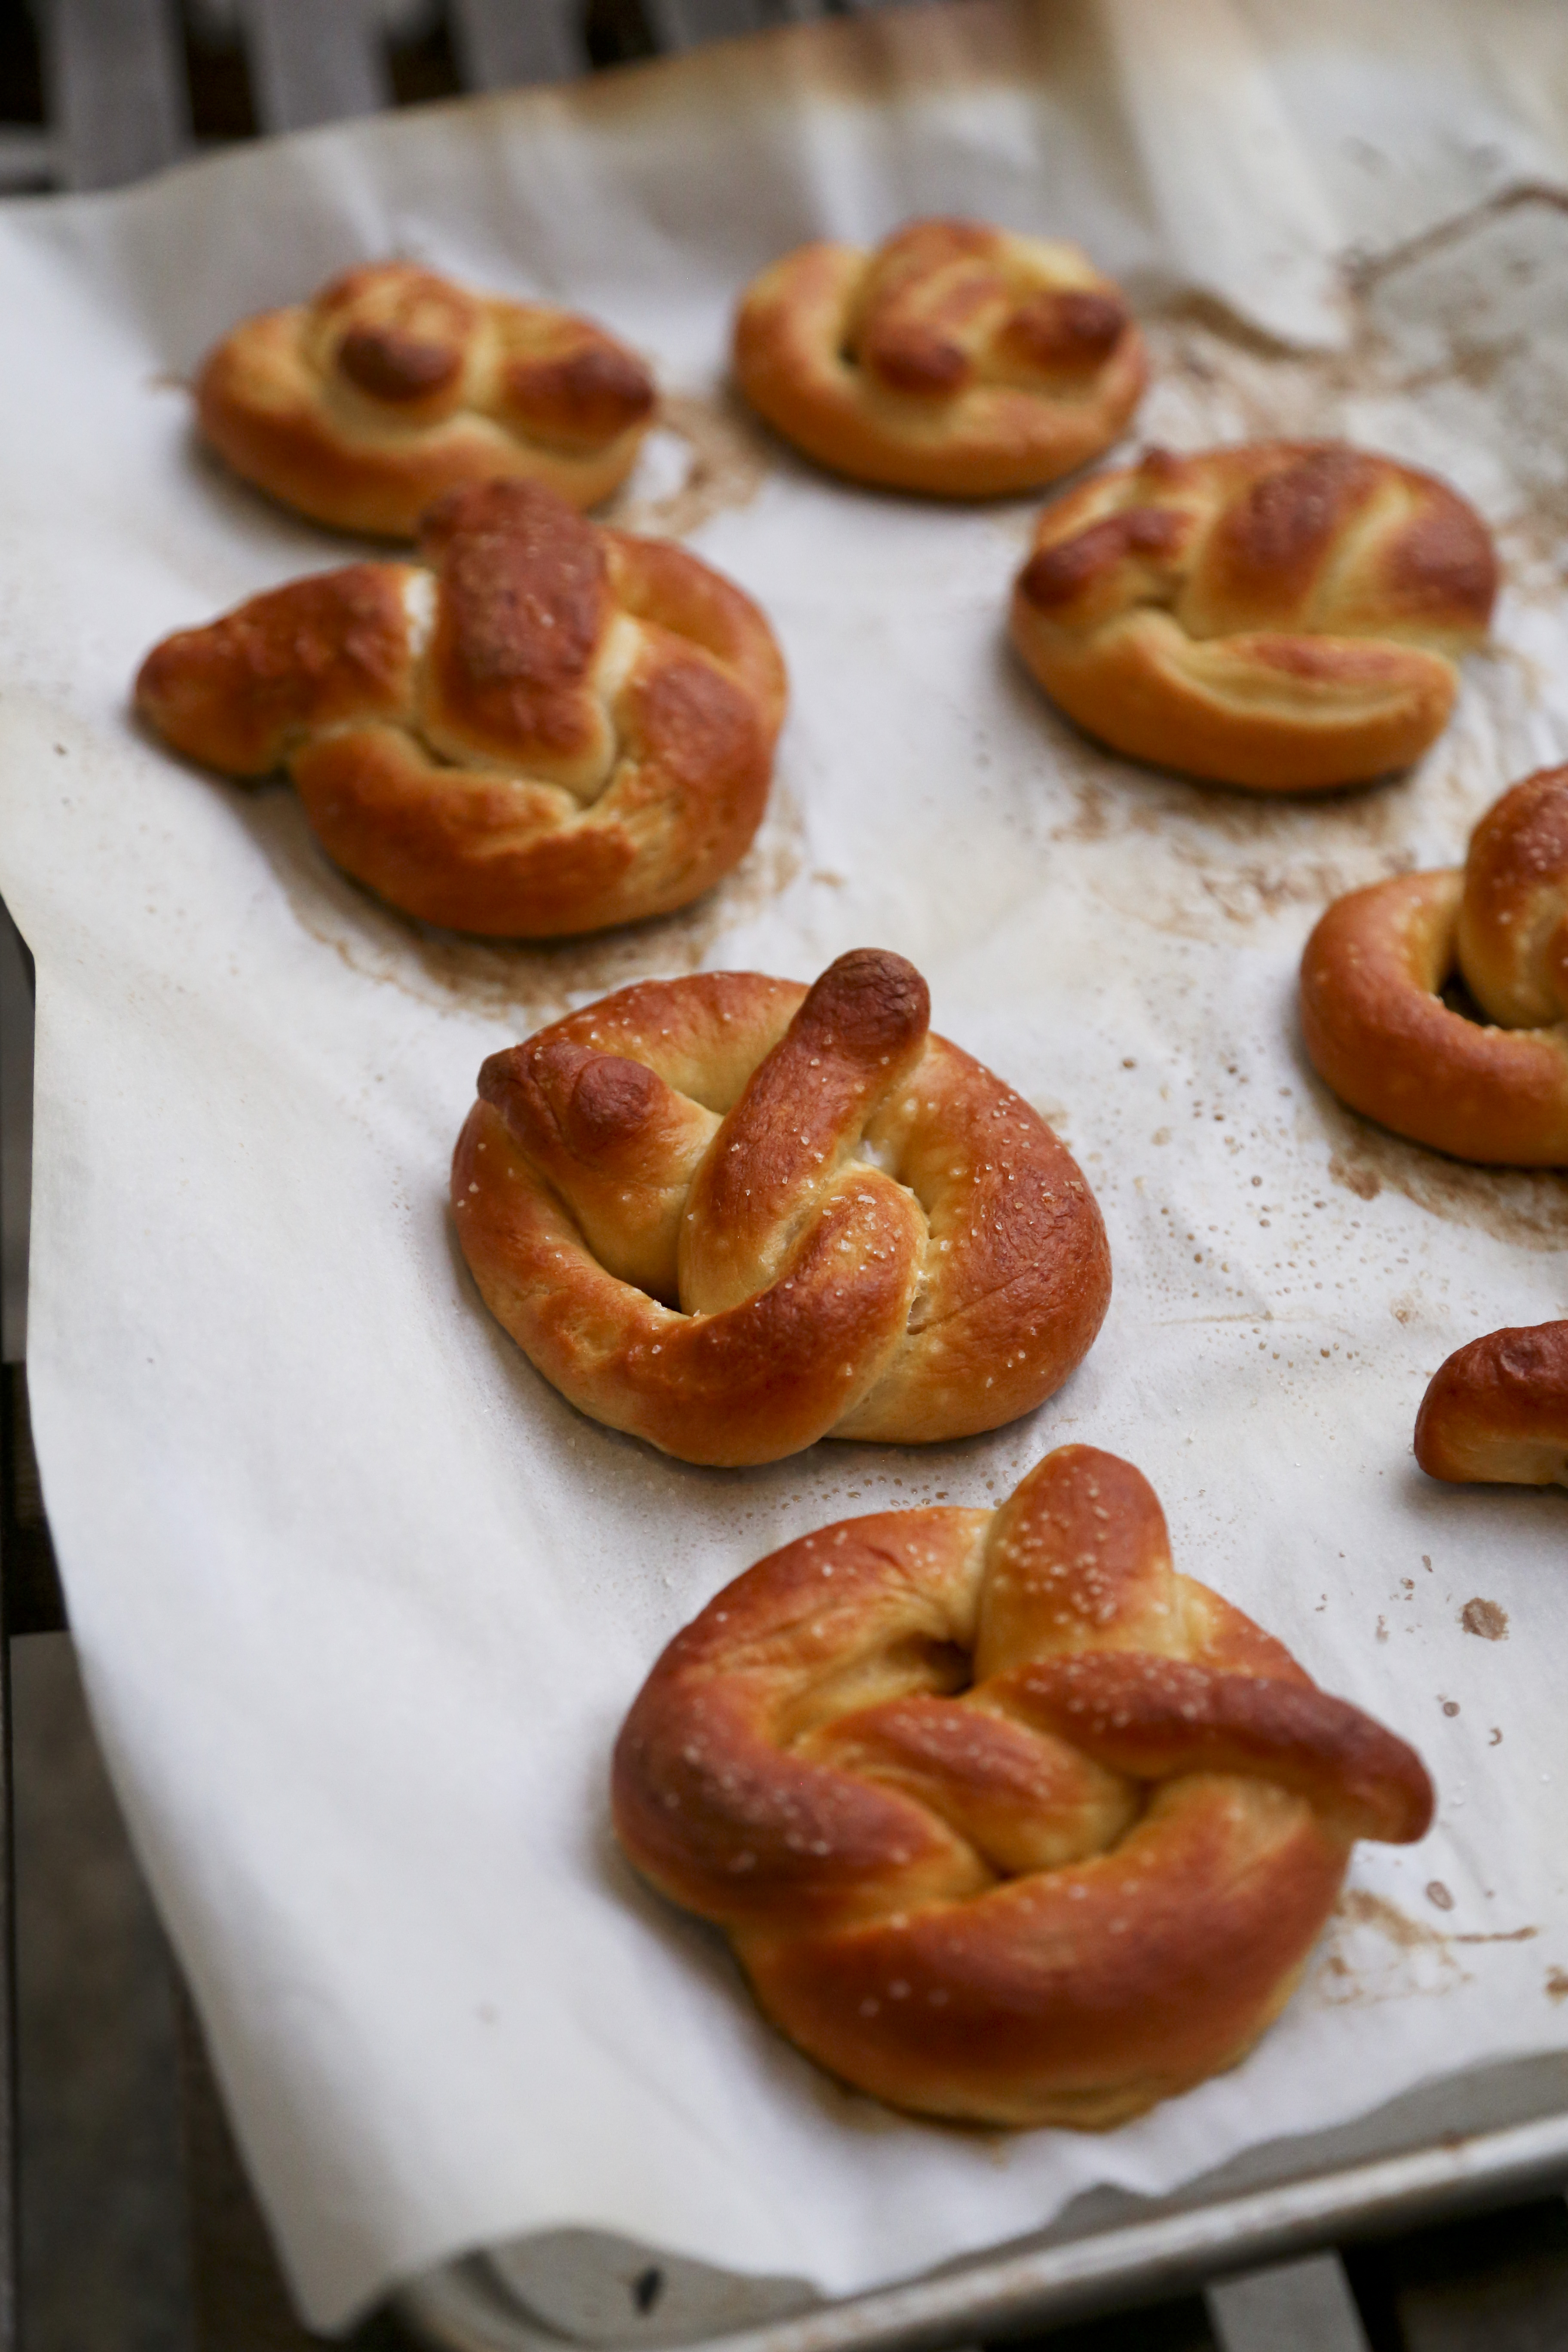
softpretzels1

Soft Pretzel

from Chow

1 cup warm water (105°F to 115°F)    
1 (1/4-ounce) packet active dry yeast (2 1/4 teaspoons)    
Canola oil spray (like Pam or whatever)    
2 3/4 cups bread flour    
1 tablespoon sugar    
1 teaspoon sea salt, plus more for sprinkling    
6 cups water    
1/4 cup baking soda

Place warm water in the bowl of a stand mixer.  I don’t measure the temperature, I just turn the water on hot from the sink and that’s usually the right temperature.  Add yeast and allow to sit for 5 minutes, until foamy.  If your yeast/water combo isn’t bubbley, throw it out.  It’s no good!

In another bowl, whisk together bread flour, sugar and salt.  Attach the dough hook to your stand mixer.  Add flour to yeast mixture and turn your mixer on low.  Mix for 10 minutes.   Transfer dough to a greased bowl.  Cover with a towel and place in a warm spot to rise for half an hour.

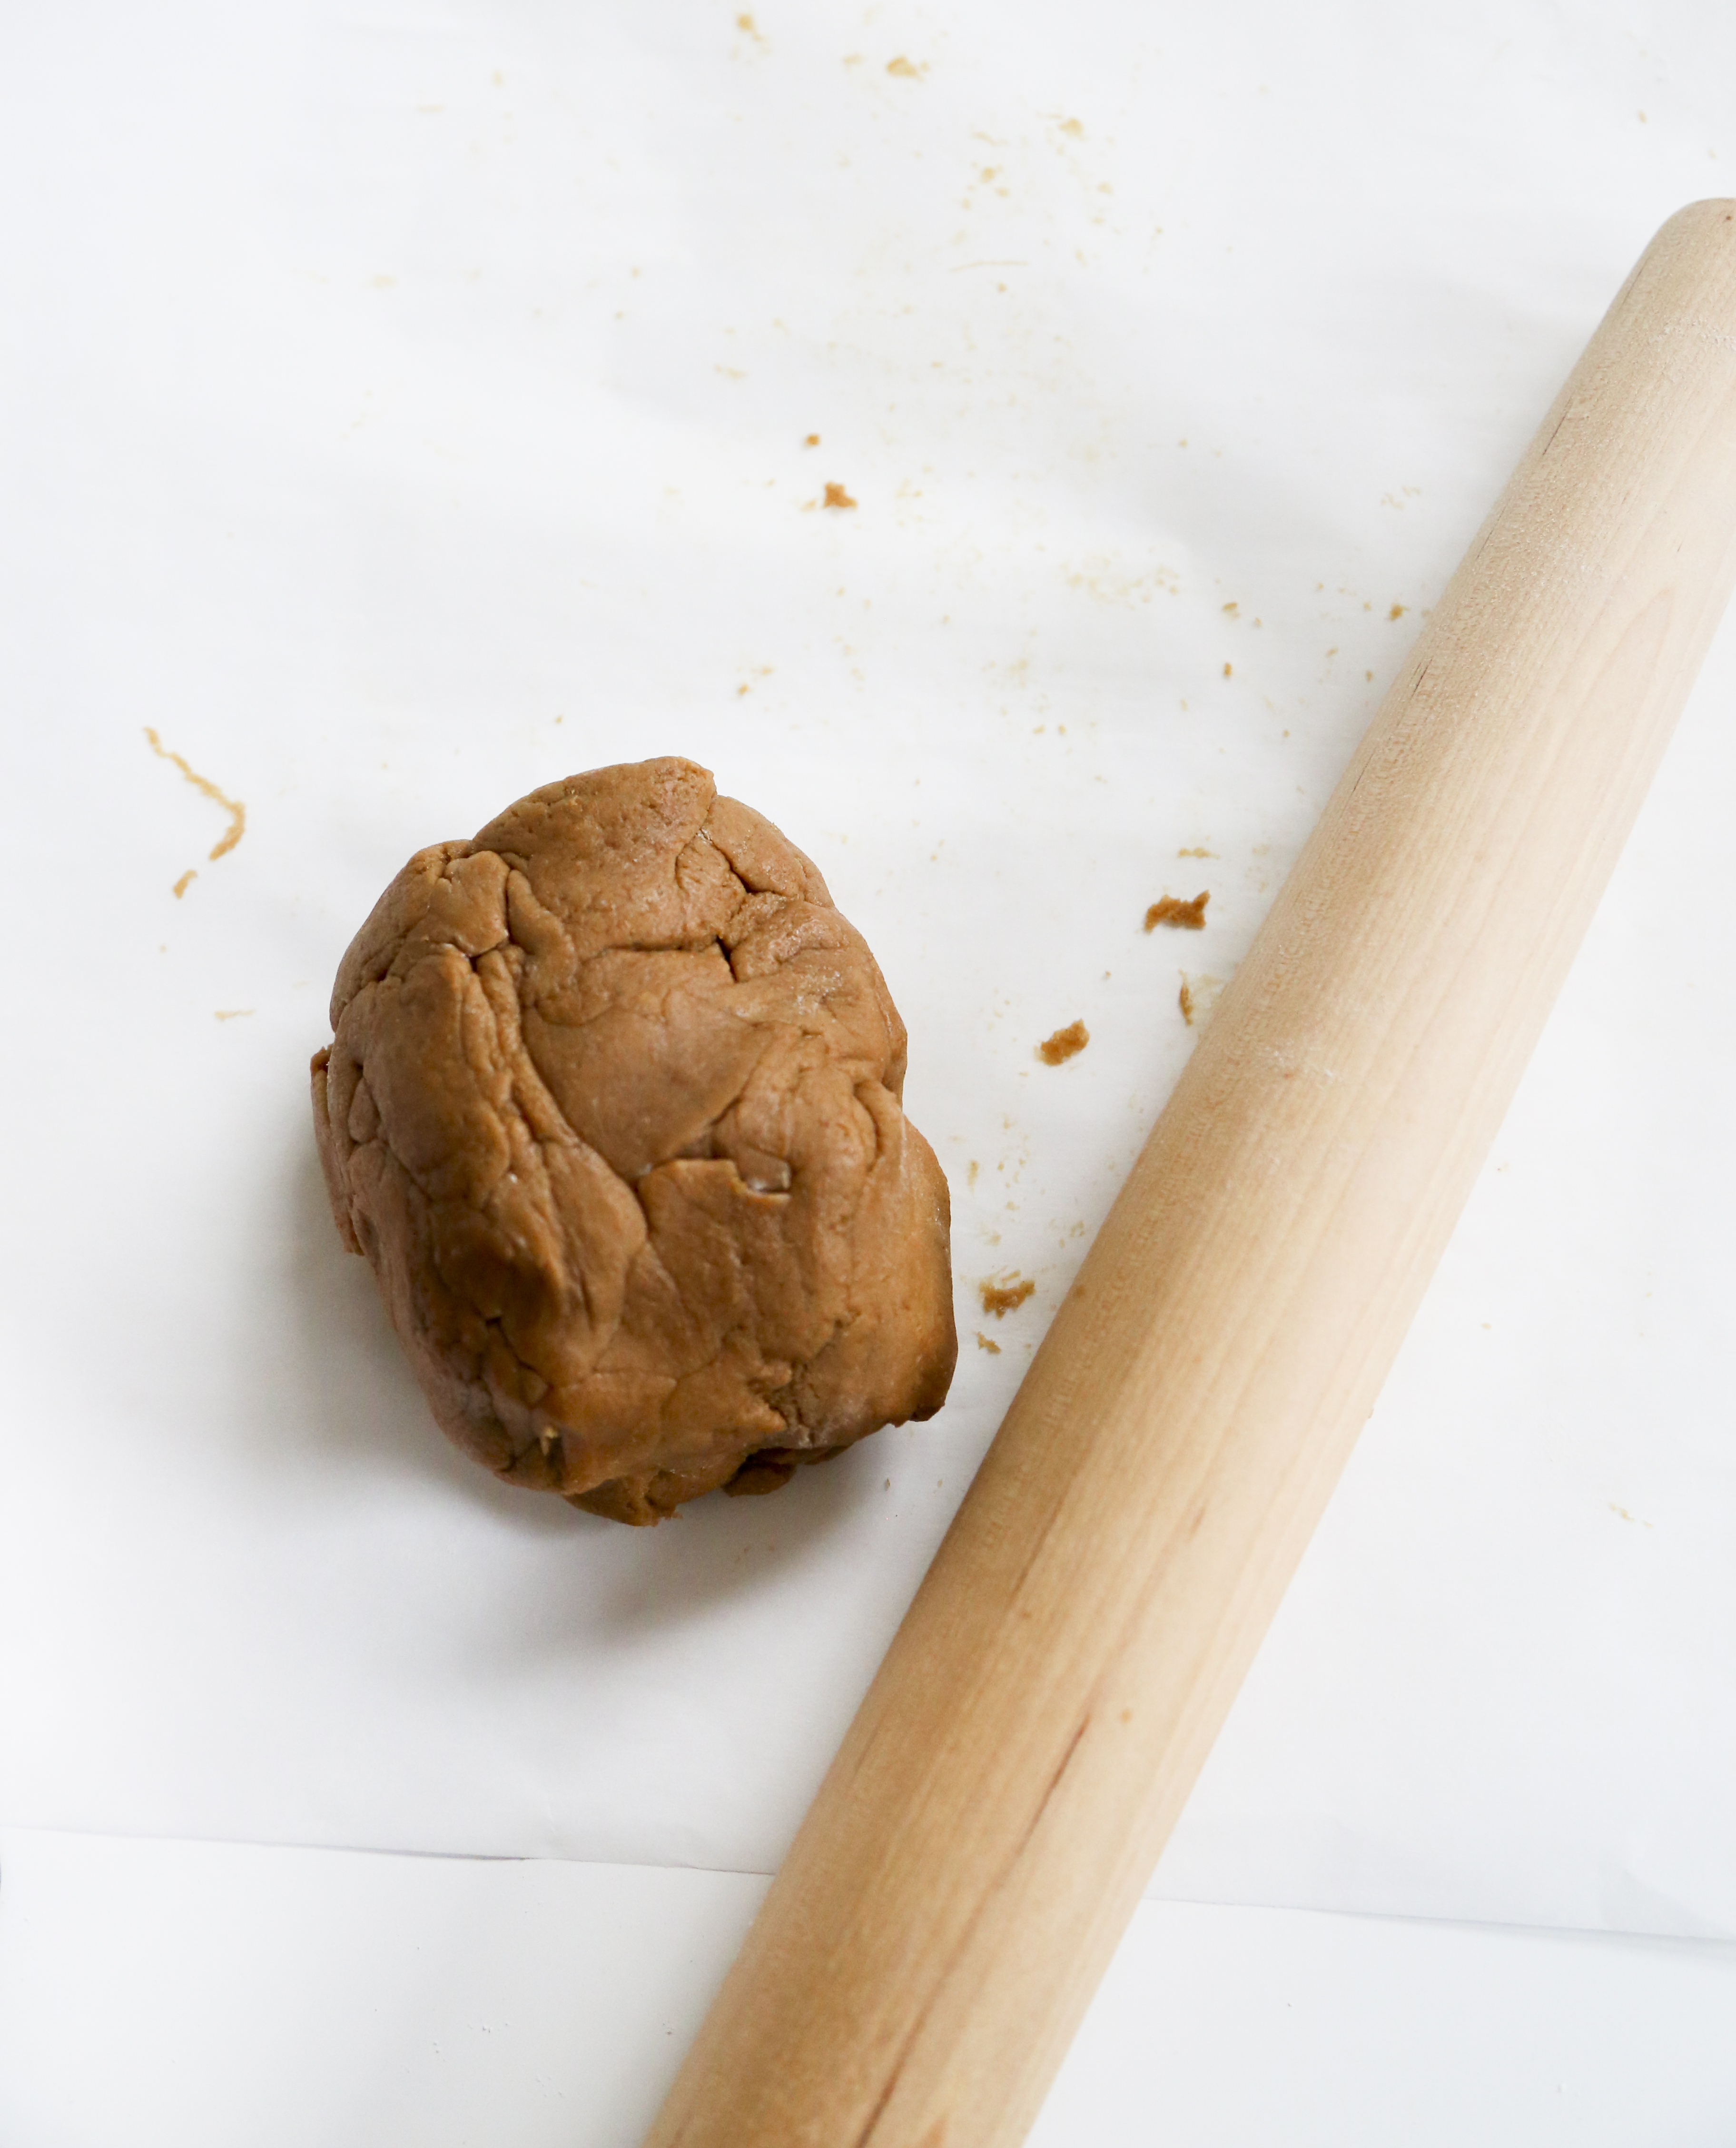
Prep your baking sheets by lining two baking sheets with parchment paper and spraying with cooking spray.  Once your dough has risen, punch down and knead by hand for another minute.  Divide dough into 16 small balls.  Take each ball and roll into a long string, then twist into pretzel shape.  For photos on how to do this, check out Chow.

Place prepared pretzels on baking sheet and cover with plastic wrap.  Allow to rise for 10 minutes.  In the meantime, preheat your oven to 425F and boil 6 cups of water.  Once water has boiled, add baking soda.  Add pretzels (depending on the size of your pot, you might be able to fit 4-5 pretzels at a time).  Boil one minute per side.  Then transfer to baking sheet and sprinkle with sea salt.

Once you’ve boiled them all.  Bake for 10-12 minutes or until dark brown.  Allow to cool and serve!

softpretzels2

If you’re still feeling the resolutions, feel free to have this with some skinny cheese-beer dip.  I’m sure you can find that recipe somewhere on Pinterest.  Just kidding.

But for real.  These pretzels are awesome and surprisingly easier to make than I would have expected!

How are your New Year’s Resolutions coming along?

I’m slowly on my way to being able to do a pullup.  I did one with the thinnest red band this week! Woo!

Gingerbread Cookies

Let’s let the cookie obsession continue with Gingerbread Cookies!

Gingerbreadcookies
As a kid, Christmas cookies weren’t really a tradition during the holidays for us. I think I remember my sister setting out cookies for Santa with me once, but I might be making that up in my head. I know Christmas cookie decorating is a normal thing in most households, but it didn’t really happen in mine. That’s what happens when you have immigrant parents, I guess?

But this year, since cookies are all the rage in my world, I decided to go all out and make Gingerbread cookies.

Allison from Sweet Potato Bites had a cookie party at her house, so I thought that would be the perfect opportunity to make them for.

I baked them in advance and made royal icing at her house for decorating.

Gingerbreadmen2
I spent a long time researching Gingerbread recipes, but I found this one from All Recipes to be best.  As usual, I made a few changes to the recipe, so here’s my version:

Gingerbread Cookies

adapted from All Recipes

3 1/4 cup flour
1 tsp ground ginger
1/2 tsp cinnamon
1/4 tsp mace
1/2 tsp salt
1 tsp baking soda
1/2 cup butter, room temperature
1/2 cup brown sugar
1/2 cup molasses
1/4 cup maple syrup
1/4 cup almond milk (or water)

In a medium bowl, combine flour, spices, baking soda and salt.  In a large bowl (or in a stand mixer bowl), cream together butter and brown sugar until fluffy.  Beat in some of the dry ingredients and then some molasses, maple syrup and almond milk, alternating wet and dry ingredients until all combined.   Chill the dough for a few hours (I made this a day in advance and chilled the dough over night).

gingerbreaddough1

Once you’re ready to make cookies, pre-heat oven to 350F.  On a lightly floured surface roll out the dough to about 1/4 inch thick.  Using your cookie butters of choice, cut out desired shape and place on a parchment paper lined baking dish.  Place a few inches apart on the sheet as they cookies expand a tiny bit when they bake.

Bake 8-10 minutes (this will vary depending on the type of cookie cutter you use and the size.)  Once they’re golden on the edges, they’re ready.  Don’t overbake them or they’ll be hard.  Allow to cool completely, then decorate with royal icing.

Gingerbreadmen1I had never decorated cookies with Royal Icing before.  I’m going to try it a few more times, really perfect it then do a blog post on it.

That means I’ll be making these cookies again.  I really liked these cookies because they weren’t hard.  The ones in an air tight container stayed soft for over 5 days.  However, if you like crunch gingerbread cookies, just leave these out a little longer to harden and you’ll get crunch cookies!

I have some ideas for the next Christmas cookies to make, but if you have a great recipe to share, please share it in the comments!

Molasses Cranberry Cookies

Christmas season is in full swing!  Normally, I’m not that into holidays. But I’m not sure what’s wrong with me this year, all I want is a living room with a Christmas tree.   If you remember back when I told you about where Foodologie happens, you’ll remember that I live in a studio that is teeny-tiny.  That means I have zero room for a Christmas tree.   So because I can’t be festive in my living space, I have to find other ways to make the most of the holiday season.

First, I bought a Christmas dress. A new dress for Christmas is a tradition in my family for as long as I can remember.     Anyone else do that?

I’m thoroughly excited about it.  I also bought myself another dress, because… well…

dress

Christmas present to myself?  (P.S. When will I get over sending my friends pics of outfits I’m thinking of buying?)

In addition to my Christmas dress, I’ve also been thoroughly excited about cookies.  So cookie making has been happening, starting with these:

Molasses Cranberry Cookies4

I don’t know about you, but I love chewy molasses cookies with lots of ginger.  They’re pretty much the best, as are these cookies.

Molasses Cranberry Cookies2

Molasses Cranberry Cookies

adapted from Blue Ribbon Cookies

1 stick of butter + 2 tbsp (10 tbsp total)1 cup sugar (plus extra for rolling)
1 egg
1/4 cup molasses
2 1/4 cup flour
2 tsp baking soda
1/2 tsp salt
1 tbsp ground ginger
1/2 tsp cinnamon
1/4 tsp mace
1 cup dried cranberries

Cream together butter and sugar until fluffy.  Beat in molasses and egg until fluffy.  In a bowl, combine flour, baking soda, salt and spices.  Add dry ingredients to wet ingredients.  Just before ingredients are combine, fold in cranberries.

Chill dough for a few hours.

Once you’re ready to bake, preheat your oven to 350F.

Form dough into 1 inch balls and roll in granulated sugar.  Place on a parchment paper lined baking sheet.  Bake 8-10 minutes.  Allow to cool  and serve!  Makes about 4 dozen cookies.

Molasses Cranberry Cookies1

I took these to work, shared with friends and a boyfriend. They were gone pretty quickly.  I’ll definitely be including these in my Christmas Cookie Gift Tins.   I have a few other awesome cookie recipes coming up, because seriously… I’m obsessed with cookies right now.

What about you?  How are you preparing for Christmas?  Do you have a Christmas dress yet?

Persimmon Crumb Cake

Hi Everyone! I’m in Peru probably avoiding altitude sickness is Cusco and on my way to Machu Picchu, but before I left, I made something to share with you.

I have some pretty awesome co-workers.  Once brought me a bag with 15 persimmons.  Isn’t that amazing? I love persimmons but $$$ and let’s be honest… the rent is too damn high to be eating persimmons all the time.

First, I used the persimmons for pancake topping.

Pancakes with Persimmon4

But sadly, he gave me persimmons just before I left for Peru so I figured a great way to give back (and use up the persimmons) was to make a delicious treat with them. If you’re looking for a wonderful afternoon tea fall crumb cake… this is the one.

Persimmon Crumb Cake1

Simple and delicious.  And I have to confess, that I ate two pieces of this when I brought it to work.  It was great with a cup of coffee in the afternoon.

Persimmon Crumb Cake3

Persimmon Crumb Cake

adapted from Real Simple Sandi Rose’s Blackberry Crumb Cake

Crumb Topping:

1/2 cup oats
1/4 cup flour
1 tbsp molasses
1/4 cup (heaping) sugar
2 tbsp butter

For Cake:

1/2 cup vegetable oil
1 cup sugar
2 eggs
1 tsp vanilla extract
2 cups cake flour
2 tsp baking powder
1 tsp cinnamon
1 tsp ground ginger
1/2 tsp salt
1 cup milk
4-5 persimmons, chopped

Pre-heat oven to 350F.

Make crumble topping by combining all ingredients.  Use your fingers to work it together til it becomes the texture of coarse crumbs.  Set aside.

Next make the cake batter.  Beat together oil and sugar.  Continue to beat and add eggs one at a time, beating 1 minute after each egg.  Add dry ingredients as you’re beating in the dry ingredients, stir in the milk.

Pour batter into a 9inch square pan (I actually used a 9inch deep pie dish, because that’s all I had).   Sprinkle with chopped persimmons then the crumble topping. Note: some of the persimmons might sink because the batter is pretty watery, but that’s ok!

Bake 50-60 minutes or until golden brown and cooked through.  Allow to cool completely, dust with powdered sugar (optional). Slice and serve!

Persimmon Crumb Cake4
Definitely a winner. Perfect for afternoon tea or when you have guests.  And the best part, if you don’t have persimmons you can pretty much sub out any fruit: apples, pears, peaches, berries, even probably bananas?

Either way, make this and have it with a large cup of coffee or tea.  I did.  It was amazing. Do it.

Persimmon Crumb Cake2

So while I’m in Peru, I don’t have time to share all this goodness with the social media world.  Do me a favor.  Tweet it. Pin it. Facebook it. Tell the world about the magic of persimmon cake!  In the meantime, I’m going to hike a mountain and eat some guinea pig (well… we’ll see)…

Also don’t forget The Refugee Auction is ending soon! Don’t miss out on your chance to bid on some Foodologie treats just for you!  Check it out here!

Refugee Auction: Get Foodologie Treats and Help Someone Out!

Hi All!  What would you say if I told you I could send you some of these?

ChocolateHazelnutGingerBiscotti1

Well, not today… but let me explain.  I’m in Peru but a few months ago, my awesome friend Liz asked if I could help her out with an organization she’s been involved with for a few years: Refugee Center Online (RCO)

RCO is an awesome organization that “provides educational opportunities and general information about American society, and connects refugees with services, programs, and organizations in their new communities.”

This year, they’re holding their first e-auction, with 100% of proceeds going directly to support refugees in the US!  Awesome cause so I’m helping out by donating auction items!

Up for auction is an assortment of holiday cookies baked with lots of love by me!  I’ll pick a few of my favorite cookies and send you a few dozen!  If you’re a reader, I’ll even let you request your cookies of choice! BananaBaconChocolateChipCookies3orangepistachiobiscotti1 You can also bid on lots of other awesome stuff.  Head over to Ebay (HERE) to check out the auction items and get your hands on some cookies for a good cause!
gingerchocolatechipcookies1The auction runs from today, November 15th until November 23rd.  Don’t miss out! Check it out!Feel free to share this with anyone you think might appreciate the cause or the treats 🙂I’ll talk to you all when I get back from Peru!  Happy Almost Thanksgiving!!!

Mocha Protein Cupcakes

Yesterday, I took Jesse to the airport.  He’s off to New York for almost 3 weeks for a training course.  I hate to be that girl, but I miss him already.  So in the meantime, I plan on baking a lot.  Because baking makes the world a little bit better.

After I did my search for the best protein powder, Garden of Life sent me some more of their flavors to try: Garden of Life RAW Protein Marley Coffee and Raw Fit.

photo-3

I automatically fell in love with the Raw Fit, because it kept me so full for so long, but I had a hard time with the Marley Coffee flavor.

Given that I’m a coffee fiend, I thought I would love the coffee flavor, but I’m going to be honest, I didn’t love the flavor on its own.  So instead of devouring the Marley Coffee flavor like I did the Raw Fit in my usual breakfast smoothies, I’ve been trying to find other delicious ways to use the Marley Coffee Protein and here’s my most recent creation.

mochaproteincupcakestextIt’s no secret I have a ridiculous sweet-tooth, it’s also no secret that I generally try to balance it out with healthy eats.  So I decided to try to combine my love of sweets with a dose of healthiness.  These cupcakes don’t contain any butter or refined sugar and each one has 7g of protein and only 125 calories.  Drizzled with a bit of almond butter, they’re the perfect healthy-ish treat.

mochaproteincupcakes1


Mocha Protein Cupcakes

1 medium banana, mashed
1/4 cup almond butter
1/4 cup maple syrup
1 egg
1/4 cup almond milk
1/4 cup unsweetened cocoa powder
1/2 cup Garden of Life Marley Coffee Raw Protein
1/2 cup almond meal1 tsp baking soda
1 tsp baking powder
1/4 tsp salt

Pre-heat over to 350F.

Mix together mashed banana, almond butter, maple syrup, egg and almond milk.  Add cocoa powder, protein power, almond meal, baking soda, baking power and salt.  Stir to combine.  Pour batter into 11-12 lined cupcake pan.  I got 11 cupcakes out of this.  Bake 15-18 minutes or until cooked through.  Remove from oven and allow to cool completely.

mochaproteincupcakes2You can eat them plain, top them with whipped cream or drizzle them with almond butter.  What I really loved about these cupcakes, other than the awesome nutrition stats:

Screen Shot 2013-10-13 at 5.56.10 PM

Was the texture.  They’re light and crumbly like a good cupcake should be.  The coffee flavor isn’t ultra strong, honestly these taste more like great chocolate cupcakes.  After all, it’s pretty common to add coffee to chocolate baked goods for flavor.  This protein added that perfect hint of coffee flavor that makes chocolate baked good extra delicious.

mochaproteincupcakes3So if you’re looking for a healthy cupcake, this is the one for you.  Be sure to check back later this week, I have some great things planned for you all!


**Note: Garden of Life provided me with the Raw Fit and Marley Coffee RAW Protein, but the opinions are my own.

The Perks of Living Alone and a Plum-Almond Tart in a Buckwheat Spelt Crust

Living alone can be absolutely fantastic.  Sometimes I think I’m borderline hermit, because there’s nothing I love more than crawling into my batcave and not talking to a single person.  A lot of people ask me if I get lonely living alone.  Honestly, some days… YES (especially when I hear a noise on my patio, even though I’m 99.9% sure it’s the fat black cat that likes to hang out).

But then other days, I cherish the fact that I’m independent.  So in case you’re wondering, here are some of the perks of living alone:

1. Permanent No-Pants Party.  Pants are over-rated.  When you live alone, you can walk around with no pants.  There’s no one to hide from or be judged by.  It’s just you and your thighs, hanging out.

2. The peanut butter jar is yours and only yours. 

peanutbutter

You can dip your fingers in peanut butter, eat huge bowls of ice cream, have handfuls of chocolate chips, and pretend like calories don’t matter, because if no one saw you consume it, it didn’t happen.  Ok so I’m kidding, but really you can have ridiculous eating habits and no one will judge you.  Jesse saw me devour a banana with almond butter one day and was completely horrified.  I keep it private now.  (Note: the obvious exception to this is the awesome roommate who goes to the store to get half moon cookies and coconut popswith you at midnight… looking at you Christina!)

3.  You’re the Queen of the Remote.  This is pretty much self-explanatory.  You decide what’s on TV… I’ve watched the same 2 episodes of Catfish like 5 times… When Jesse comes over and I turn it on, he comments on how we already saw that one… Oh yeah…

4.  You can fart if you want to.  Totally not lady-like, but let’s be honest, everyone farts.  It just happens.  When you live alone, you don’t have to worry about anyone else hearing you, because no one is around.  You can keep up lady-like appearances in public when you know you can let loose at home.

5.  You can hog the kitchen and bake whenever you want. 

plumalmondtart1

I’ve been lucky and have generally had roommates who are cool with me dominating the kitchen.  Only one roommate was not ok with it (there’s a reason I live alone now…).  But the best part of living alone, for me, is being able to spend hours with baking experiments, like this plum-almond tart.

plumalmondtart3

I’m going to be totally up front and honest with you.  I have mixed feelings with this recipe so I decided not to share my recipe.  I’m going to try again until I get it to taste awesome.   I wanted to love this tart, because it has all the makings an an awesome blog post: healthy alternatives, unique non-wheat flour, no added refined sugar (does maple syrup count? It’s still sugar).

The crust is made of buckwheat and spelt flours.

buckwheatspeltcrust

Honestly, this crust tastes a little too “healthy” for my liking, and the texture is a little too crumbly, not flakey.  The filling on the other hand, I liked.  Moist but nutty and slightly “healthy” tasting.  It involves almond meal and maple syrup.  And the plums.  Divine.

plumalmondtart2

Ok so at this point, I’ve told you why living alone is great and why it’s not so great.  I’ve also told you why this tart was awesome and also not so awesome.

Do you live alone? Do you love it? Hate it?  Do you have roommates/friends/partners you live with?  What’s best?


Nectarine Tart with Pistachio Oat Crumble

Pies vs Tarts?

What’s the difference?  Great question.  There’s probably an official answer but honestly to me they’re the same thing.  The only difference is the type of pan you make it in.  But honestly, you can make any tart recipe into a pie and any pie recipe in to a tart.  So whether you want to call this a pie or a tart, I’m ok with either.

I took this to a potluck and I think I called it a pie.  But now that I think about it, I made it in a tart pan so it should be called a tart.  A tart sounds fancy, doesn’t it?

nectarine tart1

Pie sounds homey.  Tart sounds regal.  I’m ok with fancy business, but let’s be honest, I’m not a fan of expensive.  My tart pan was $2.50 at the Good Will.  I wanted to keep this dessert low budget too.  I went to the store and looked for the cheapest fruit available.  That’s my strategy because generally the cheapest fruit is in season.

Nectarines were $0.50/lb.  So awesome.  It took about $1.50 worth of fruit to make this tart.   Beautiful and frugal.  I’m into it.

nectarine tart3

Nectarine Tart with Pistachio Oat Crumble

For Crust:

175g All Purpose Flour (about 1 1/4 cup)
1 tbsp Sugar
pinch of Salt
1 stick of Butter, cold
2 tbsp (maybe more) Ice Water

For Filling:

8 Nectarines, diced
1 1/4 cup Sugar
1/4 cup + 2 tbsp Flour
1/2 tsp Cinnamon (optional)
2 tbsp Rum (Optional)

For Topping:

1/2 cup Flour
1/3 cup Oats
1/4 cup Brown Sugar
2 tbsp White Sugar
1/4 Pistachios, chopped
pinch of Salt
4 tbsp Butter (plus extra for placing on top)
1 tbsp Rum (optional)

Prepare pie crust by combing flour, sugar and salt.  Using your fingers, break the butter into the flour mixture until it resembles very coarse crumbs (even pea sized is fine).  Add ice water and bring it all together into a ball using your hands.  Wrap in plastic wrap and refrigerate a few hours.  You can make this up to two days in advance (or much longer and freeze it).

Once the dough has rested enough (a few hours or days), roll out and place into a 9 inch fluted tart pan (this will also work in a pie dish).  Place in freezer while you make the filling and topping.

nectarine tart4

Pre-heat oven to 350F.

Dice nectarines (leave the skin on) and combine with sugar, flour, cinnamon and rum.  Set aside and make the topping.  In a bowl, combine ingredients for filling.  Using your fingers, work ingredients together (feel free to add more pistachios if you’d like) until the texture of coarse crumbs.

Now assemble tart.  Place nectarine filling into prepared tart pan.  Top with crumble topping.  Lay a few thin pats of butter over the top.  Bake for about an hour and a half, or until filling is bubbling and top is golden.

Allow to cool completely.  Serve and enjoy!

nectarine tart2

This was a big hit.  I was a fan.  I loved the crumble topping with pistachios in it, and let’s be honest… nectarines > peaches, but we never see nectarines in a pie/tart.  I’m not sure why, but I’m glad I changed that.  Also, everyone should leave the skin on the fruit.  Just saying…

For some reason I’m thinking plum pie needs to happen sometime soon, because I never see plums in a pie.

What’s your favorite fruit pie?  If you have an awesome recipe, share it in the comments!

Peanut Butter Honey “Bee’s Knees” Pie

Can we talk about TV for a minute?  For my birthday, Jesse got me a Kindle Fire.

I was super excited to have an ebook reader, but then I learned that it comes with a month of free Amazon Prime… That includes the free streaming…

Instead of voraciously reading the classics like I originally intended to, I’ve been watching Downton Abbey.  I get it, I’m like 5 years too late.  But I’m loving it.  To further my recent TV obsession, on Friday night I made Jesse watch 3 episodes of “Orange is the New Black.”  Awesome.

So since I like being late to the party, let me tell you about something I made for a party a while back.  You remember the Peanut Butter Throwdown, right?

I made White Chocolate Wonderful Ice Cream

whitechocpbicecream1

But I also made pie, because pie is always a good idea.

pies

Let me tell you about one of them because you know what else is a good idea? Pretzel crusts.

Along with being obsessed with multiple TV shows, I’m also really into pretzel crusts.  I love the salty and sweet combination, so in pie form it takes it to a whole new level.

beeskneespie

Peanut Butter Honey Pie

1 1/4 cup pretzel crumbs
1/2 cup butter, melted
1/4 cup sugar
1/2 cup Bee’s Knees peanut butter
4 oz cream cheese, softened
7 oz sweetened condensed milk
1 1/2 cups heavy whipping cream, divided
4 tbsp honey

First make your crust by mixing together pretzel crumbs, butter and sugar.  Press into a 9” pie dish and place in the freezer until ready to use.

Next, beat together peanut butter, cream cheese and sweetened condensed milk.  Beat 1/2 cup of heavy whipping cream until if holds firm peaks.  Fold whipped cream into peanut butter mixture until combined.  Set aside.

Beat remaining 1 cup of whipped cream.  Once it start to form peaks, add in 4 tbsp honey.

Next assemble the pie.  Spread peanut butter mixture into the pie crust.  Top with honey whipped cream.  Chill for a few hours.  Serve cold.

Ok now you can forgive me while I go crawl into bed to watch more Downton Abbey.

Which shows are you into these days?

I also recently discovered Catfish.  That’s totally amazing…

Chocolate Chip Snickerdoodle Bars

I somehow had the bright idea of joining the company softball team. If you knew me in real life, you’d be surprised that I would make such a choice. I’m not really a “team sports” kind of girl.  Not because I don’t like exercise.  No no.  I love Crossfit.  Running is fun.  Spinning is amazing.

At first you might think, oh so you’re a solo rider.  Well not really.  What softball has that running, Crossfit and spinning don’t is that softball involves a hard object flying at your face.  I’m not good at that.  You see, I’m what we like to call “accident-prone.”

The truth is, if there’s an opportunity to get hurt, chances are I will.   I’m set to hike the Inca Trail to Machu Picchu in November and my sister is already researching altitude sickeness and ways to prevent it.  She’s not even going on the trip with me and she knows it’ll be an issue for me.

In fact, the last time I tried to play a team sport was a summer softball league the summer before 9th grade.  I broke my finger mid way through the summer.  Lesson learned.

But now I’m older, and conquering fears and trying new (ish) things is totally my thing.  So why not.  I’ll let you know how it goes.

In the meantime, let’s talk about these guys.

chocolatechipsnickerdoodlebars2

I know you’re drooling because any mention of the word “snickerdoodle” makes babies smile and men squeal in joy.

Ok I can’t take credit for these.  I got this recipe from my favorite cookie cookbook given to me by my friend Rhoda (who also published an awesome cookbook!).

I want everyone to buy this book because I think it’s so awesome.  What I didn’t think was awesome was the name of the recipe.  Buttermilk Cinnamon Bars.  Boring.  So since I made some changes (like adding chocolate chips, among a few other changes, I decided to rename these to more accurately describe the taste.

Chocolate Chip Snickerdoodle Bars

Adapted from Blue Ribbon Cookies

2 cup sugar
2 cups flour
1/2 cup butter
1/2 cup unsweetened coconut flakes
1/2 cup chocolate chips
1 egg
1/2 tsp salt
1 tsp cinnamon
1 tsp baking powder
1 cup buttermilk
1 tsp vanilla

Pre-heat oven to 350F.   In a bowl, combine sugar, flour and butter.  Using your fingers, combine until the mixture resembles coarse crumbs.   Take two cups of that mixture and combine it with coconut and chocolate chips.

Press into a 9×13 baking dish lined with parchment paper.   With the remaining sugar/flour/butter mixture, add egg, salt, cinnamon, baking powder, buttermilk and vanilla.  Blend together.  Pour mixture oven base and bake for about 45 minutes, or until fully cooked in the center.

Remove from oven and allow to cool completely.  (I let it sit out overnight)  Once cooled, remove bars from pan by lifting parchment paper.  Cut bars into about 40 squares (or fewer large pieces…).

chocolatechipsnickerdoodlebars1

I promise these will be a hit.  They’re like snickerdoodles and chocolate chip coconut cookies on a date, because that makes sense.

Either way, enjoy them, pin them and wish me luck on this softball endeavor.

How are you at team sports?  Play any?  Tell me!

P.S. Have you entered the Peanut Butter & Co Giveaway?  You can earn entries daily!  Get to it here: http://bit.ly/147k7k8