I started out wanting to do another cutesy Valentine’s Day treat, but then I remembered that Valentine’s Day is a totally made up holiday (as all holidays are, I suppose). And really, some people hate it. I can’t say that’s the case for me, but I know for many, there is heart break and sorrow that goes along with this Hallmark holiday. And you know what? They deserve a treat too.
So this Valentine’s Day, if you want to stick it to the man, make yourself these hand pies.

It’s basically like saying F-you to sprinkles and red roses. So go for it. And just to warn you, I’m saying F-you to the idea of having a full recipe on a blog today. This is sort of a wing-it-non-recipe recipe. Be brave. Try it.
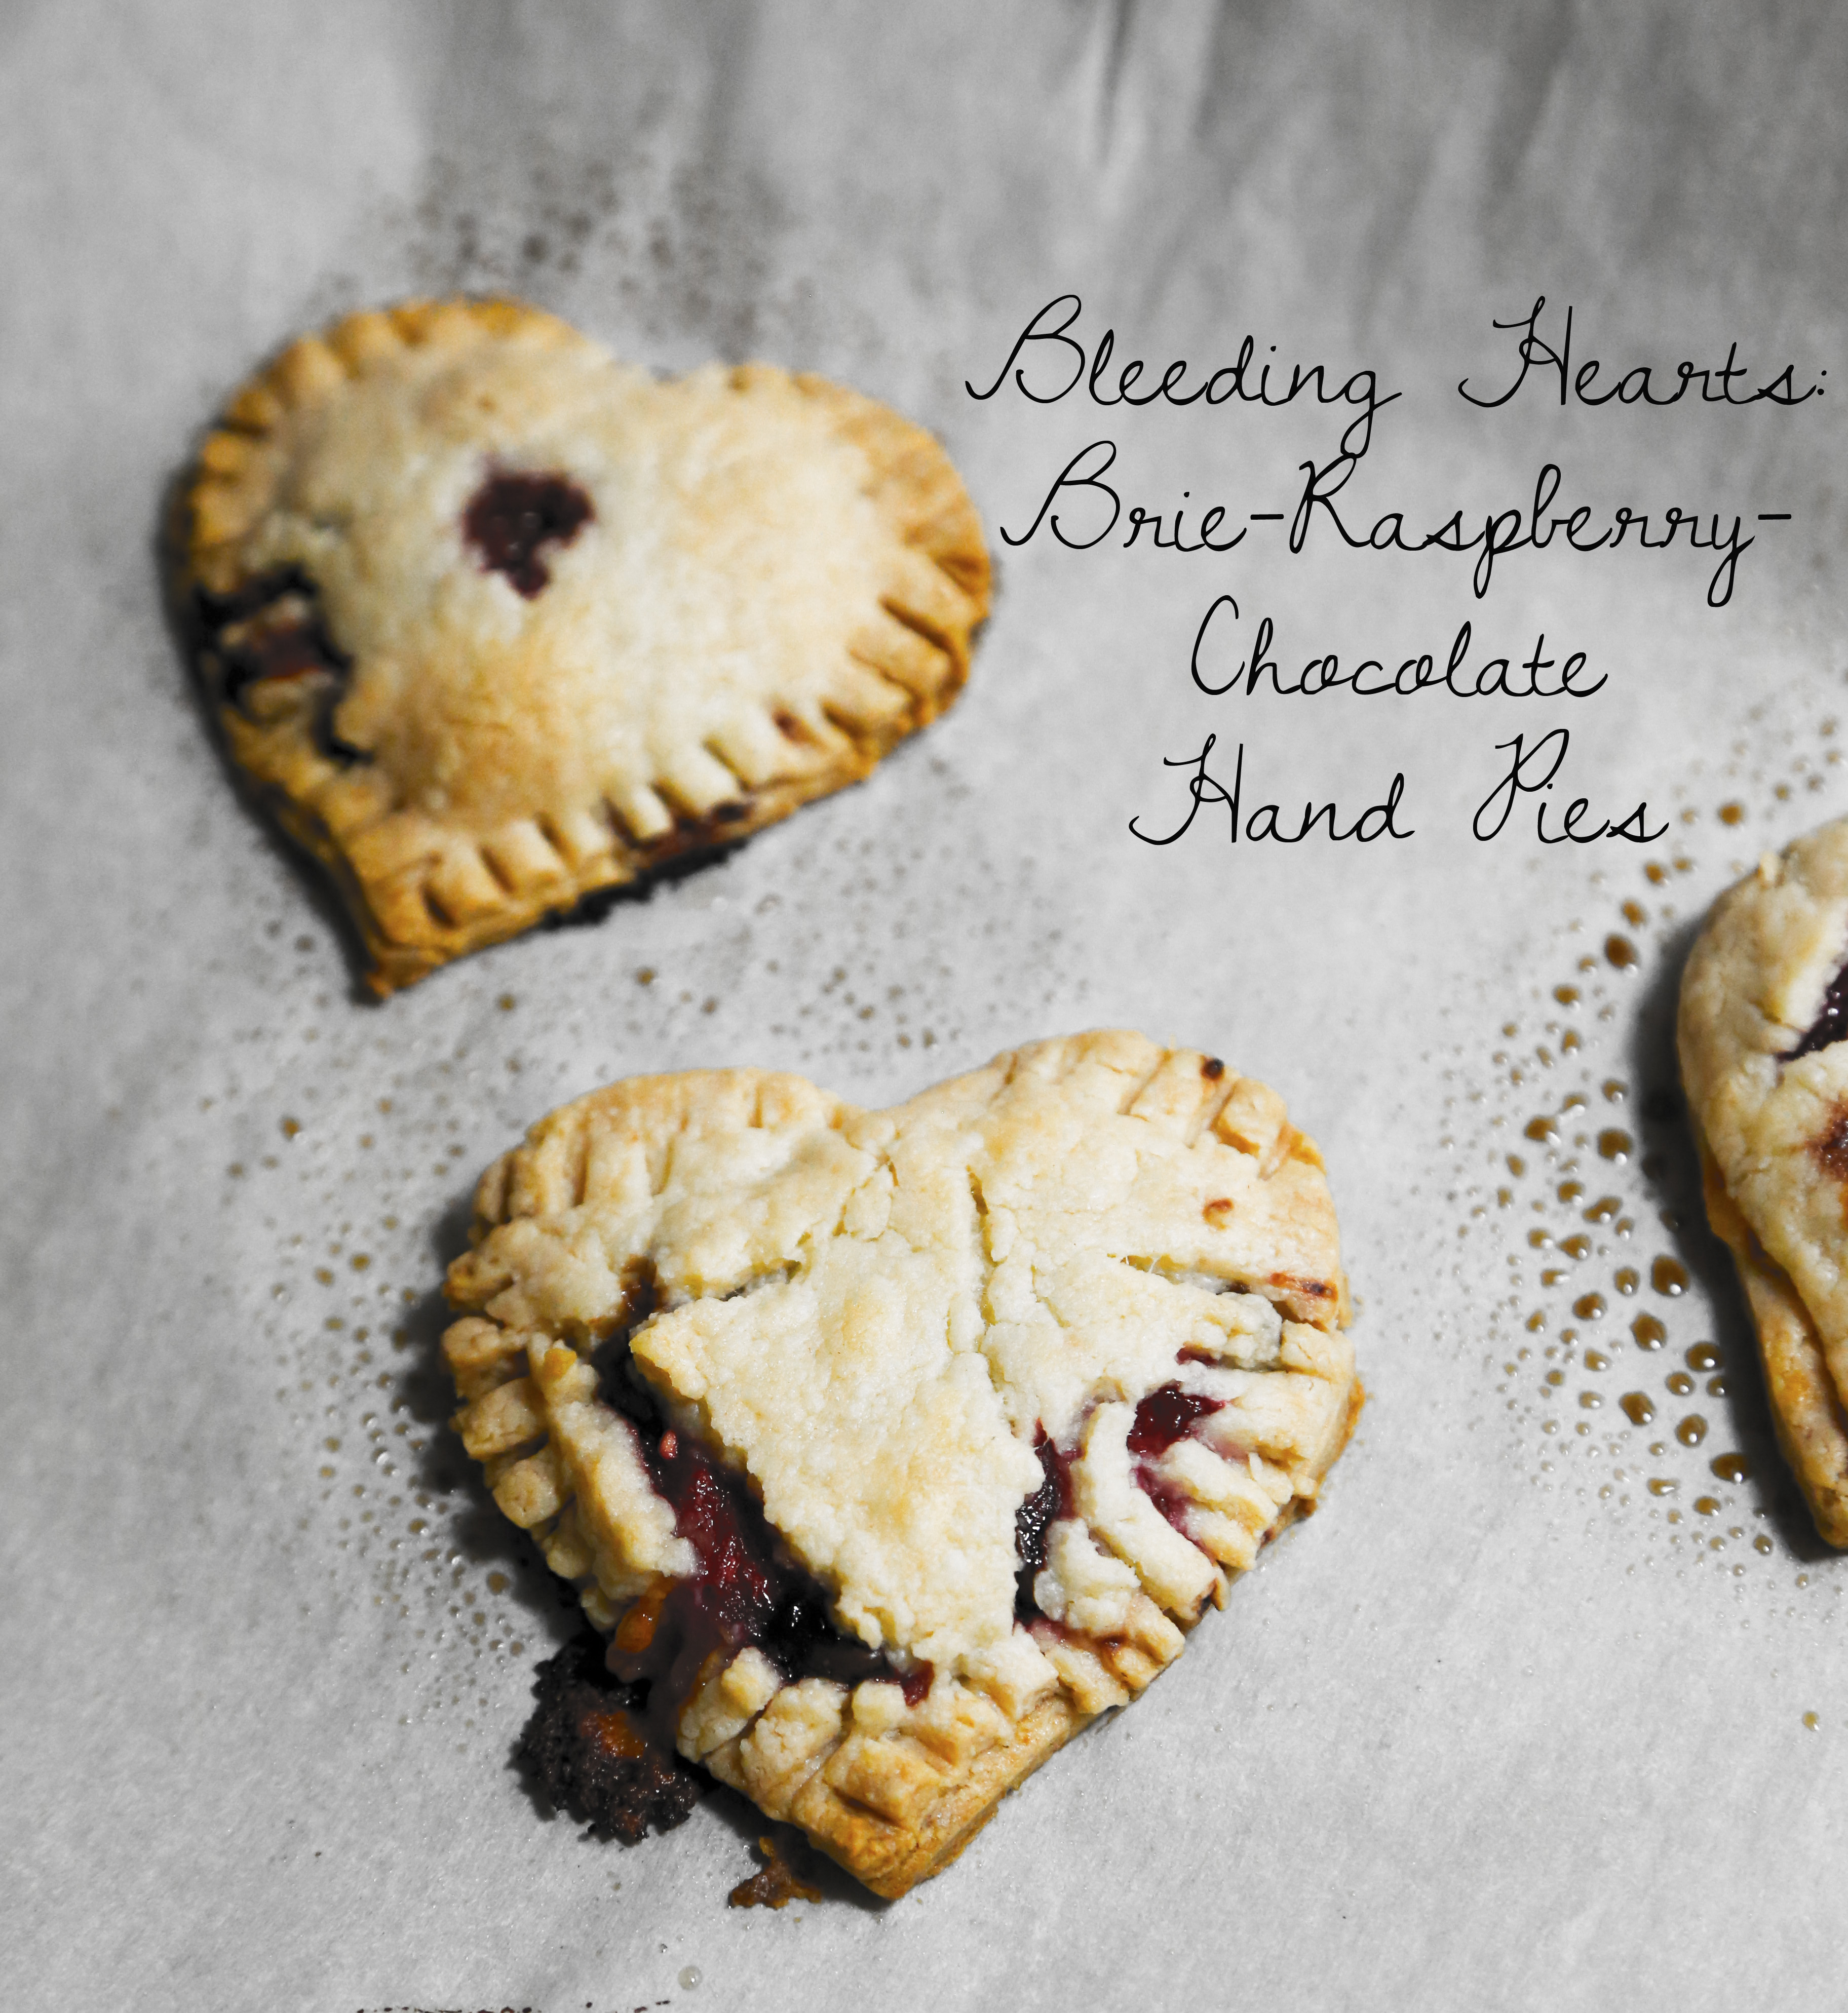
Brie-Chocolate-Raspberry Hand Pies
Pie Crust of your choosing (like the one here)
Brie (a few ounces)
Raspberries (a small container will do)
Chocolate Chips
Preheat oven to 375F.
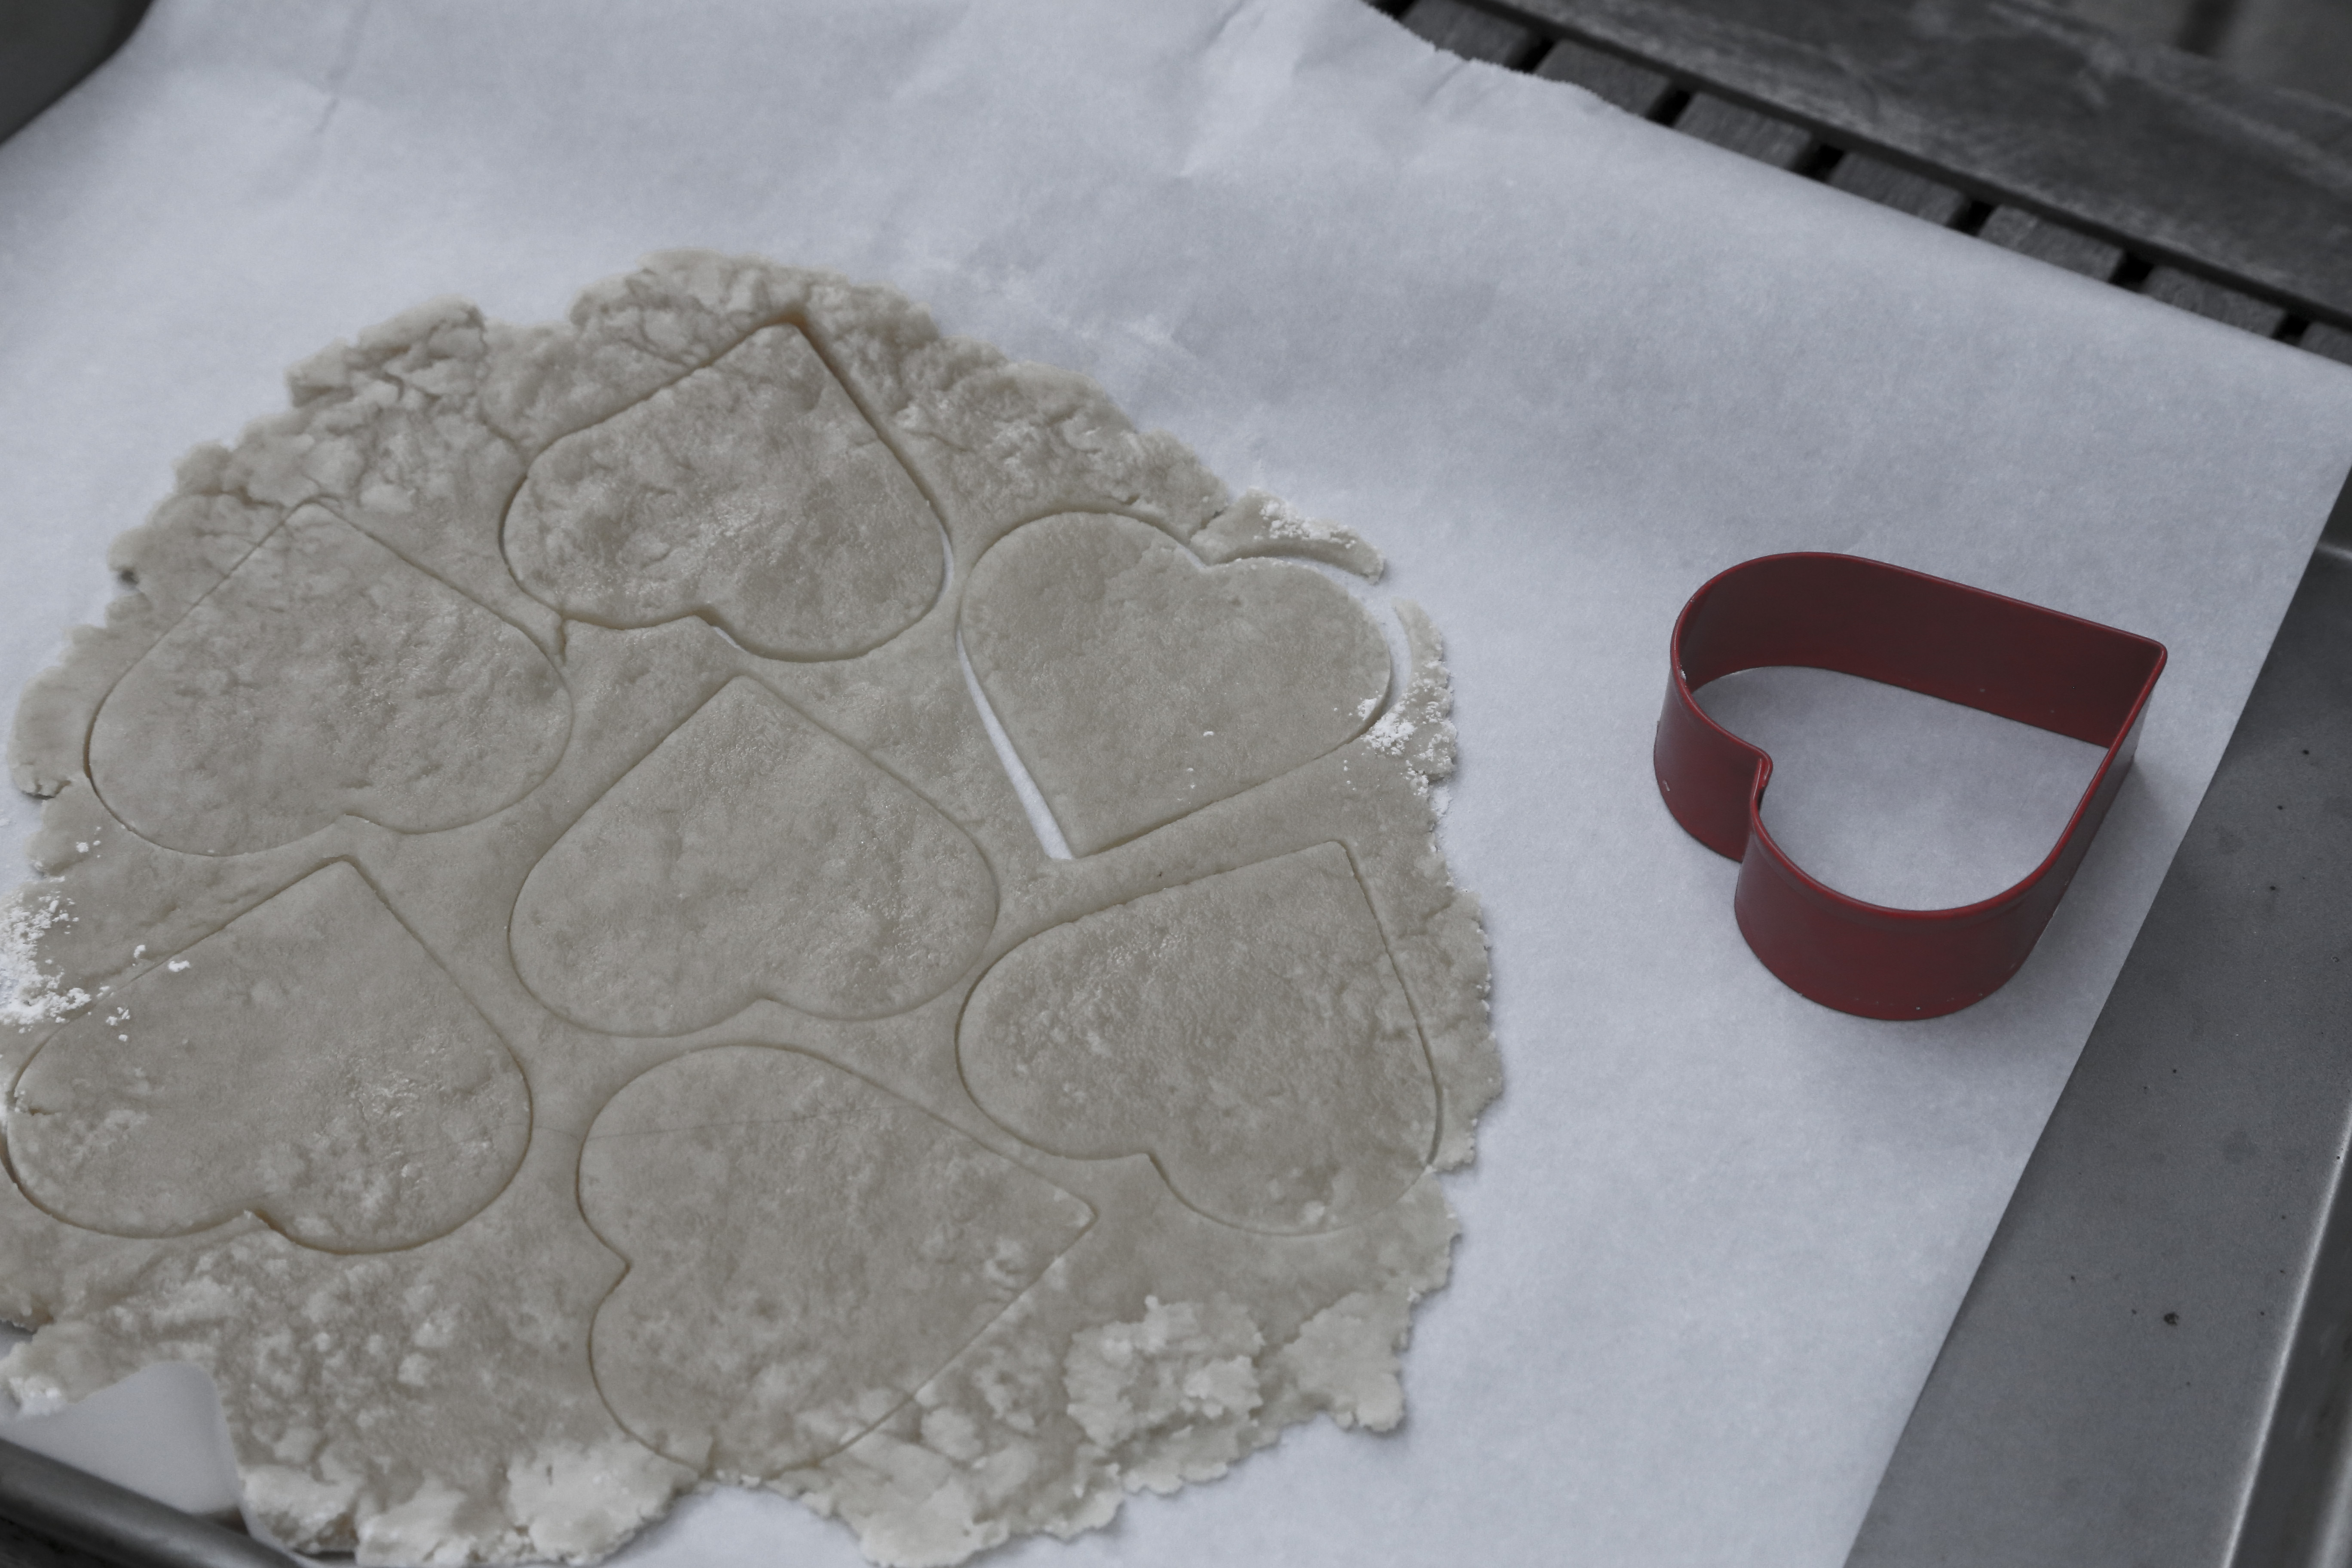
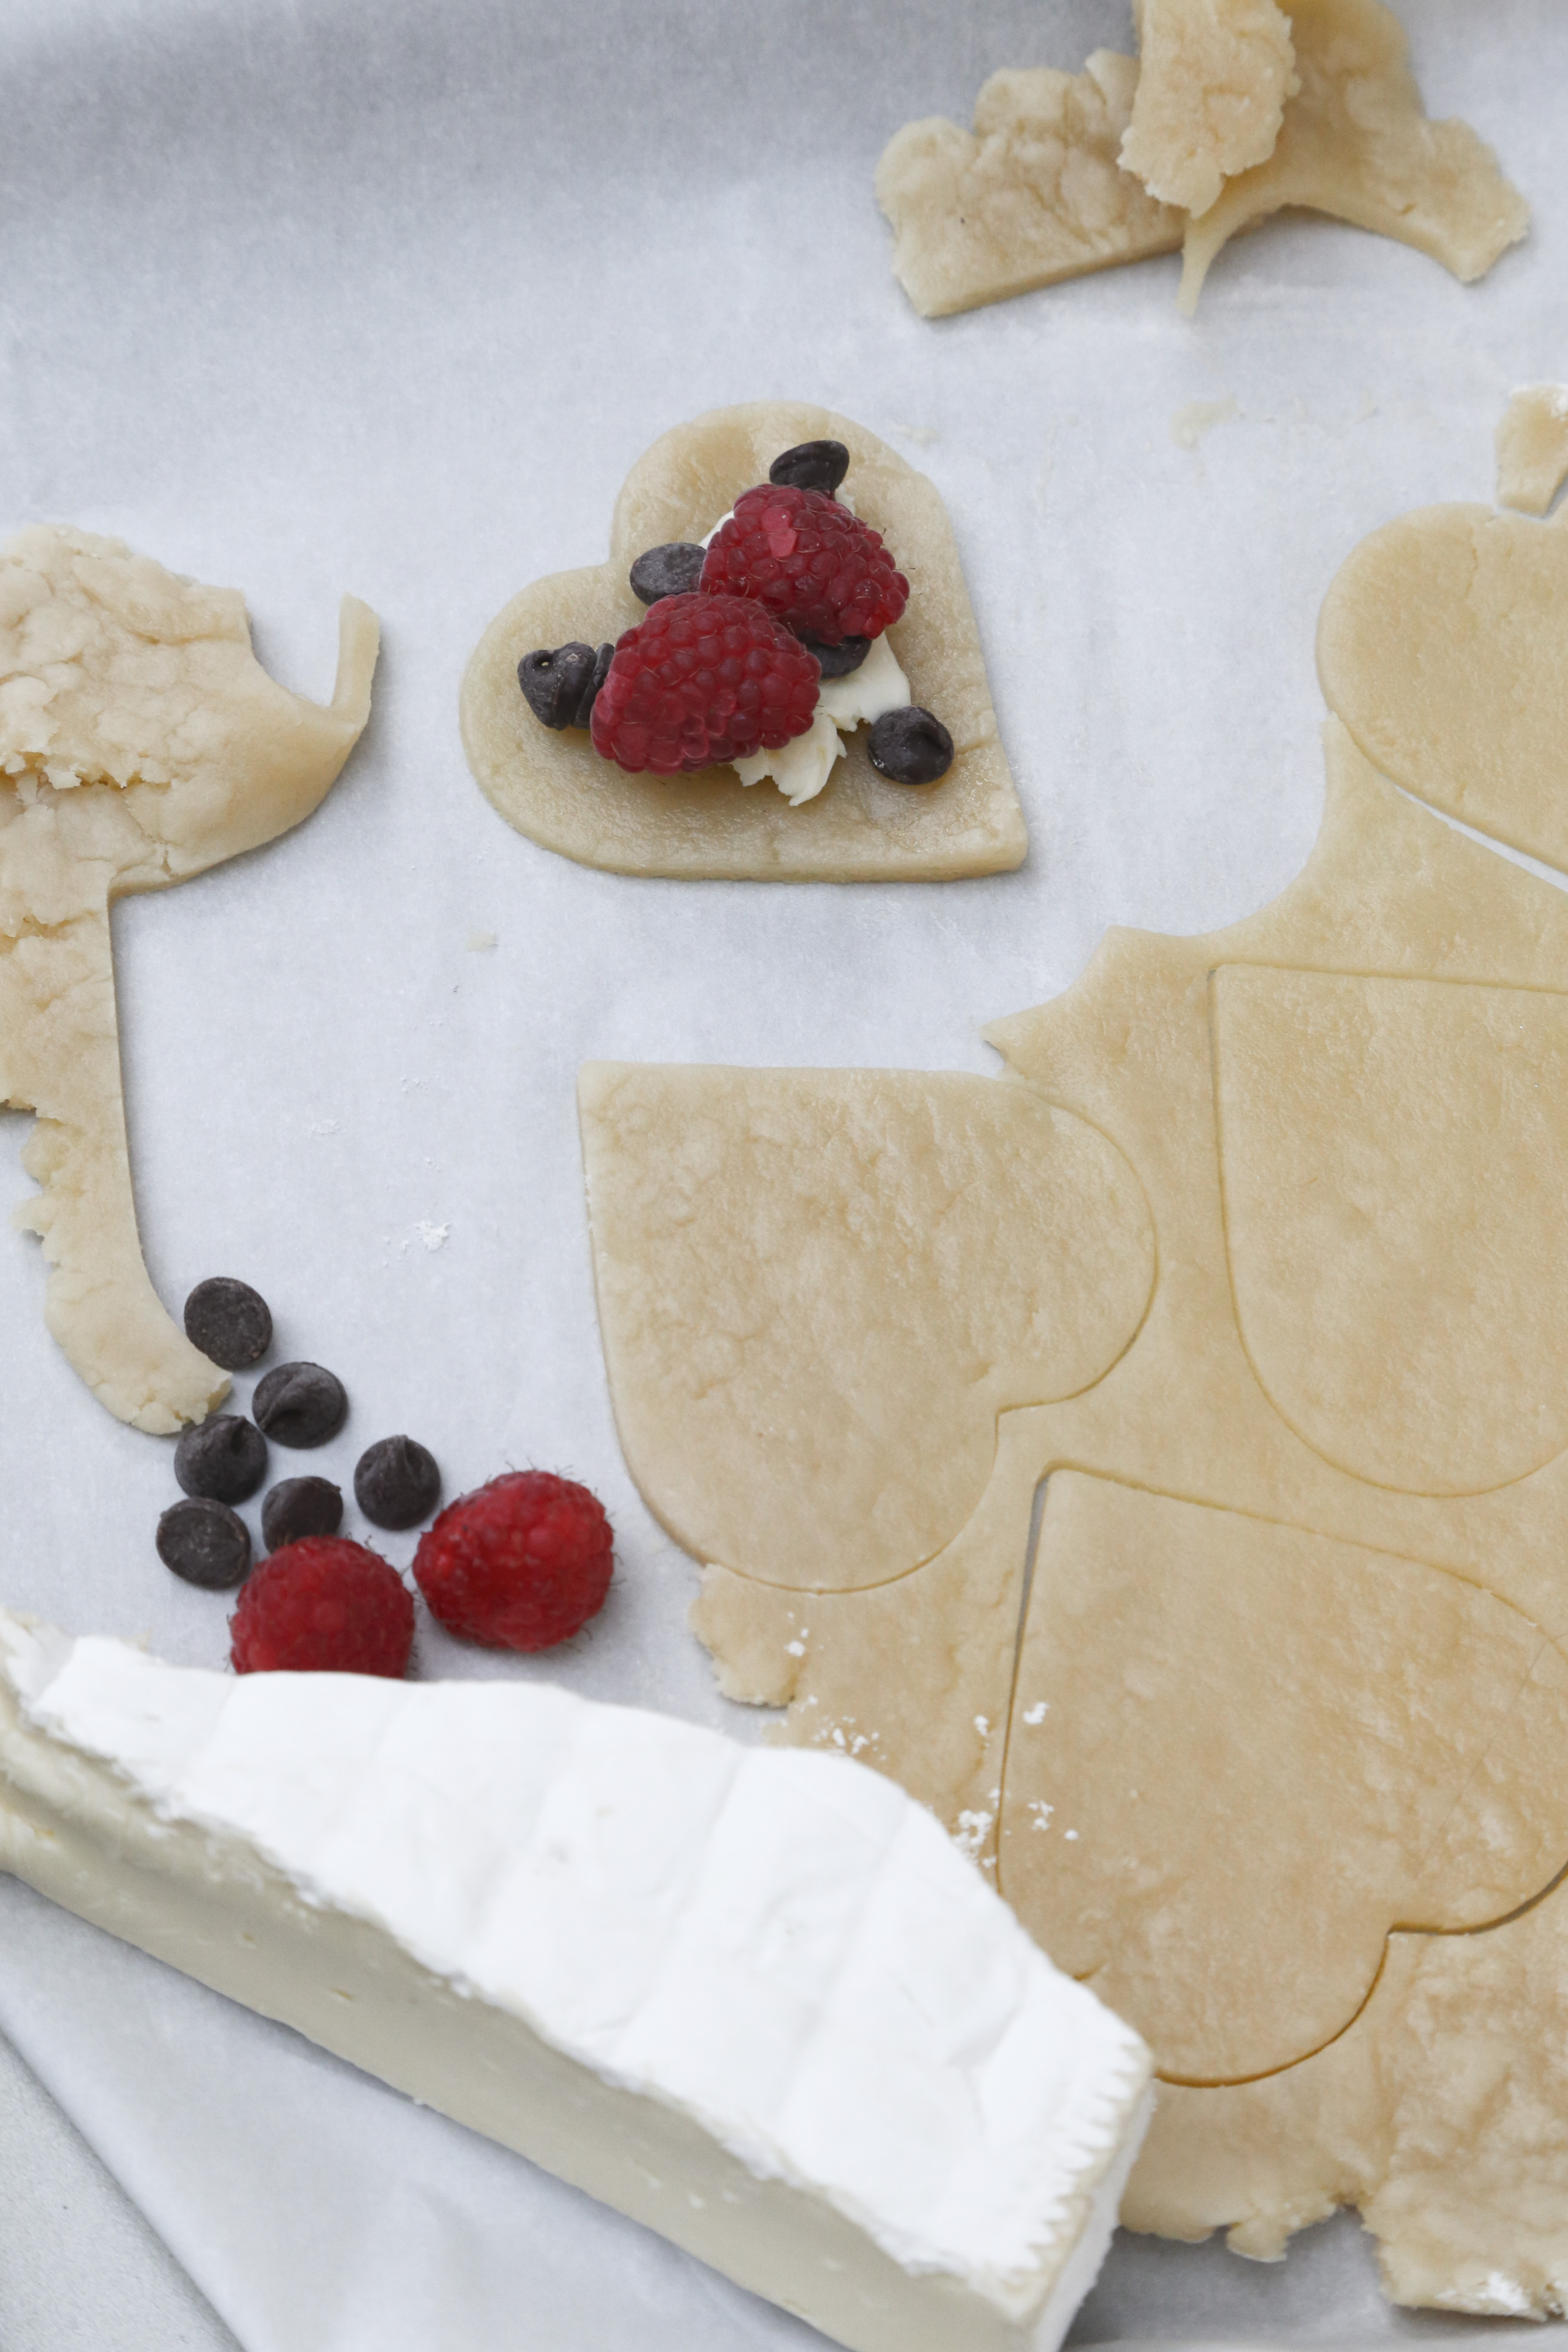
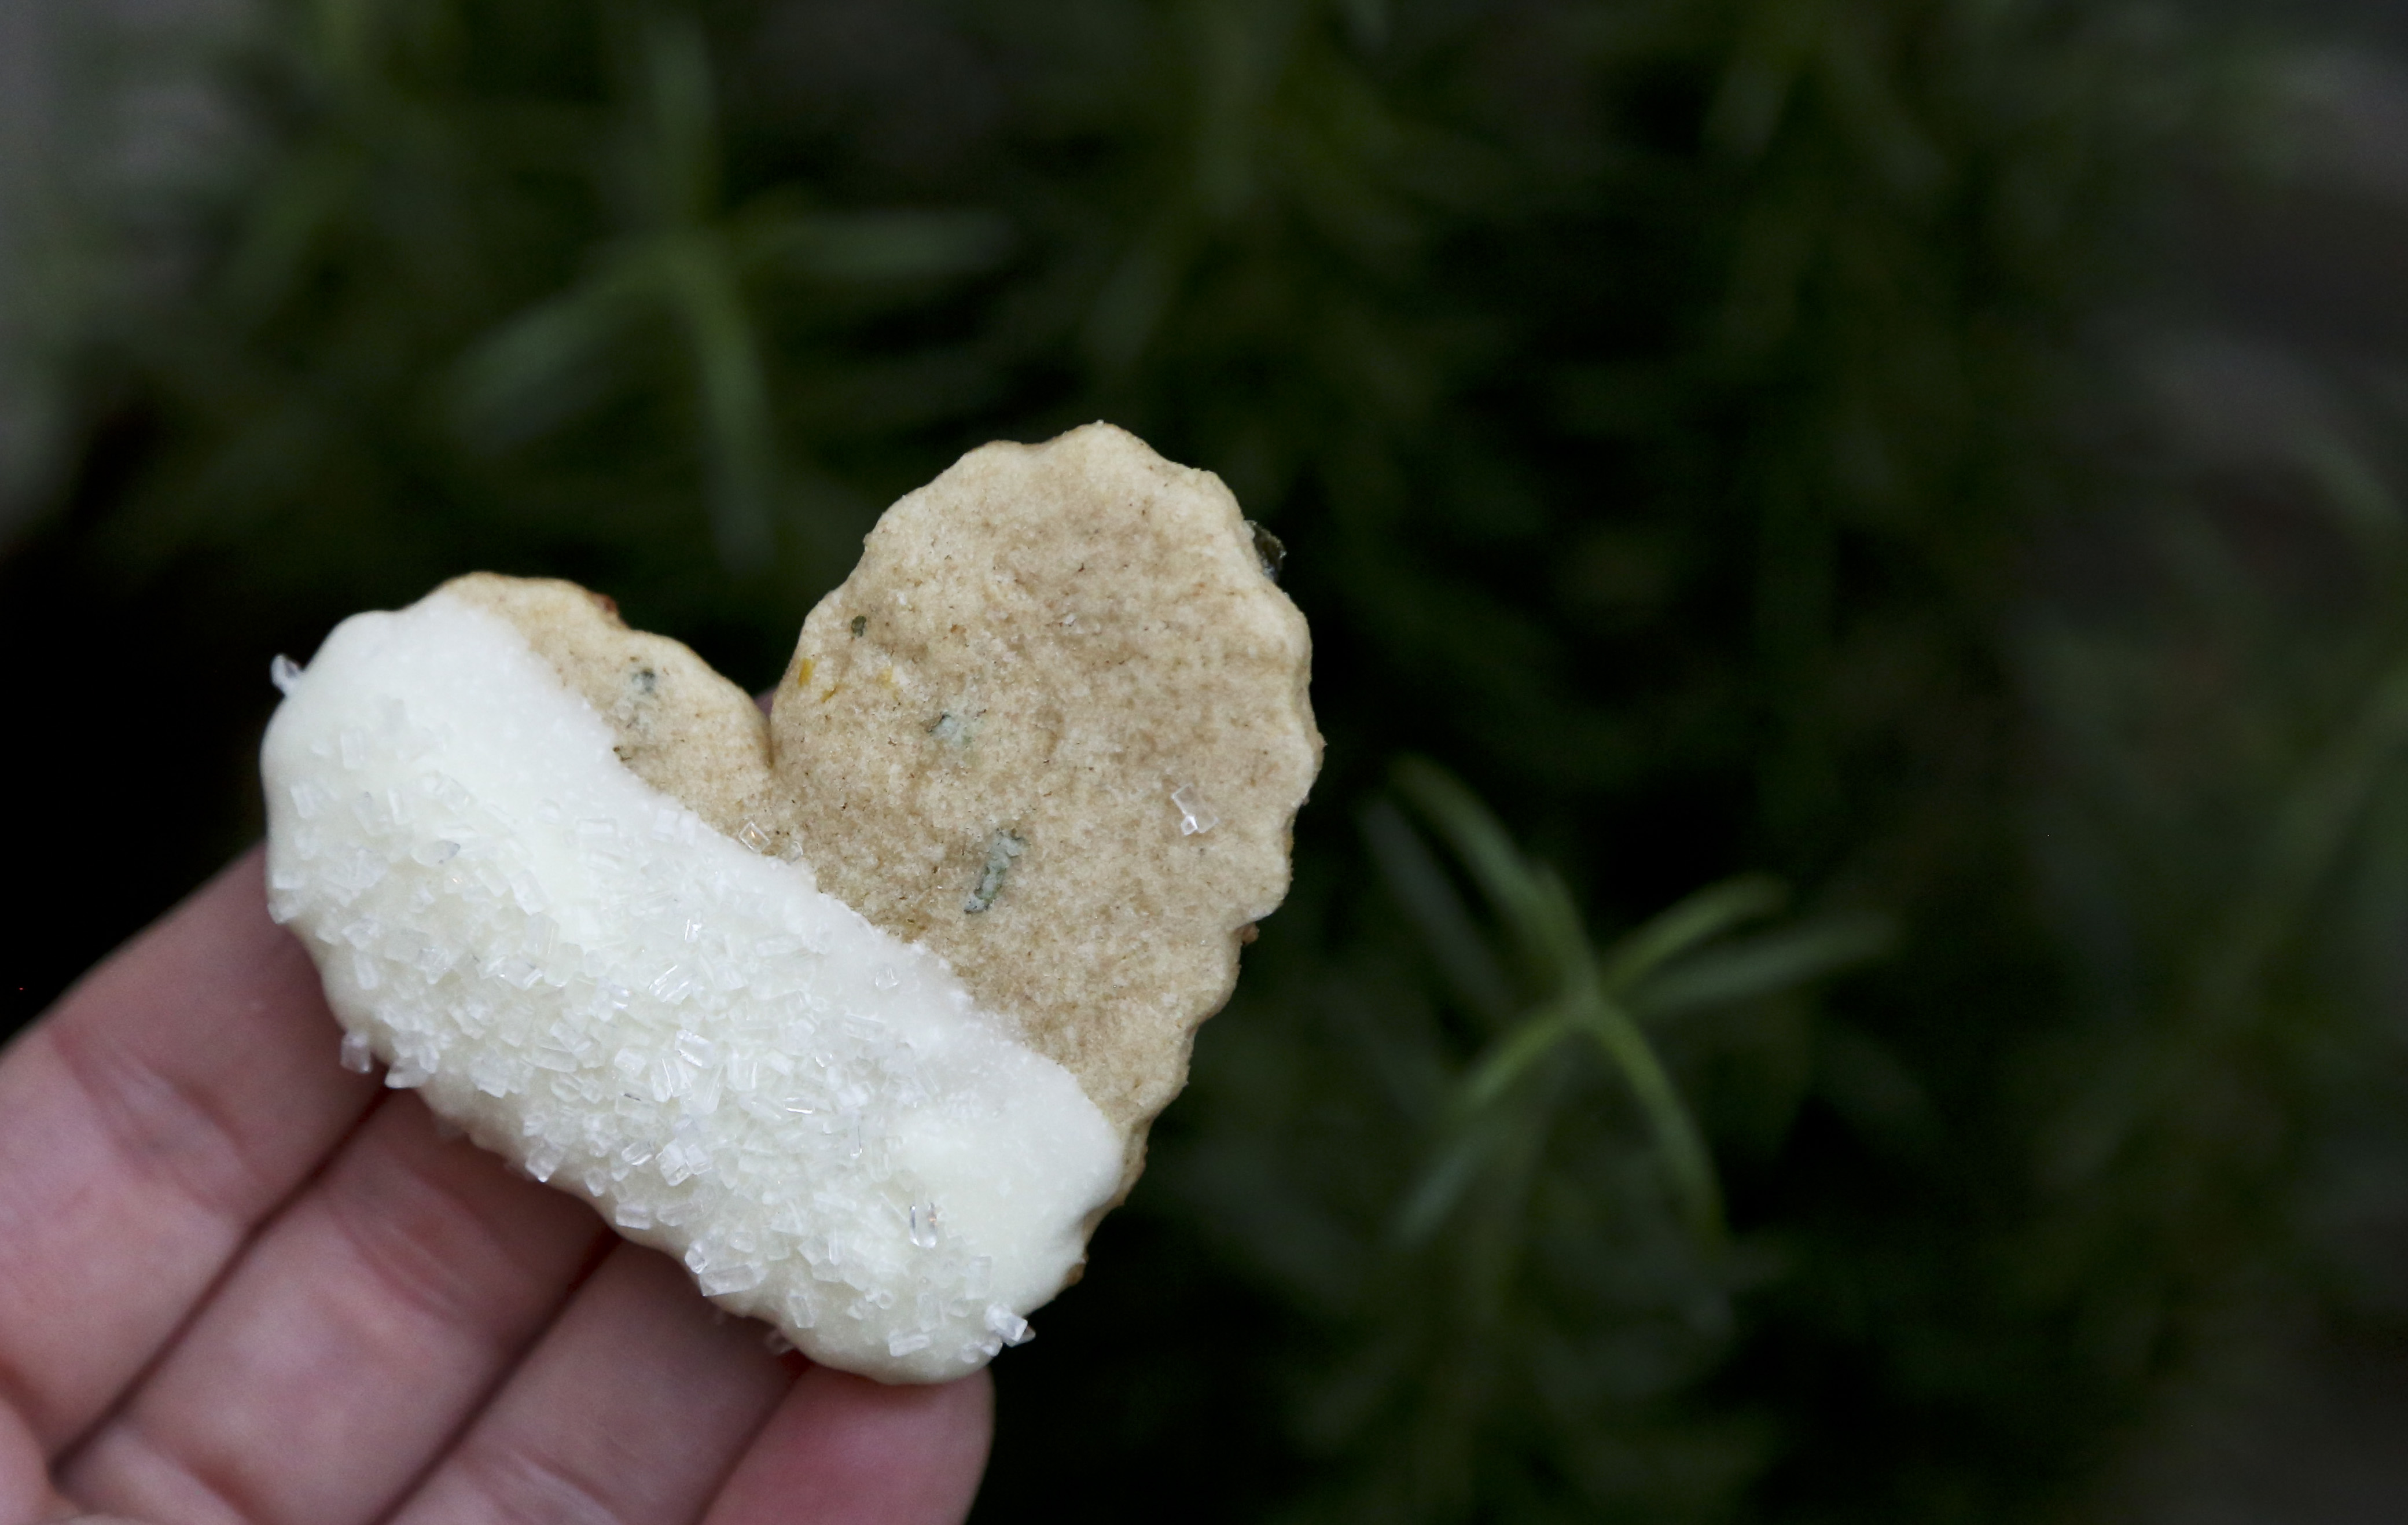
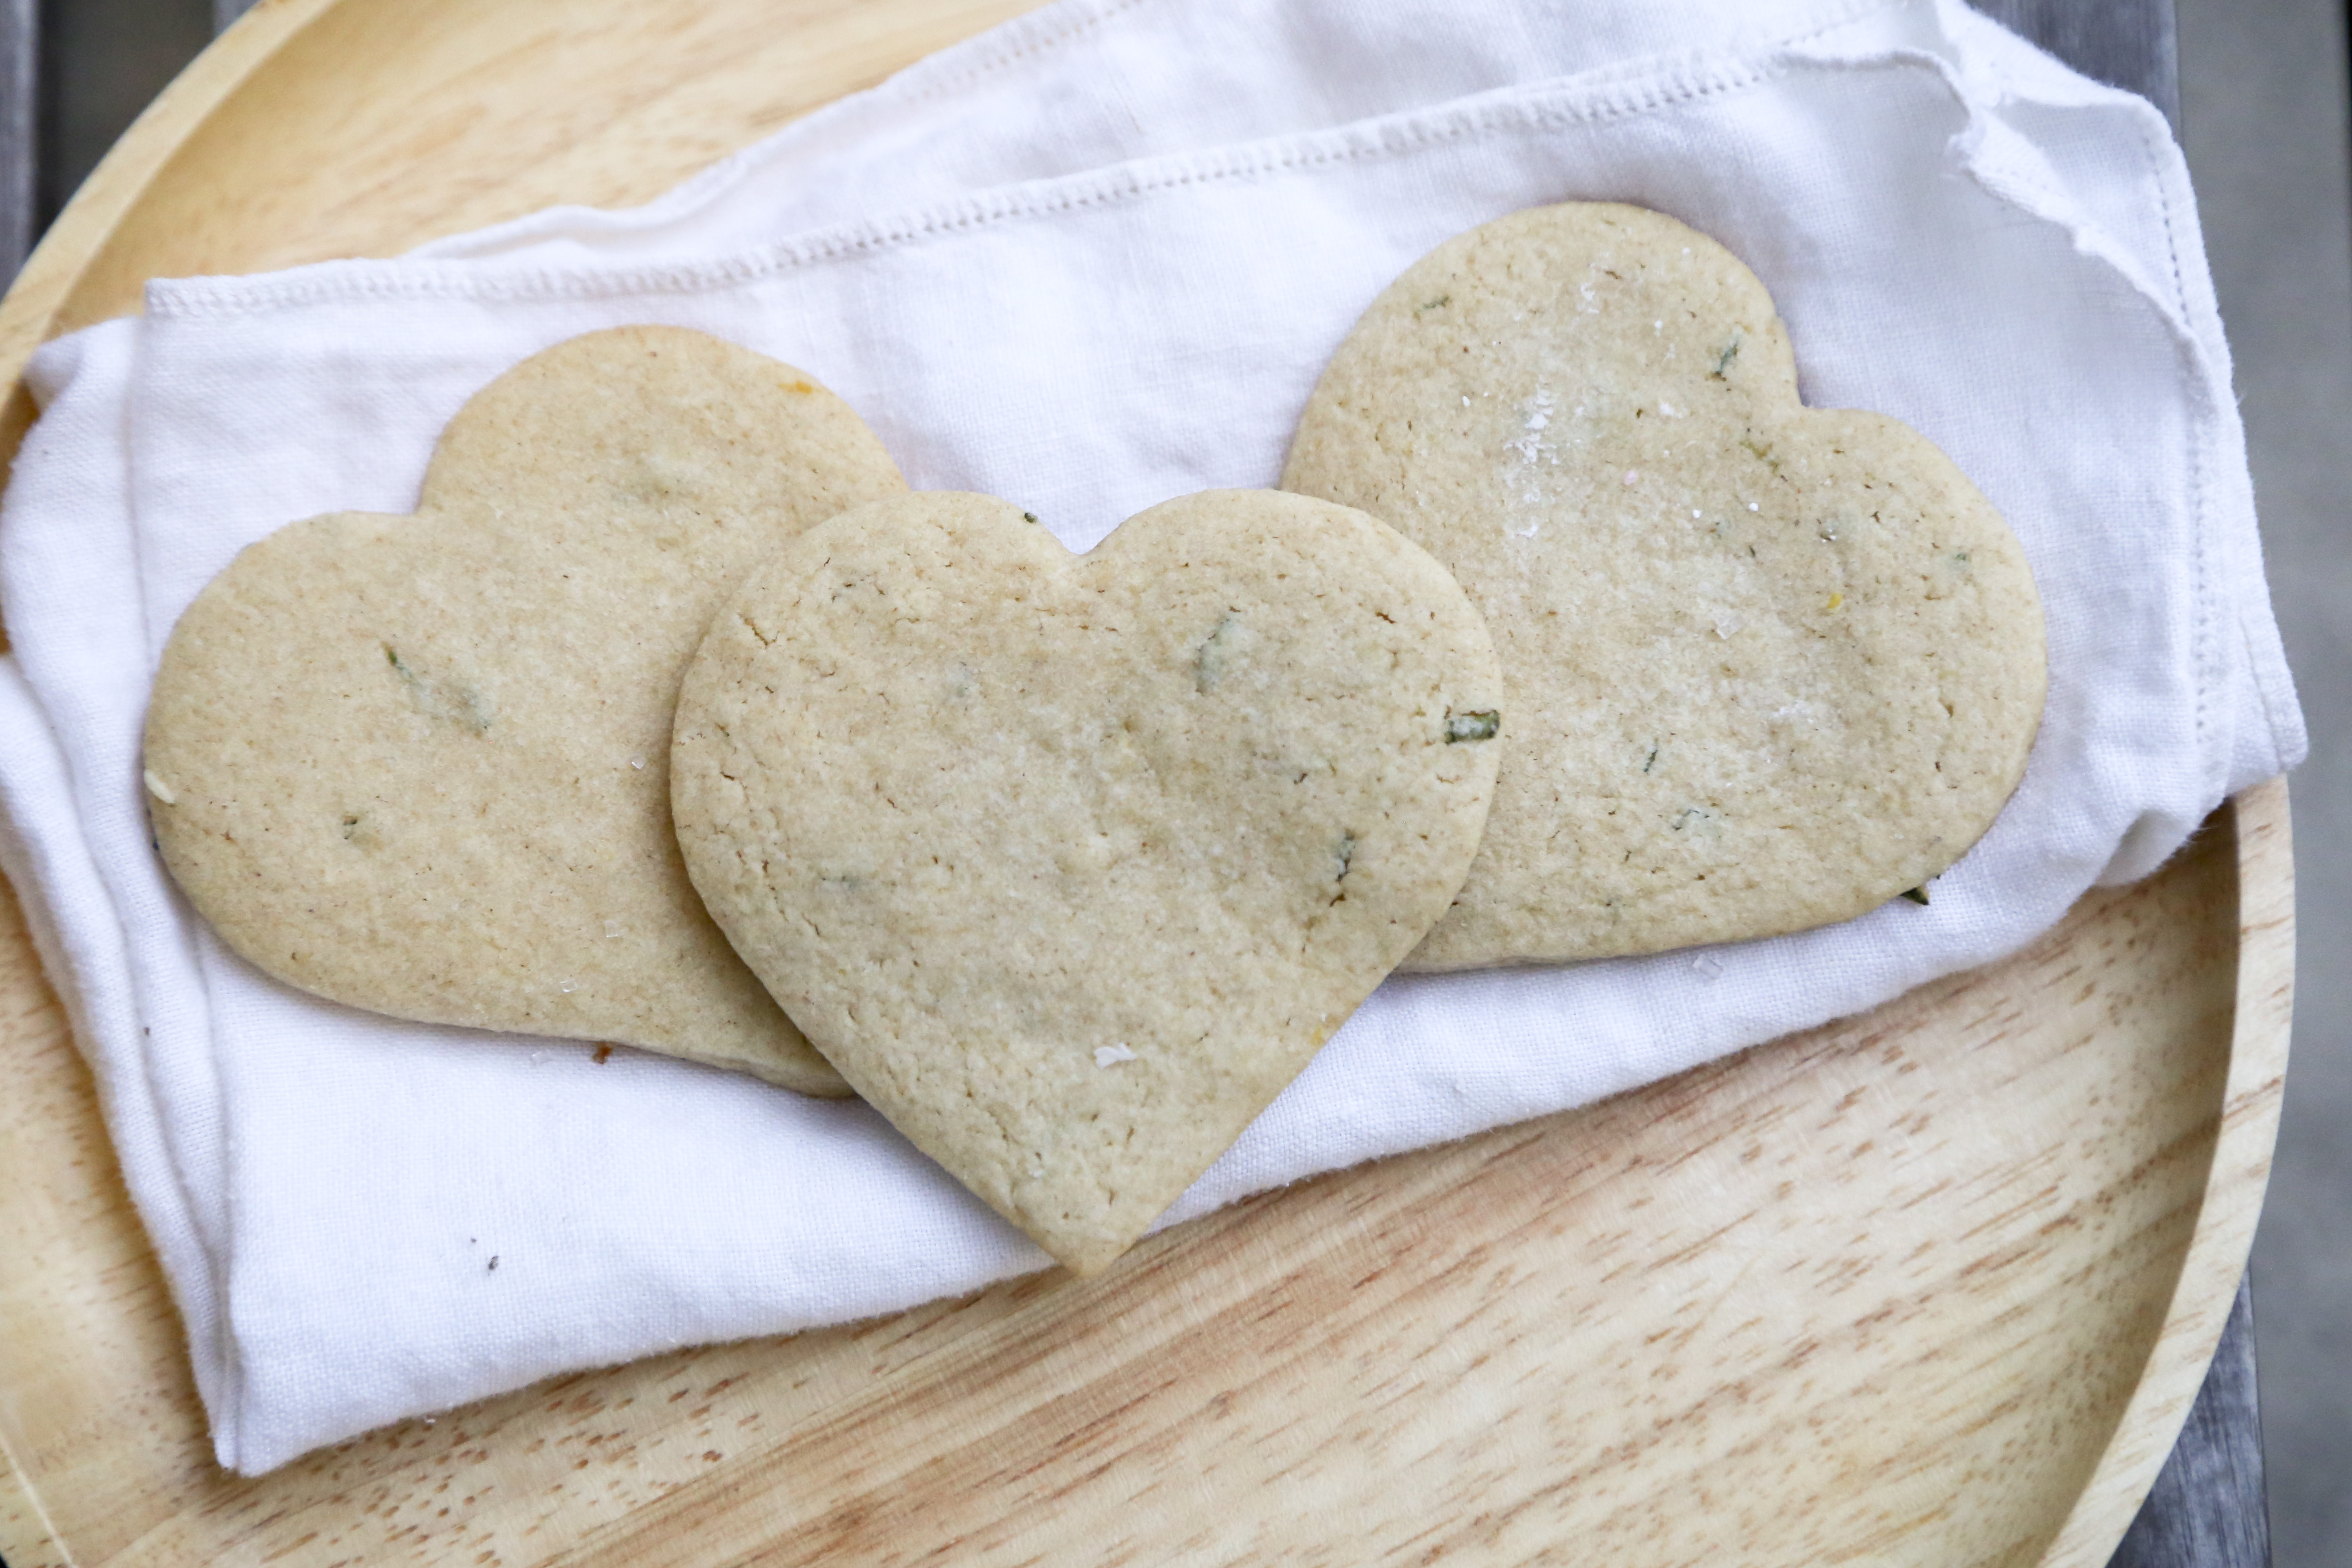
Roll out your favorite pie crust a little on the thin side (because the whole point is for the dough to crack so raspberry can seep out). Using heart shaped cookie cutters, cut out heart shapes (or any shape you want really, if you have duckie cookie cutters, you’re awesome and you should use those).

Spread about 1 tsp of brie (not the rind, just the center creamy part) onto the center of a heart. The top with a few chocolate chips (maybe 6? or go crazy fit as many in there as possible), and 1 raspberry cut in half. Obviously, how much you fit in there is going to depend on the size of your cookie cutter. Mine was about 3 inches at the wides part of the heart.

Place another heart on top of the brie/choco/raspberry goodness. Use a fork and press down the edges to bind. It’s ok if the dough cracks and breaks. That’s kind of the point and exactly how you get the bleeding heart look. 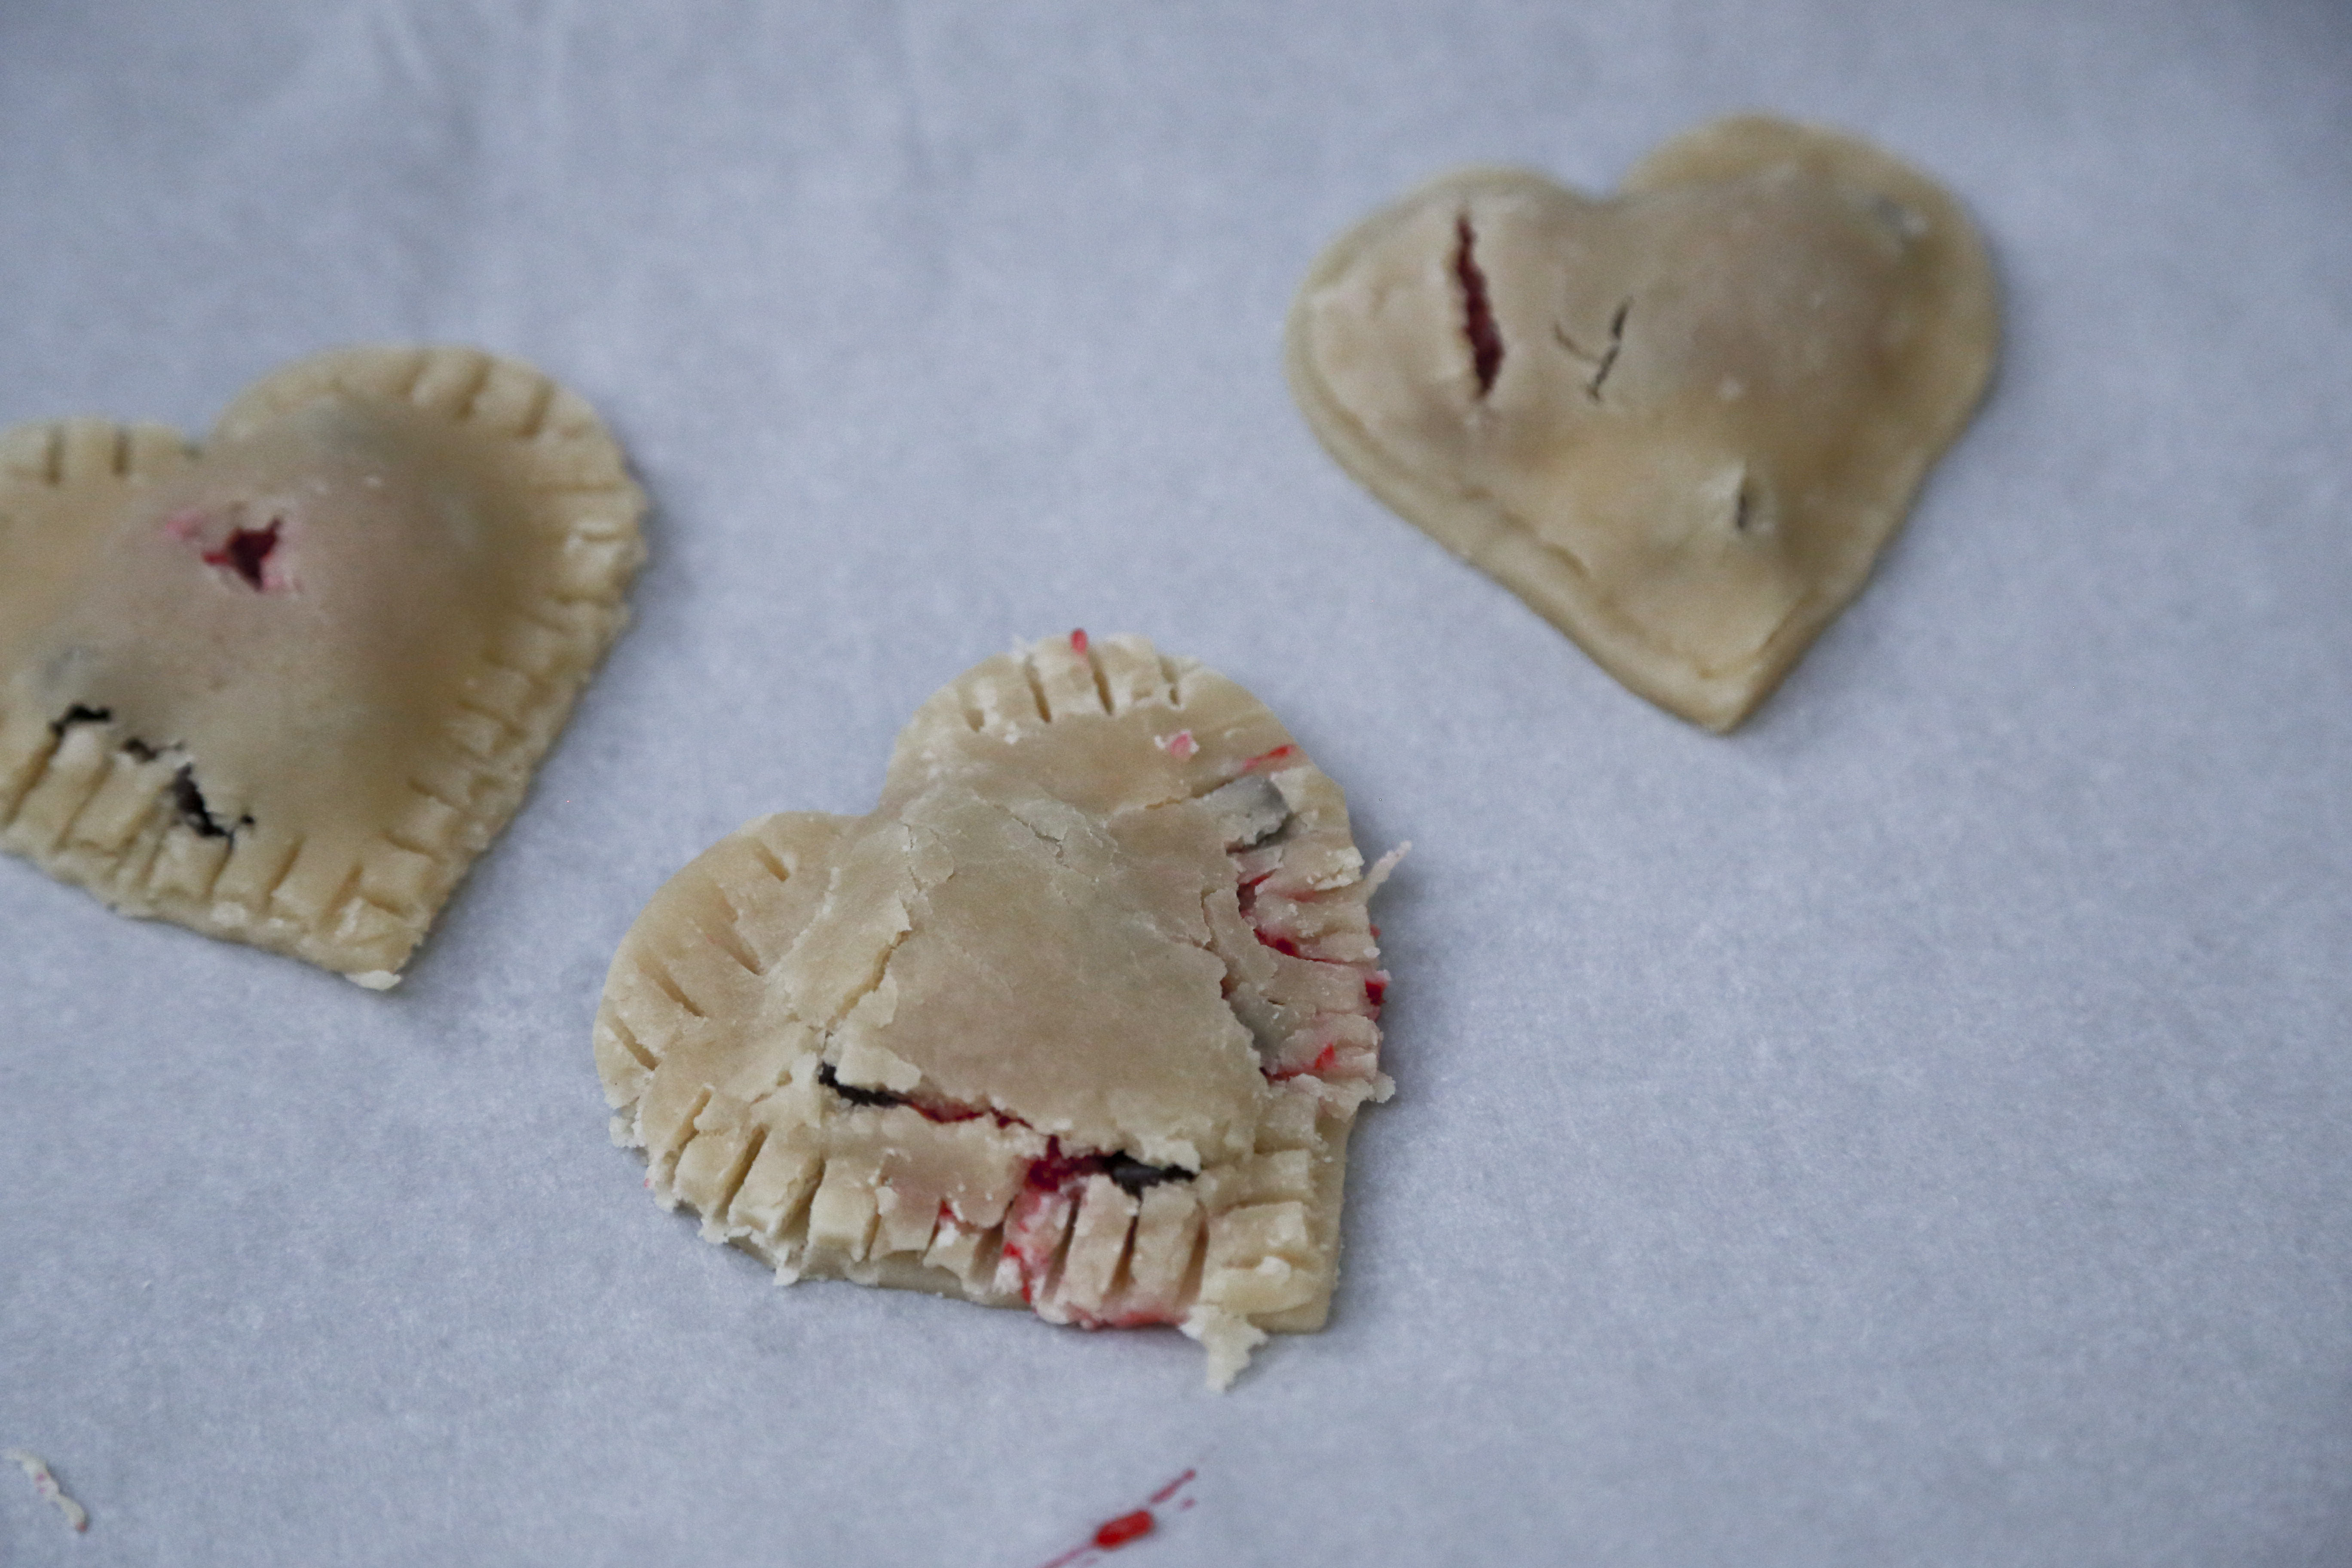 So if your hand pies fall apart then you’re winning. Put those bad boys in the oven and bake 20-25 minutes or until golden all around. Allow to cool and serve. With one double pie crust recipe (or a box of frozen pie crust from the store), you’ll probably get about a 2-3 dozen hand pies depending on the size of the cookie cutter. This means you’ll need a few ounces of brie and a small pack of raspberries, in case you’re trying to estimate how much you need from my non-recipe.
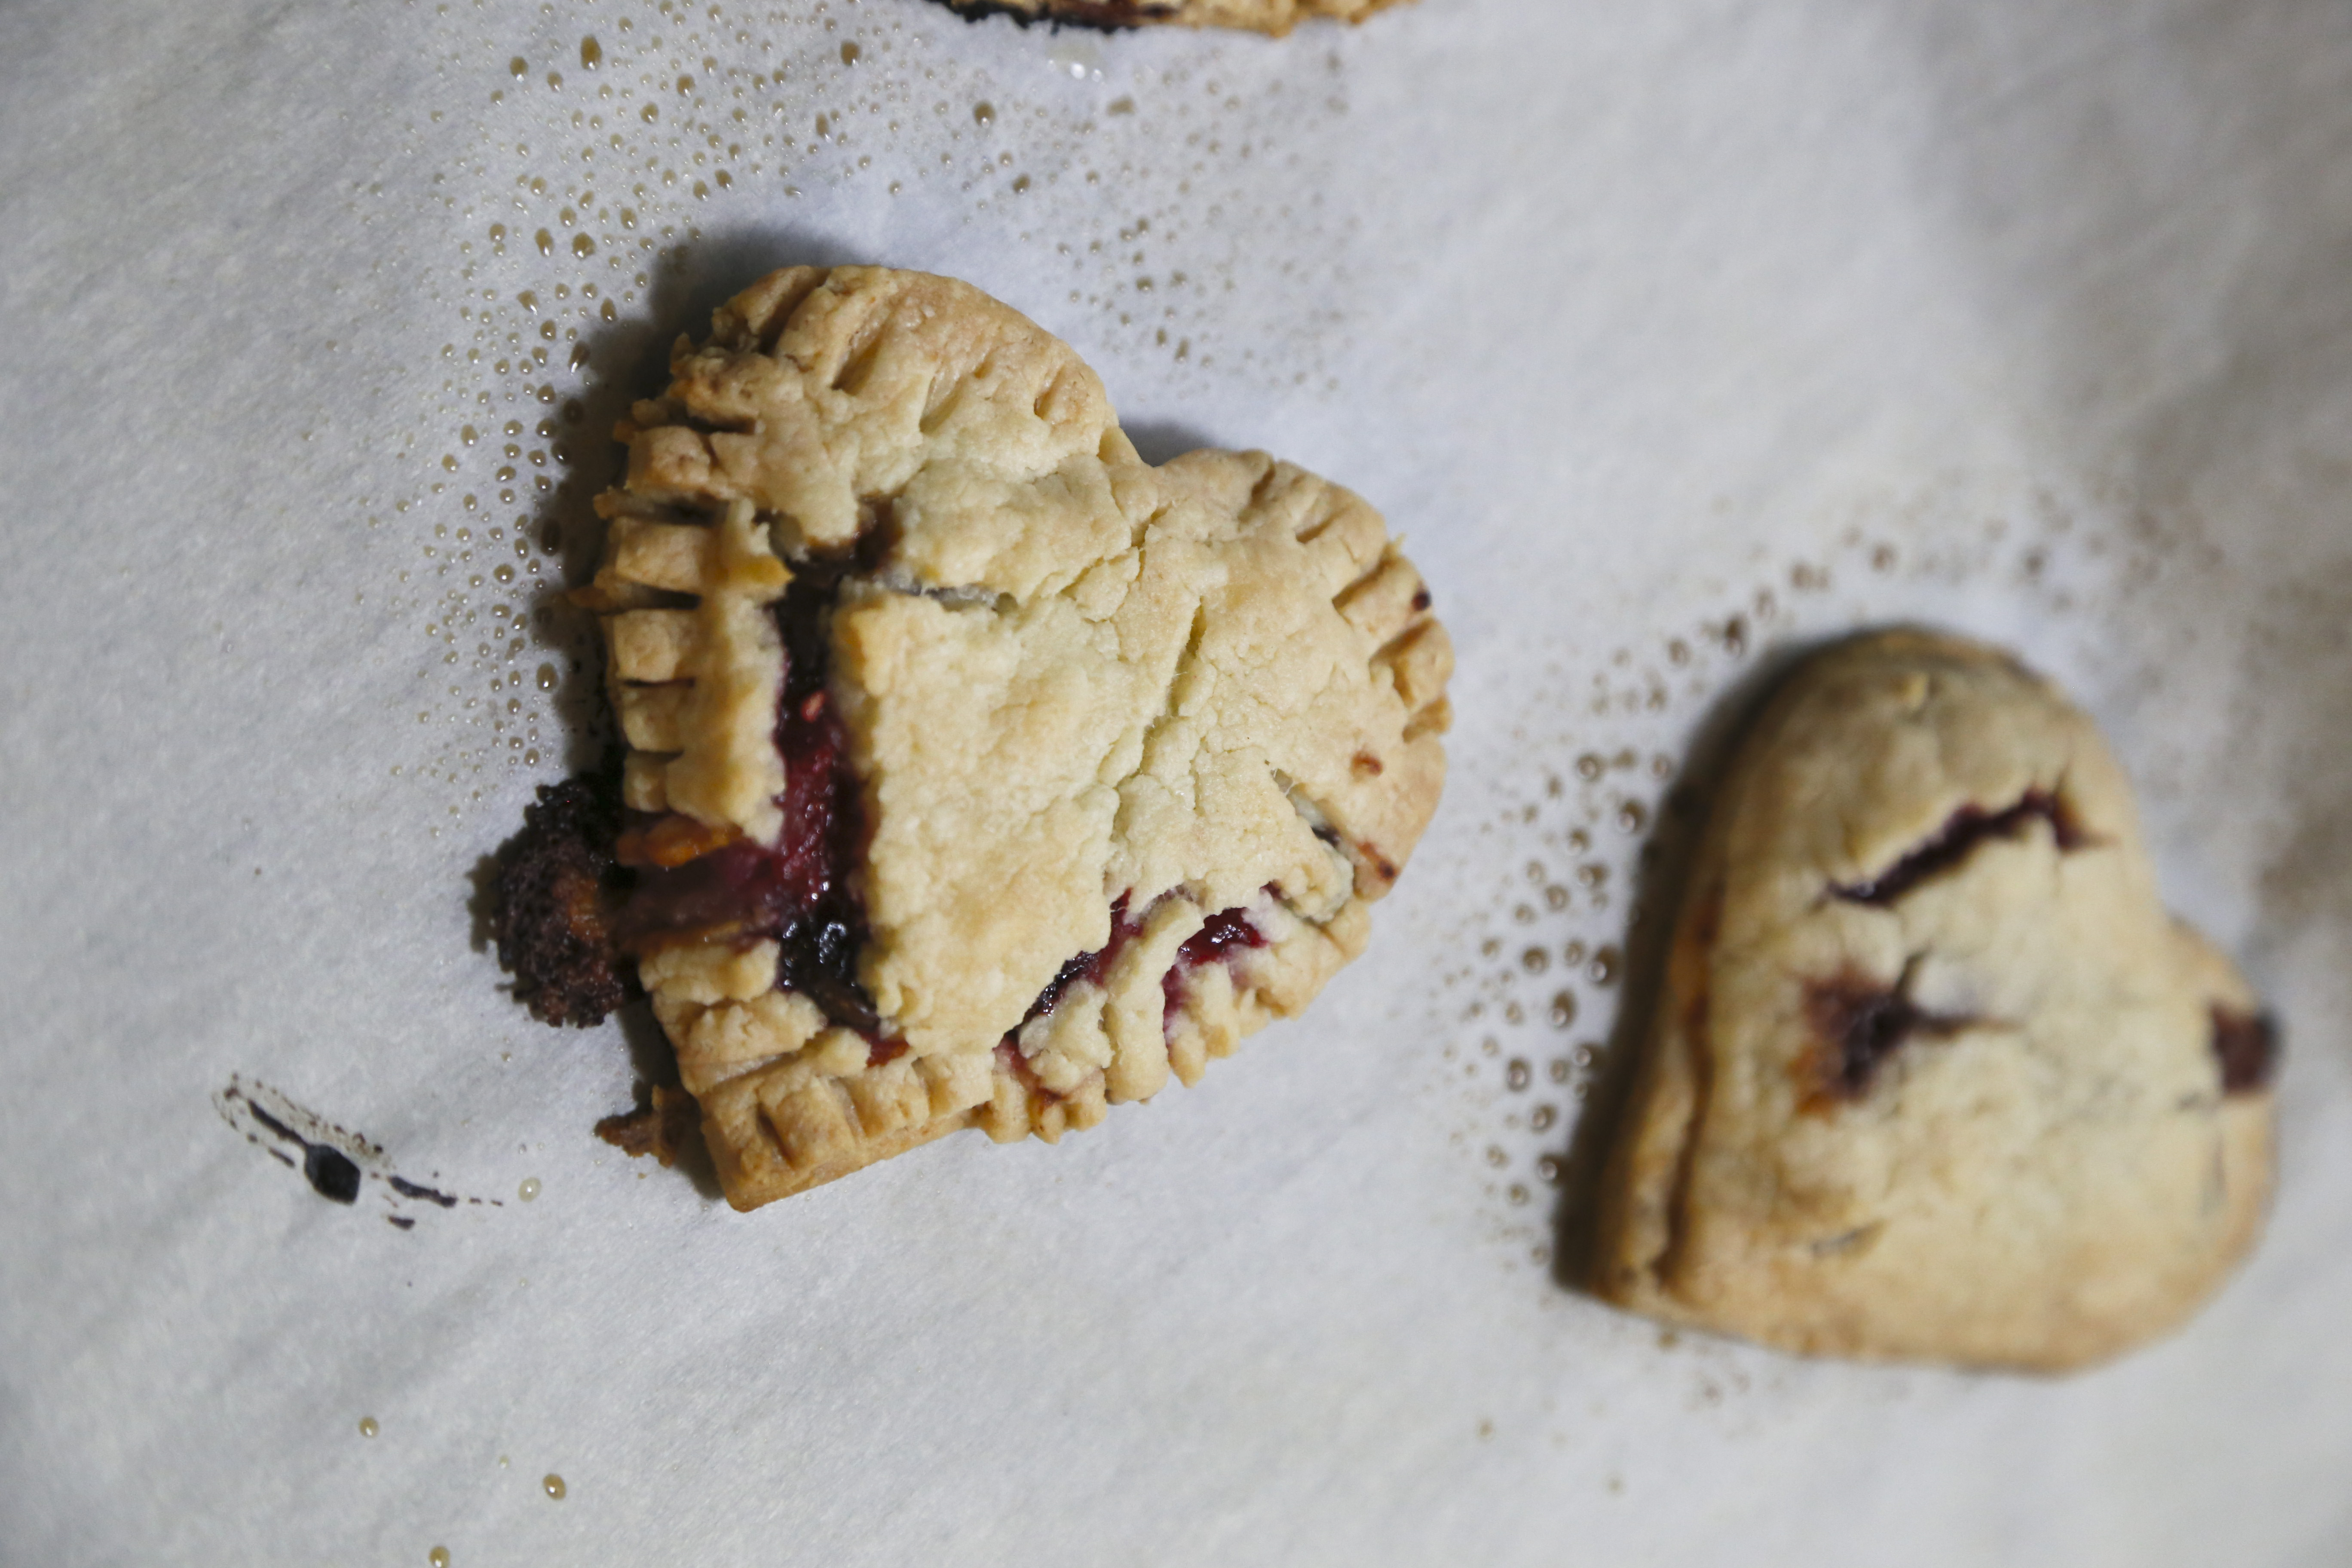

Oh and if you’re going to tell me brie + chocolate sounds like a gross combo, keep the haterade to yourself.
Happy Valentine’s Day!


)
)
)
)
)
)