As we’ve previously discussed, dinner is a struggle for me. Waking up at 5:15am to workout, then going to work all day leaves me little motivation to make a meal when 5:30pm rolls around, especially if it’s just for me. I’m one of those people that prefers to cook for others. Cooking for myself is extremely unappealing.
When Jesse has dinner with me, it’s awesome. I tend to make an actual meal, but most days, on my own, I tend to snack. So I’m trying to come up with better solutions. My number one solution right now is to keep it simple.
So in my quest to keep things simple, yet flavorful, I discovered a Moroccan Spice Blend that is so versatile you can basically kick up any plain dish without adding fat. The best part is you can control how much salt goes in it.
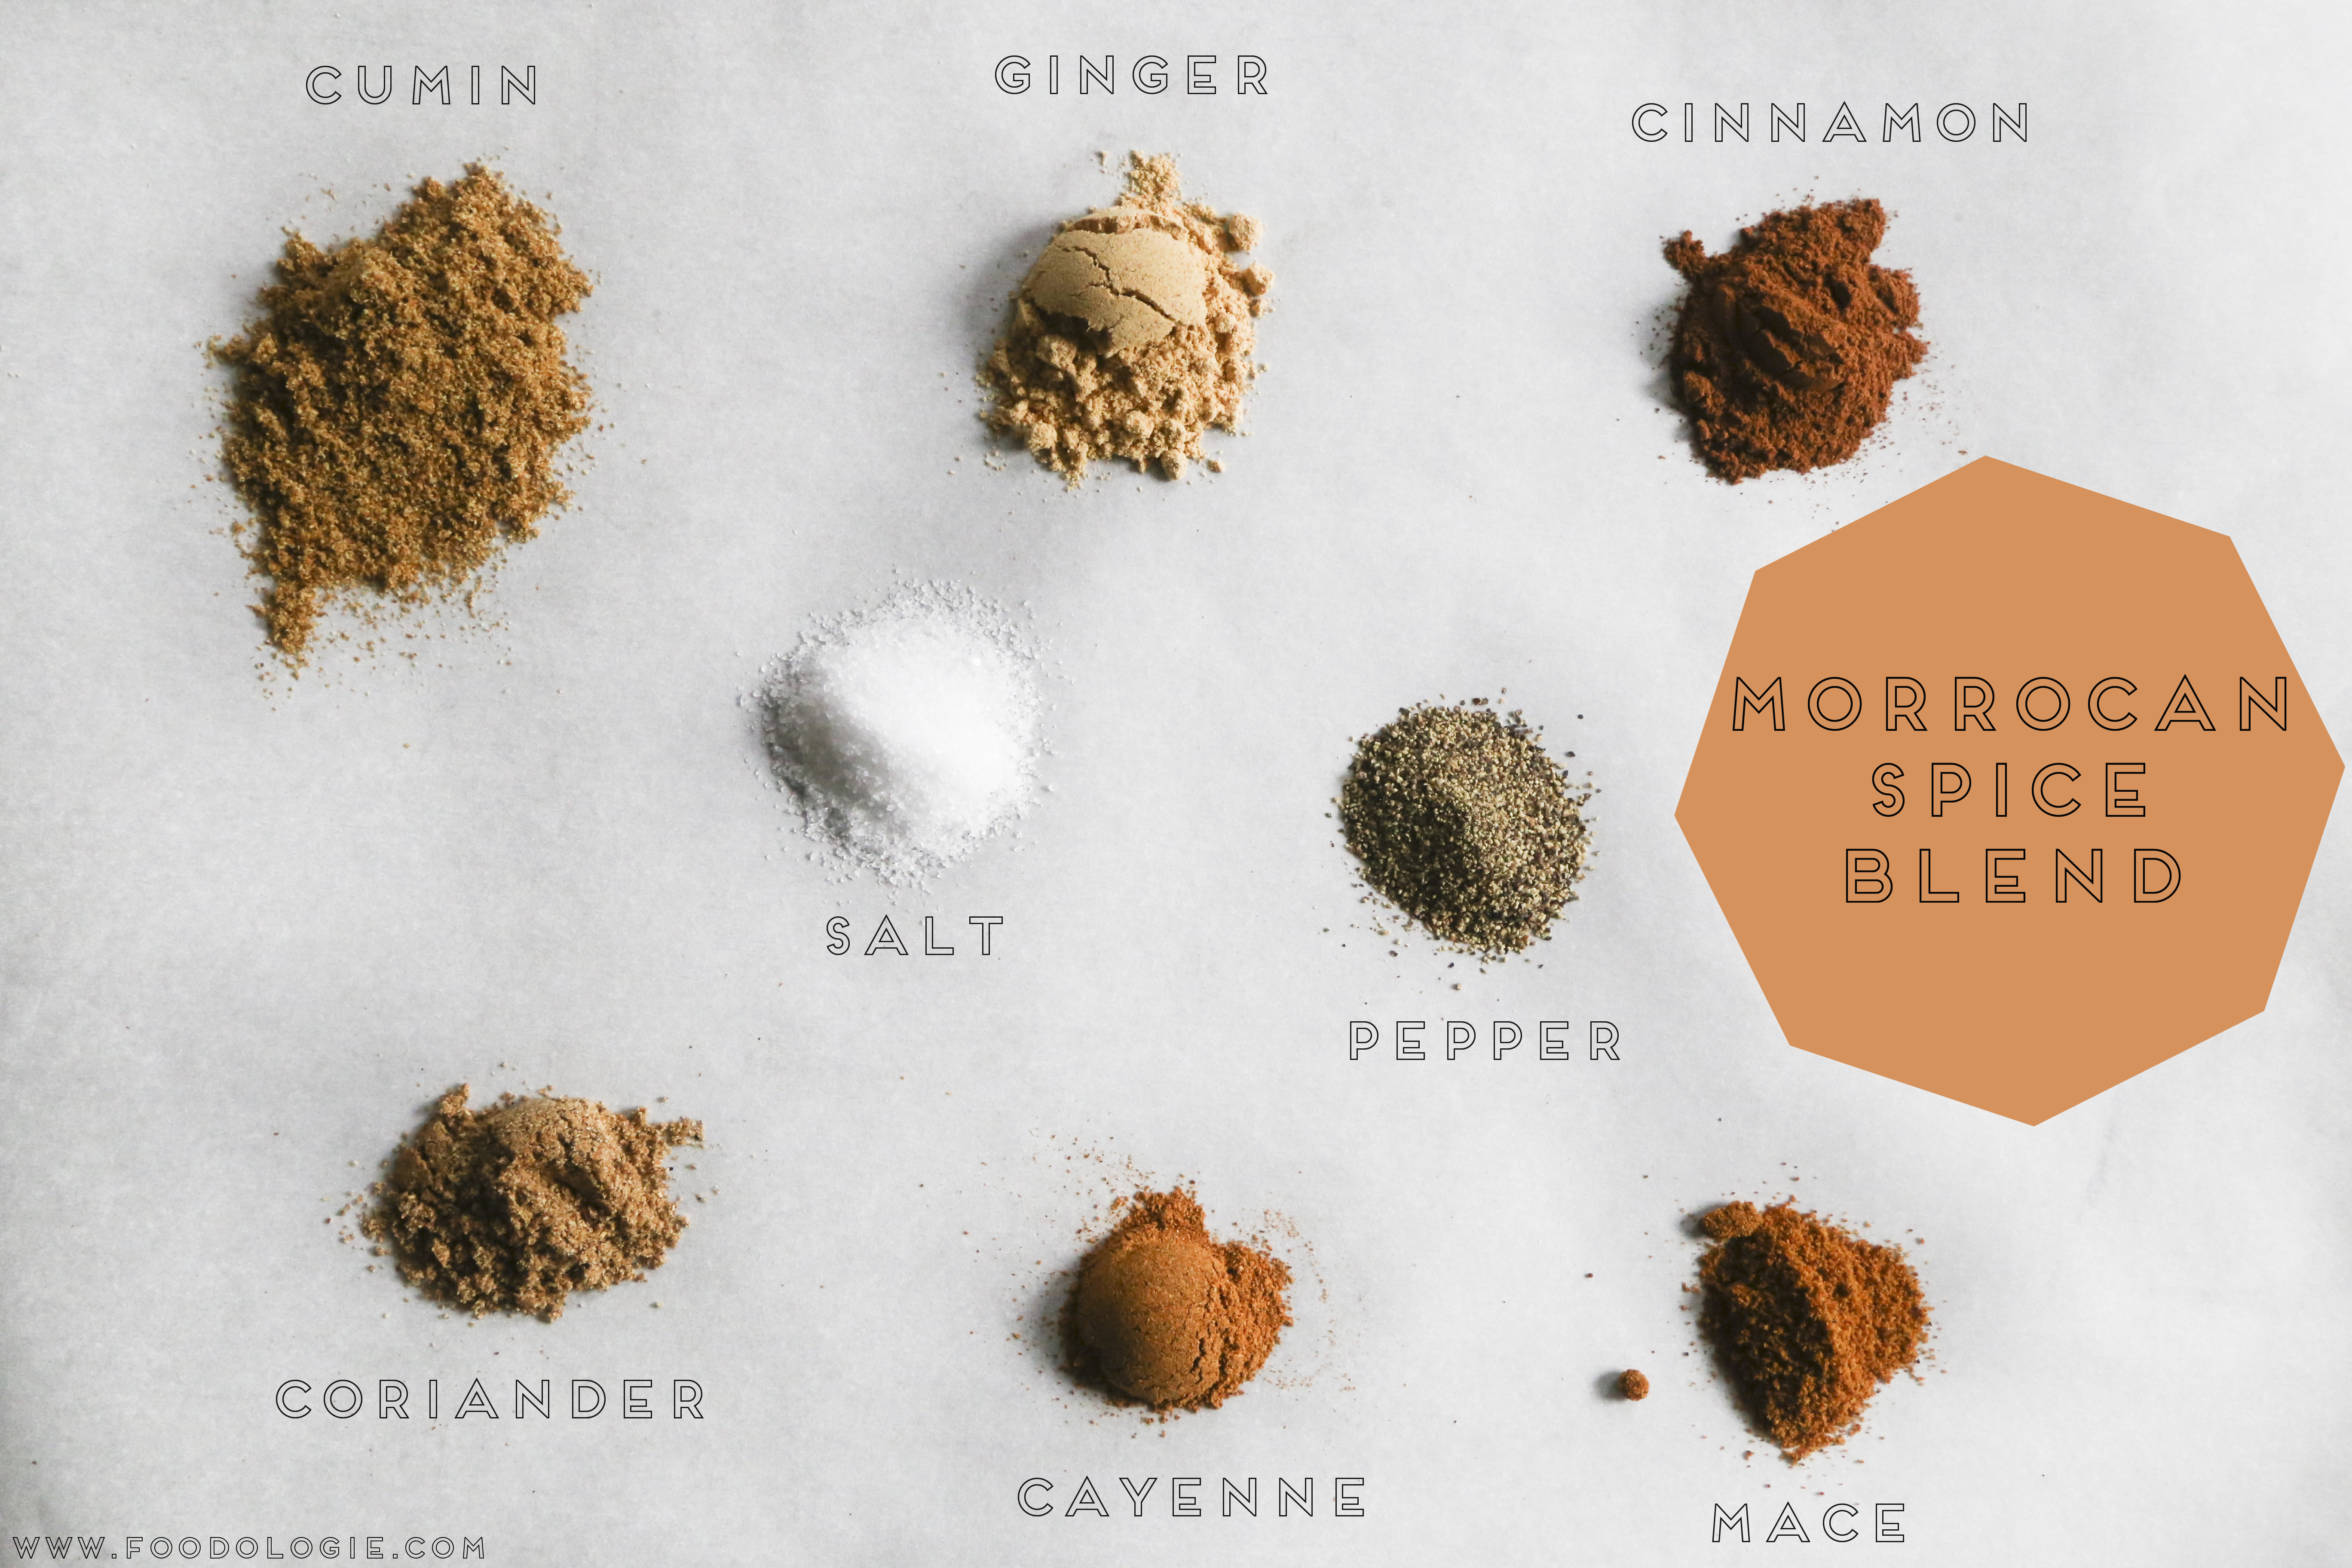

Moroccan Spice Blend
Adapted from Epicurious
1 tsp cumin
1 tsp ground ginger
1/2 tsp salt (or less if you’d like)*
1/2 tsp black pepper
1/2 tsp cinnamon
1/2 tsp coriander
1/2 tsp cayenne
1/2 tsp mace
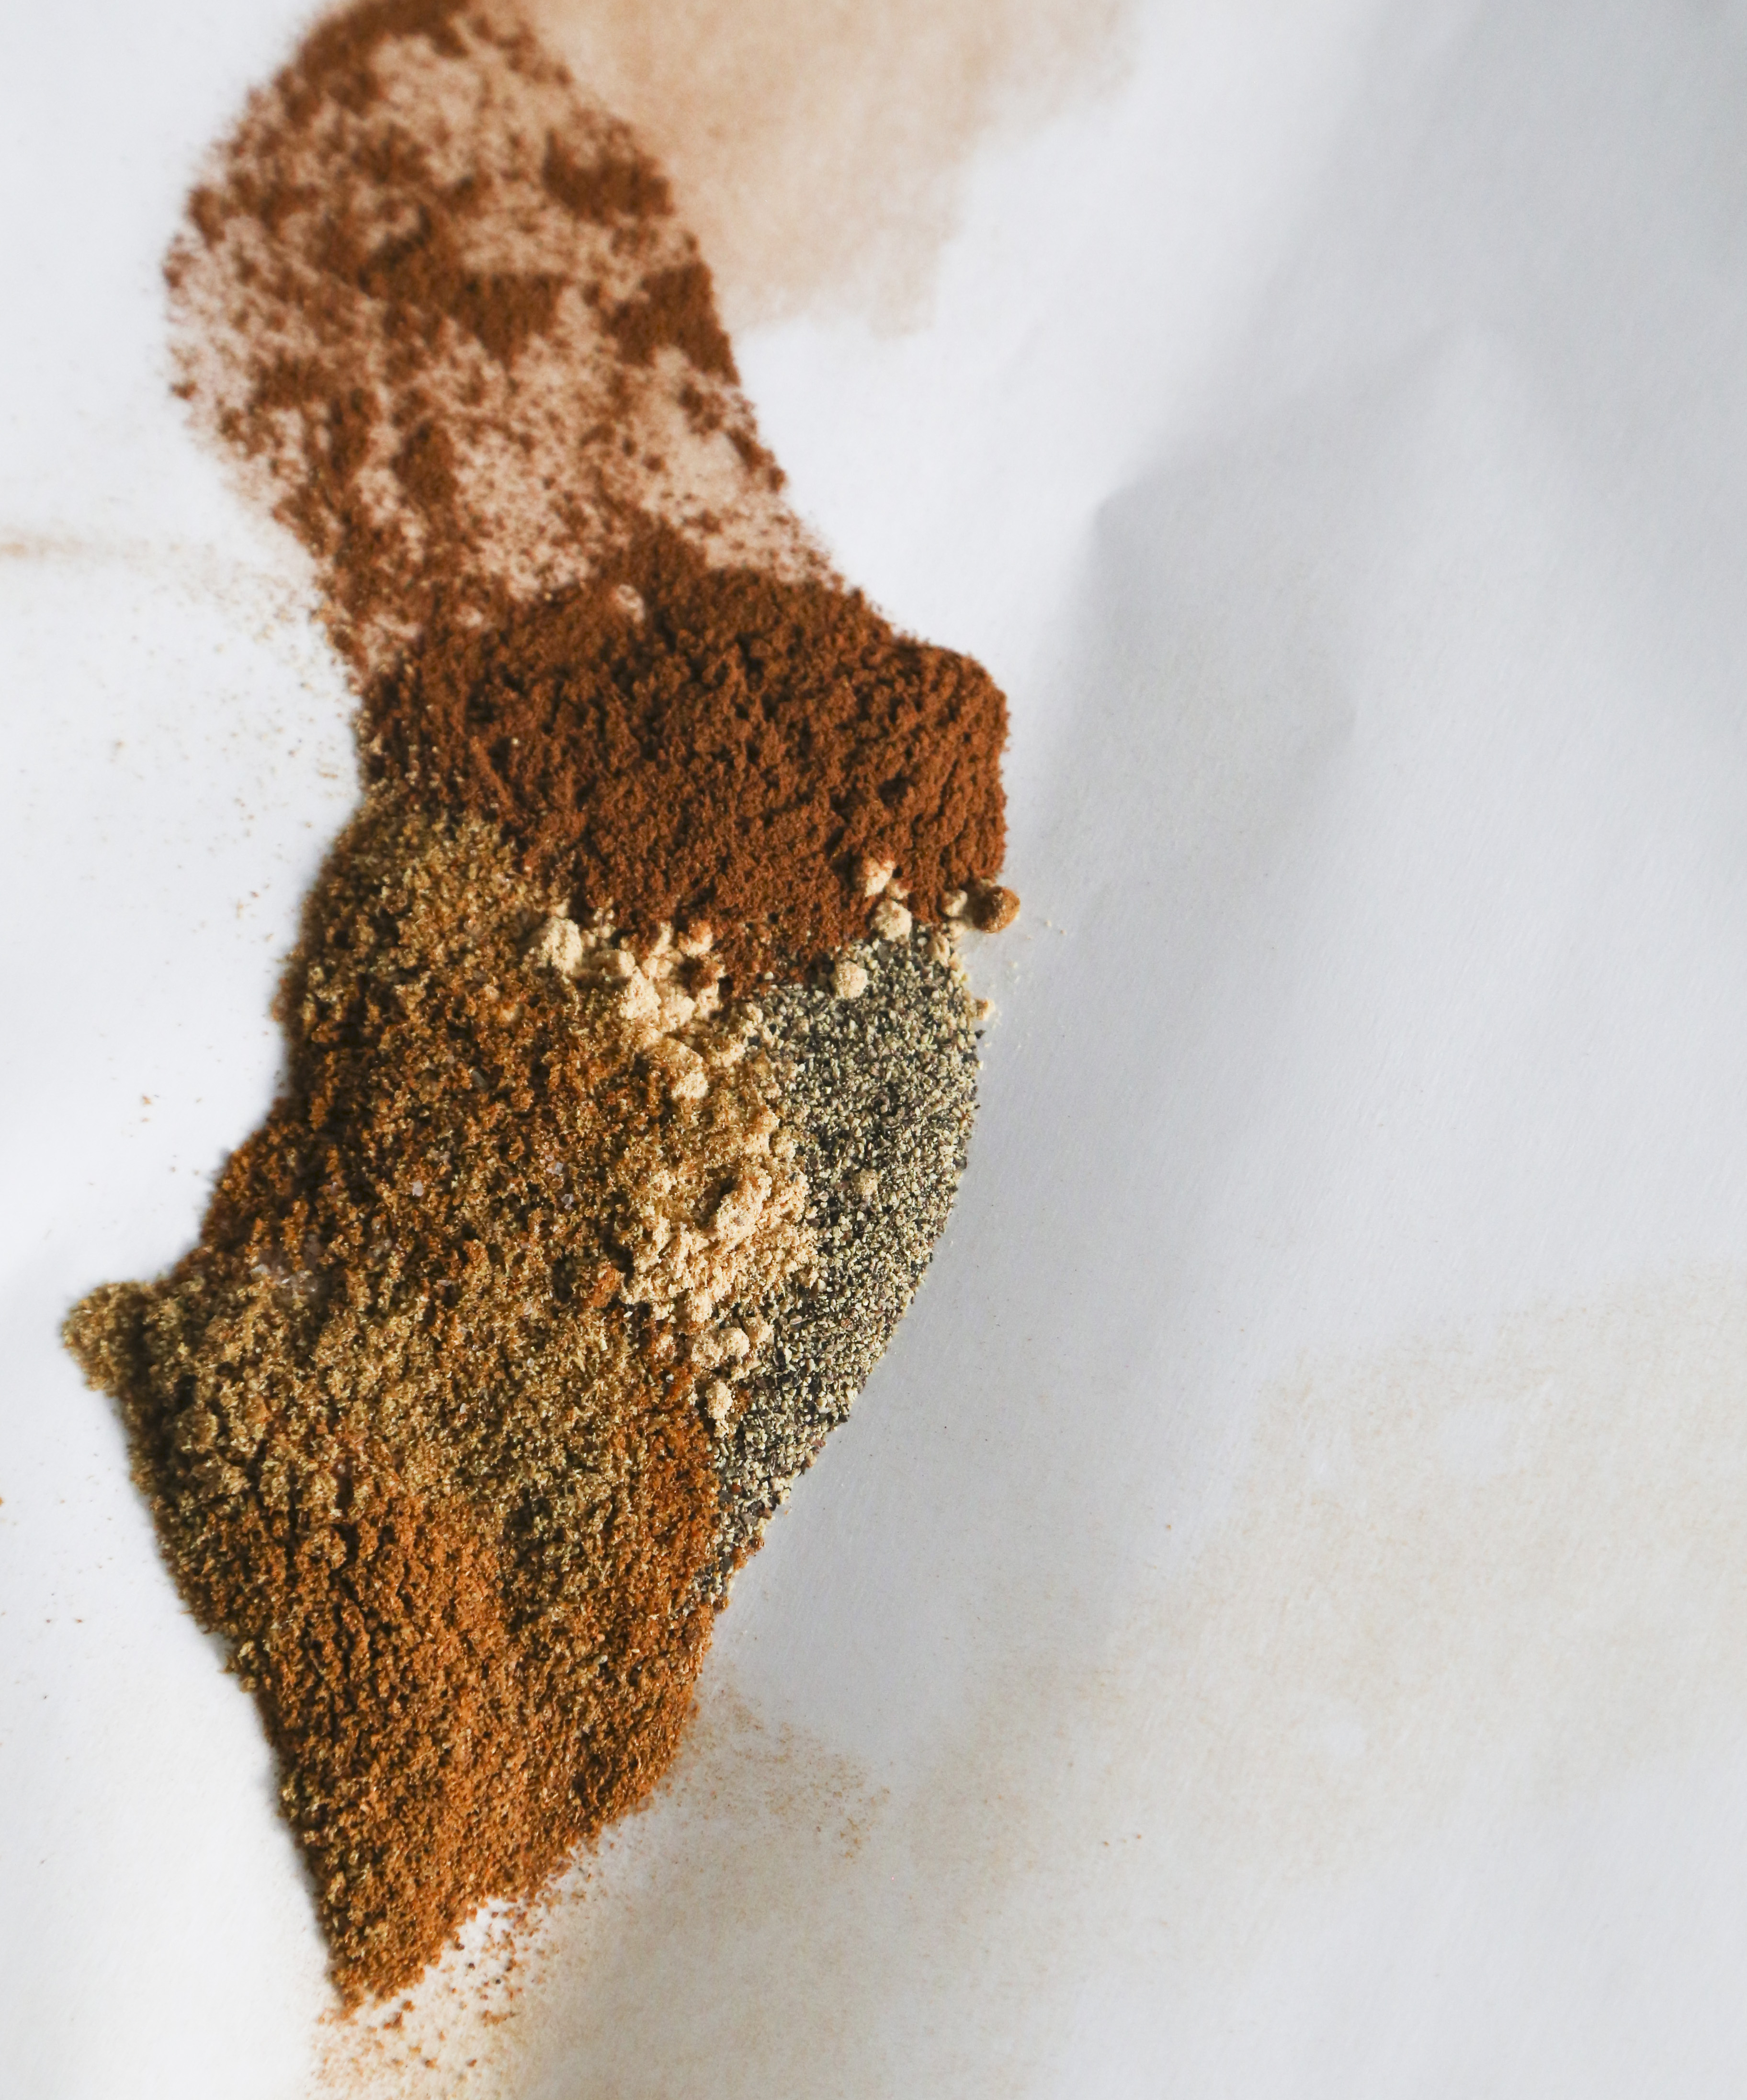

Combine all ingredients until well blended. Store in an air tight container until ready to use.
*Feel free to adjust the amount of salt. You can completely omit it, if you’re trying to go low sodium. You can also add more if you like things salty (the original recipe calls for 1 tsp of salt, but I tried that and thought it was too much. 1/2 tsp was more to my liking).
I mixed up a bunch to keep on hand for easy meals. So far using this blend I’ve made: Moroccan Spiced Chicken Thighs and Moroccan Spice Tilapia.
Super easy! In both cases, I sprinkled the chicken (bone-in thighs, skin and excess fat removed) or fish generously with the spice blend and baked. Both times it turned out awesome! I can’t wait to keep making this. If you’re interested, I can do a full recipe post on either of these. Let me know if you’re interested.
Tonight, the ultimate quick dinner for 1: I took a piece of tilapia, covered it in moroccan spice blend, then roasted it along side some asparagus for 17 minutes at 400F. Done in less than 20 minutes, and easy clean up. I like it.
Give this Moroccan Spice Blend a try! It’s a great way to add a ton of flavor while still keeping things healthy.
What’s your favorite quick and easy weeknight meal?


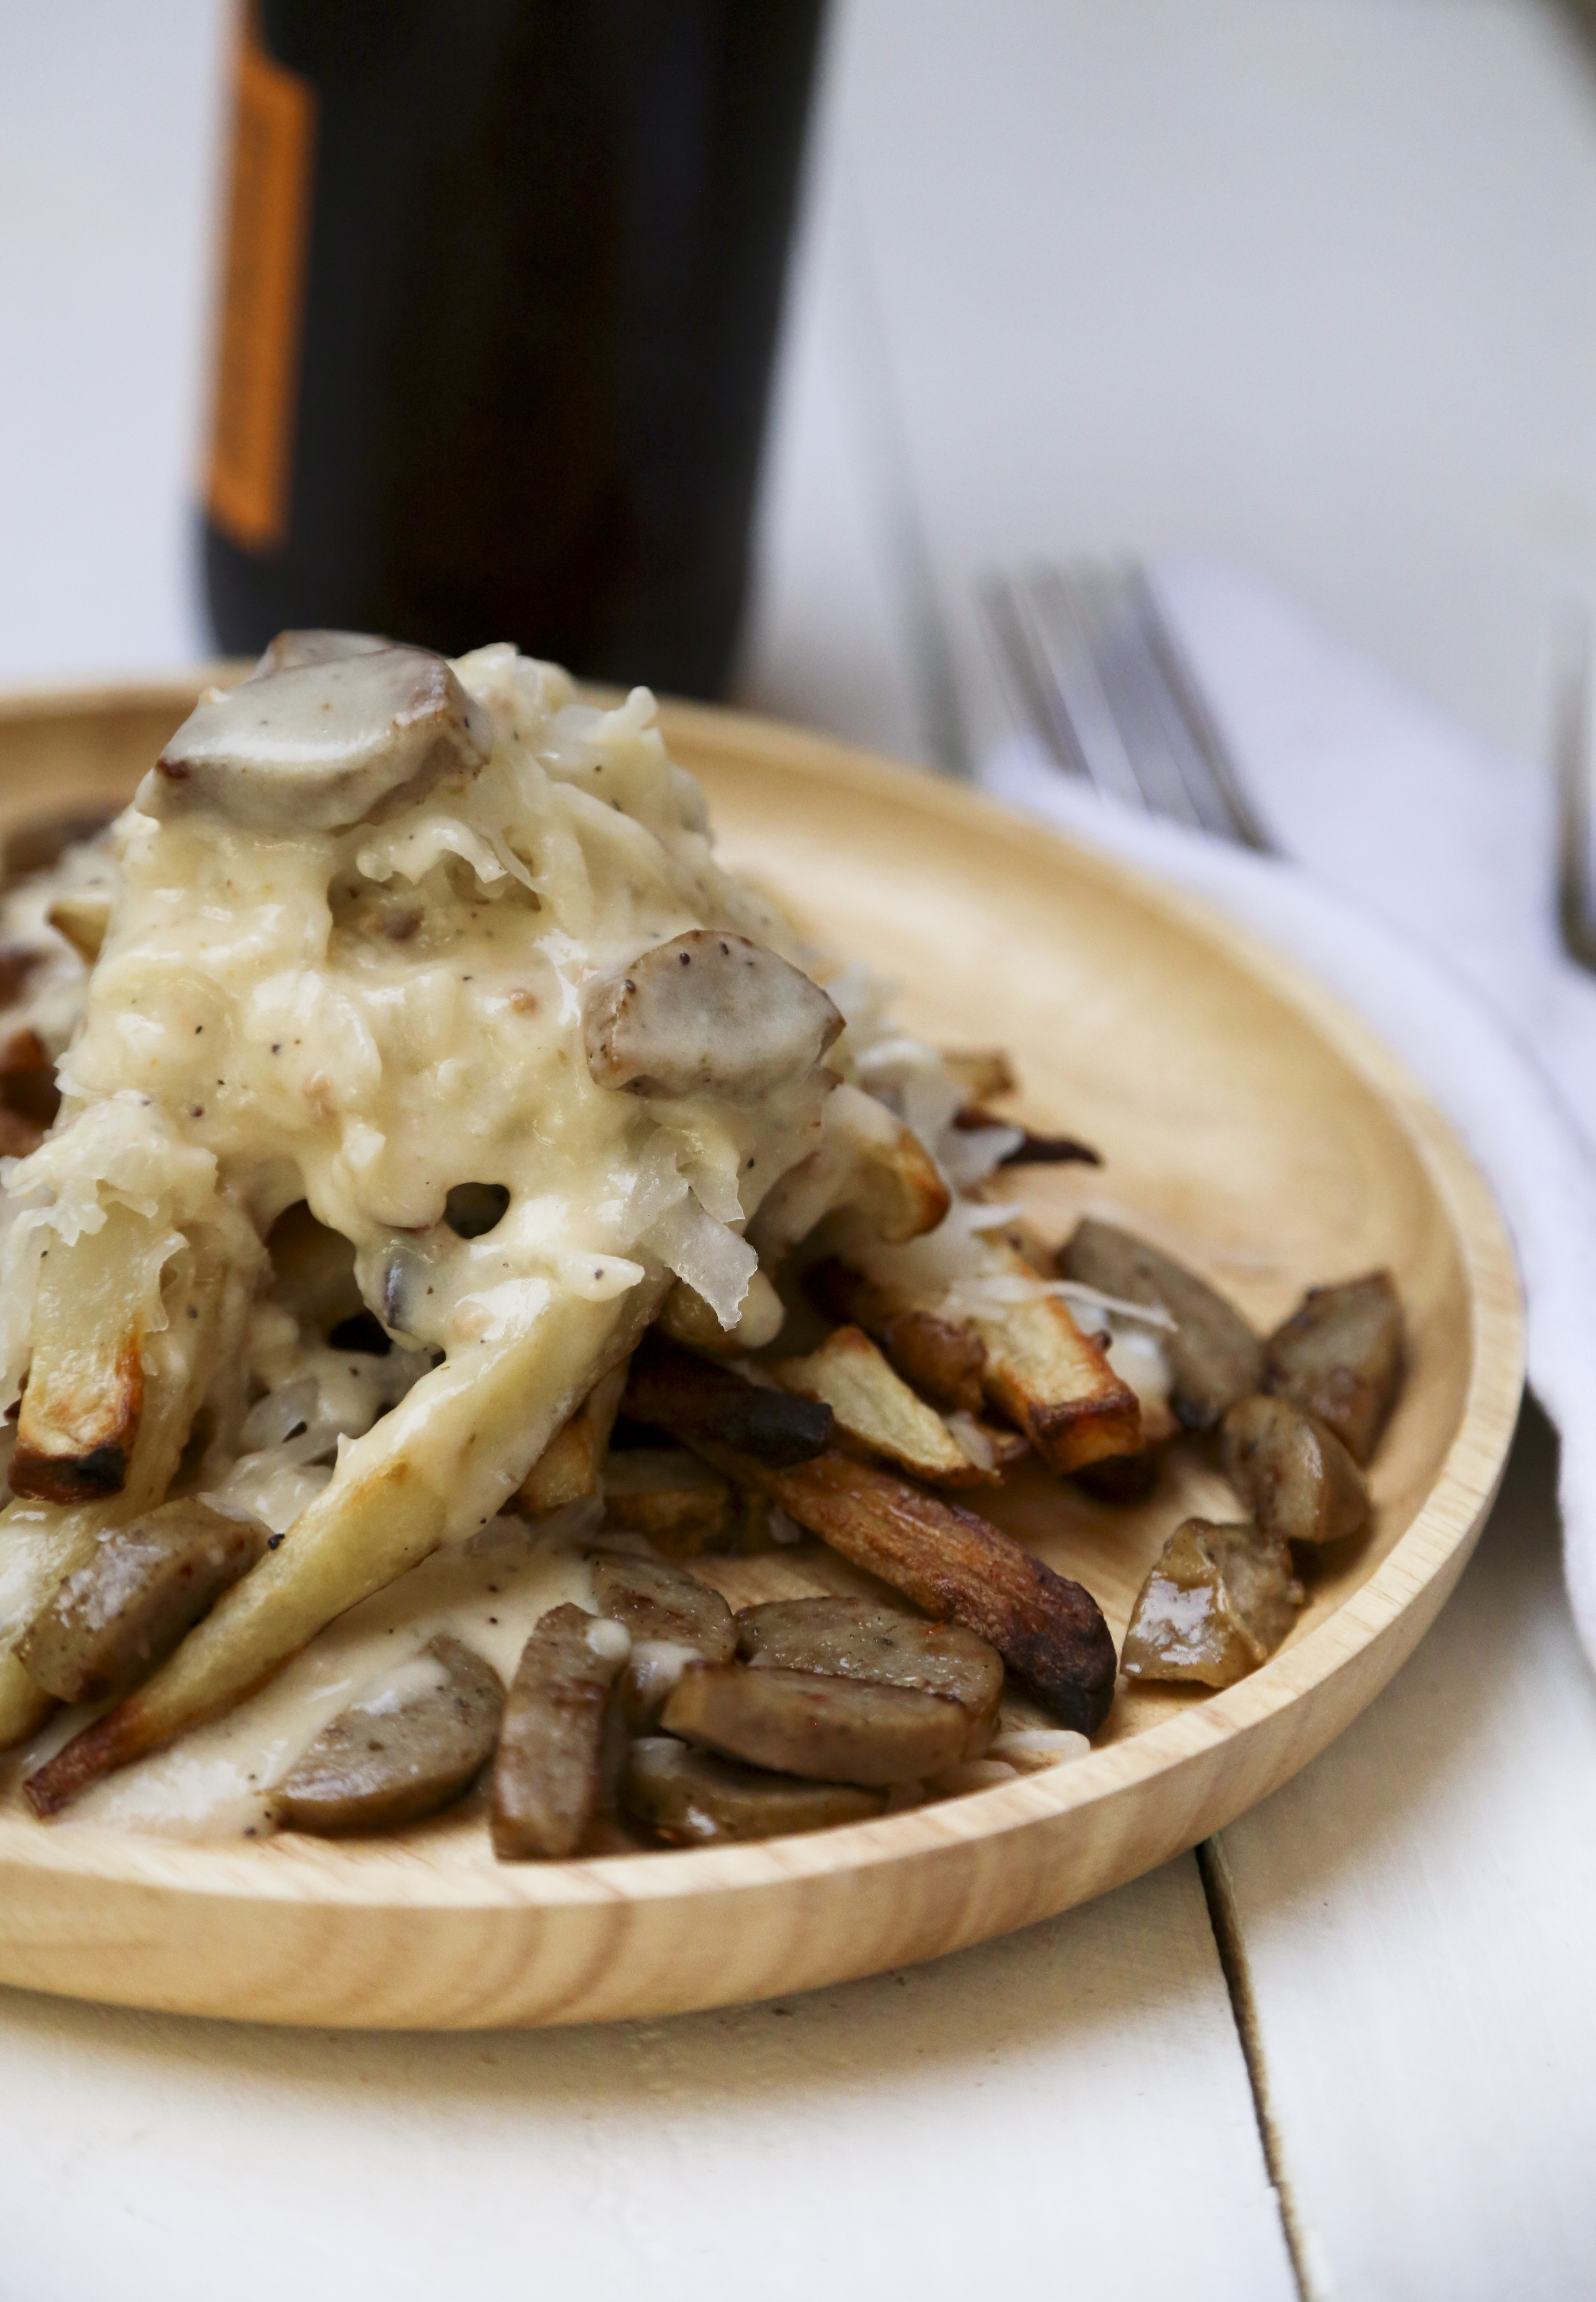
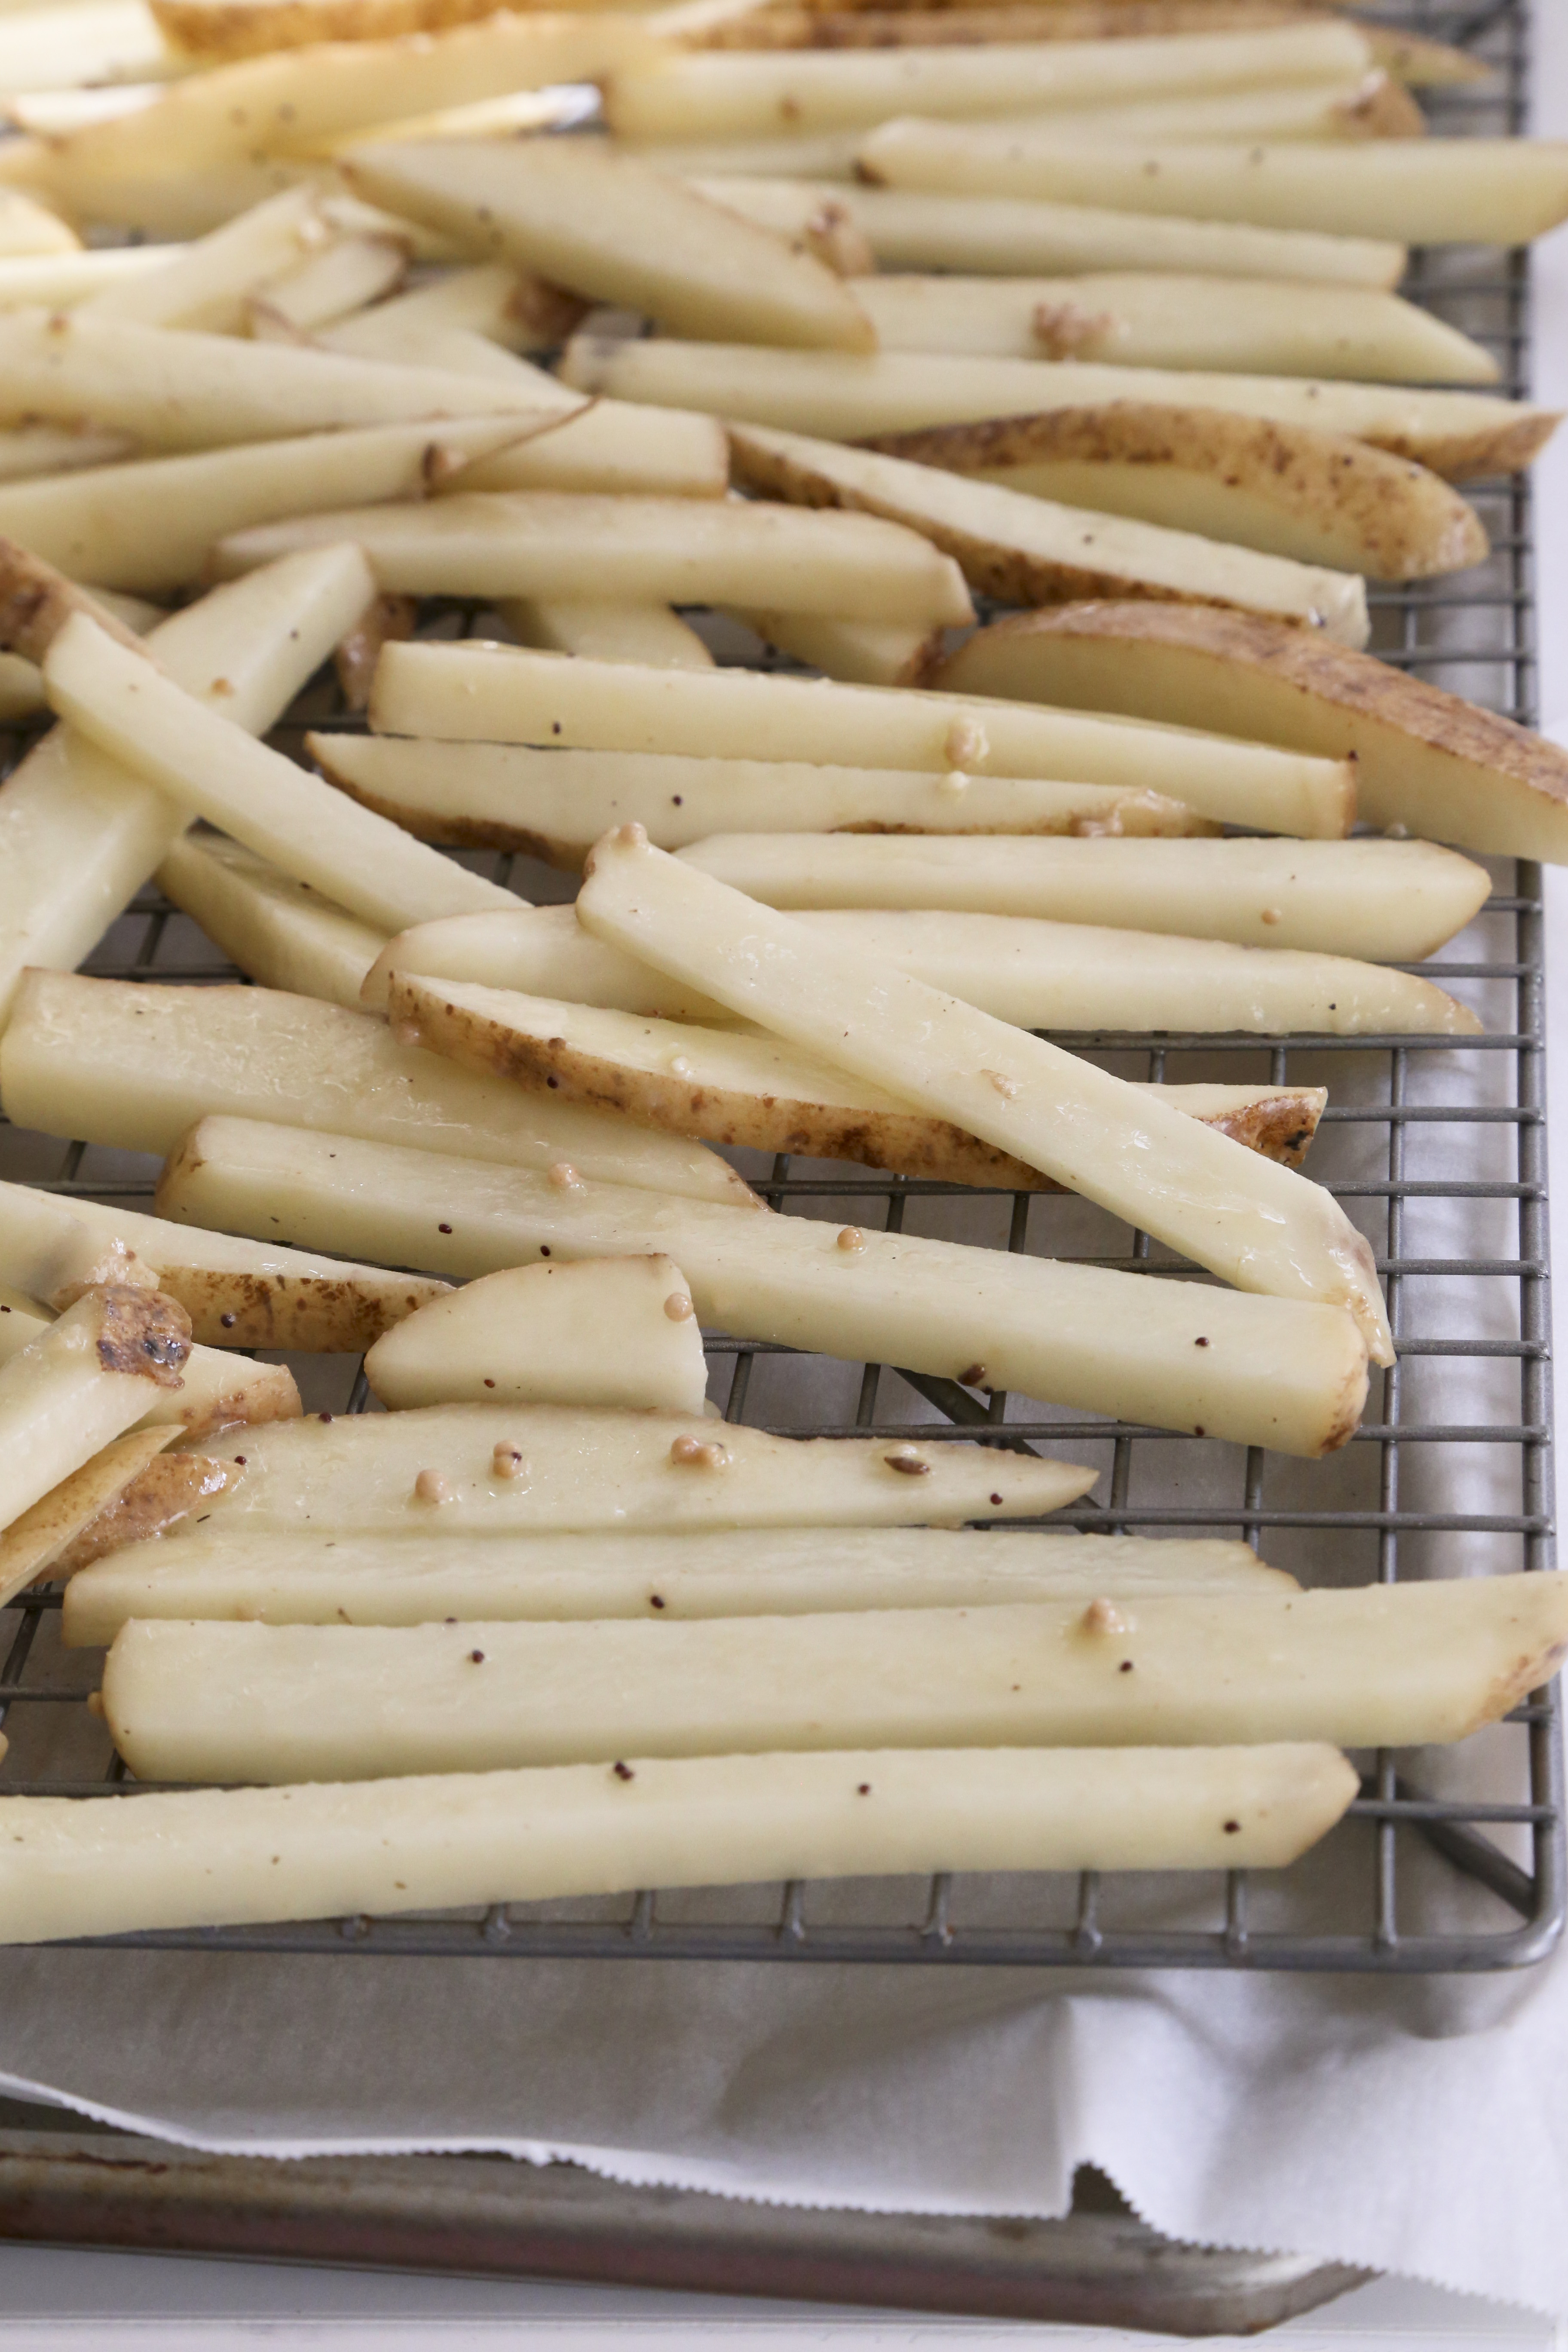
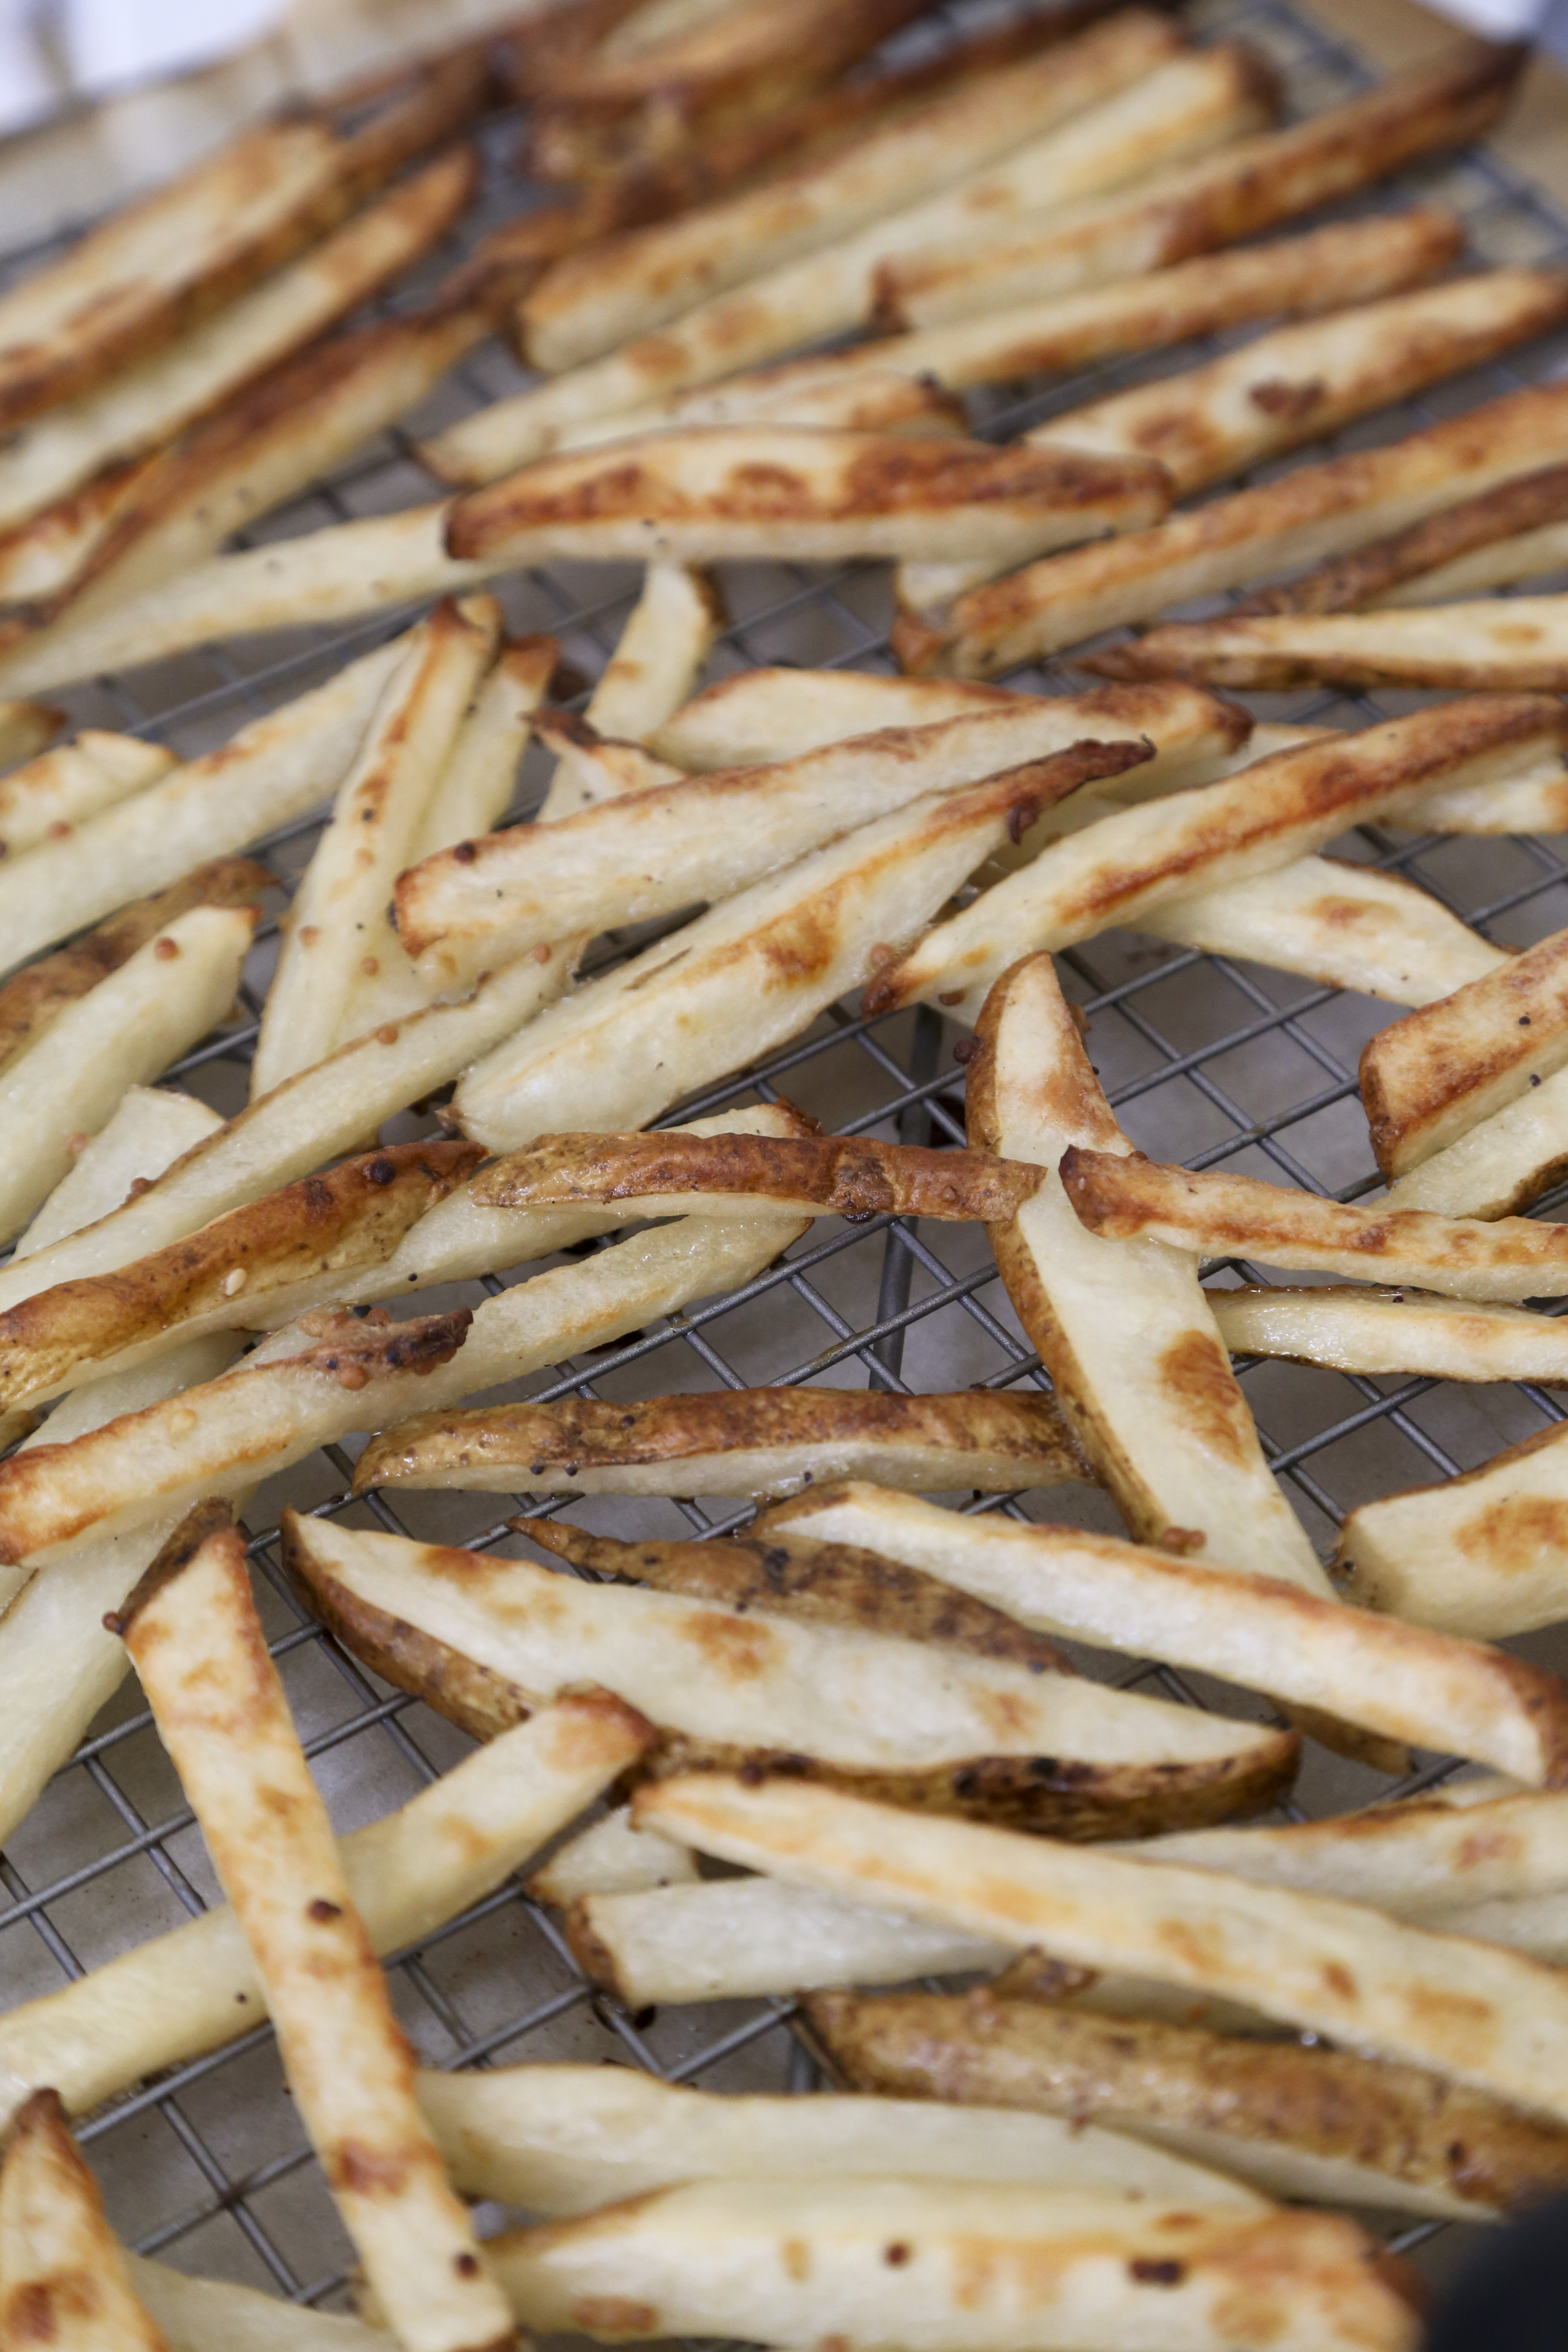
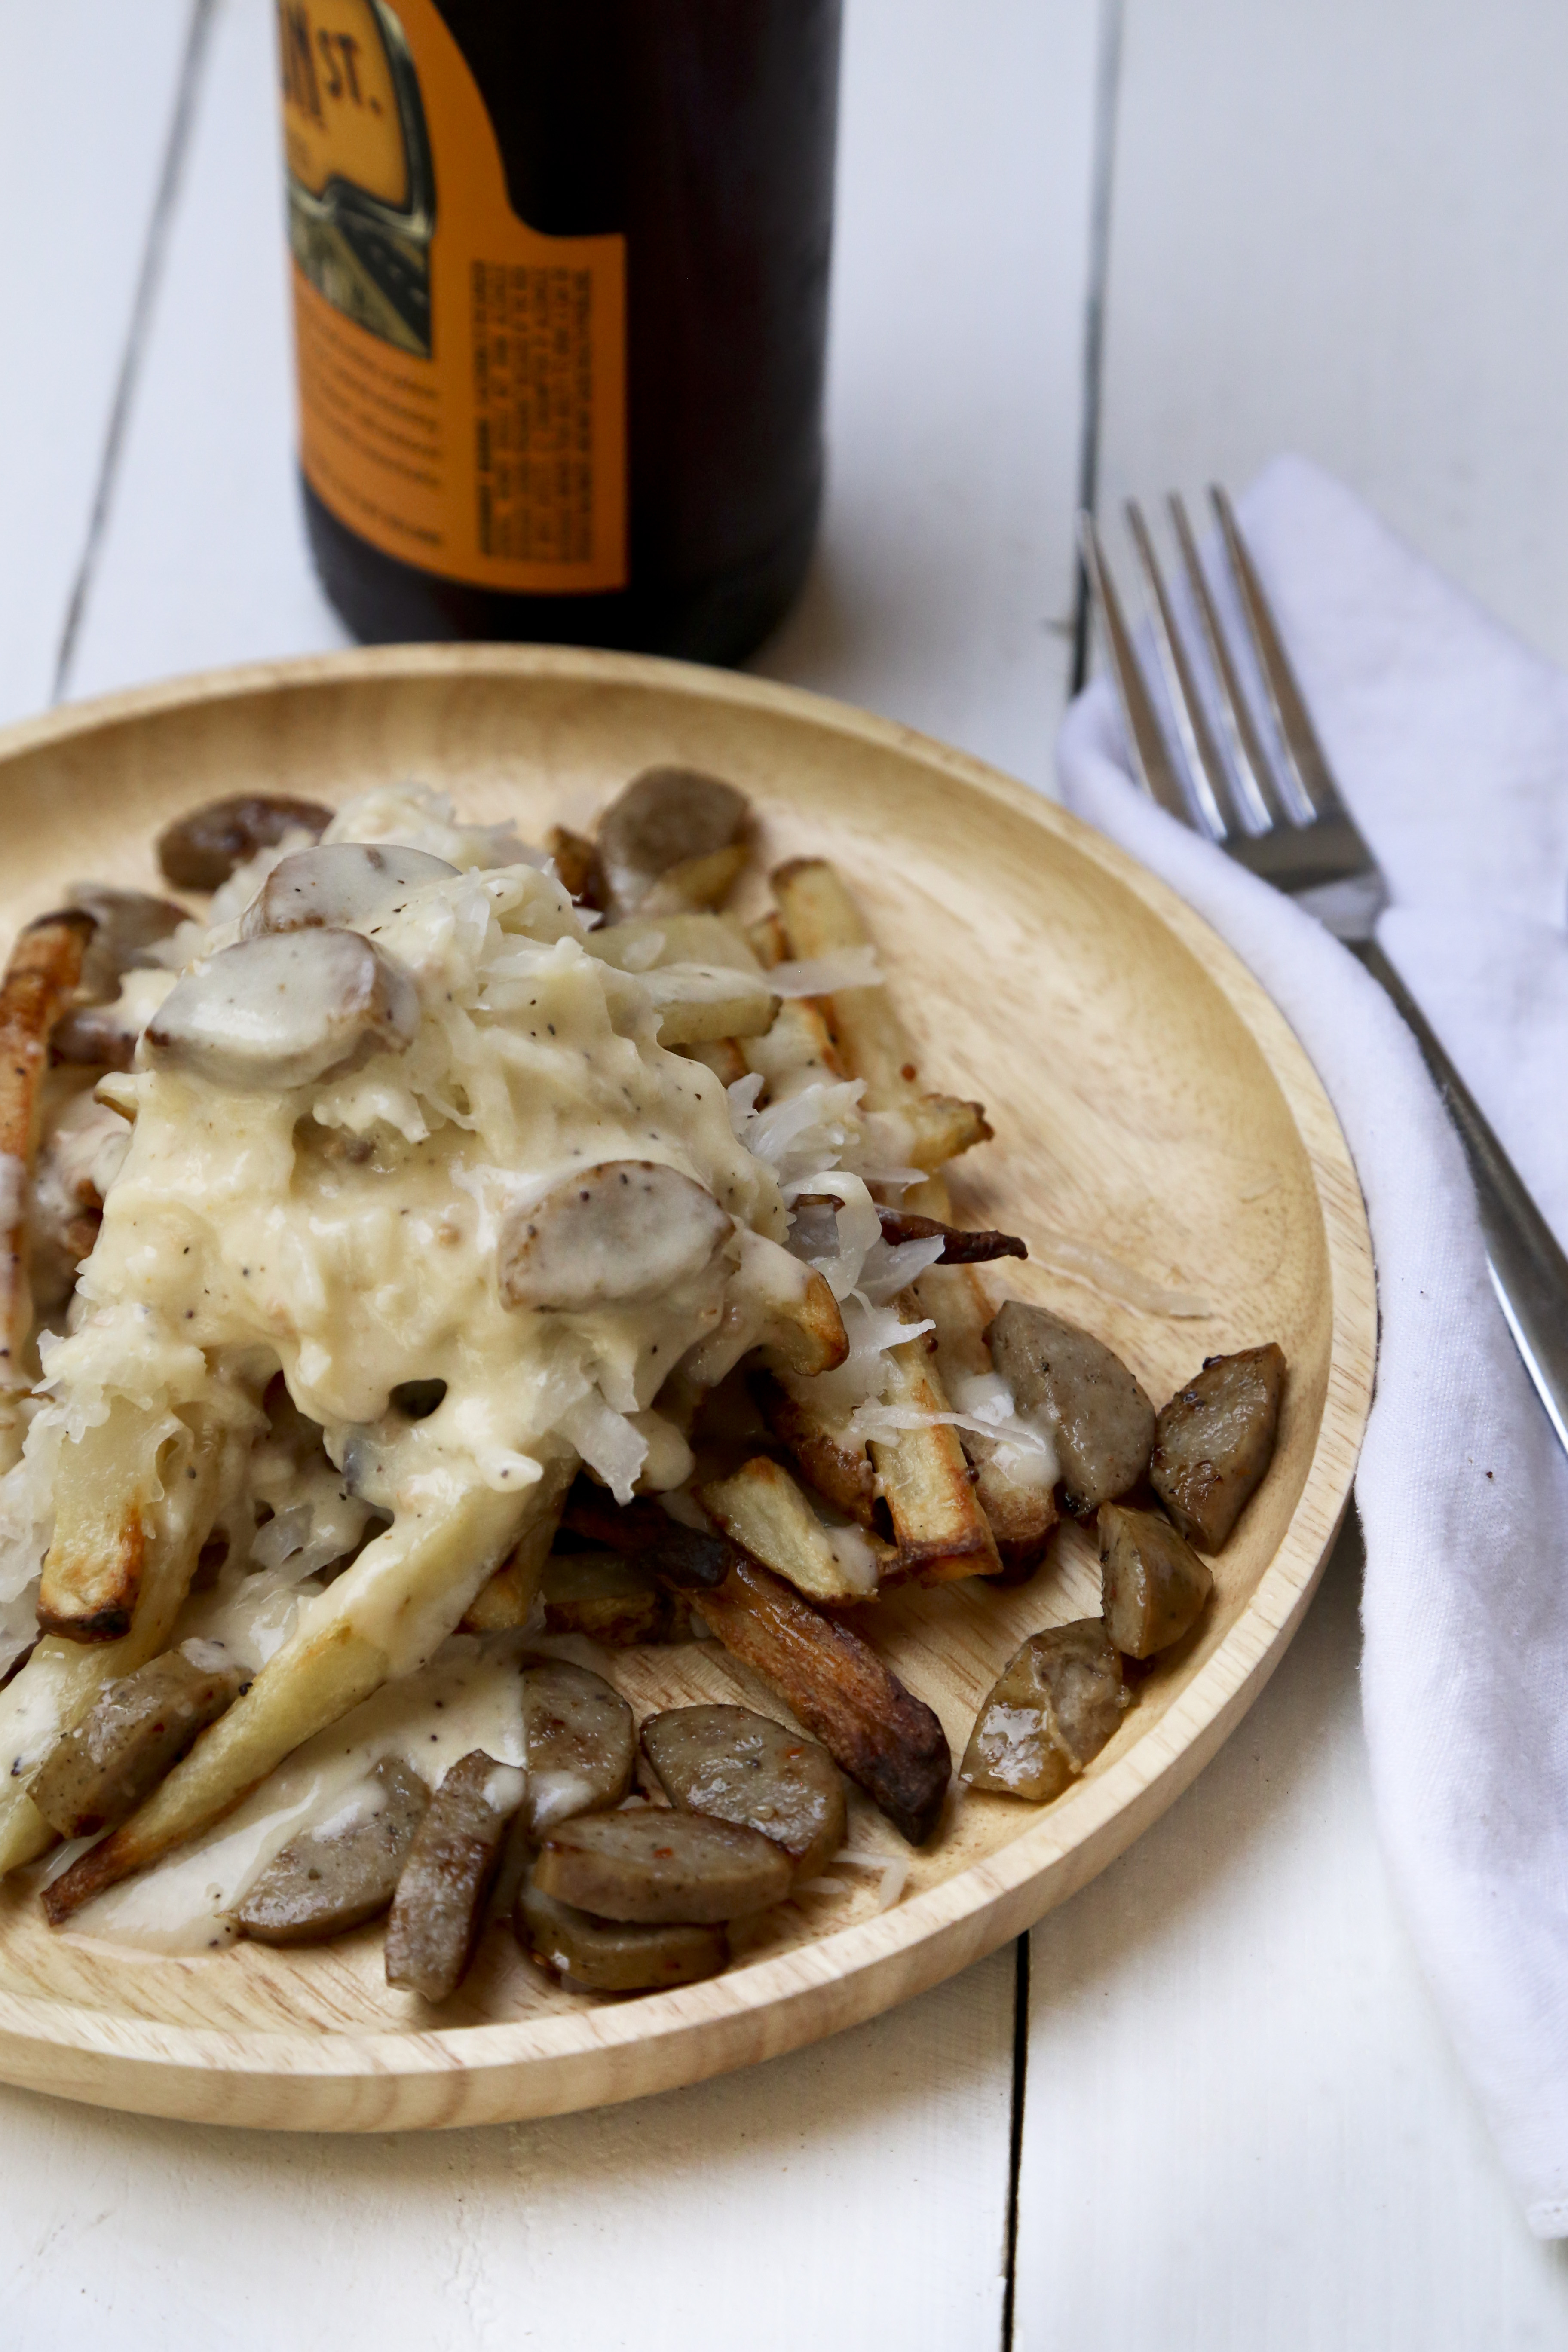
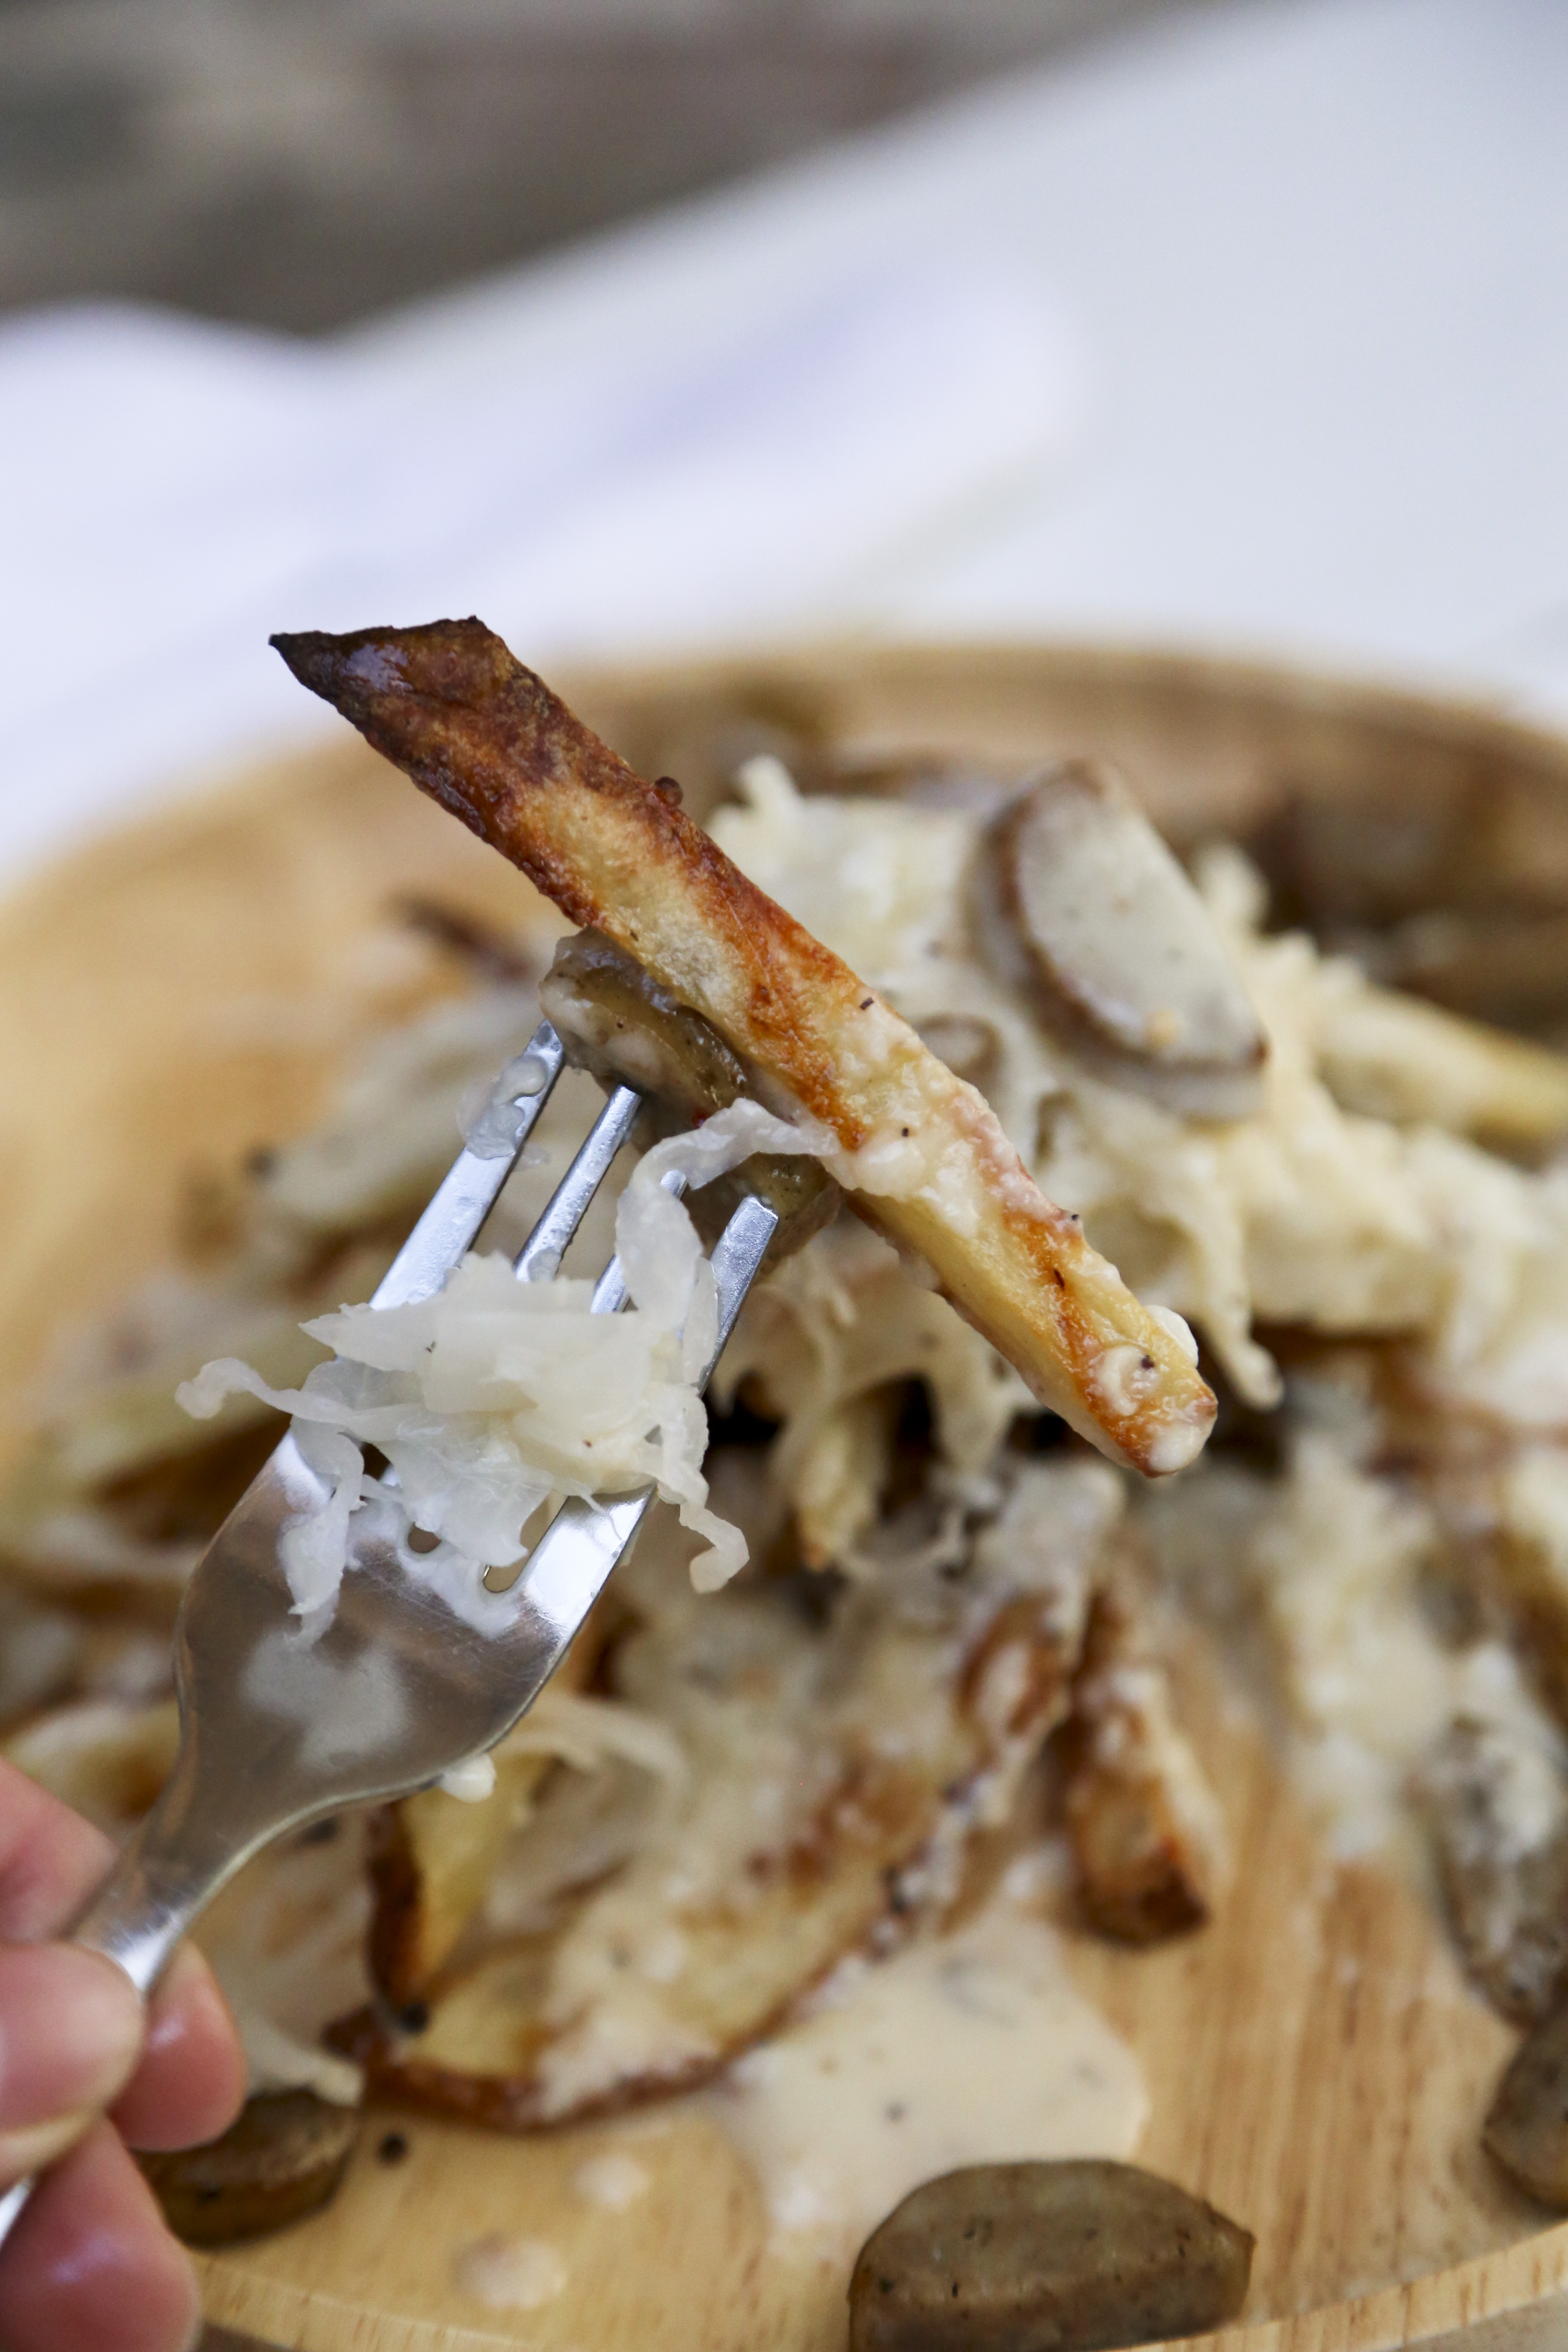
%3A%20Baked%20Fries%20with%20Sauerkraut%2C%20Sausage%20and%20Muenster%20Cheese%20Sauce%20%5BRecipe%5D)

%3A%20Baked%20Fries%20with%20Sauerkraut%2C%20Sausage%20and%20Muenster%20Cheese%20Sauce%20%5BRecipe%5D)
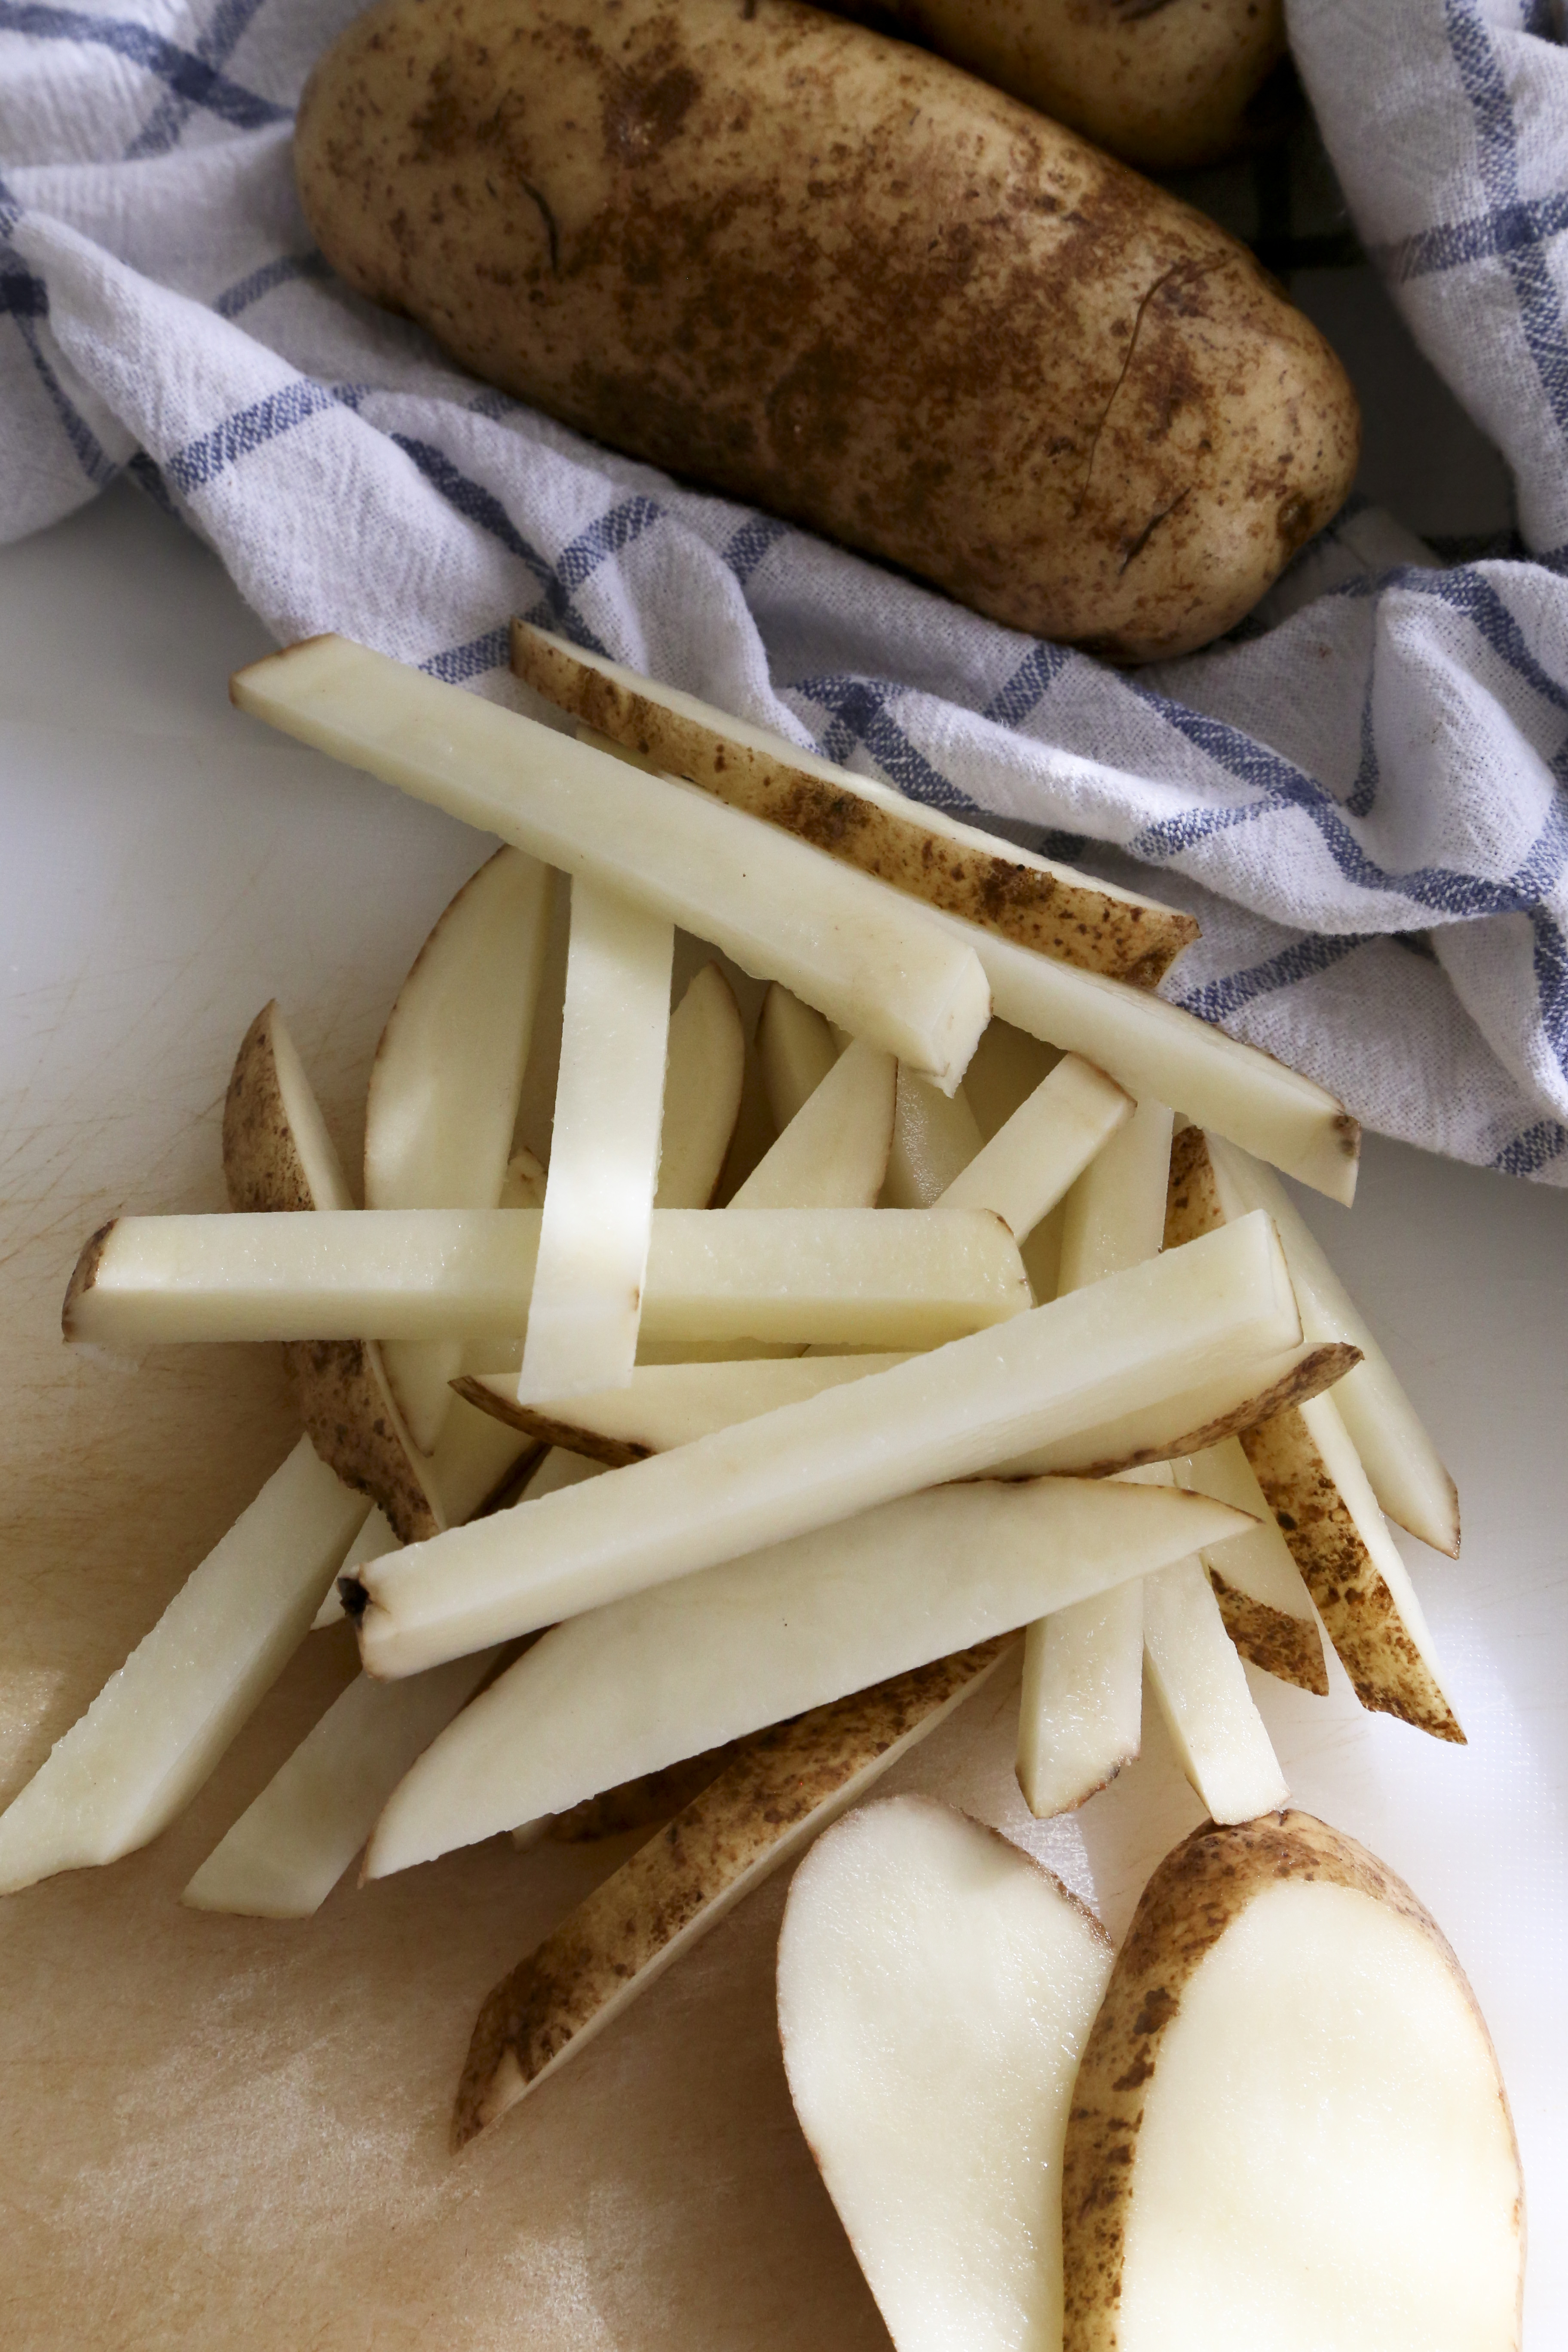
%3A%20Baked%20Fries%20with%20Sauerkraut%2C%20Sausage%20and%20Muenster%20Cheese%20Sauce%20%5BRecipe%5D)
%3A%20Baked%20Fries%20with%20Sauerkraut%2C%20Sausage%20and%20Muenster%20Cheese%20Sauce%20%5BRecipe%5D)


)
)

)

)