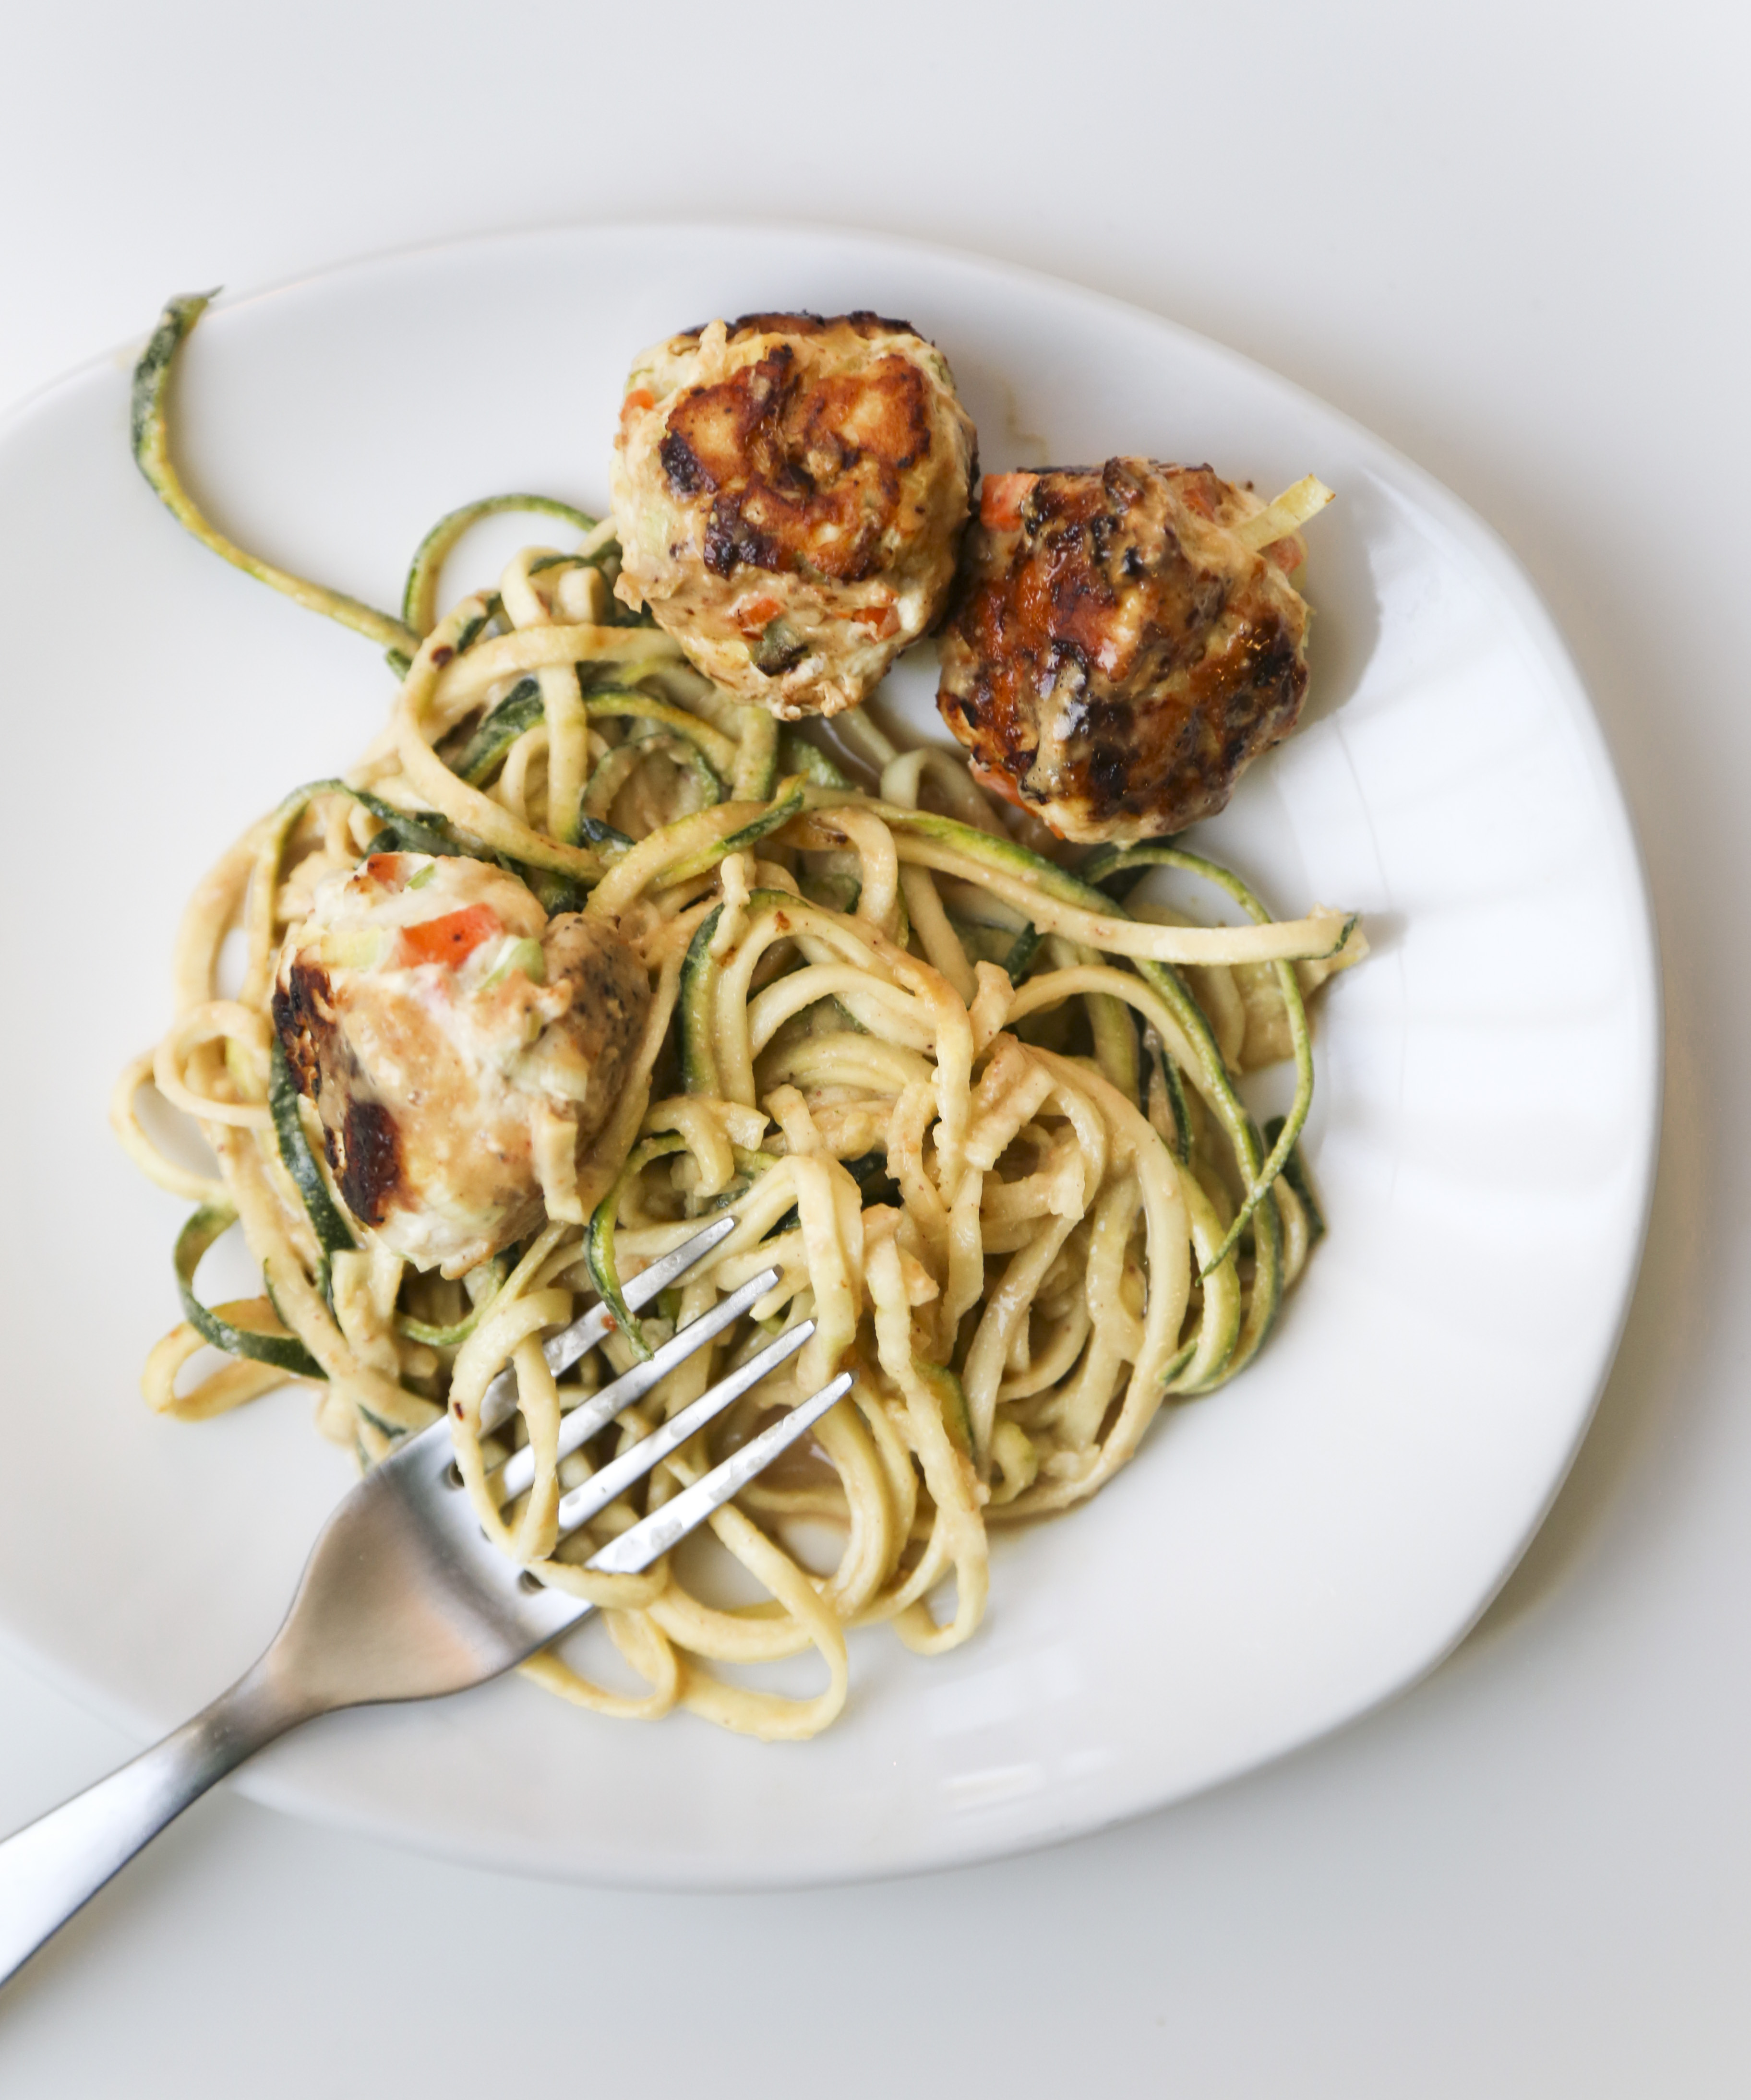
I’m going to be honest. I’m a terrible meatball maker. I’m also a terrible meatball namer. They taste great, but generally look horrible and leek-y? I couldn’t come up with something better?
I don’t know how people get their meatballs to be round and beautiful. Mine end up a little bit like patties, but they taste awesome.
Because they taste awesome, I really can’t complain. So let me tell you about these (slightly ugly but delicious) meatballs.
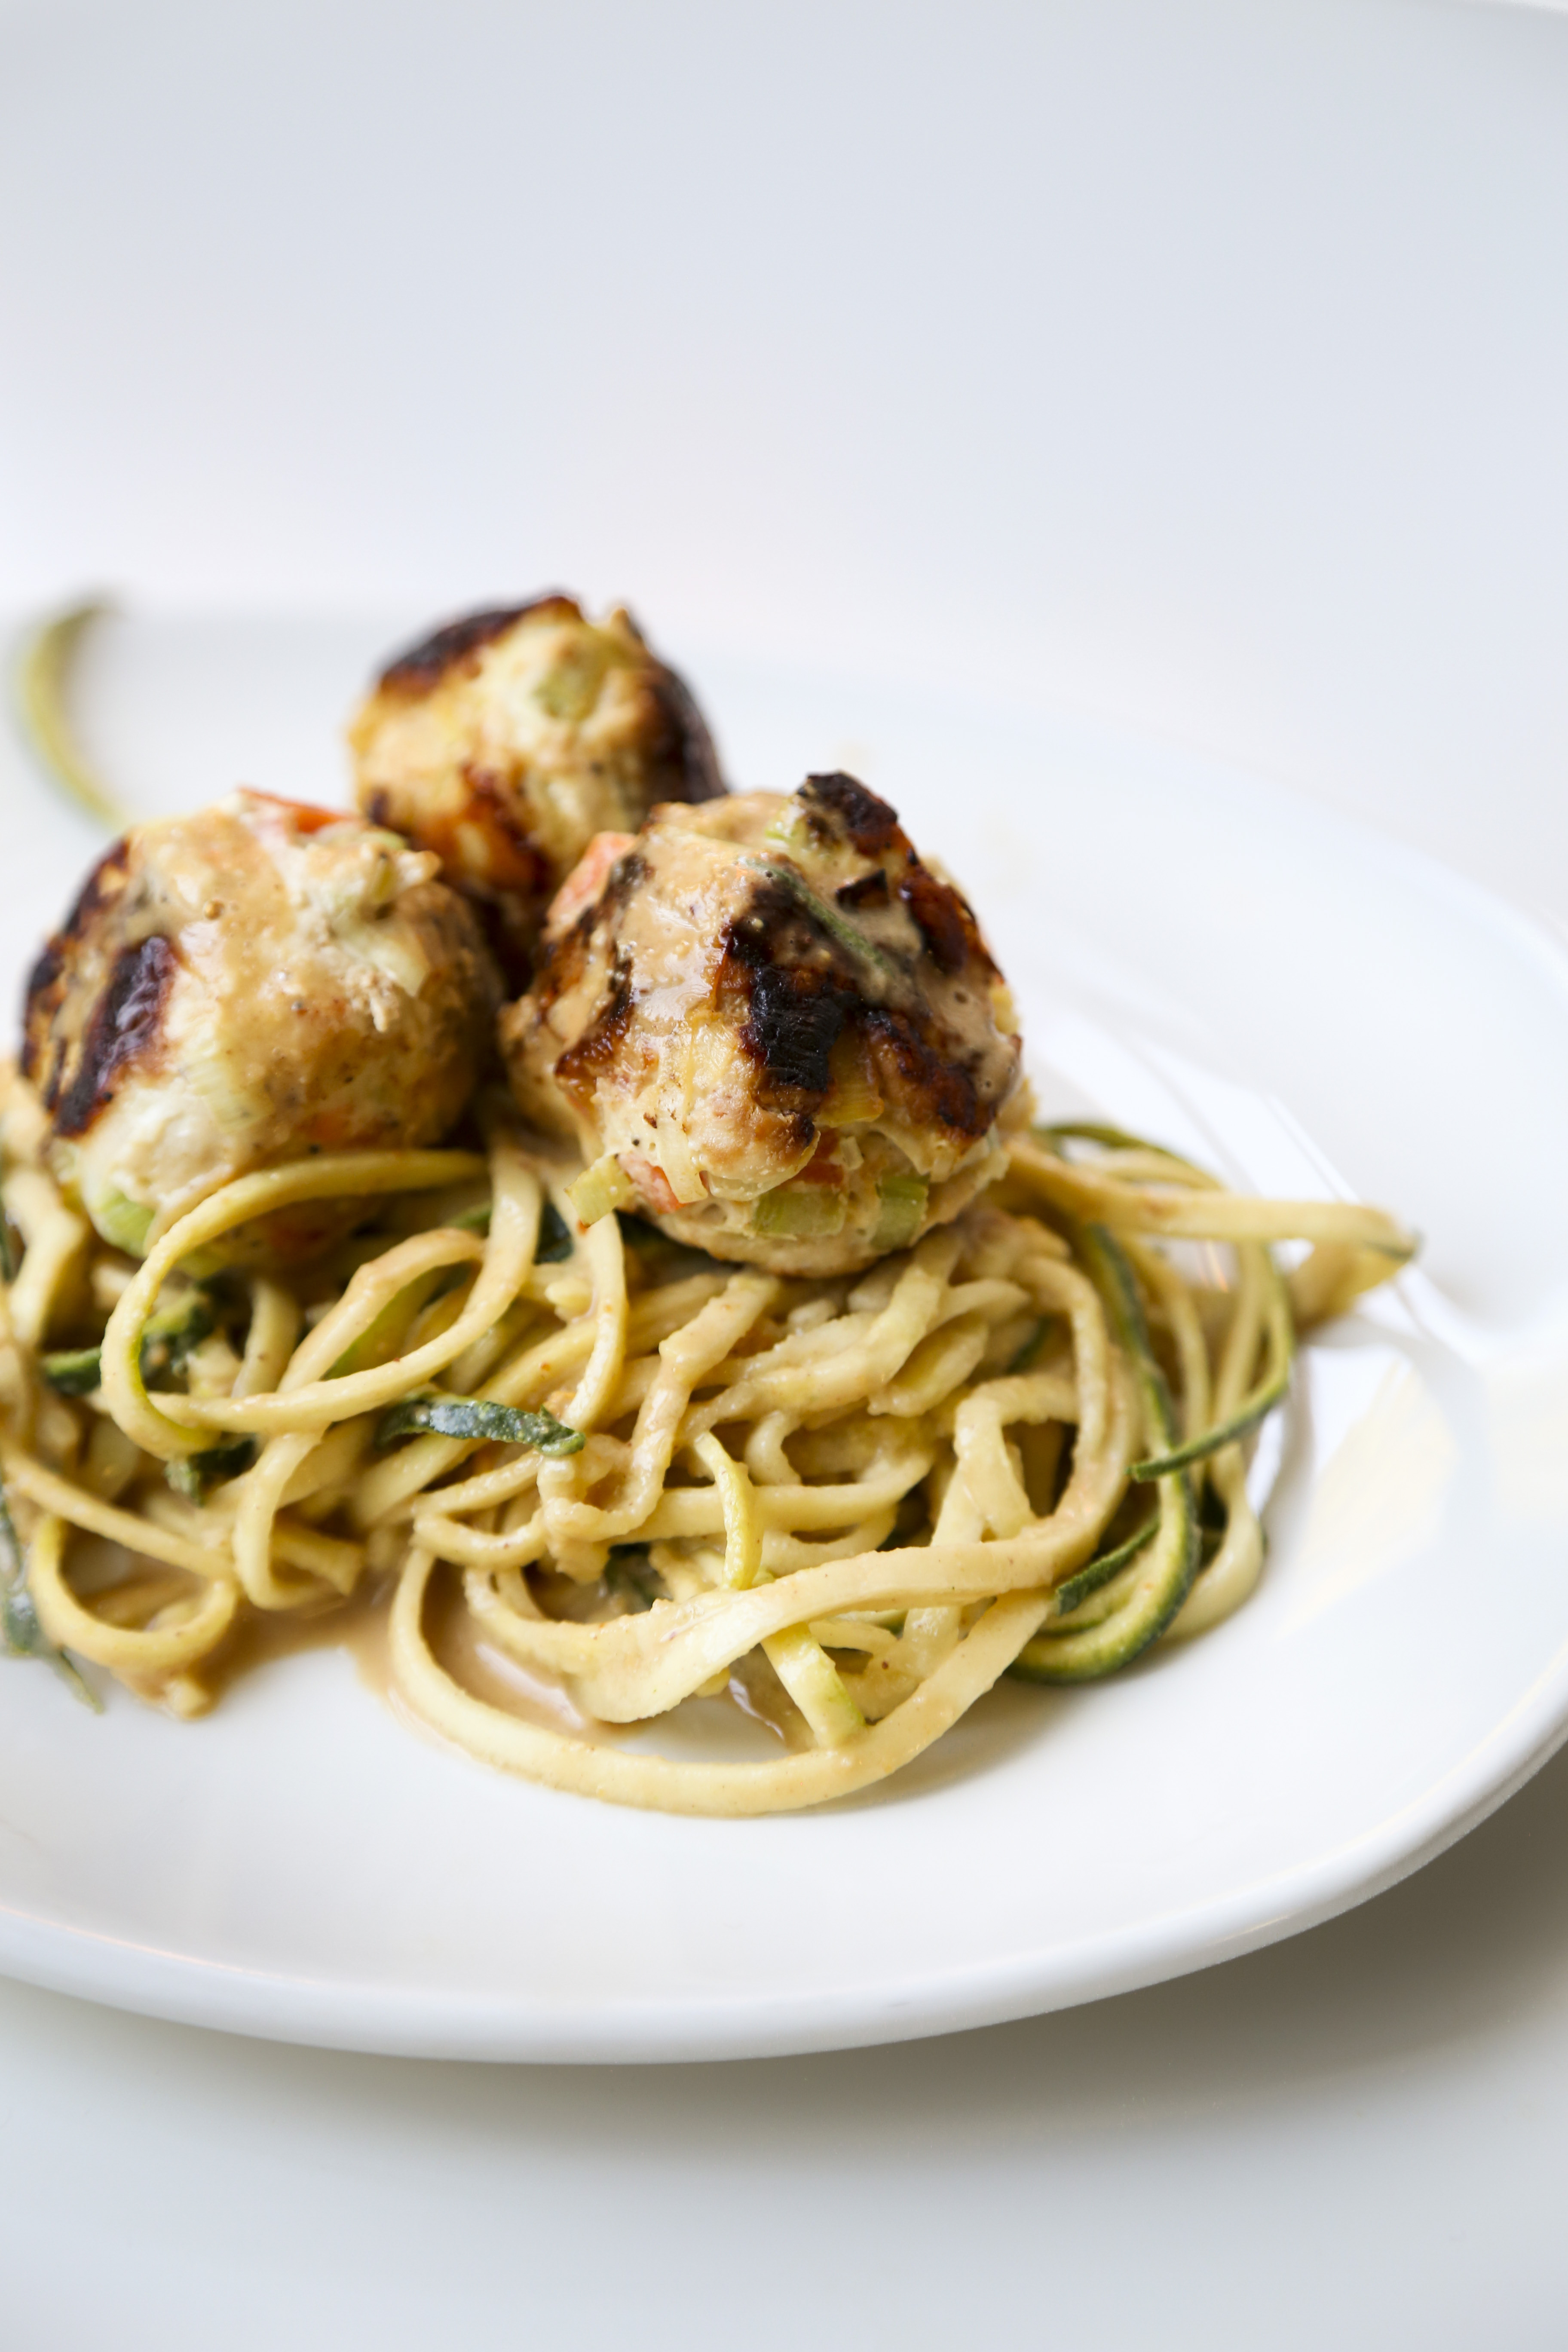

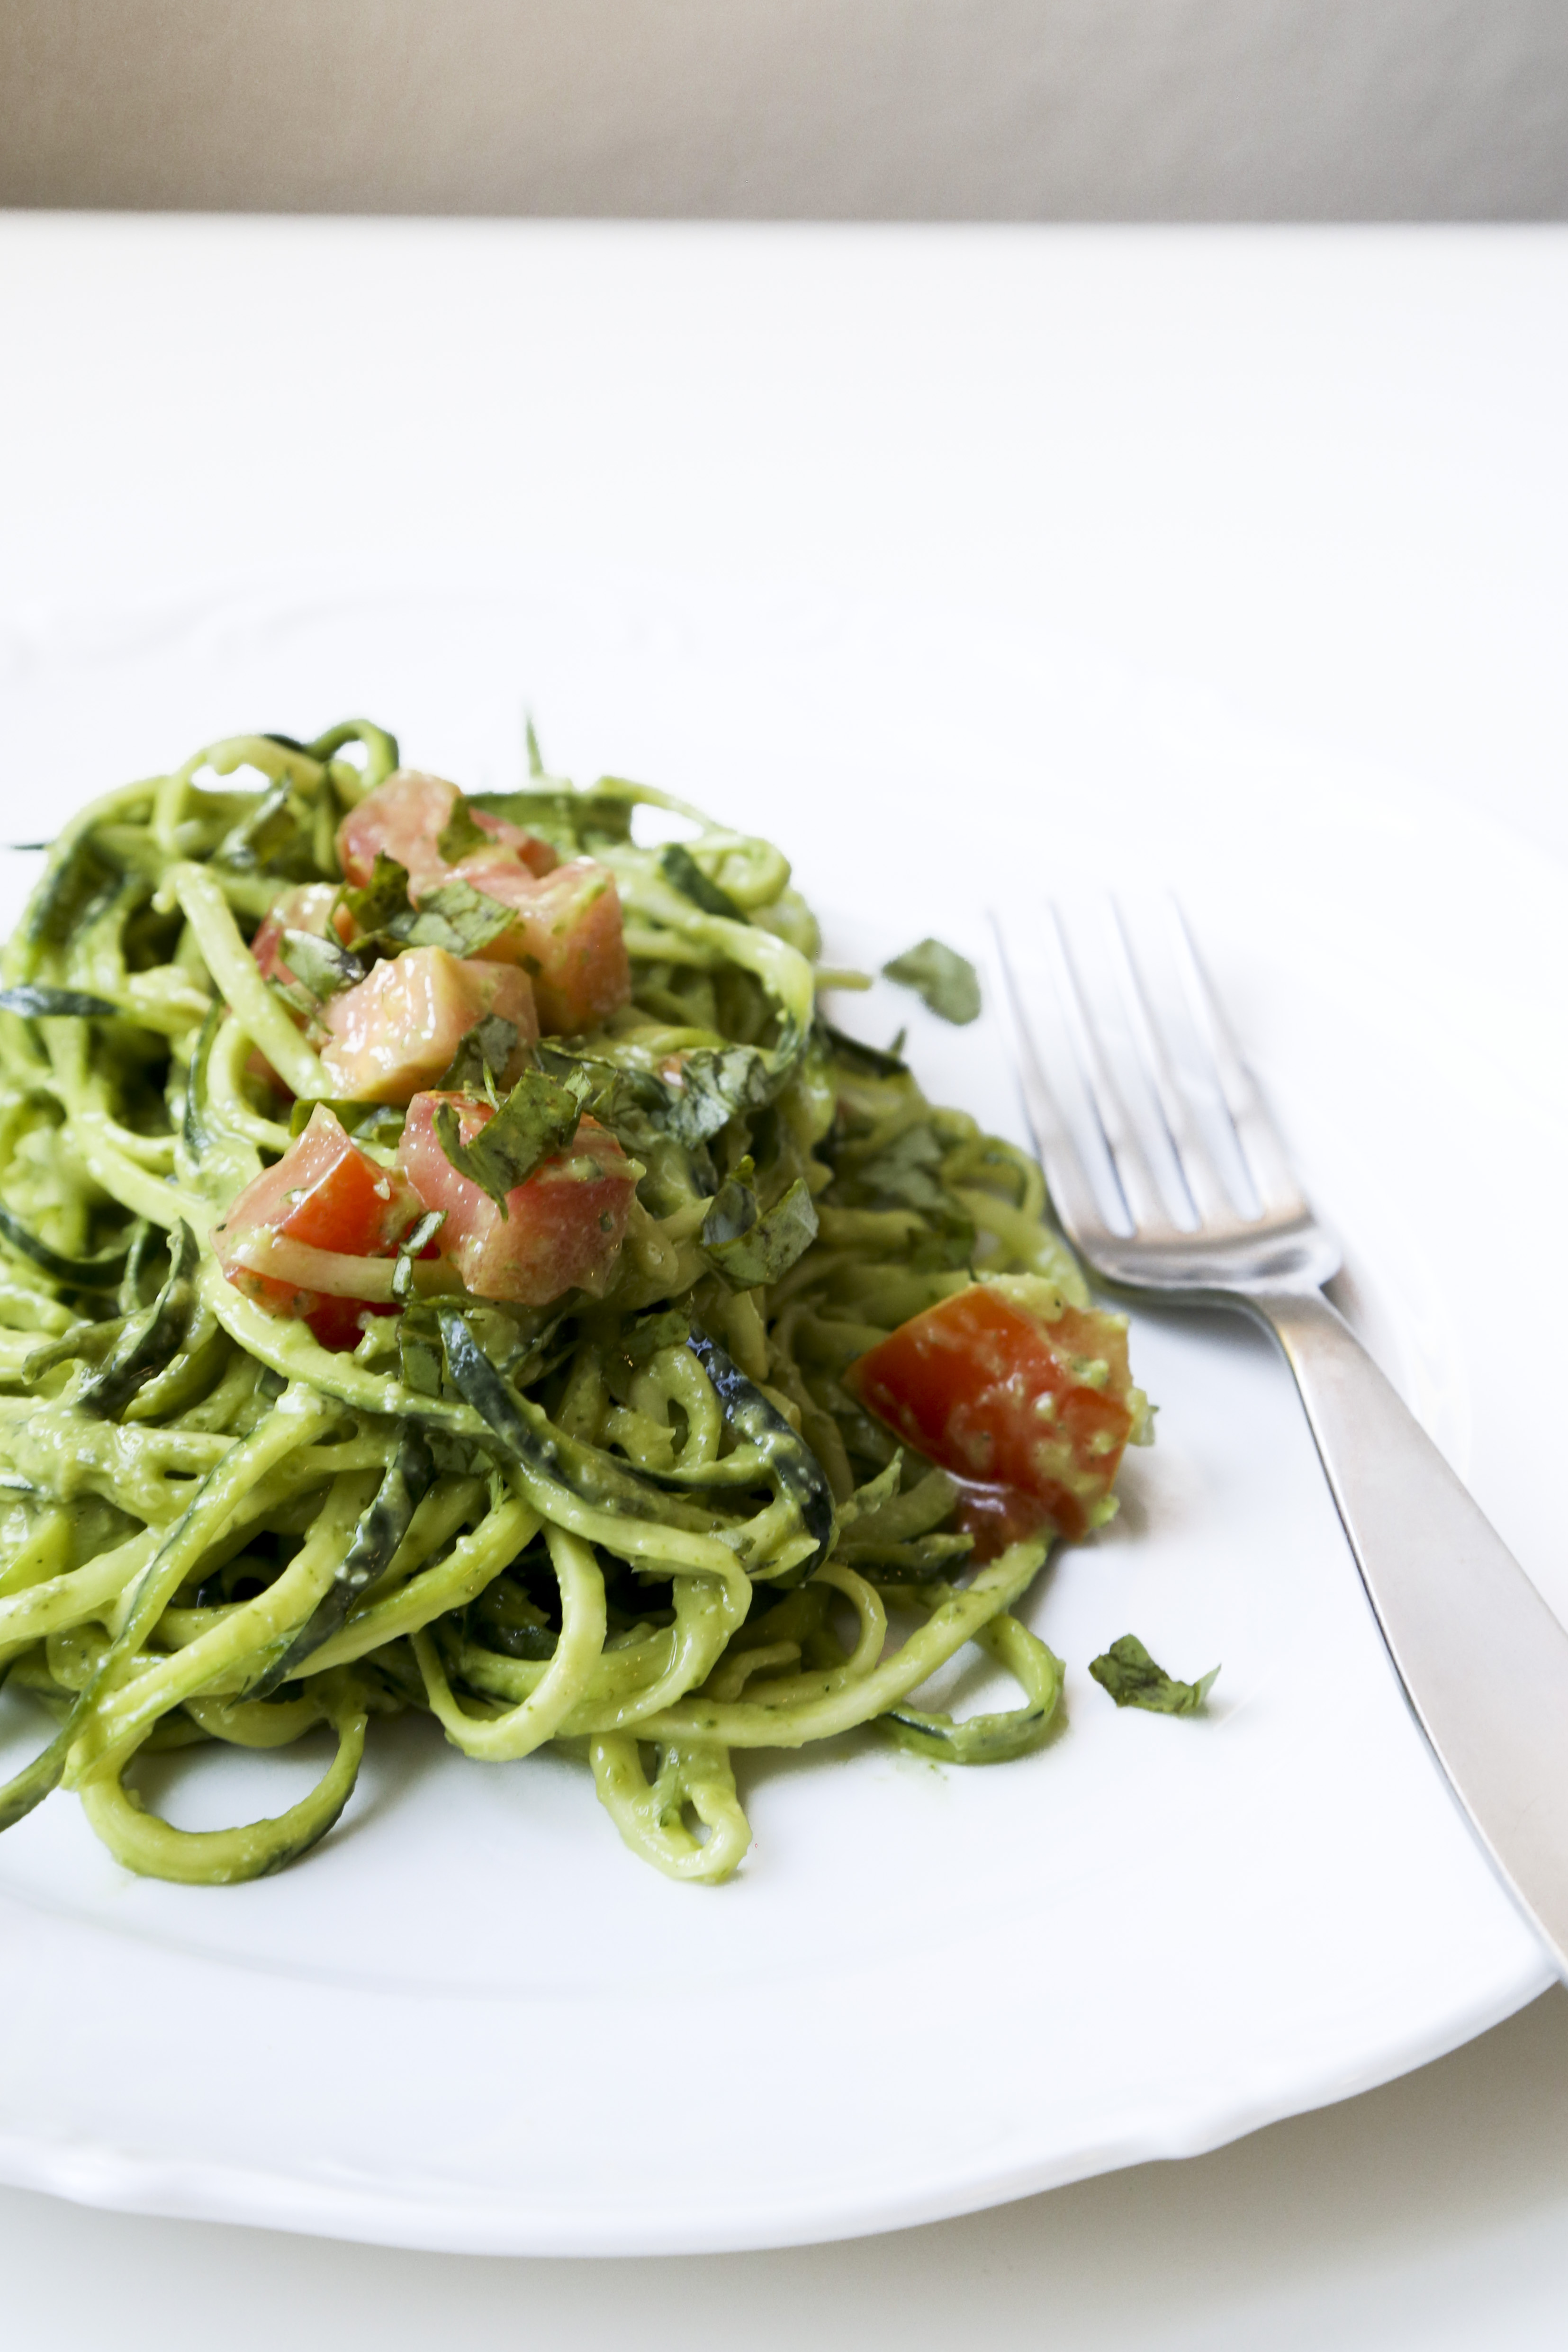
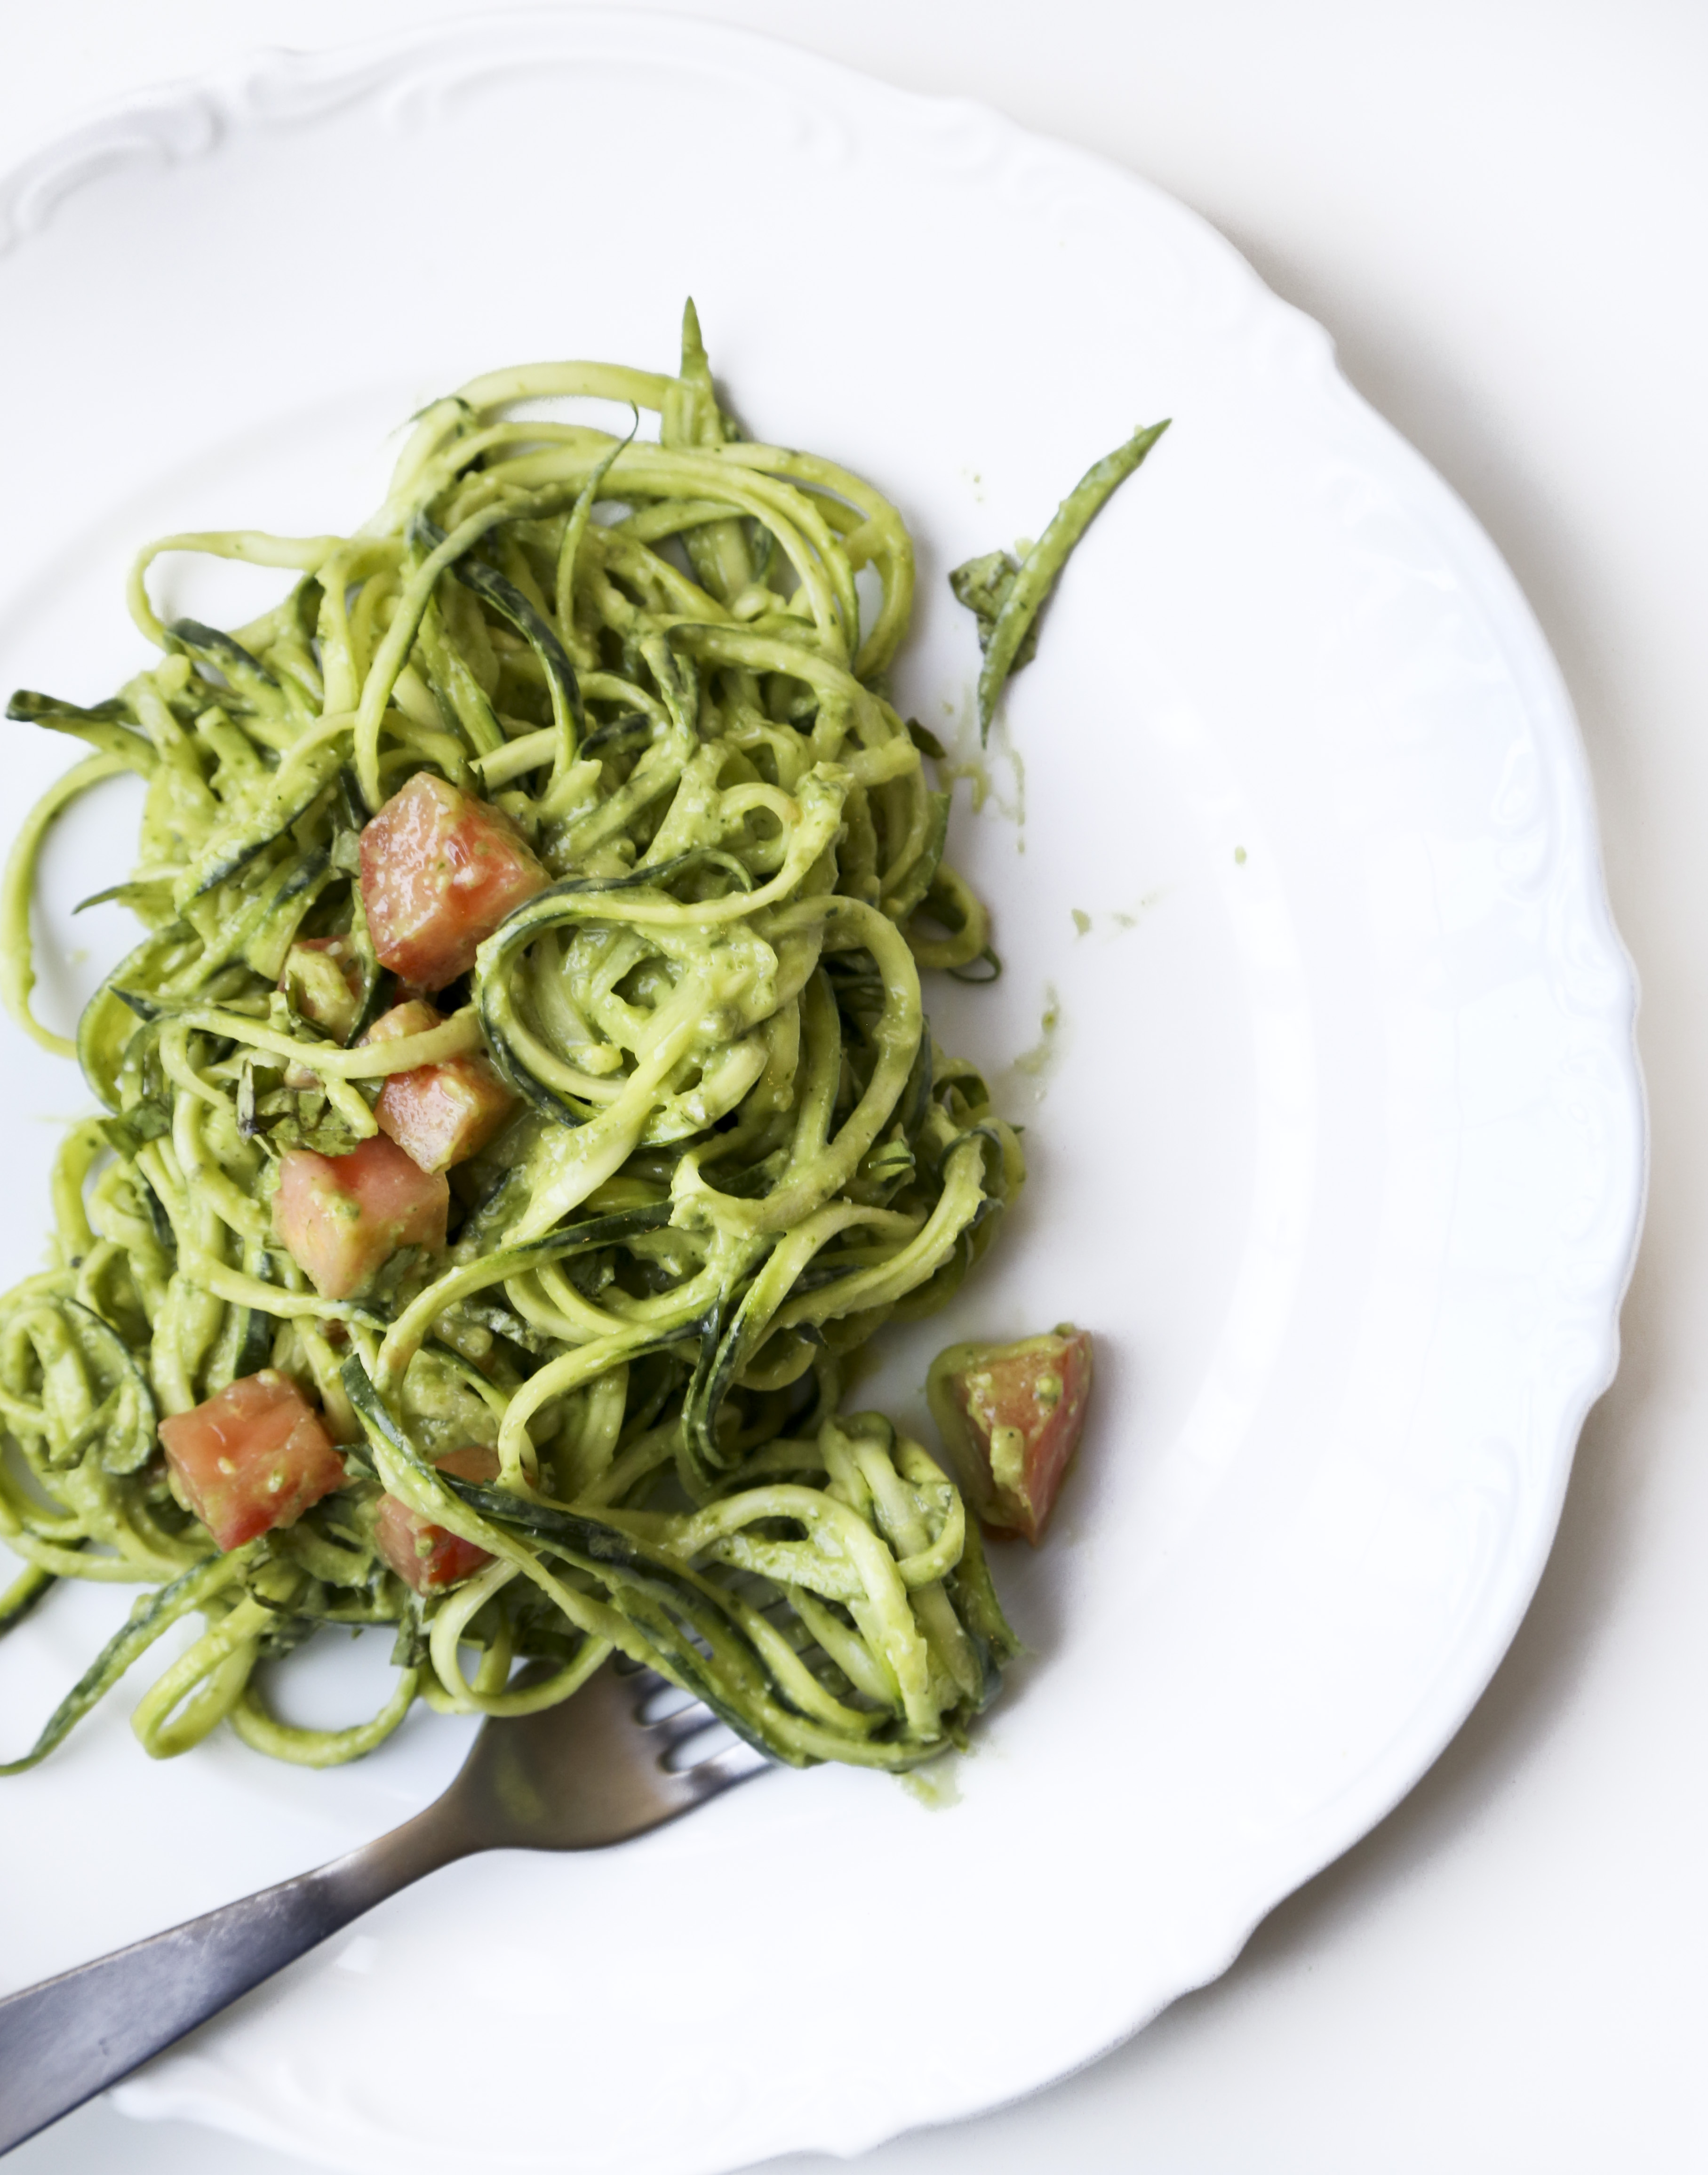
What I love about these meatballs is that the vegetables are still a little bit crunchy, so they have a great texture. But what I REALLY love is the peanut sauce that went with it. I intended to make Italian flavored meatballs with added leeks, but then I tried them and they reminded me of potsticker filling, so I decided to go for an Asian twist. And thus peanut sauce was necessary. Peanut Sauce is the perfect addition. I’m totally into it.
The other magical part of this meal is that it’s almost paleo and 100% healthy. The paleo part doesn’t really matter to me, but the healthy part does. I’m always looking for great-tasting healthy recipes, that’s why I’m such a big fan of this. That said, if the paleo part matters to you, use almond butter or sunflower butter in place of peanut butter and it’s 100% paleo! 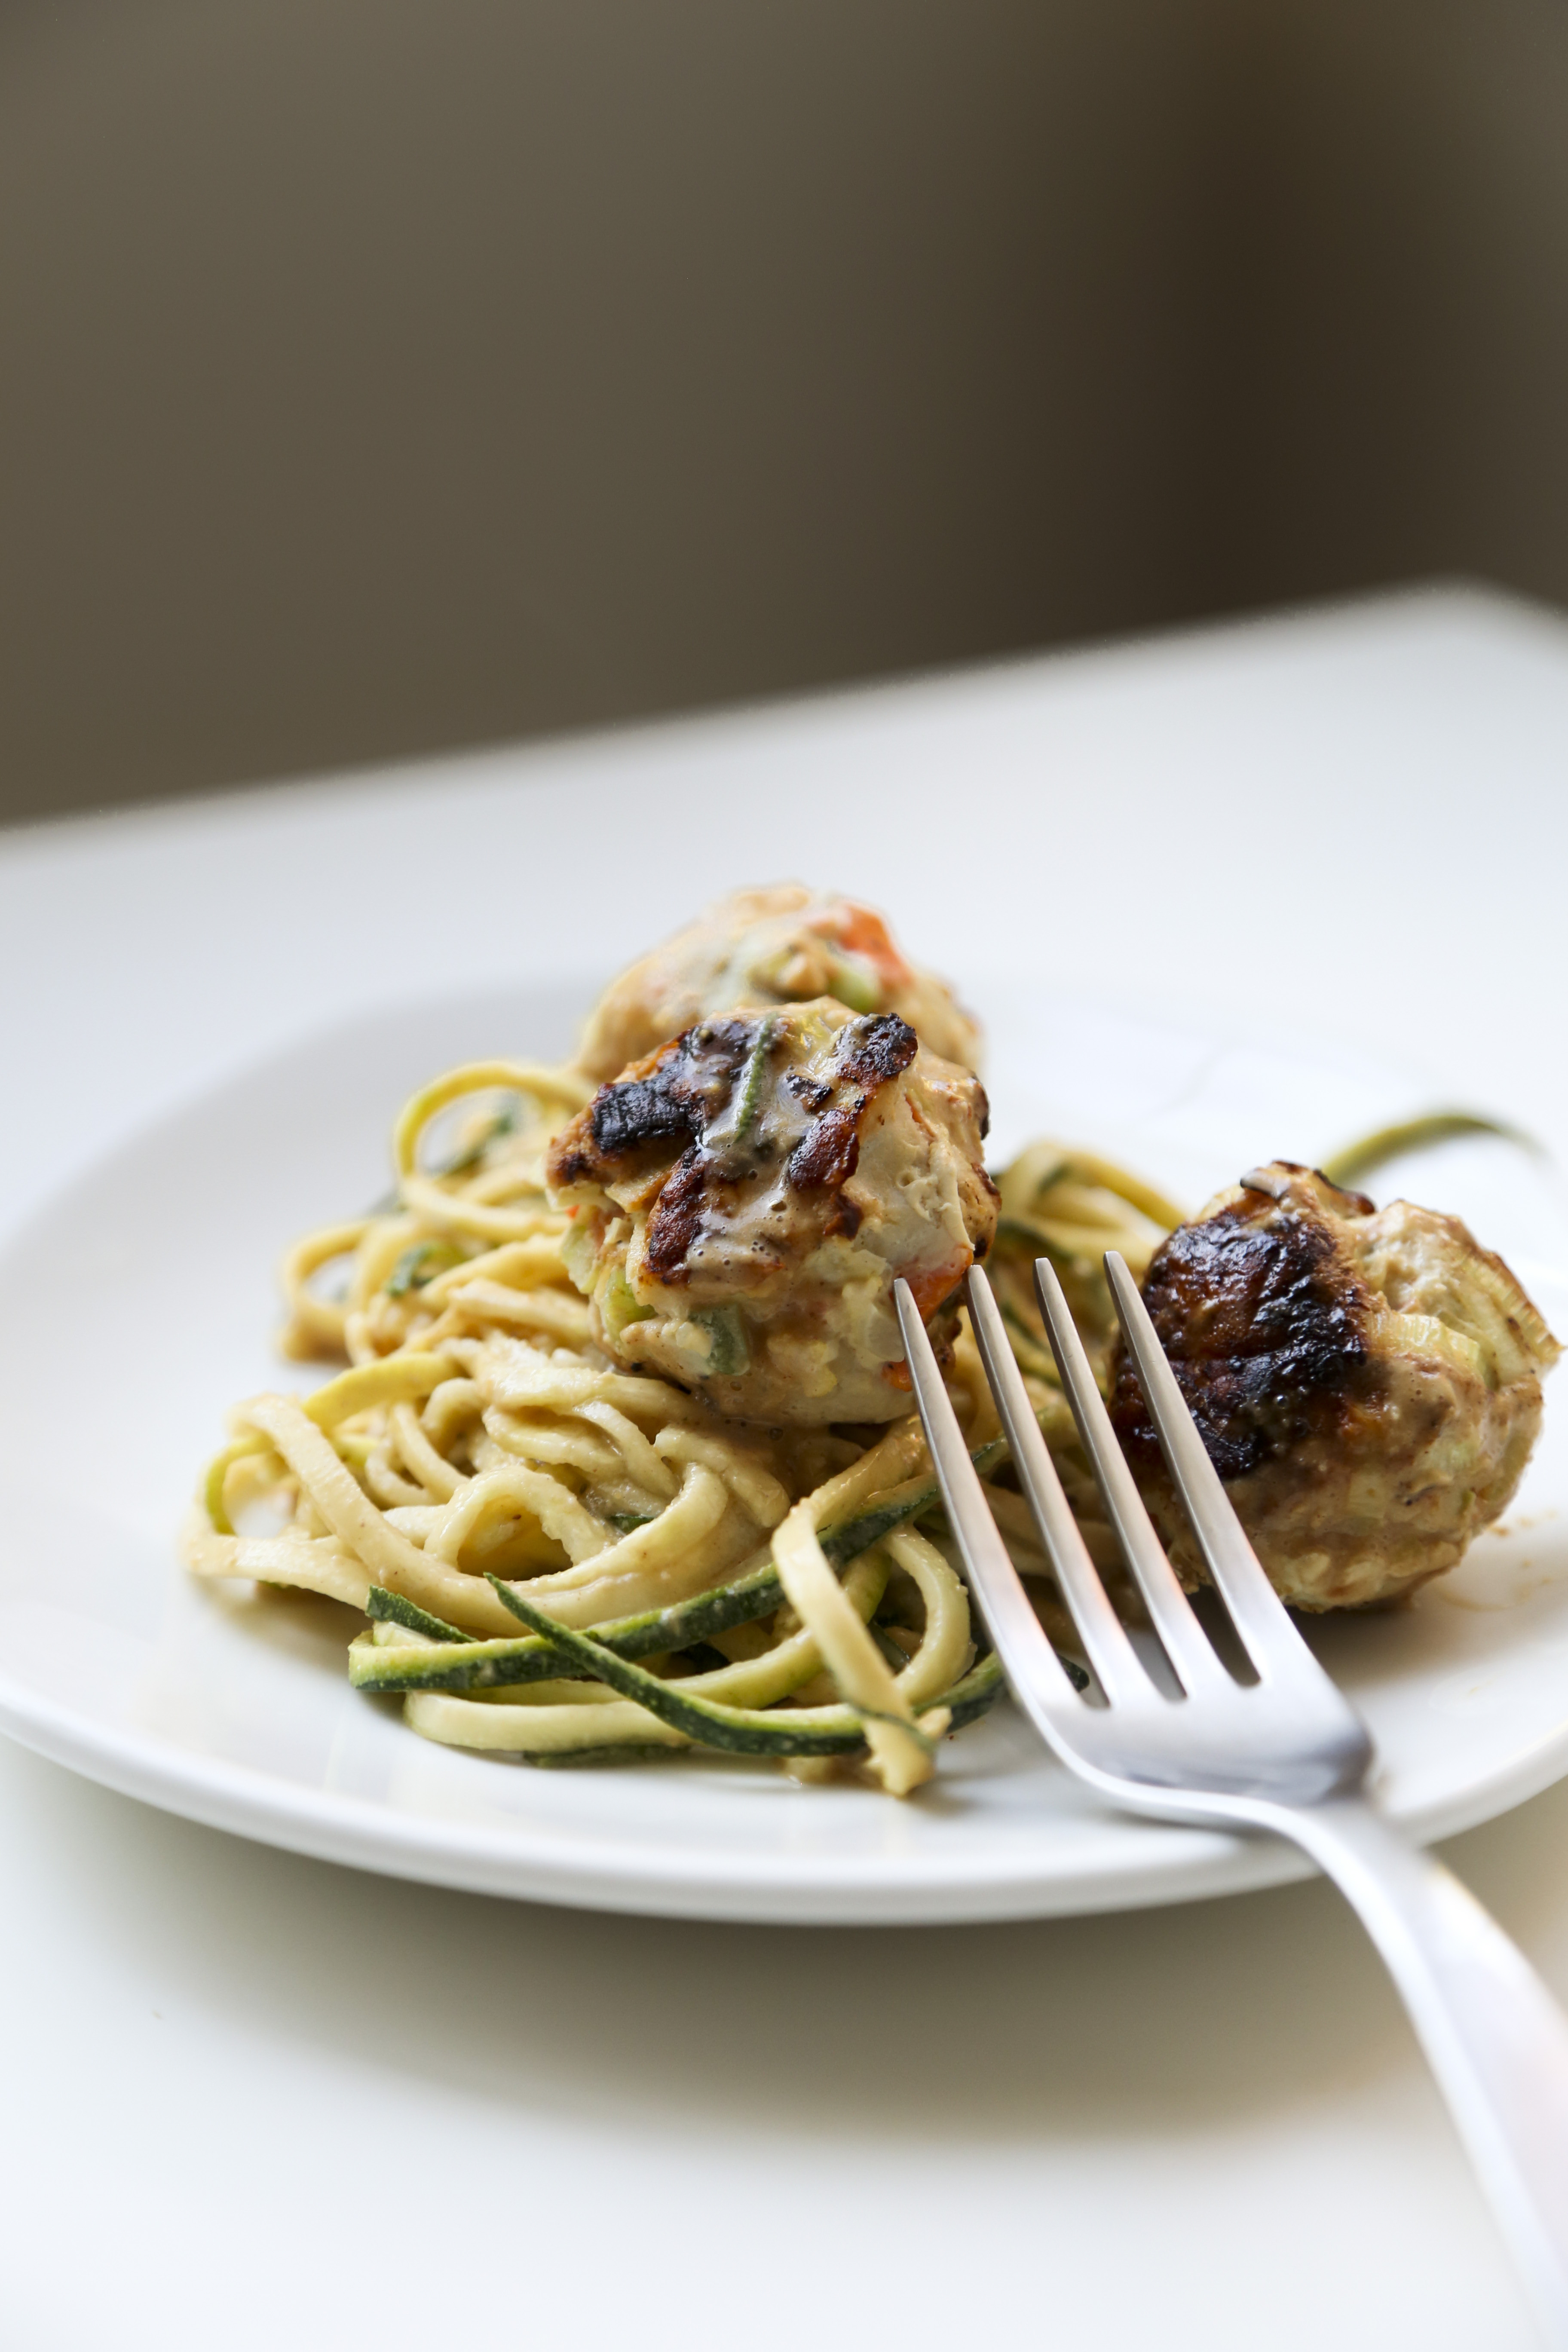

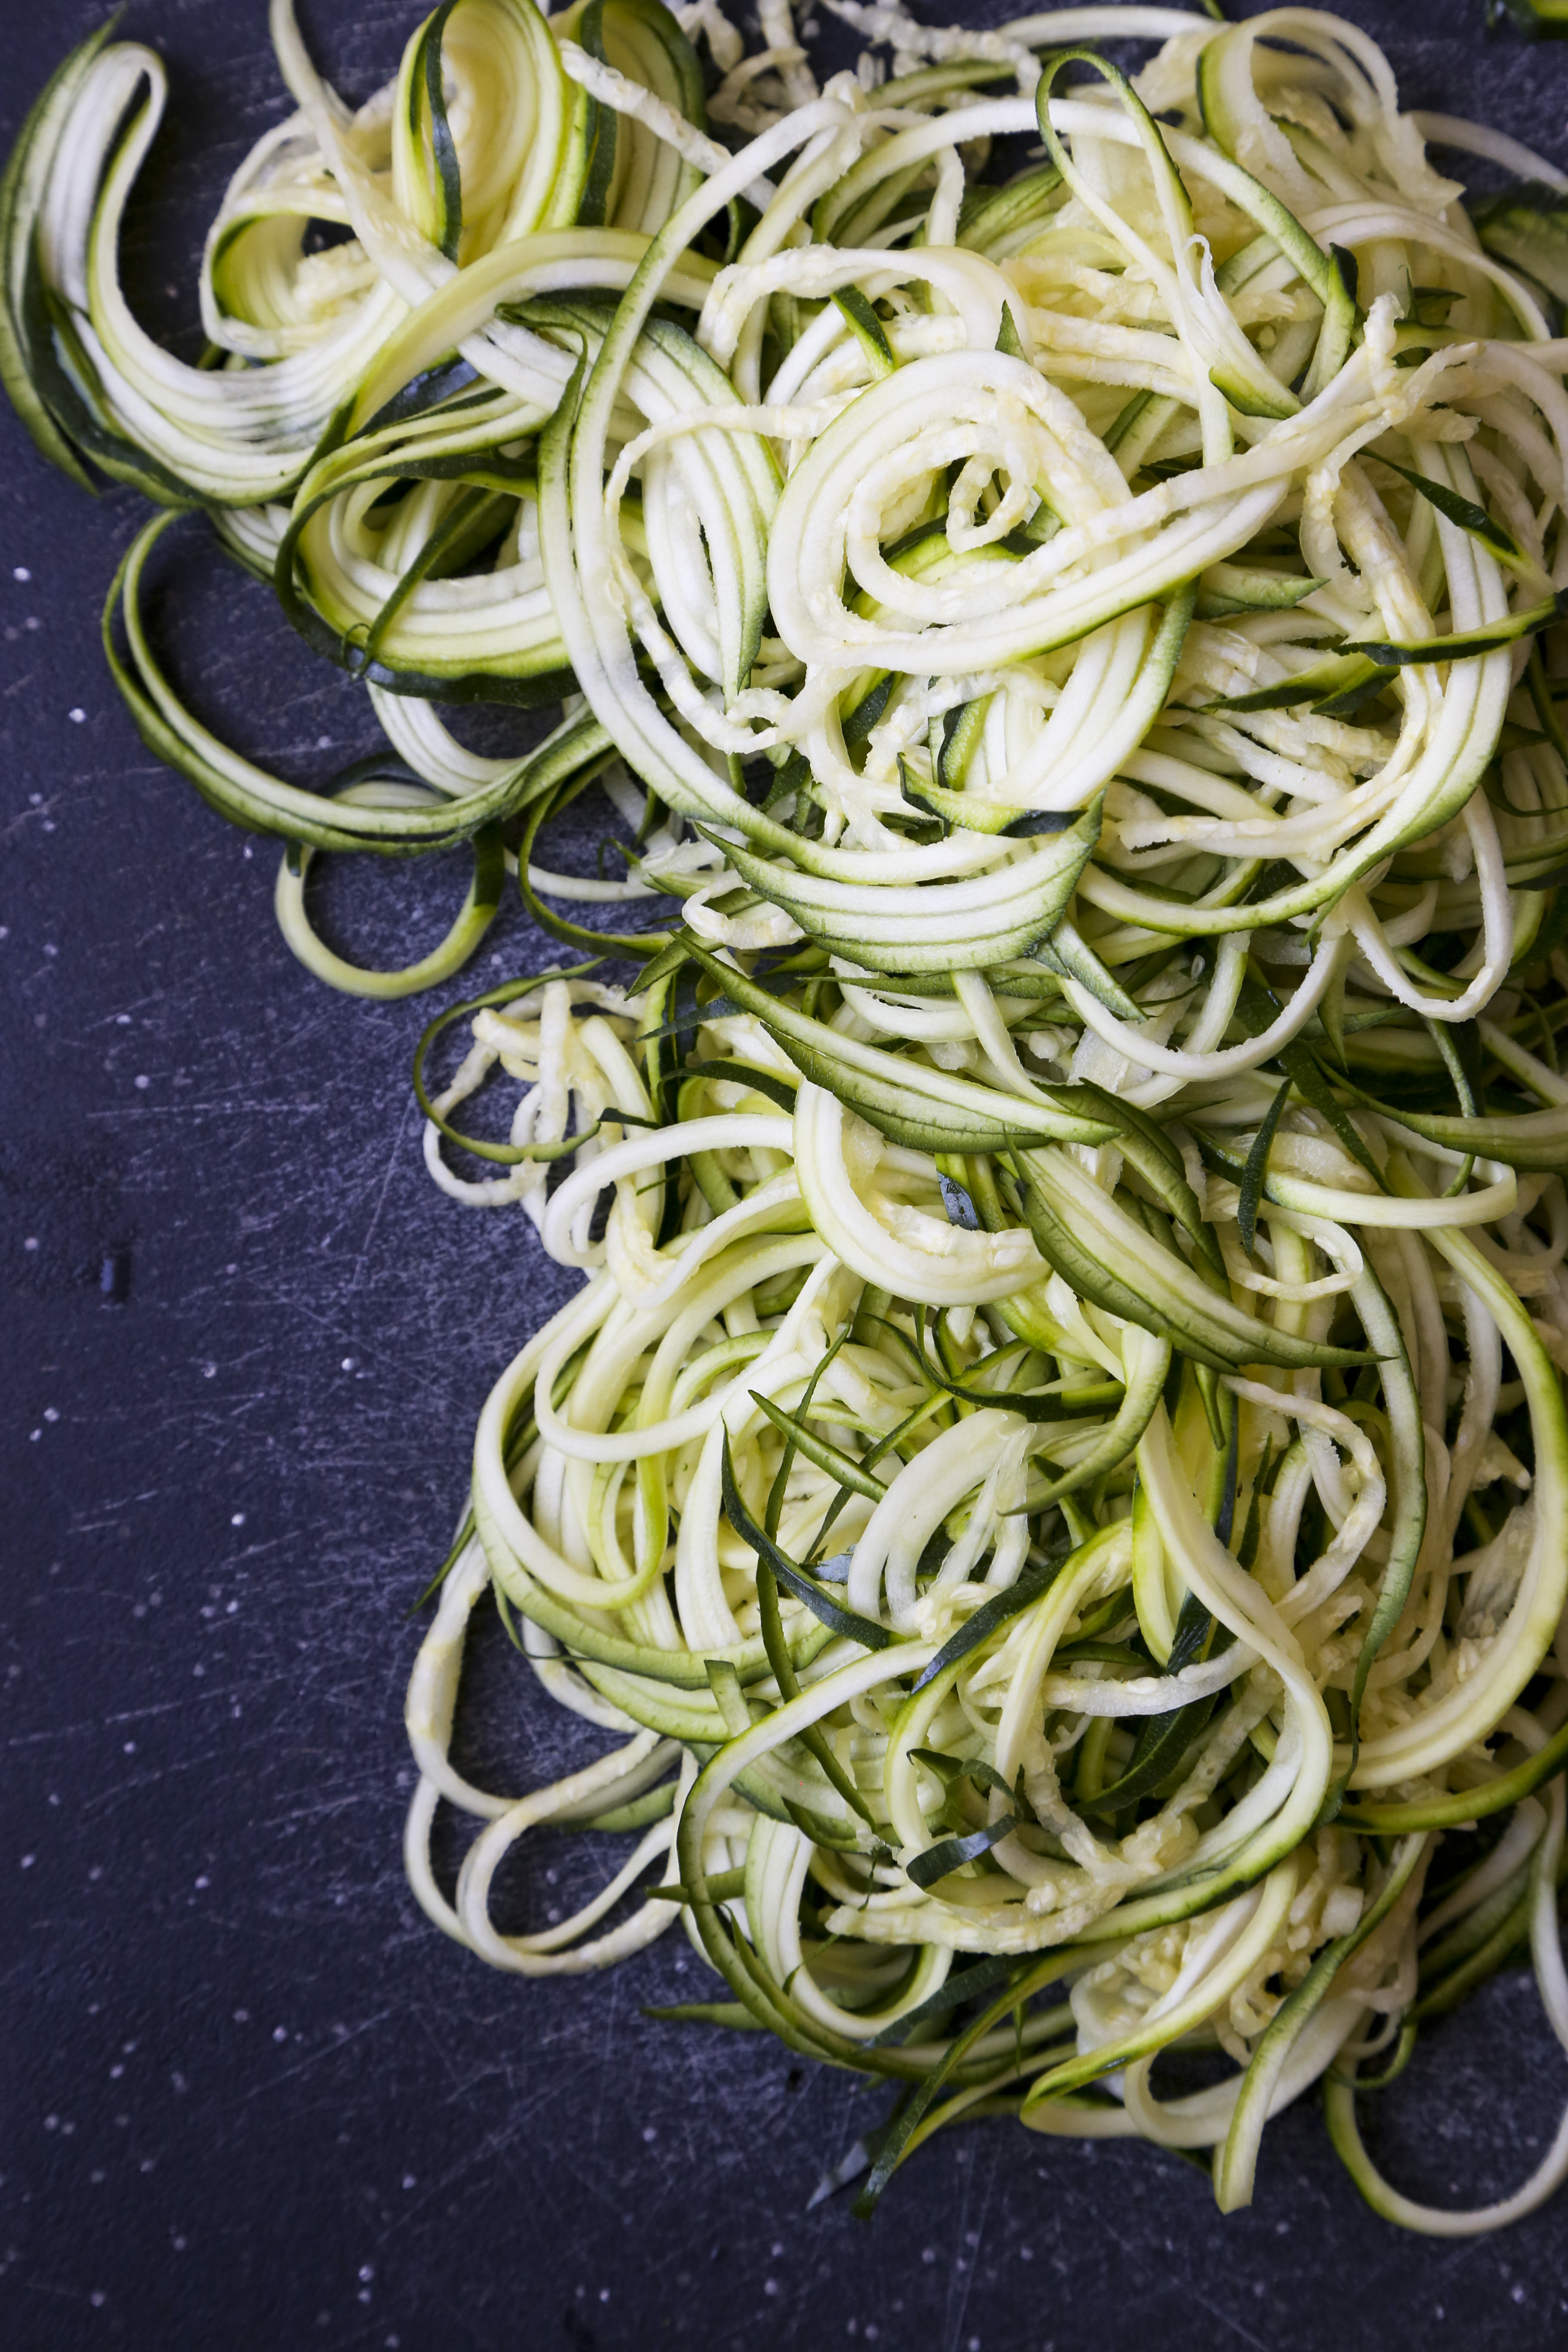
Zucchini Noodles with Peanut Sauce and Leek-y Meatballs
6 zucchinis, spiralized or julienned
1 lb lean ground turkey
1/2 onion, finely chopped
1 carrot, finely chopped
1 celery stalk, finely chopped
1 leek (white part only), finely chopped
1 garlic clove, finely chopped
1 egg
salt and pepper to taste
1-2 tbsp olive oil
For Peanut Sauce:
1/4 cup coconut aminos (or low sodium soy sauce, if paleo doesn’t matter to you)
1-4 tbsp water*
1/4 cup natural peanut butter (or sunflower seed butter or almond butter if you want to make it paleo)
juice of 1 lime
2 tbsp rice vinegar
1 tbsp fish sauce
1 small knob of fresh ginger (about 1 inch, about 1 tbsp)
1 tsp sriracha, or more to taste (optional)
Make meat balls. Combine turkey, onion, carrot, celery, garlic, leeks, egg, salt and pepper using your hands. Roll into 25-30 small balls (a little larger than a walnut). Heat olive oil in a pan. Cook meat balls about 10 minutes, turning occasionally until cooked through. Alternatively, you can bake them at 450F on a parchment paper lined sheet for about 25-30 minutes. (Note: I made these another time but I caramelized the onions and leeks first and it was awesome. Just saying… in case you want to try that)
Next make peanut sauce. Combine all ingredients in a blender or food processor. Blend until well combined. *I’ve made the sauce with 4 tbsp of water, it’s a bit runny, which I like, but if you want it thicker, use less. You might need to adjust the coconut aminos to make sure it’s not too salty.
Toss zucchini noodles with sauce (reserve some extra peanut sauce for drizzling), plate noodles, top with meat balls and drizzle with extra peanut sauce. Garnish with cilantro and chopped peanuts if you’d like. If not, just serve and devour. I’m having a really hard time deciding the serving size for this recipe because I eat massive amounts of vegetables. This recipe will serve about 4 people, but I got 3 meals out of it with left over meatballs (because I tend to eat more vegetables than meat).

I’ve made this twice now and loved it both times. It’s pretty quick and easy, but seriously tasty. I recommend it, if you’re looking for a tasty meal to add to your healthy dinner rotation.
Do you have any awesome meatball-making tips?


 So from there, I decided to make my own version with ingredients I had on-hand at home. It was a complete success.