I got into a Facebook fight today, and I’m only mildly ashamed.
With whom? Another blogger. She posted something about how the Ban Bossy campaign was ridiculous.
If you haven’t heard of Ban Bossy, it’s a campaign by Sheryl Sandberg’s Lean In organization and the Girl Scouts. The whole idea is to stop using the word ‘Bossy’ to describe an assertive girl. An assertive little boy is a ‘leader,’ but an assertive little girl is ‘bossy,’ and this affects the way girls develop in leadership roles. The campaign really aims at developing leadership among girls and young women.
I don’t think this campaign is ridiculous. I actually think it’s a great idea.
That said, sure, the choice of marketing for this campaign is a bit silly (I love Beyonce, but she sort of sucks in the video). The word bossy is just dumb, but I recognize its power. Because of that, I was bothered by this bloggers comment and the subsequent comments to her post. Mostly, they were people saying that being called bossy is a good thing, or examples of when their little boys are bossier than their daughters and how the word doesn’t mean anything. Sure, I get all that. To an adult, being called bossy is fine, but when you’re little things are different. By the time we’re grown ass women, we know we’re more awesome than what some jerk says. But let’s not forget that words have power.
So, Facebook “fight” ensued. I argued that words are important and empowering girls is essential. She argued that the campaigns message was clouded by bad marketing.
The feminist in me took over (p.s. I hate that to so many the word feminist is negative). But then I just let it go, because if there’s one thing I hate more than people putting down people’s efforts to empower women, it’s women hating on other women. Can we get a little female solidarity?
Overall, I get it. Criticizing is easier than making a positive change, and as I emphasized in my comments: everyone is entitled to their own opinion. If you hate the Ban Bossy campaign, that’s fine. But can you give me another way that we can start empowering girls to be leaders?
Regardless of how you feel about the Ban Bossy campaign, I genuinely hope we can all agree that empowering girls to be leaders is a cause worth talking about. If only our Facebook interactions could be dialogues instead of arguments, we’d all be a tiny bit better off.
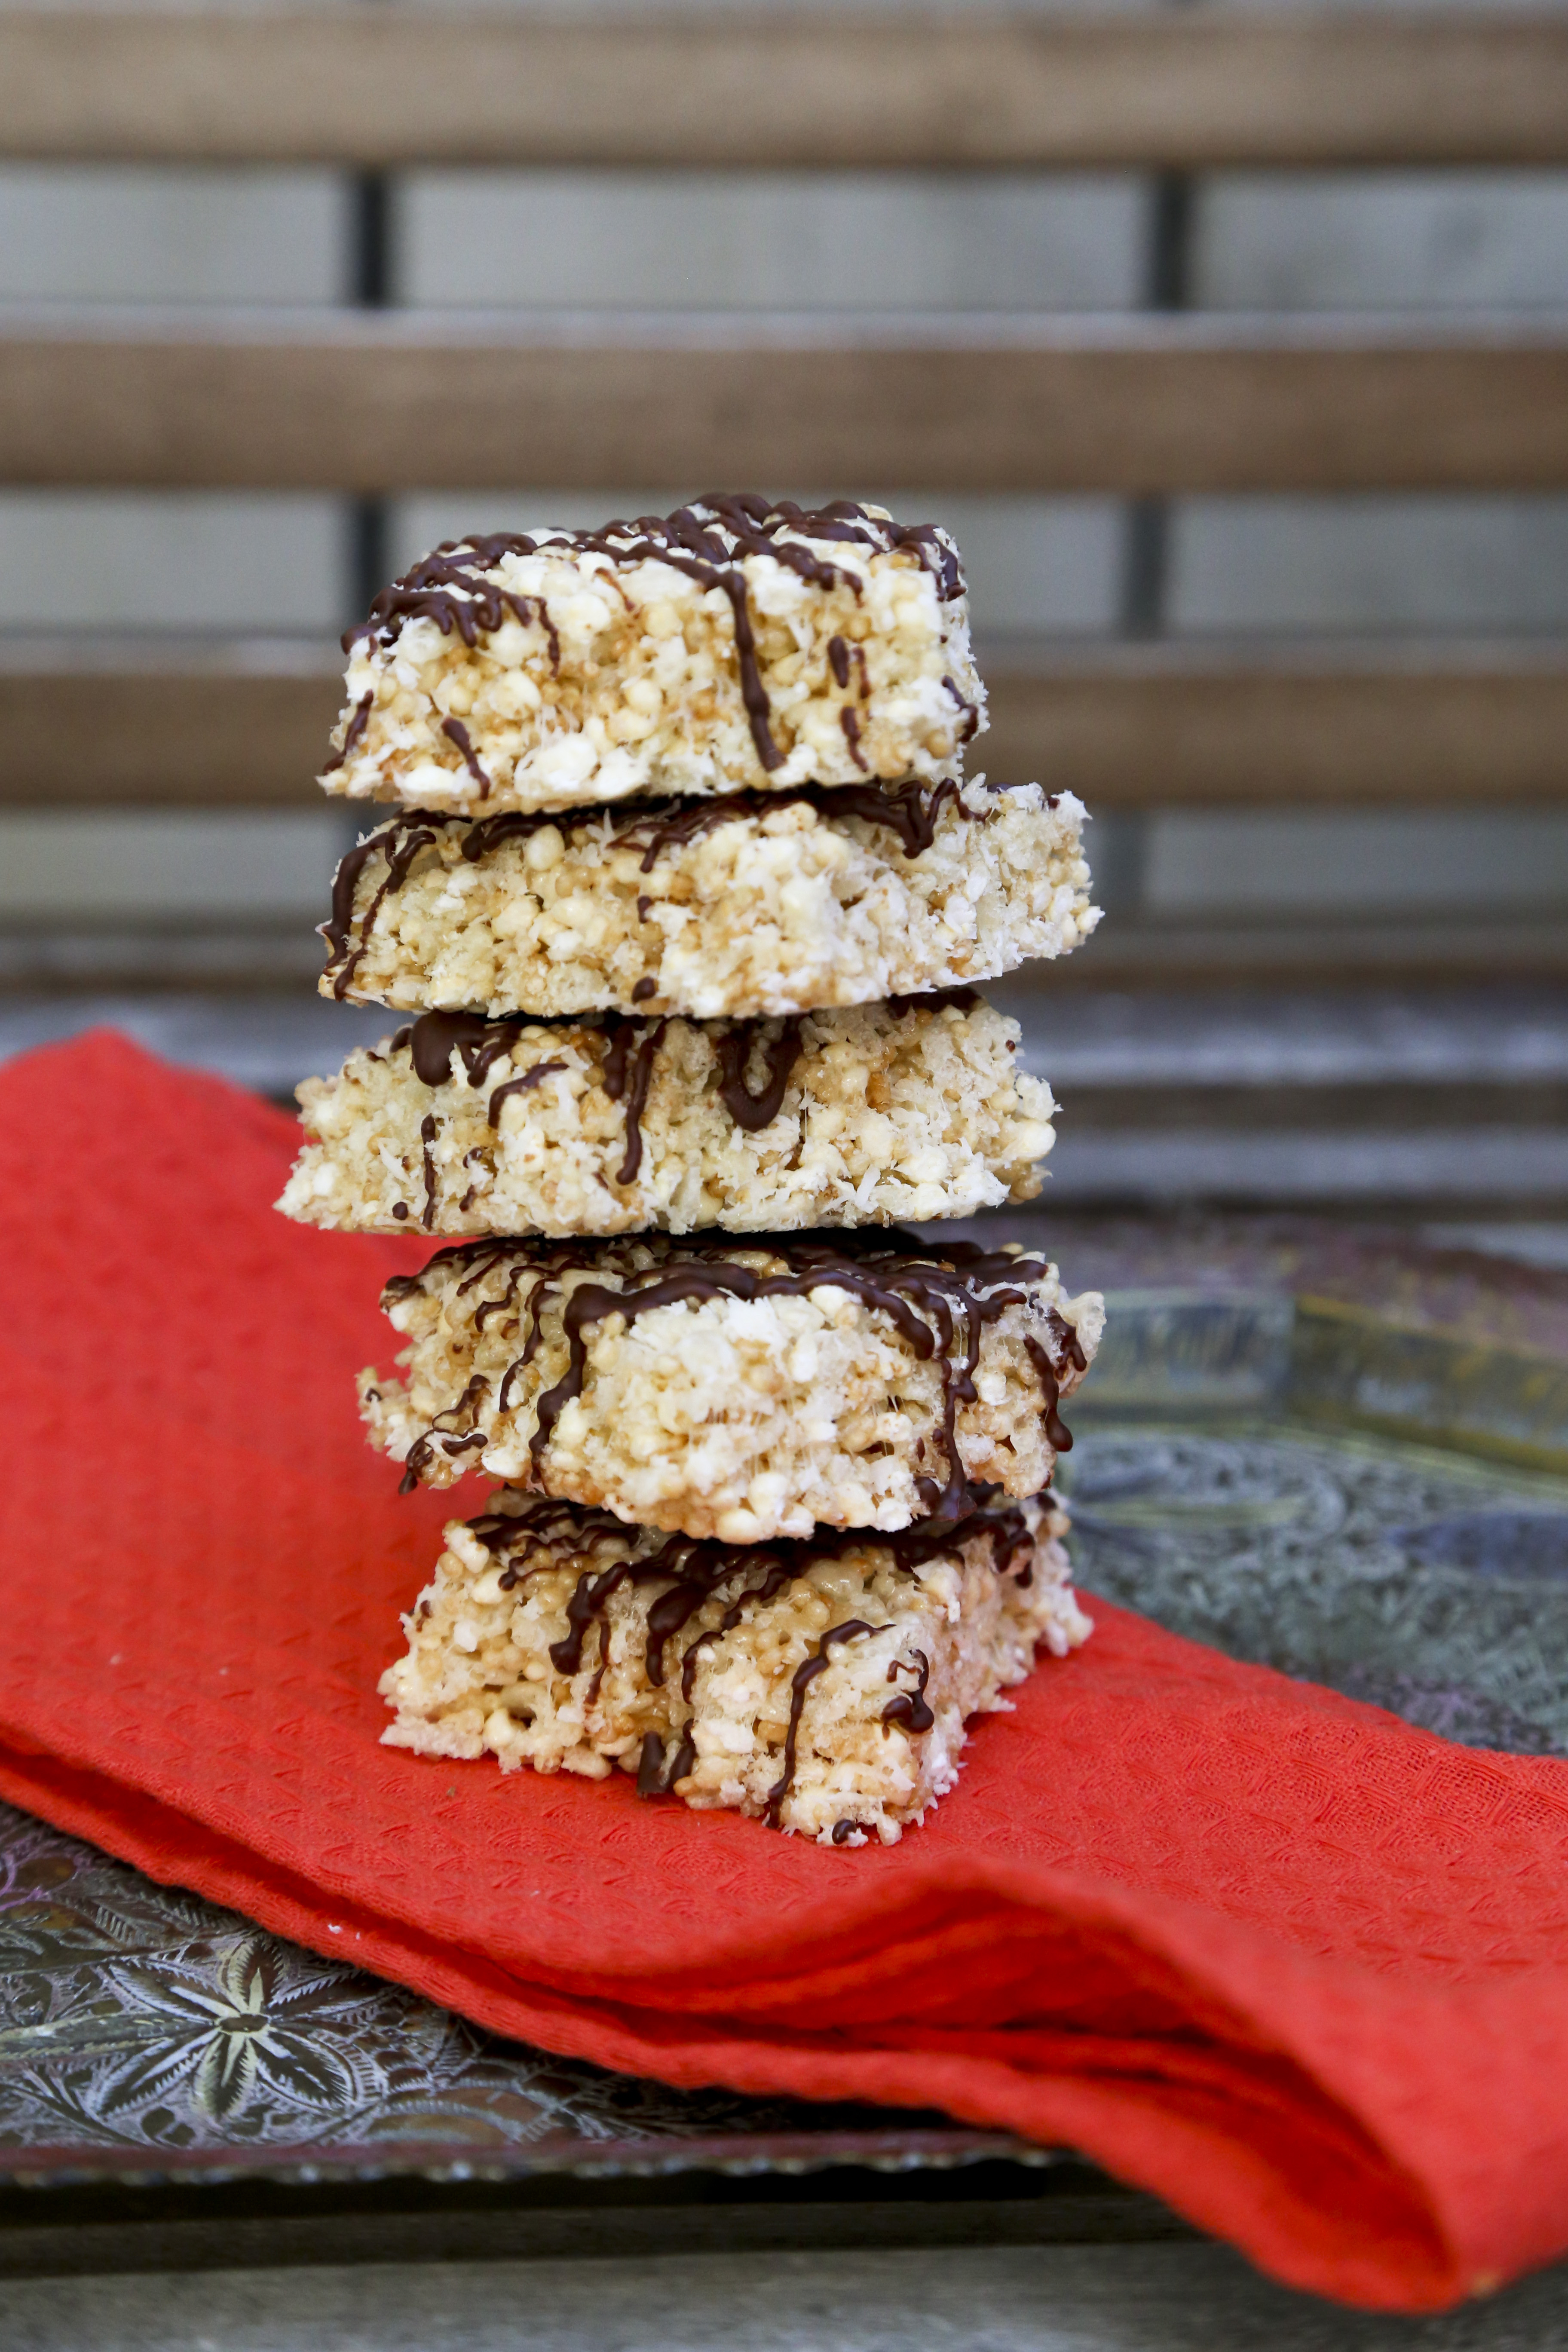
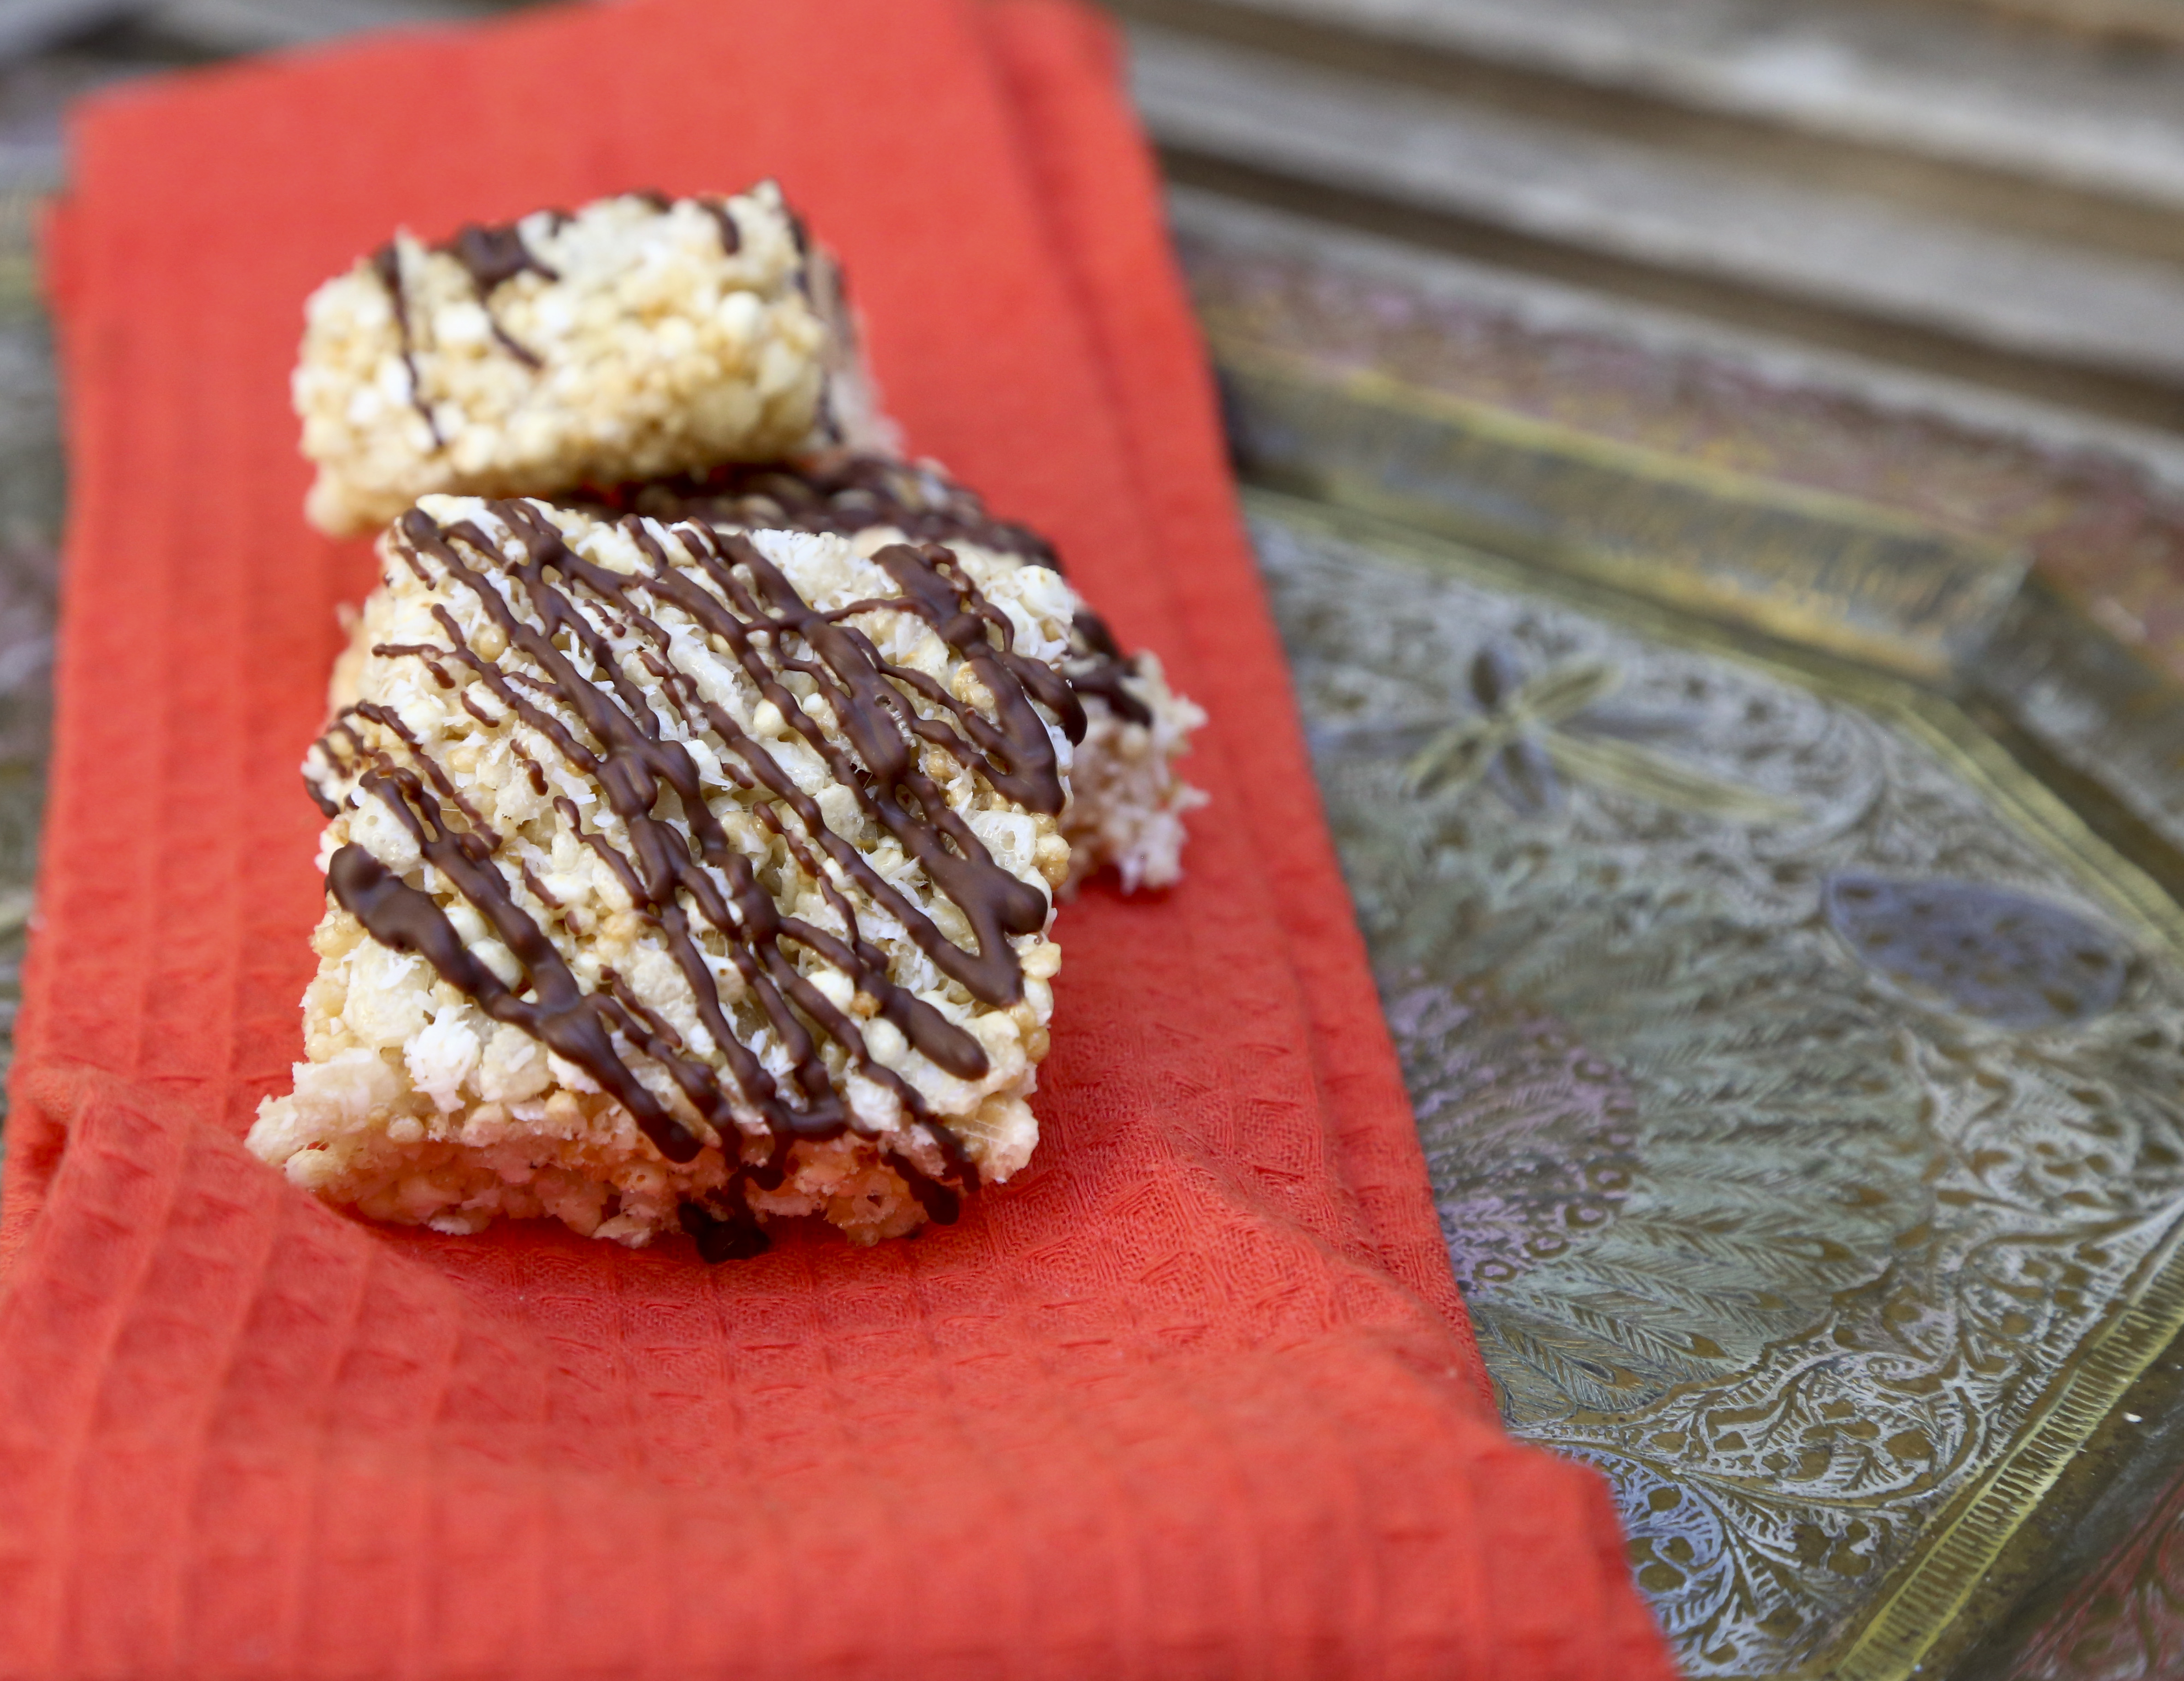
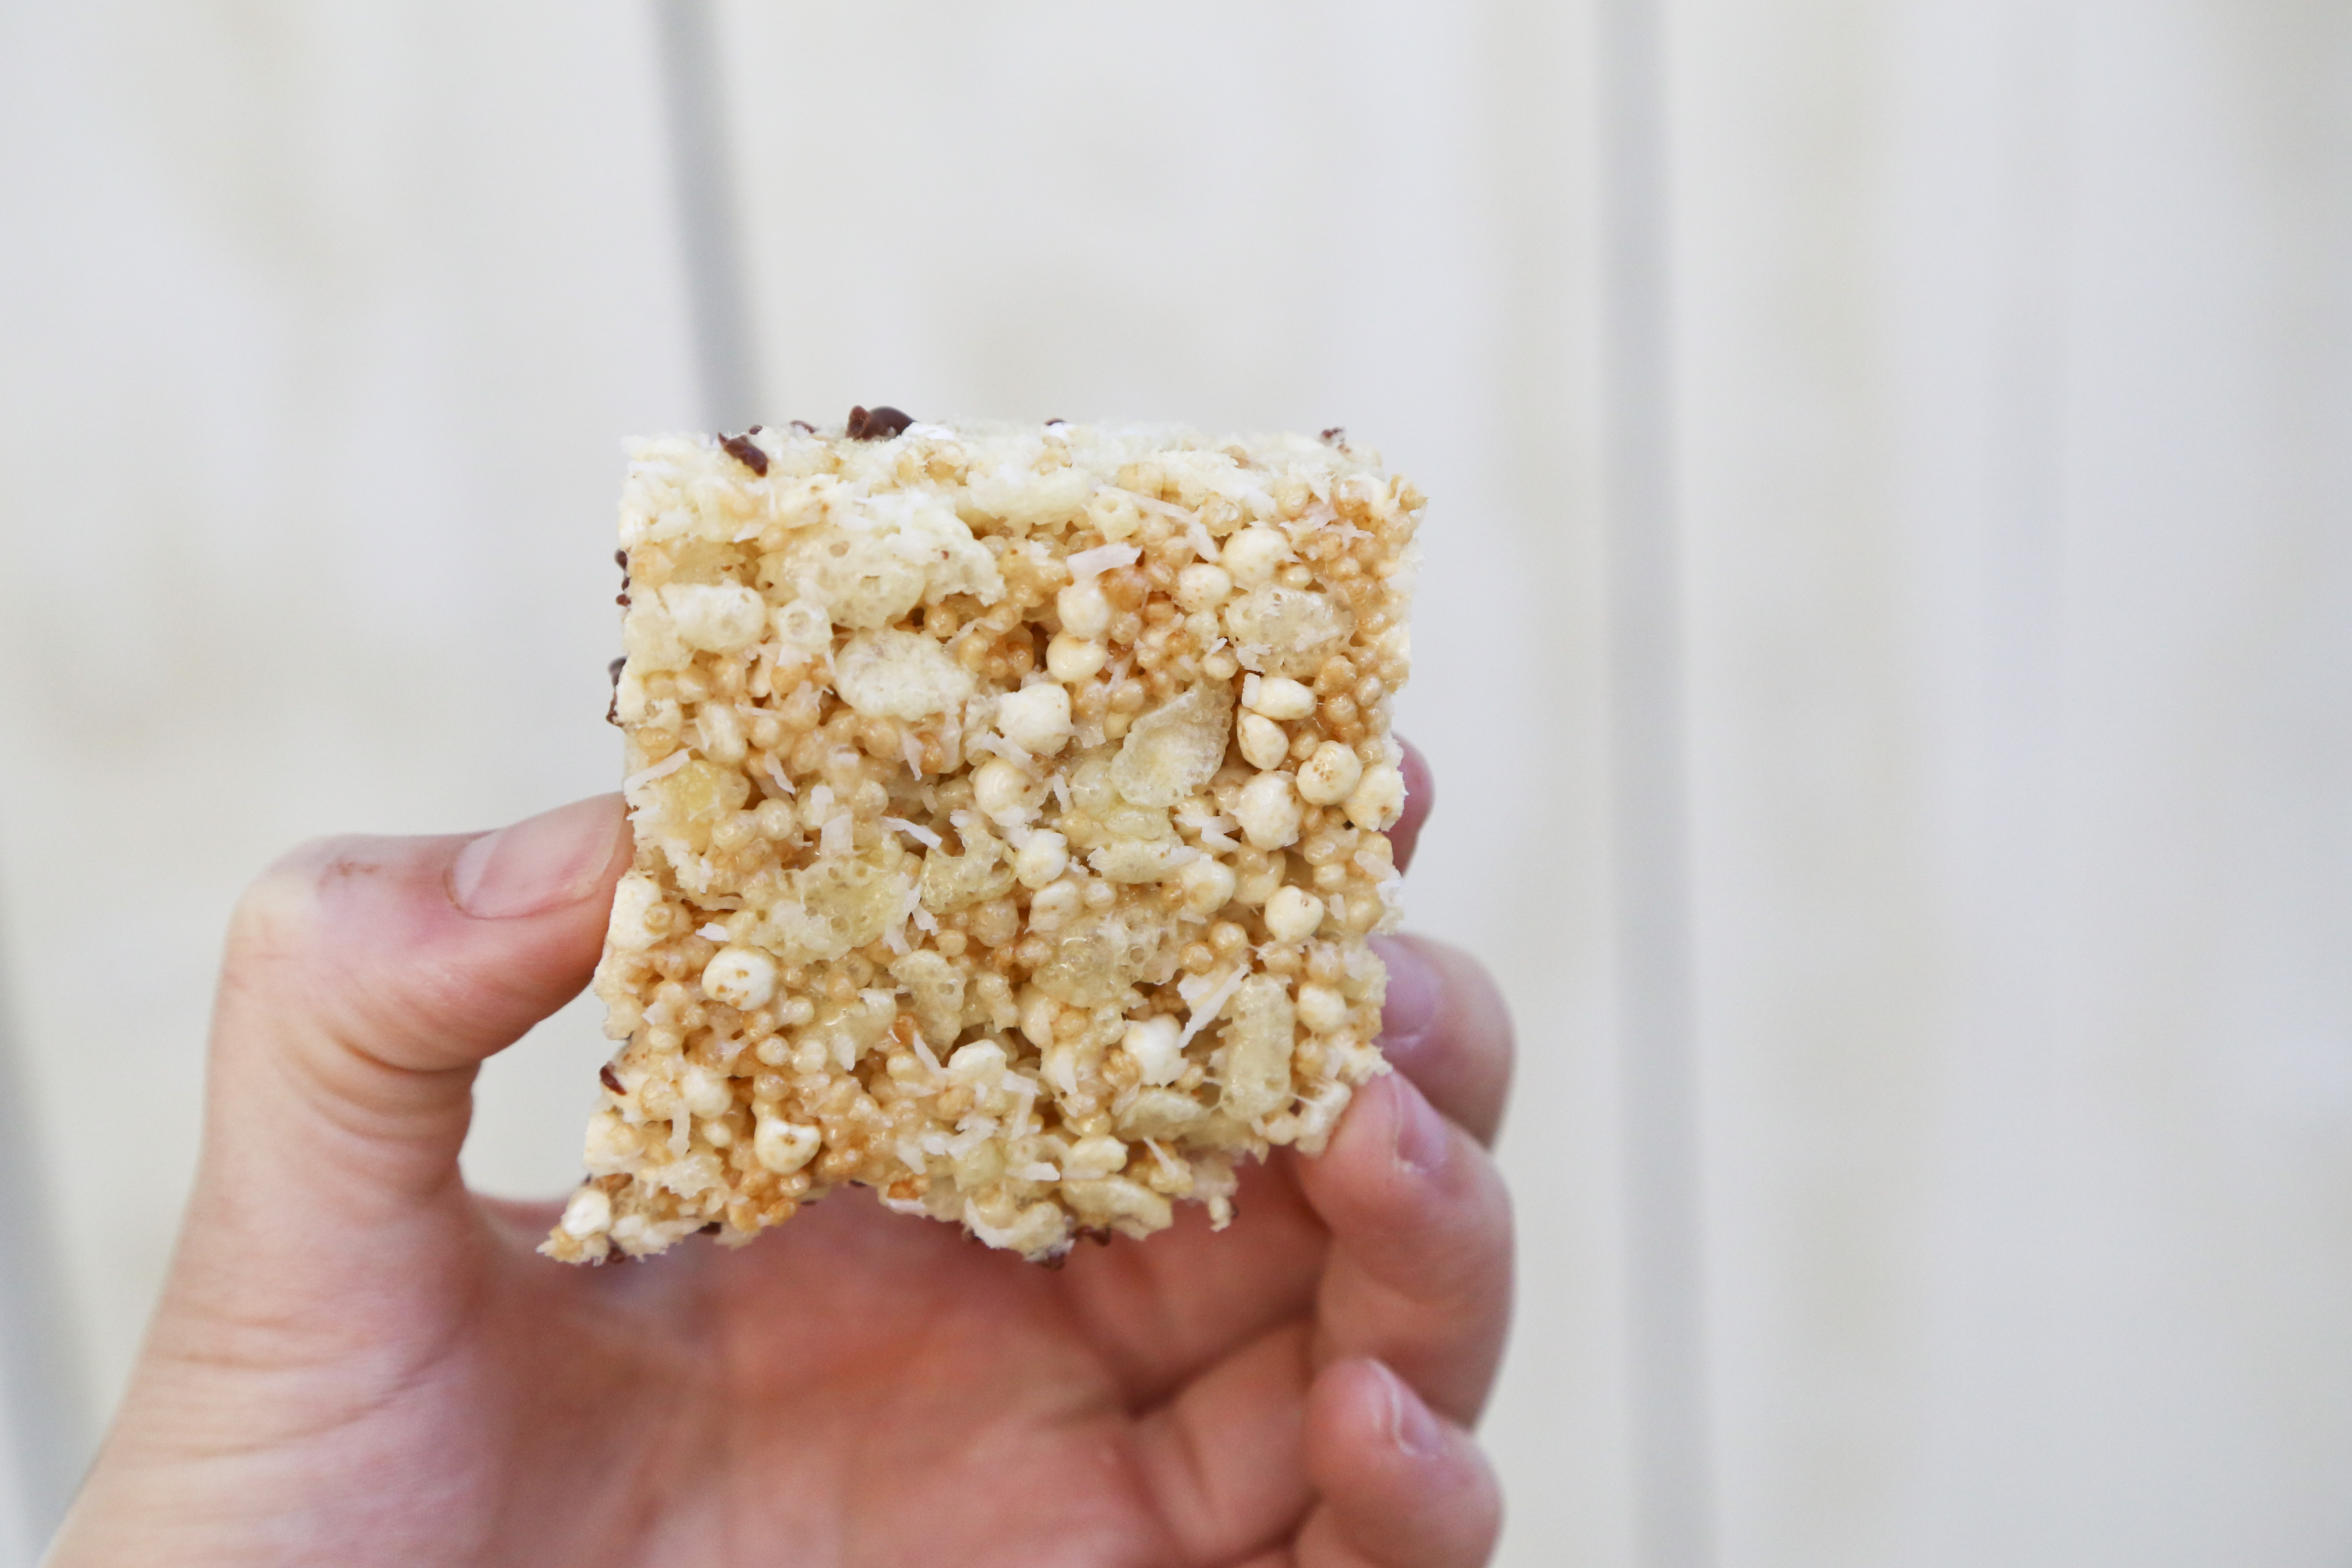
But in the meantime, before society progresses to that point, when someone tells you what you support is ridiculous, it’s my belief that you should kill them with kindness… the marshmallowy kind. So ladies keep your bossy pants on and make yourself some fancy pants rice crispy squares.

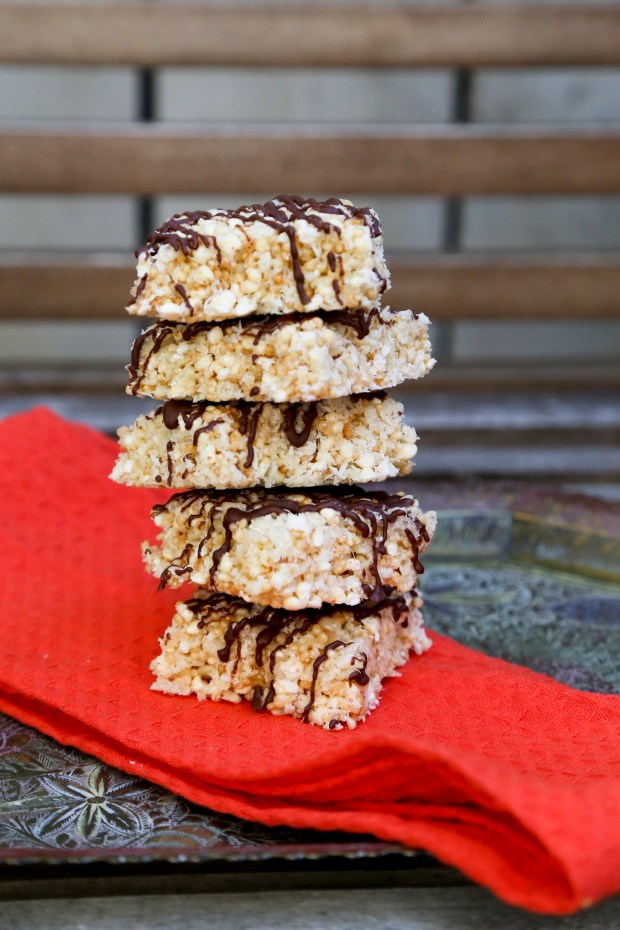
Fancy Pants Rice Crispy Squares
1/4 cup butter
4 cups mini marshmallows
3 cups puffed rice cereal
2 cups puffed millet
2 cups puffed quinoa
3/4 cup unsweetened shredded coconut
1/2 cup dark chocolate chips
1-2 tsp canola oil
Grease a 9×13 baking dish and set aside. In a large pot, met together butter and mini marshmallows. Stir until well combined. Add rice cereal, millet, quinoa and coconut. Stir to combine. Press mixture into 9×13 dish and allow to cool for an hour or two (you can put it in the fridge to speed up the process). Once cooled, cut into squares using a large chef knife.
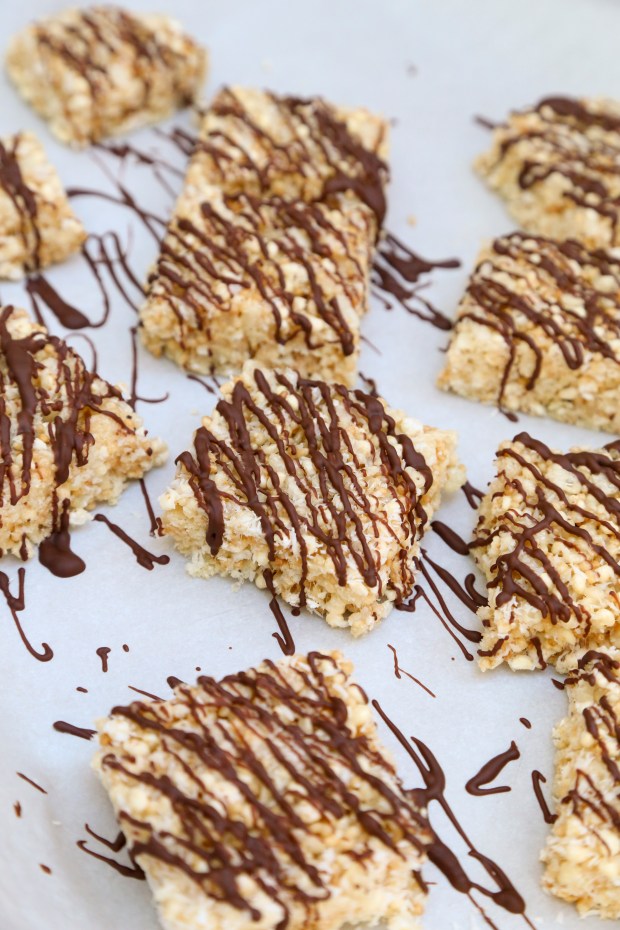
Place chocolate chips in a bowl. Microwave for 30 seconds. Stir and microwave another 30 seconds. Repeat until chocolate is melted. Stir in 1-2 tsp of oil or enough for the chocolate to be runny. Drizzle chocolate over squares and allow to harden. Once chocolate is firm, serve and enjoy!
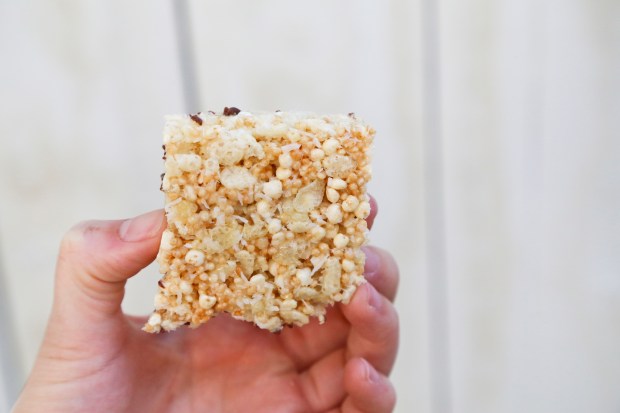
Why are they fancy pants? Millet is fancy. Quinoa is like the black diamond of grains. Coconut makes everything a little more exotic. Also because I said so.
What are your thoughts on #BanBossy? Feel free to give your actual opinion (even if you disagree with me, that’s cool!).


)
)
)
)